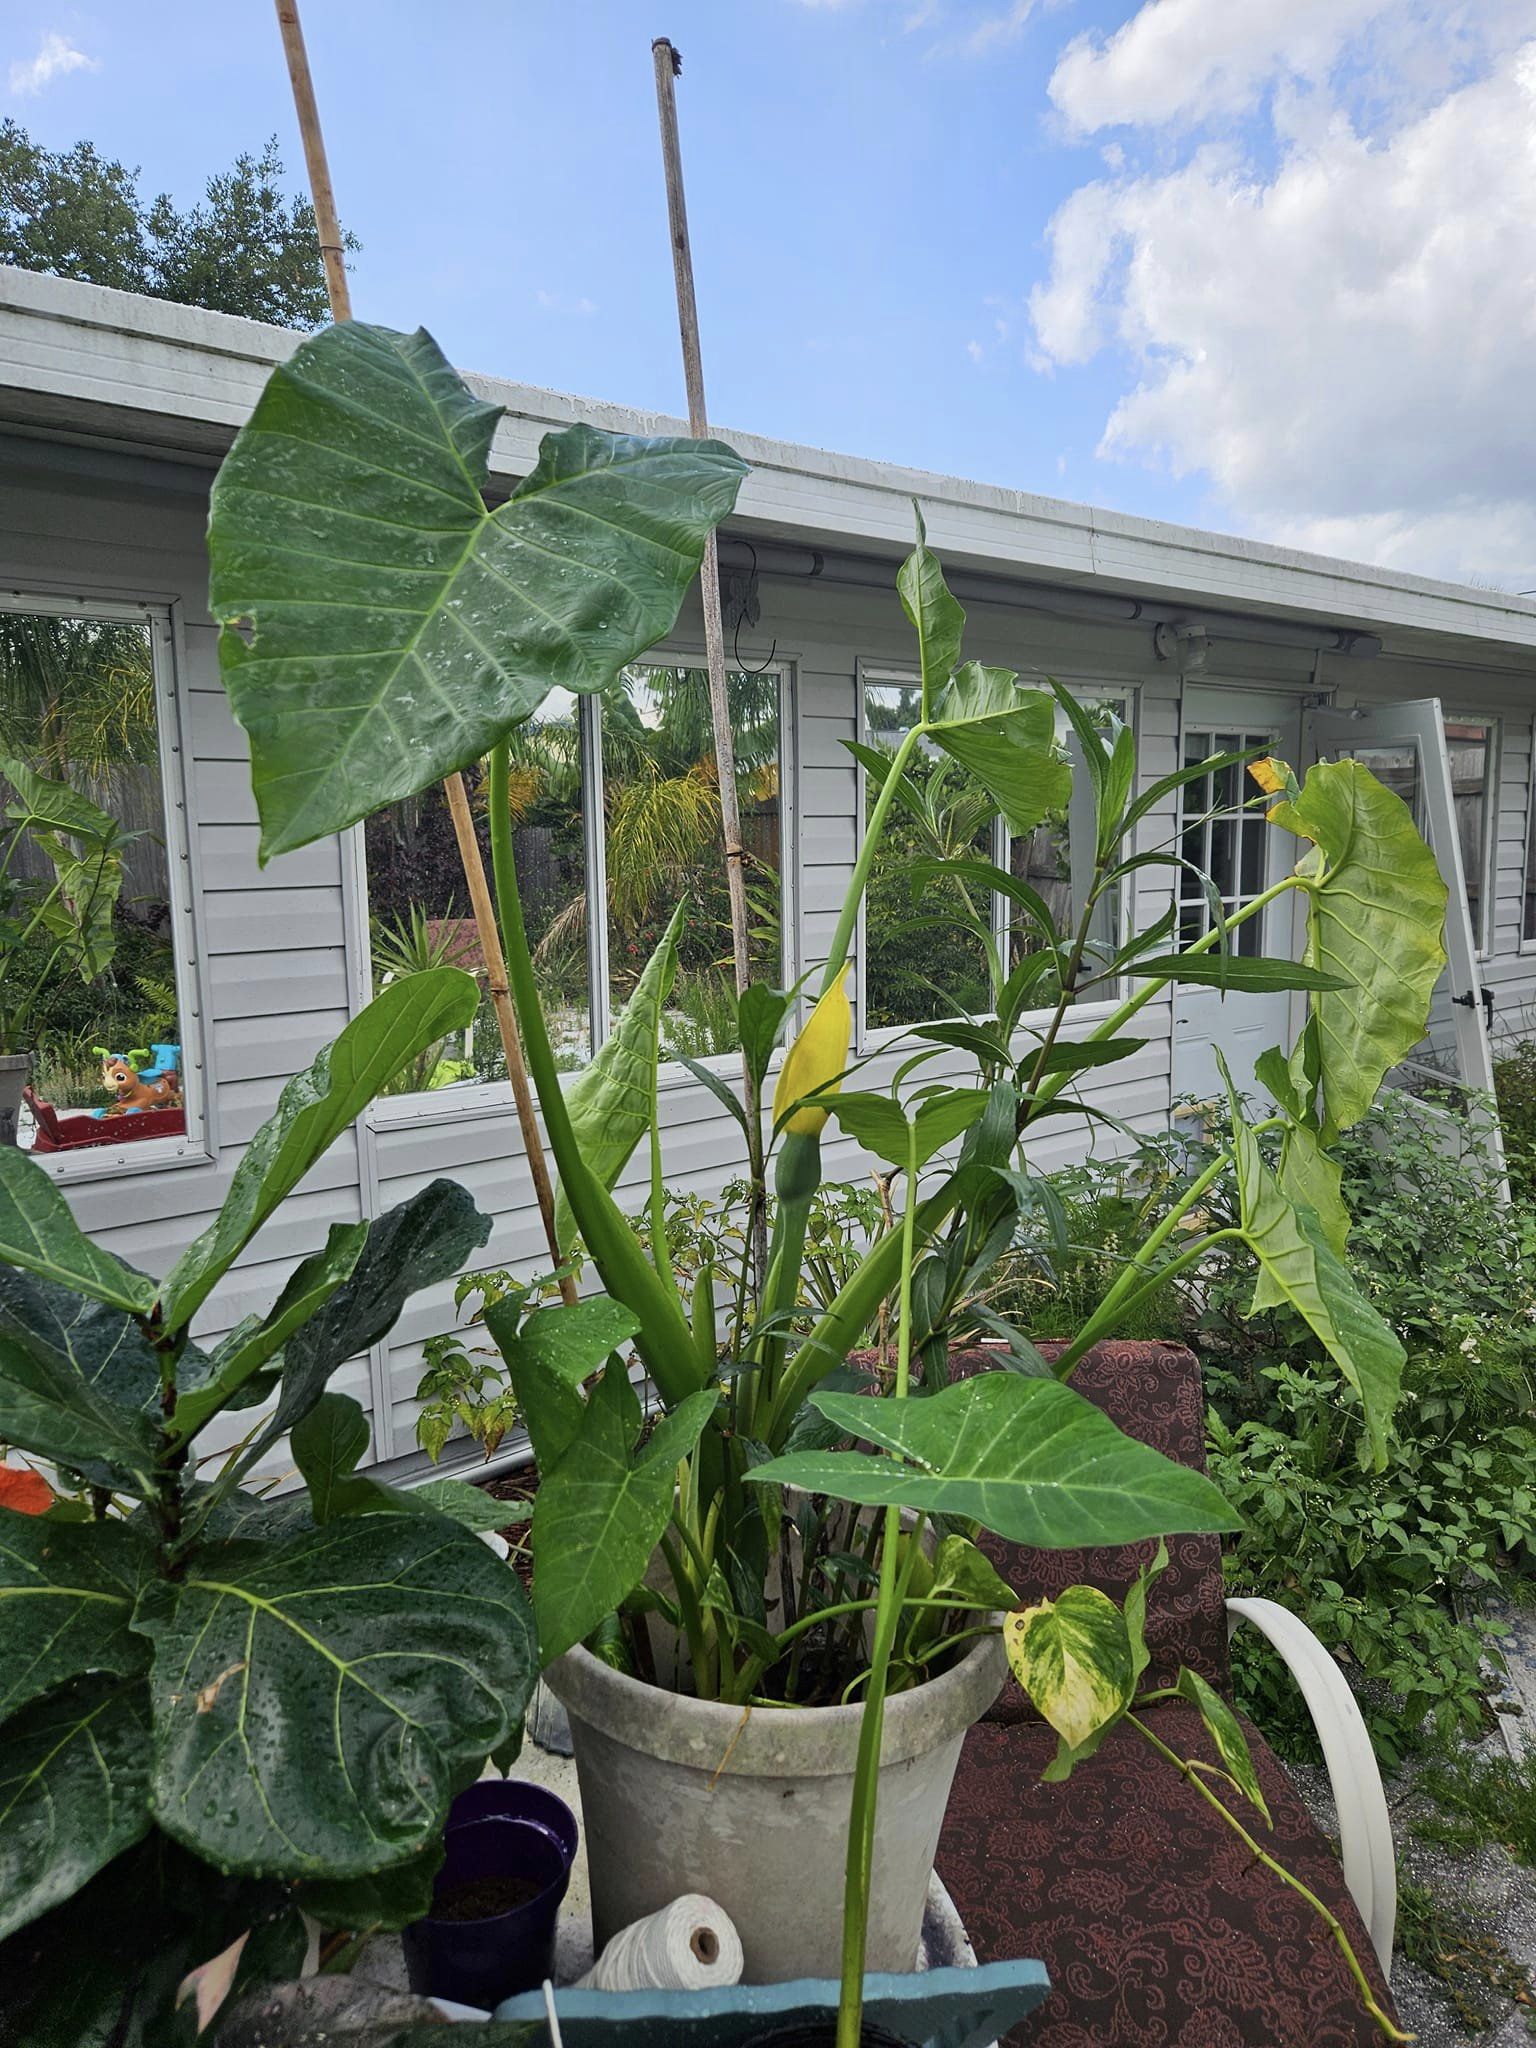
Elephant ear plants, with their colossal, heart-shaped leaves, are the embodiment of tropical grandeur. Their presence in a room instantly conjures images of lush jungles and vibrant ecosystems. But bringing this bit of paradise indoors (or outdoors) doesn’t require a degree in botany. With a little know-how, even a complete beginner can cultivate these magnificent plants and witness their majestic growth.
Unveiling the Allure
Elephant ear plants, also known as alocasias, come in a stunning array of varieties. Some boast deep, velvety green leaves, while others are splashed with vibrant purple or silver markings. The textural variations are just as impressive, with some leaves sporting a glossy sheen and others flaunting a delightfully crinkled surface. Regardless of the chosen variety, all elephant ears share a common trait: the ability to transform any space into a captivating oasis.
Choosing Your Regal Companion
The first step on your elephant ear adventure is selecting the perfect plant for your environment. Here’s a breakdown of some popular varieties to consider:
- Alocasia Sanderiana (Silver Dragon): This compact variety features stunning silver veining against deep green foliage, making it ideal for tabletops or shelves.
- Alocasia Zebrina (Zebra Plant): With bold, zebra-like stripes decorating its leaves, this conversation-starting plant thrives in bright, indirect light.
- Alocasia Macrorhiza (Giant Taro): As the name suggests, this variety boasts colossal, emerald green leaves that can reach up to 3 feet in length, perfect for making a dramatic statement.
Things to Consider When Choosing:
- Light: Most elephant ears prefer bright, indirect sunlight. Avoid harsh, direct sun, which can scorch the leaves.
- Size: Consider the mature size of the plant and choose one that complements your designated space.
- Toxicity: Elephant ear plants are toxic to pets and humans if ingested. Keep them out of reach if you have curious furry or little friends at home.
Building a Throne Fit for Royalty
Now that you’ve chosen your elephant ear companion, it’s time to create the perfect environment for it to flourish.
Potting Perfection:
- Pot Size: Opt for a pot with drainage holes that’s slightly larger than the plant’s root ball. This allows for proper drainage and future growth.
- Soil Selection: A well-draining, aerated potting mix is key. Look for one specifically formulated for alocasias or African violets.
- Planting Process: Gently loosen the roots of your elephant ear and place it in the pot. Fill the remaining space with potting mix, ensuring the crown (the area where the leaves emerge from the soil) sits slightly above the soil line.
Watering Your Majesty Wisely
Elephant ears, hailing from tropical regions, crave consistent moisture. However, overwatering is their kryptonite and can lead to root rot. Here’s how to strike the perfect balance:
- The Finger Test: Stick your finger into the soil about an inch deep. If it feels dry, it’s watering time. If it feels moist, wait a few days before checking again.
- Water Wisely: Water deeply until water trickles out of the drainage holes. Discard any water that accumulates in the saucer to prevent root rot.
- Humidity Matters: Elephant ears love humidity. Mist the leaves regularly, especially during dry spells or winter months. Alternatively, group your elephant ear plant with other humidity-loving plants or use a pebble tray filled with water near the pot.
Feeding the Royal Appetite
During the growing season (spring and summer), elephant ears benefit from a light feeding every two to four weeks. A balanced fertilizer diluted to half strength is ideal. Avoid overfertilizing, as this can damage the plant.
Keeping Your Regal Companion Happy
With proper care, your elephant ear plant will reward you with years of vibrant foliage. Here are some additional tips to ensure its continued reign:
- Temperature: Maintain a comfortable room temperature between 65-80°F (18-27°C).
- Pruning: Regularly remove any yellowing or damaged leaves to promote healthy growth.
- Dealing with Pests: Elephant ears are generally pest-resistant. However, if you notice mealybugs or aphids, treat them with an insecticidal soap solution.
Witnessing Majesty Unfold
Growing elephant ear plants is a rewarding experience. Witnessing their majestic leaves unfurl and their vibrant colors come alive is a testament to the power of nurturing a little piece of nature. So, with a little TLC and this handy guide, can be the custodian of your own personal tropical paradise.
The Royal Treatment in Winter
While elephant ears thrive in warm weather, they might require some adjustments during the cooler months. Here’s how to ensure your plant continues to reign supreme:
- Light: As days shorten, supplement natural light with grow lights to maintain at least 8 hours of bright, indirect light per day.
- Watering: Reduce watering frequency as the soil dries out more slowly in cooler temperatures.
- Humidity: Maintaining humidity remains crucial during winter. Continue misting the leaves regularly or use a humidifier.
- Dormancy: Some elephant ear varieties enter a dormant state in winter. This means reduced growth and possibly some leaf loss. Don’t panic! Reduce watering further and wait for new growth to appear in spring.
Propagation: Sharing the Majesty
Once your elephant ear plant flourishes, you might want to share its magnificence. Luckily, propagation is relatively simple. Here are two common methods:
- Division: Carefully remove your plant from its pot and divide the rhizomes (thick, underground stems) with a sharp knife. Each section with a growth bud can be potted individually.
- Corms: Some elephant ear varieties produce corms (bulb-like structures) at the base of the plant. Gently remove the corms, pot them in a well-draining mix, and keep them moist until new growth emerges.
