Green bean varieties come in two main climbing styles: bush beans and pole beans. Bush beans are compact and self-supporting, perfect for smaller pots. Pole beans, on the other hand, are vigorous climbers that require a trellis or stake for support. Here’s a breakdown to help you pick your perfect bean buddy:
- Bush Beans: Ideal for container novices, these space-saving plants grow to a manageable 18-24 inches tall. Popular choices include ‘Blue Lake’, known for its long, tender pods, and ‘Contender’, a prolific producer with excellent disease resistance.
- Pole Beans: These climbing champions, reaching heights of 6-8 feet, are perfect for maximizing vertical space. ‘Kentucky Wonder’ is a classic pole bean, beloved for its long, juicy pods, while ‘Scarlet Runner’ boasts stunning scarlet flowers alongside its delicious beans.
This post may have affiliate links. This means that sometimes when you click a link on our site and make a purchase on Amazon, we may earn a small commission at no additional cost to you. We only recommend products we truly believe in, and your support helps keep us running!
Preparing Your Potting Canvas: A Haven for Bean Dreams

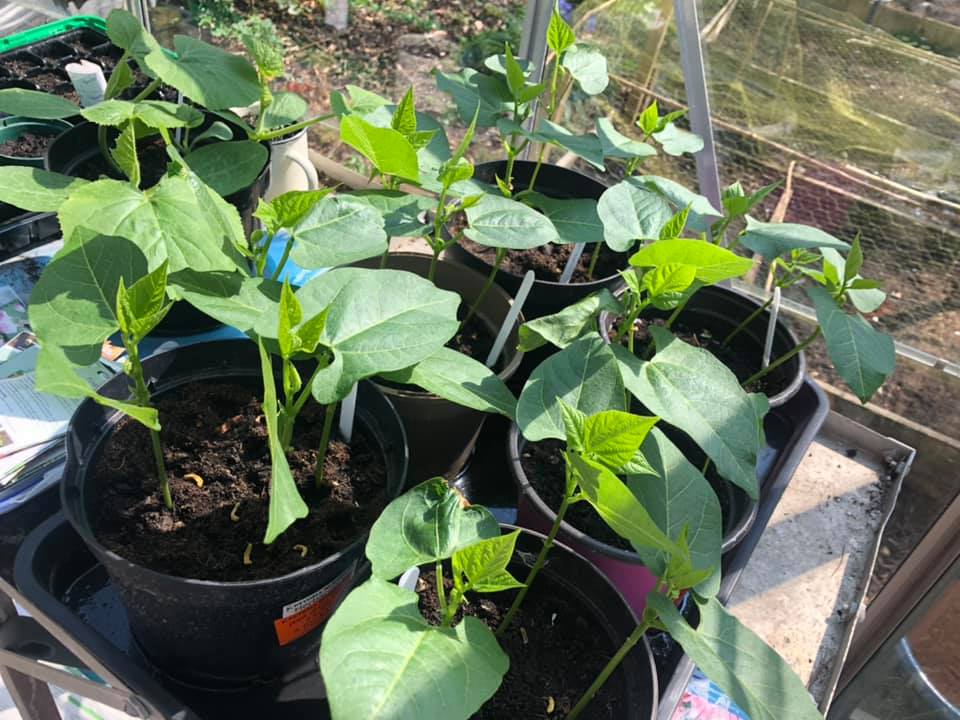
Now that you’ve chosen your green bean partner, it’s time to create their ideal growing environment.
- Selecting the Perfect Pot: Size matters! For bush beans, a pot that’s at least 12-15 inches in diameter and depth will suffice. Pole beans, with their ambitious vining nature, crave a larger pot – think 18 inches or more in diameter and depth. Opt for pots with drainage holes to prevent waterlogging, which can harm your delicate seedlings.
- Crafting the Perfect Potting Mix: Green beans thrive in well-draining, fertile soil. Here’s a winning recipe: Combine two-thirds high-quality potting mix with one-third compost. The potting mix provides a lightweight base, while the compost adds essential nutrients and helps retain moisture.
Pro Tip: Moisten your potting mix before filling the pot. This ensures even hydration and prevents air pockets that can hinder root development.
Planting Your Bean Seeds: Sowing the Seeds of Success
With your pot prepped, it’s time to sow the seeds of your green bean bounty:
- Planting Time: Patience is key! Wait until all danger of frost has passed before planting your beans. In most regions, this falls between mid-spring to early summer. Aim for soil temperatures between 70-80°F (21-27°C) for optimal germination.
- Seeding Depth and Spacing: Gently push each bean seed 1 inch deep into the moistened potting mix. For bush beans, space seeds 2-3 inches apart. Pole beans require a bit more elbow room; space them 4-5 inches apart.
- Watering Wisely: After planting, give your pot a gentle watering to settle the soil around the seeds. Aim to keep the soil consistently moist, but not soggy. Water deeply when the top inch of soil feels dry to the touch.
Sprouting Secrets: Placing a clear plastic bag loosely over the pot to create a mini greenhouse can help retain moisture and promote germination. Keep an eye on your seeds – they should germinate within 7-10 days. Once sprouts emerge, remove the plastic bag to allow for proper air circulation.
Nurturing Your Potted Paradise: Sunshine, Support, and TLC
With your green bean seedlings breaking ground, here’s how to ensure they thrive:
- Sun-Sational Location: Green beans are sun worshippers! Locate your pot in a spot that receives at least 6-8 hours of direct sunlight daily. This will encourage strong plant growth and abundant bean production.
- Trellis Time (For Pole Beans Only): As your pole bean seedlings mature, they’ll need support for their climbing antics. Install a trellis or stake in your pot before planting. Gently train the vining tendrils of your bean plants to wrap around the support as they grow.
- Feeding Frenzy (Optional): While not strictly necessary, a light feeding with a balanced fertilizer every few weeks can give your green bean plants an extra nutritional boost. Opt for a fertilizer formulated for vegetables, following the package instructions for dilution and application.
Mulch Magic: Apply a layer of organic mulch, like straw or shredded leaves, around the base of your plants. This helps retain moisture, suppress weeds, and regulate soil temperature.
Harvesting Your Homegrown Green Beans
- Pod Perfection: Look for plump, firm pods that snap easily when broken. The ideal size depends on the variety – for bush beans, aim for pods that are 4-6 inches long, while pole beans can reach 8-10 inches.
- Color Cues: Green beans come in various shades of green, but the color should be vibrant and uniform. Avoid pods with yellowing or browning, which can indicate age or disease.
- Freshness First: Harvest your green beans regularly, ideally every other day when the plants are in their prime production phase. This encourages continued flowering and pod production. Use a sharp knife or pruning shears to snip the pods from the stem, leaving a small nub attached to the plant.
Bonus Tip: Regularly picking your beans not only keeps them fresh but also sends a signal to the plant to produce more!
Extending the Bounty: Troubleshooting and Keeping Your Potted Paradise Thriving
Even the most dedicated bean gardener might encounter a few hiccups. Here’s how to identify and address some common challenges:
- Yellowing Leaves: This could indicate several issues, including overwatering, underwatering, or nutrient deficiency. Check the moisture level of your soil and adjust your watering habits accordingly. If the problem persists, consider a light feeding with a balanced fertilizer.
- Stunted Growth: Lack of sunlight or insufficient nutrients can cause stunted growth. Ensure your plants receive adequate sunlight and consider a light feeding if necessary.
- Pests and Diseases: Keep an eye out for common garden pests like aphids or bean beetles. For organic control, you can try spraying the plants with insecticidal soap or neem oil. Fungal diseases can also affect beans. If you notice signs like powdery mildew, remove infected leaves and improve air circulation around the plants.
Companion Planting Power: Consider planting herbs like basil or marigolds near your green beans. These companion plants can help deter certain pests and create a more diverse and healthy ecosystem in your pot.
The Final Harvest and Beyond: Savoring Your Success and Planning for the Future
As the season progresses, your green bean production may slow down. Once the pods become tough or fibrous, it’s time to call it a harvest for this season. You can now enjoy the fruits (or rather, vegetables) of your labor!
Seed Saving for Future Bounty: If you’d like to continue the green bean legacy, you can save seeds from your mature plants. Allow a few pods to dry completely on the vine. Once the pods are brittle and brown, extract the dried beans and store them in a cool, dry place for planting next season.
Pot Repurposing: Once the bean season is over, you can use the same pot for planting other vegetables like lettuce, spinach, or herbs during the cooler months. Simply refresh the potting mix by removing the old soil and replacing it with fresh mix before planting your new crop.
With a little planning and care, you can cultivate a thriving potful of green beans right on your balcony or windowsill. So, grab your seeds, get potting, and enjoy the satisfaction of bringing fresh, delicious green beans to your table!