Imagine this: you’re whipping up a refreshing summer salad, and just before serving, you reach for a fragrant herb to add a touch of sunshine. But instead of rushing to the grocery store, you simply snip a few vibrant leaves from a flourishing plant right on your windowsill. That plant? The lovely lemon balm, and cultivating it indoors is easier than you might think!
This cheerful little herb boasts not only a delightful lemon scent but also a cascade of health benefits. From soothing teas to calming aromatherapy, lemon balm can be your one-stop shop for a touch of tranquility indoors. So, how do we unlock the secrets to nurturing this fragrant friend? Let’s show you the secret of growing lemon balm indoors!
Finding Your Perfect Lemon Balm Match
There are two main ways to embark on your lemon balm adventure: starting from seeds or acquiring a young plant.
- Seed Sowing: For the patient gardener, starting from seeds offers a sense of accomplishment as you witness the entire life cycle of your lemon balm. Look for organic lemon balm seeds at your local nursery or online retailer. Here’s a pro-tip: soaking the seeds in warm water for 24 hours before planting can encourage faster germination.
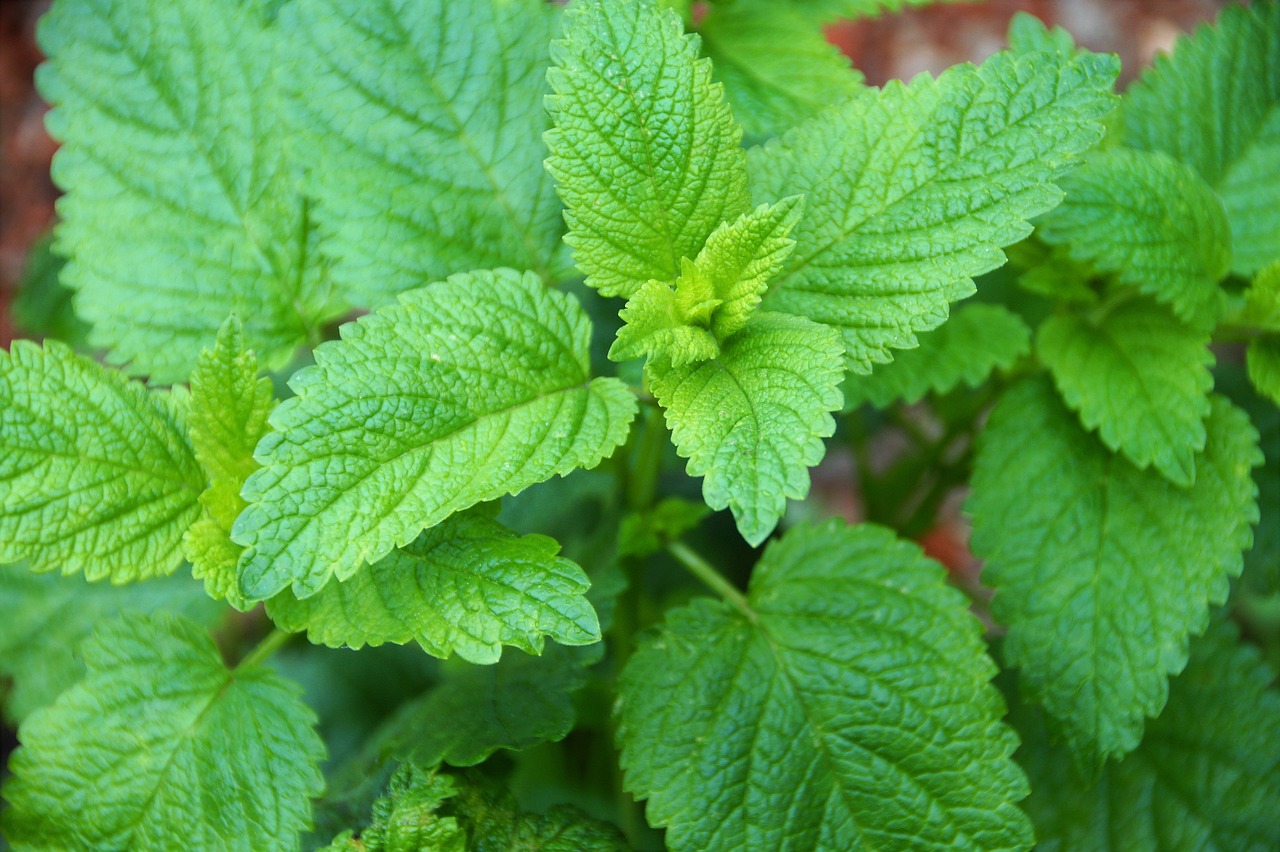
- Plant Purchase: If you’re eager to get your lemony fix quickly, purchasing a young lemon balm plant is the way to go. Look for healthy plants with vibrant green leaves and sturdy stems at your local garden center or grocery store.
Setting the Stage for Success
Now that you have your lemon balm companion, it’s time to create the perfect environment for it to thrive indoors.
- Light It Up: Lemon balm is a sun-worshipper! Aim for at least 6-8 hours of bright, indirect sunlight daily. A south-facing window is ideal, but an east or west-facing one can work too, with some adjustments. If direct sunlight gets too harsh in the afternoon, consider using a sheer curtain to diffuse the light.
- Pottery Paradise: Choose a pot with good drainage holes. Plastic or ceramic pots both work well. The size of the pot depends on your desired harvest. For a single plant, a 6-inch pot is sufficient, but if you plan on harvesting frequently, consider an 8-inch or even a 10-inch pot to allow for ample growth.
- Soil Sensations: Lemon balm thrives in well-draining, slightly moist soil. Opt for a good quality, organic potting mix. You can even create your own by combining equal parts potting soil, perlite (for drainage), and compost.
Planting and Pampering Your Lemon Balm
Once you have your chosen method (seeds or plant), lighting situation, and pot ready, it’s time to get your hands dirty!
- Seeding Symphony: If you opted for seeds, fill your pot with the potting mix, leaving about ½ inch of space at the top. Sow the seeds thinly on the surface, gently pressing them into the soil. Lightly mist the soil with water and cover the pot with a clear plastic bag to create a mini greenhouse effect. Place the pot in a warm location (around 70°F) with indirect sunlight. Keep the soil moist but not soggy. Germination should occur within 10-14 days. Once the seedlings have sprouted two sets of true leaves, remove the plastic bag and thin the seedlings to leave the strongest ones, spaced about 4-6 inches apart.
- Transplanting Tranquility: If you purchased a young plant, simply transfer it to your chosen pot, ensuring the root ball sits slightly above the soil level. Fill the remaining space with potting mix and gently pat it down to secure the plant. Water thoroughly until water runs out the drainage holes.
Watering Wisdom
Lemon balm enjoys consistently moist soil, but never soggy. Here’s how to strike the perfect balance:
- The Finger Test: Stick your finger into the soil about an inch deep. If it feels dry to the touch, it’s time to water. If it feels moist, hold off for a day or two.
- Watering Woes: Avoid overwatering, as this can lead to root rot. It’s better to underwater slightly than to drown your lemon balm!
- Drainage Matters: Ensure your pot has good drainage to prevent water from pooling around the roots.
Fertilizing for Flourishing
While lemon balm isn’t a heavy feeder, a light feeding every few weeks during the growing season can encourage lush growth. Opt for a balanced, organic liquid fertilizer diluted according to the package instructions.
Snip, Sip, and Savor
The best part about growing lemon balm indoors? The endless harvest! Here’s how to enjoy the fruits (or rather, leaves) of your labor:
- Harvesting Happiness: You can begin harvesting lemon balm leaves once the plant reaches about 6 inches in height. Pinch off individual leaves or snip entire stems using sharp pruners. Remember, the more you harvest, the bushier your plant will become. Aim to harvest no more than one-third of the plant at a time to allow for continued growth.
- Culinary Creations: Fresh lemon balm leaves elevate a variety of dishes. Steep them in hot water for a calming lemon balm tea, use them to infuse refreshing summer cocktails, or add a touch of citrusy zest to salads, soups, and stews. Lemon balm pairs beautifully with chicken, fish, and vegetables.
- Drying Delights: If you have a surplus of lemon balm, consider drying it for later use. Wash the leaves gently and pat them dry. Bundle them together loosely and hang them in a cool, dark, well-ventilated area. Alternatively, use a dehydrator set to the lowest temperature setting. Once the leaves are completely dry and crumble easily, store them in an airtight container in a cool, dark place. Dried lemon balm retains its wonderful lemony aroma for several months.
Maintaining Your Mini Lemon Oasis
With a little TLC, your lemon balm can thrive indoors for years to come. Here are some key maintenance tips:
- Pruning Power: Regularly pinching off flower buds encourages bushier growth and promotes a longer period of leaf production. You can also prune leggy stems to maintain a compact shape.
- Repotting Rhythms: As your lemon balm matures, it might outgrow its current pot. Signs to watch for include roots circling the pot’s drainage holes or stunted growth. Repot every 1-2 years into a pot one size larger, using fresh potting mix.
- Winter Woes: During winter, when daylight hours decrease, your lemon balm might experience slower growth. You can supplement with grow lights to maintain optimal light levels (around 6 hours daily). Reduce watering frequency as well, as the plant’s needs will decrease in the colder months.
Troubleshooting Tips
Even the most dedicated plant parent might encounter occasional challenges. Here’s how to address some common lemon balm problems:
- Brown Leaves: This could be a sign of underwatering, overwatering, or insufficient light. Check your watering habits and ensure the plant receives enough indirect sunlight.
- Leggy Growth: This typically indicates a lack of light. Move your lemon balm to a brighter location.
- Pests: Aphids and spider mites can be occasional visitors on lemon balm. You can address them with organic methods like insecticidal soap spray or neem oil.
Beyond the Kitchen: The Many Benefits of Lemon Balm
Lemon balm isn’t just a delightful culinary companion; it boasts a range of potential health benefits as well. Studies suggest it may aid in relaxation, promote better sleep, and even alleviate symptoms of anxiety. While these claims require further research, incorporating lemon balm into your routine can certainly add a touch of tranquility to your day.
So, are you ready to embark on your lemon balm adventure? With a little planning and care, you can cultivate a fragrant oasis indoors and enjoy the refreshing taste and potential health benefits of this delightful herb year-round. From calming teas to zesty culinary creations, the possibilities are endless!