Peonies, with their voluminous blooms and intoxicating fragrance, have captivated gardeners for centuries. These symbols of wealth, prosperity, and good fortune add a touch of grandeur to any garden. But coaxing these beauties to their full potential requires a touch of knowledge and a sprinkle of TLC. This guide unveils the secrets to cultivating magnificent peonies, transforming your garden into a haven of intoxicating fragrance and opulent blooms.
This post may have affiliate links. This means that sometimes when you click a link on our site and make a purchase on Amazon, we may earn a small commission at no additional cost to you. We only recommend products we truly believe in, and your support helps keep us running!
Planting the Seeds Of Peony
Selecting the Perfect Peony
The peony kingdom boasts a diverse array of varieties, each boasting unique characteristics. Do you crave the classic elegance of a double-flowered peony? Or perhaps the whimsical charm of a single bloom with a central boss of stamens? Consider these factors when selecting your peonies:
- Bloom type: Double, single, anemone, or Japanese.
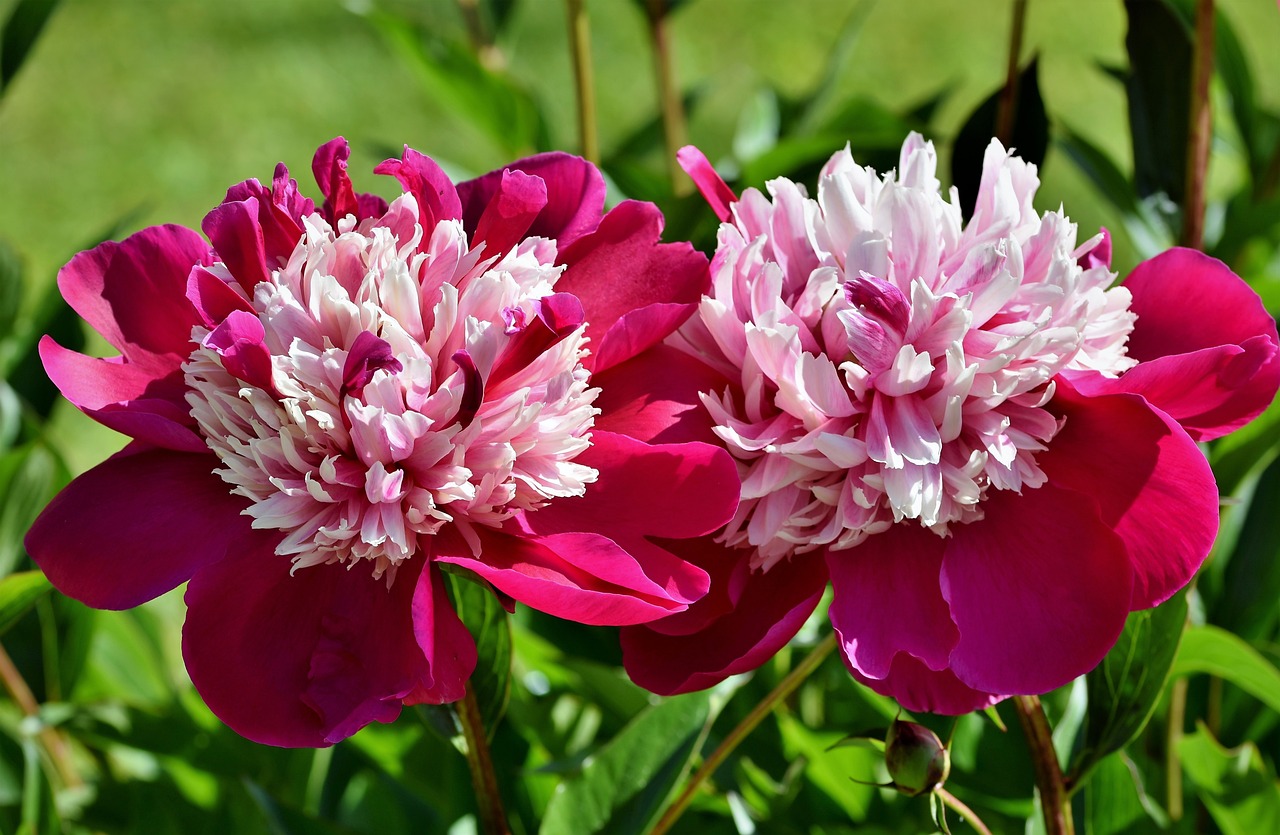
- Color palette: Peonies grace your garden in a spectrum of hues from soft blush to deepest crimson, with bi-colored varieties adding a touch of whimsy.
- Maturity height: Choose varieties that complement the existing structure of your garden.
Sunshine and Soil: The Perfect Balance
Peonies thrive in a location receiving 5-6 hours of direct sunlight daily. However, afternoon shade in hot climates can be beneficial. They favor well-drained, fertile soil with a slightly acidic pH (around 6.5-7.0), check the pH of your soil before planting. Amending the soil with compost or aged manure before planting creates an environment conducive to robust growth and spectacular blooms.
Planting Pointers:
The ideal time for planting peonies is in the fall, around 6-8 weeks before the ground freezes. Here’s a step-by-step guide:
- Dig a hole two to three times wider and deeper than the root ball of your peony.
- Gently loosen the compacted soil at the bottom of the hole to encourage root growth.
- Place the peony in the hole, ensuring the “eyes” (buds) are no more than 1-2 inches below the soil surface.
- Backfill the hole with amended soil, tamping gently to remove air pockets.
- Water thoroughly to ensure good soil-to-root contact.
First-Year Care :
Your newly planted peony will require consistent moisture, particularly during its first year. Water deeply at the base of the plant once or twice a week, depending on weather conditions. Avoid overwatering, as this can lead to root rot. Mulching around the base of the plant helps retain moisture and regulate soil temperature. Resist the urge to see blooms in the first year. Allowing the plant to focus on establishing a strong root system will ensure a dazzling display in years to come.
Nurturing Your Peony Paradise
The Art of Watering:
Mature peonies are relatively drought-tolerant, but consistent moisture during the growing season is crucial for optimal bloom production. Aim to water deeply once a week, soaking the soil thoroughly. Be mindful of overhead watering, as this can promote fungal diseases. Focus on watering the base of the plant instead.
Feeding for Flourishing Blooms:
A balanced fertilizer applied in early spring provides peonies with the essential nutrients needed for abundant blooms. Look for a fertilizer specifically formulated for flowering plants, following the application instructions carefully. Avoid over-fertilizing, as this can lead to excessive foliage growth at the expense of blooms.
Staking for Support:
As peony blooms mature, their sheer weight can cause the stems to bend or even break. To prevent this, consider staking your peonies. Here are a few staking options:
- Cage method: Encircle the peony plant with a wire cage as it begins to grow.
- Single stake method: Use a sturdy stake placed near the center of the plant and secure the stems loosely with twine as the blooms develop.
- Ring method: Create a ring of support using wire or rebar placed around the plant and secure the stems as needed.
The Importance of Deadheading :
Once the peony blooms start to fade, remove the spent flowers by carefully snipping the stem just below the wilted bloom. Deadheading not only improves the aesthetics of the plant but also encourages the production of new buds for future seasons. Additionally, deadheading prevents the plant from directing its energy towards seed production, ensuring a more robust display in the following year.
Winter’s Embrace: Protecting Your Peony Patch
As winter approaches, peonies enter a period of dormancy. To protect your precious plants:
- Cut back foliage: Once the foliage has died back and turned brown, cut it back to ground.
- Mulch Matters: Apply a 2-3 inch layer of organic mulch, such as shredded bark or compost, around the base of the peonies. This winter blanket protects the roots from harsh temperatures and helps retain moisture in the spring.
- Beware the Critters: Unfortunately, some animals, like rabbits and deer, find peony foliage quite tasty. To deter these furry foragers, consider using a commercially available animal repellent or fencing around your peony patch.
The Joys of Division: Propagating Your Peony Paradise
Peonies are known for their longevity, gracing your garden for decades with minimal care. However, over time, they can become overcrowded and produce fewer blooms. Division, the process of separating a mature peony plant into multiple new plants, offers a solution. The ideal time for division is in the fall, after the foliage has died back. Here’s a basic guide:
- Carefully dig up the entire peony plant using a shovel.
- Using a sharp knife or pruner, gently separate the root crown into sections, ensuring each division has at least 3-5 healthy eyes.
- Replant each division following the planting pointers outlined earlier.
A Word of Caution: Dividing peonies can be stressful for the plant, so it’s best not to attempt this on newly planted peonies or those less than five years old. Additionally, be mindful that it may take a few years for divided peonies to re-establish themselves and produce blooms again.
Troubleshooting Common Peony Problems
While peonies are relatively low-maintenance plants, they can occasionally encounter some challenges. Here’s a look at some common peony problems and their solutions:
- Botrytis Blight: This fungal disease manifests as grey mold on buds and flowers. Good air circulation and avoiding overhead watering can help prevent this issue. If botrytis blight does occur, remove affected flowers and dispose of them away from your peony patch.
- Ants: Ants are attracted to the sweet nectar produced by peony flowers. While they’re not necessarily harmful, they can deter beneficial pollinators. Using an insecticidal soap or a natural deterrent like diatomaceous earth can help keep ant populations in check.
- No Blooms: This can be caused by several factors, including planting the eyes too deep, insufficient sunlight, or lack of nutrients. Ensure proper planting depth, provide adequate sunlight, and fertilize appropriately to encourage blooms.
The Enduring Allure of Peonies
With a little knowledge and care, you can cultivate a magnificent peony paradise, one that erupts in a dazzling display of color and fragrance year after year. From the delicate grace of single blooms to the opulent fullness of double-flowered varieties, peonies offer a timeless elegance that will transform your garden into a haven of beauty. So, get your hands dirty, plant some peonies, and witness the magic of these captivating flowers unfold in your own backyard.