There’s something undeniably rewarding about nurturing a plant from seed to harvest, watching it transform from a tiny sprout into something substantial and delicious. Growing your own vegetables offers a sense of accomplishment, a deeper connection to your food, and the satisfaction of knowing exactly what went into its growth.
But what if you don’t have a sprawling backyard or a dedicated garden patch? Fear not, urban gardeners and balcony enthusiasts! Potatoes, versatile and delicious, thrive in surprisingly compact spaces, making them ideal candidates for container gardening. In fact, with a touch of creativity and the right approach, you can cultivate a flourishing potato patch right in your own wooden box.
Building Your Miniature Potato Patch:
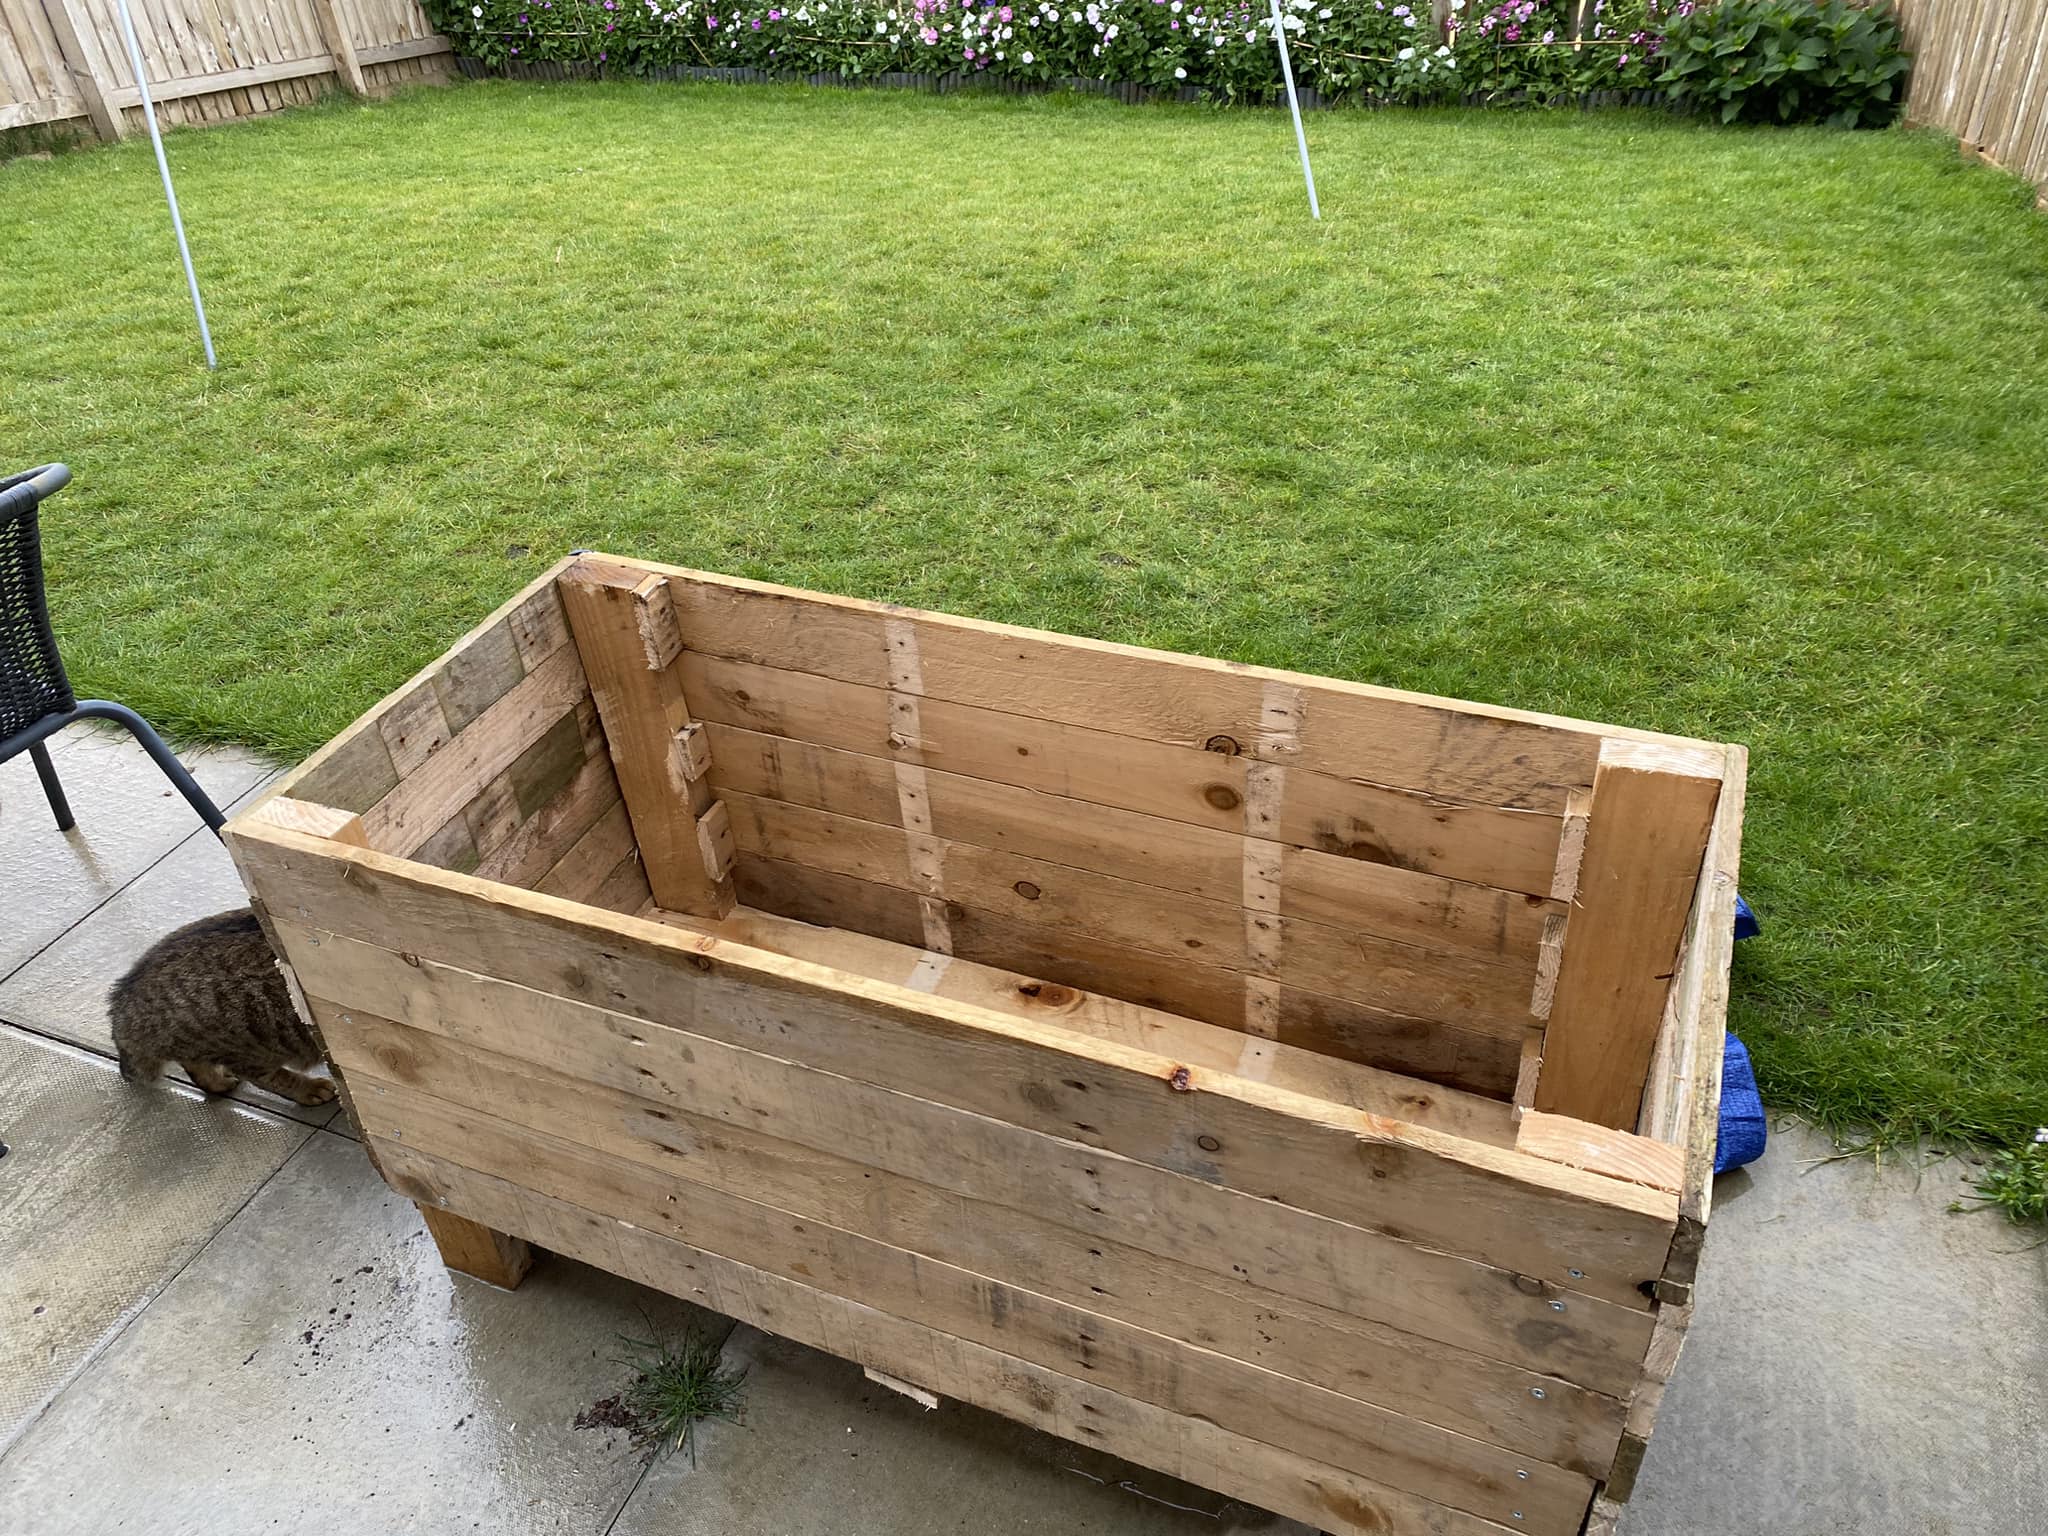
Choosing the Right Box:
The first step in your potato box adventure is selecting the perfect container. Opt for a sturdy, well-constructed wooden box with a minimum depth of 12 inches and a width of at least 24 inches. Ensure the box has drainage holes at the bottom to prevent waterlogging, which can damage your potatoes. Consider treating the interior of the box with a food-safe sealant if using untreated wood.
Preparing the Soil:
Potatoes appreciate loose, well-draining soil. Fill your box with a high-quality potting mix specifically formulated for vegetables. You can also create your own mix by combining equal parts compost, garden soil, and coarse sand. This combination provides good drainage, aeration, and the nutrients your potatoes need to thrive.
Selecting Seed Potatoes:
Seed potatoes, also known as potato eyes, are small pieces of potato containing “eyes” or buds from which new plants sprout. Choose certified seed potatoes from a reputable source, as these are disease-free and optimized for yielding a good harvest.
Planting Your Sprouts:
Before planting, “chit” your seed potatoes by placing them in a cool, well-lit location for a few weeks. This encourages the development of small shoots and roots, giving your plants a head start. Once the shoots are about an inch long, it’s time to plant!
- Add a layer of potting mix to the bottom of your box, approximately 3-4 inches deep.
- Place your seed potatoes, eye-side up, evenly spaced on the soil surface.
- Gently cover the potatoes with another 2-3 inches of potting mix.
Nurturing Your Potato Patch:
Watering:
Potatoes require consistent moisture, but avoid overwatering, as this can lead to rot. Water your potato box deeply and regularly, allowing the top inch of soil to dry out slightly between waterings.
Sunlight:
Potatoes are sun-loving plants. Aim for at least 6-8 hours of direct sunlight each day for optimal growth. If space is limited, consider placing your box on casters to follow the sun’s path throughout the day.
Feeding:
Once your potato plants reach about 6 inches tall, you can begin feeding them a balanced fertilizer formulated for vegetables. Apply the fertilizer according to the manufacturer’s instructions, being mindful not to over-fertilize, which can negatively affect the taste of your potatoes.
Hilling:
As your potato plants grow taller, gently pile additional potting mix around the base of the stems, creating small mounds. This process, called hilling, encourages the development of additional tubers underground, ultimately leading to a higher yield.
Harvesting the Rewards:
Signs of Maturity:
The timeframe for harvesting your potatoes depends on the variety you planted. However, some general signs indicate it’s time to reap the rewards:
- The potato plants begin to yellow and die back.
- The tops of the tubers are starting to crack through the soil surface.
Digging Up Your Bounty:
Carefully remove the soil from around the base of the plant with a garden fork. Gently unearth the potatoes, being mindful not to bruise them.
Storing Your Harvest:
Brush off any excess soil from your potatoes and store them in a cool, dark, and well-ventilated location. Ideally, aim for a temperature between 40-50°F (4-10°C). These conditions will help them last for several months.
FAQ (Frequently Asked Questions)
Do I need to line the bottom of the wooden boxes?
Yes, it is recommended to line the bottom of the wooden boxes with landscape fabric or a layer of newspaper to prevent soil from escaping through the drainage holes.
What type of soil should I use?
Create a well-draining soil mix by combining equal parts of high-quality potting soil, compost, and perlite or vermiculite. This mixture provides a good balance of nutrients and drainage for the potatoes.
Can I reuse the soil mix in the wooden boxes for the next growing season?
It is recommended to refresh the soil mix before planting in the wooden boxes for subsequent growing seasons. Add fresh compost or organic matter to replenish nutrients and improve soil fertility.