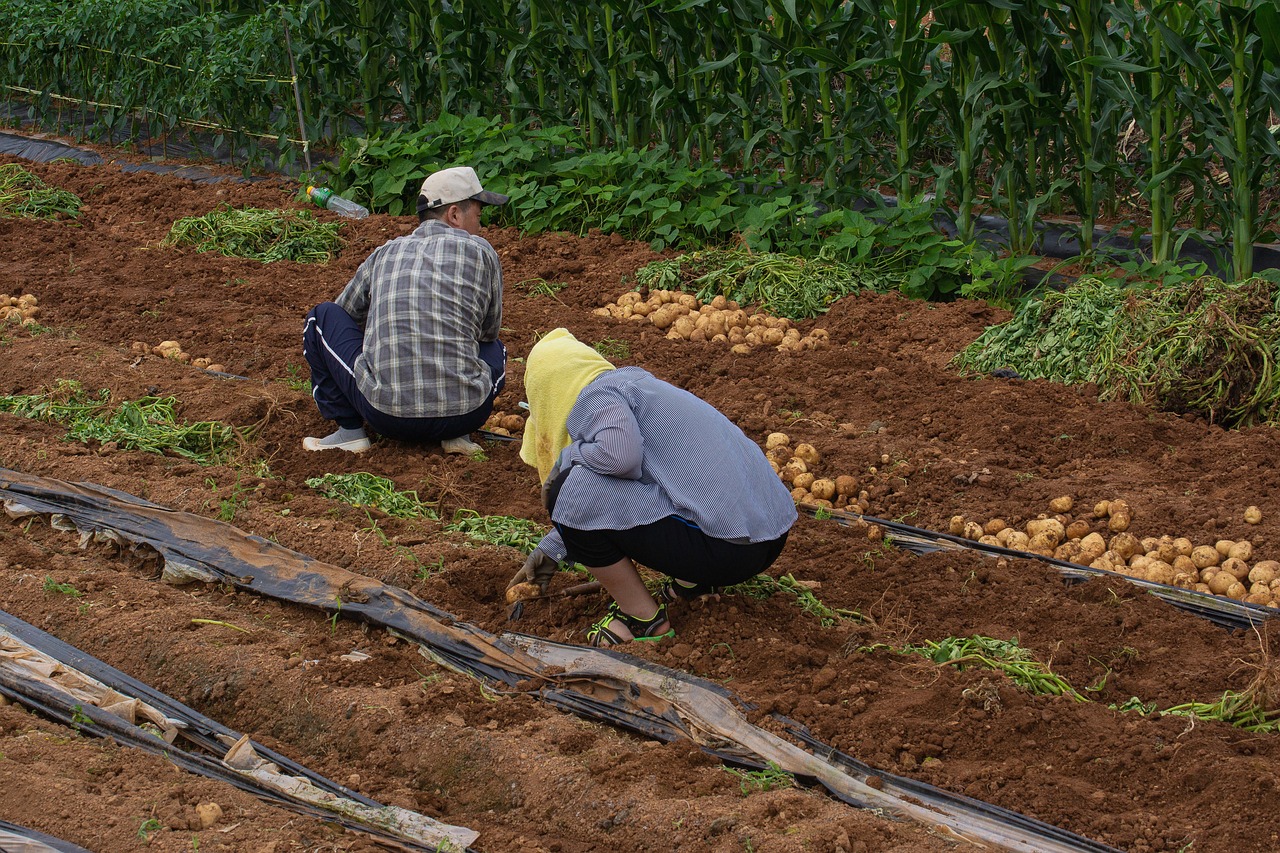
Zone 8 gardeners, rejoice! You’re not confined to just tomatoes and peppers. With a little planning and know-how, you can cultivate a thriving potato patch and enjoy the satisfaction of homegrown spuds. This guide will equip you with the essential tips and tricks to unlock bountiful potato harvests in your Zone 8 garden.
Planting Powerhouse: Choosing the Right Potato for You
Not all potatoes are created equal, especially in the diverse climate of Zone 8. Here’s how to select the perfect potato variety for your success:
- Early vs. Late Season: Zone 8 typically experiences mild winters and hot summers. Consider planting early-season varieties like ‘Norchip’ or ‘Yukon Gold’ for a delicious summer harvest. For a fall bounty, opt for late-season varieties like ‘Russet Burbank’ or ‘King Edward.’
- Heat Tolerance: Opt for heat-tolerant varieties like ‘Red LaSoda’ or ‘Calico Rose’ to withstand the summer warmth and prevent premature bolting (flowering).
Location, Location, Location: Setting the Stage for Spud Success
Choosing the right spot in your garden is crucial for a thriving potato patch. Remember, potatoes are sun-worshippers:
- Sunlight: Select a location that receives at least 6-8 hours of direct sunlight daily.
- Soil: Potatoes prefer loose, well-draining soil rich in organic matter. Amend your soil with compost or aged manure several weeks before planting to create the perfect potato paradise.
- Rotation is Key: To prevent disease and ensure healthy growth, avoid planting potatoes in the same location for consecutive years. Practice crop rotation by planting potatoes where other vegetables like beans or peas grew the previous season.
Planting Perfection: From Seed to Spud
Now that you have your chosen variety and the perfect location, let’s get your potatoes in the ground!
- Seed Selection: Seed potatoes, not culinary potatoes from the grocery store, are the way to go. Look for certified seed potatoes from reputable garden centers, ensuring they are disease-free and true to type.
- Pre-Sprouting (Optional): For an earlier harvest, pre-sprout your seed potatoes by placing them in a cool, well-lit location (around 60°F) with the “eyes” (buds) facing upwards. Allow small sprouts to develop before planting.
- Planting Time: Aim to plant your potatoes 2-4 weeks after the last average frost date in your area. Soil temperature should be consistently above 45°F.
- Planting Technique: Dig trenches 4-6 inches deep, spacing them 2-3 feet apart. Carefully place the seed potatoes eye-side up, spacing them 12-18 inches apart within the trench. Cover the trenches with soil and water thoroughly.
Nurturing Your Sprouts: Growing Tips for Healthy Spuds
Once your potatoes are planted, the nurturing begins! Here are some key steps to ensure healthy growth:
- Watering: Potatoes require consistent moisture, especially during hot and dry periods. Water deeply once or twice a week, allowing the soil to dry slightly between waterings. Avoid overwatering, which can lead to rot.
- Hilling: As your potato plants grow, gently mound soil around the base of the stems (hilling). This encourages the formation of more tubers and protects them from sunlight, preventing greening. Repeat hilling every few weeks as the plants mature.
- Fertilizing: For an extra boost, fertilize your potato plants with a balanced fertilizer once or twice during the growing season. Follow the manufacturer’s instructions for application rates and timing.
Common Spud Enemies: Keeping Pests and Diseases at Bay
Unfortunately, even the most dedicated gardener can encounter challenges. Here are some common potato foes and how to manage them:
- Colorado Potato Beetle: These orange and black striped beetles can wreak havoc on your potato plants. Handpick and remove them, or use insecticidal soap or neem oil for larger infestations.
- Late Blight: This fungal disease can quickly devastate potato plants. Practice good garden sanitation, remove infected plant debris promptly, and consider using copper fungicide as a preventative measure.
Note: Early detection and intervention are key to managing pests and diseases. Regularly monitor your potato patch for signs of trouble and act swiftly to minimize damage.
Harvesting Techniques:
- Timing: Aim to harvest your potatoes on a dry, sunny day. This helps prevent the freshly dug tubers from rotting.
- Tools: Use a digging fork or potato fork to gently loosen the soil around the base of the plant. Carefully remove the potatoes, avoiding any damage to the tubers or remaining healthy plants.
- Sorting and Curing: After harvesting, sort your potatoes. Discard any damaged or diseased ones. Spread the remaining potatoes in a cool, well-ventilated location out of direct sunlight to cure for a week or two. This allows the skins to toughen, improving their storage life.
Storing Your Spudtacular Harvest: Keeping Your Potatoes Fresh
With proper storage, you can enjoy your homegrown potatoes for weeks to come:
- Location: Choose a cool, dark, and well-ventilated location for your potatoes. A root cellar or a cool garage are ideal options.
- Temperature: Ideally, store your potatoes between 40-50°F (4-10°C). Avoid storing them near heat sources or in direct sunlight.
- Moisture: Maintain good air circulation around the potatoes to prevent moisture build-up and potential rot.
- Containers: Store your potatoes in breathable containers like mesh bags, cardboard boxes, or wooden crates. Avoid using plastic bags, as they can trap moisture and accelerate spoilage.
