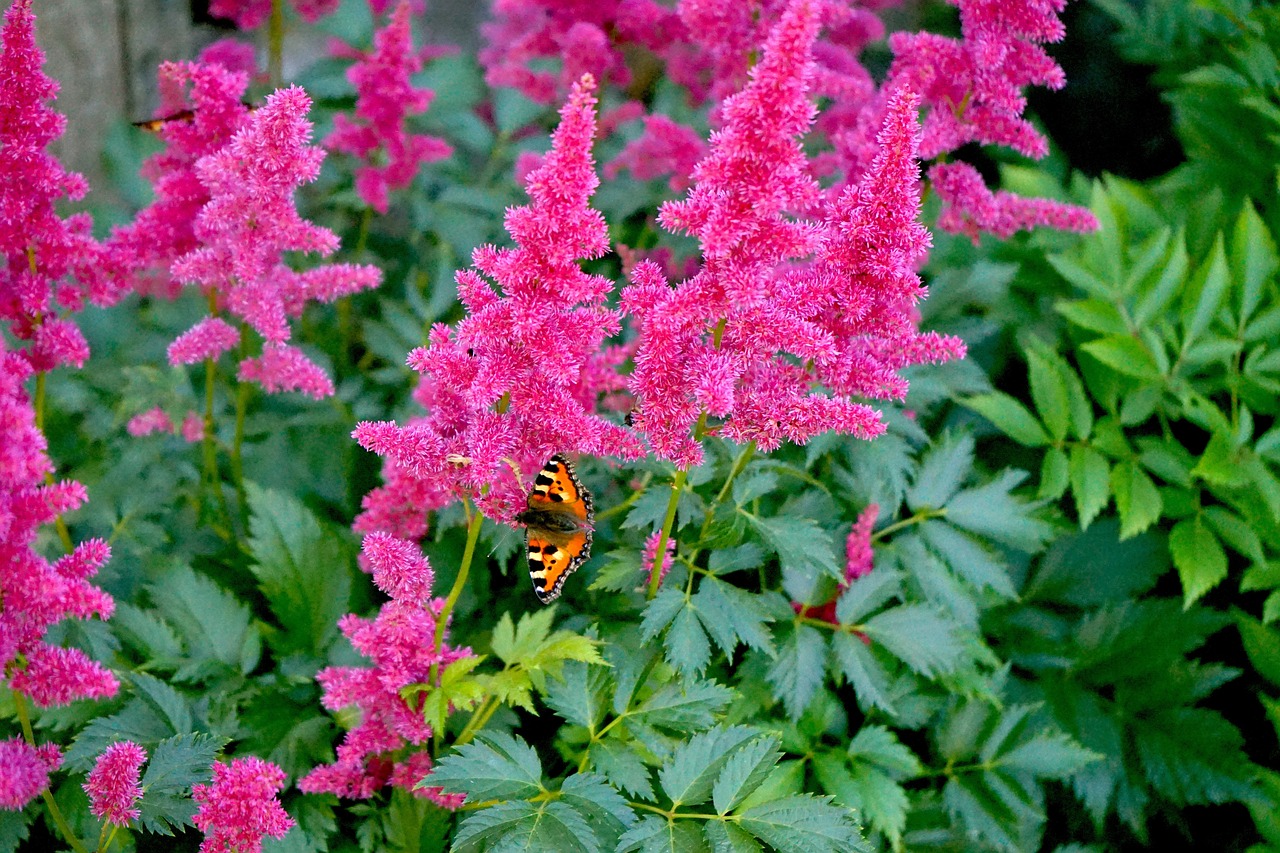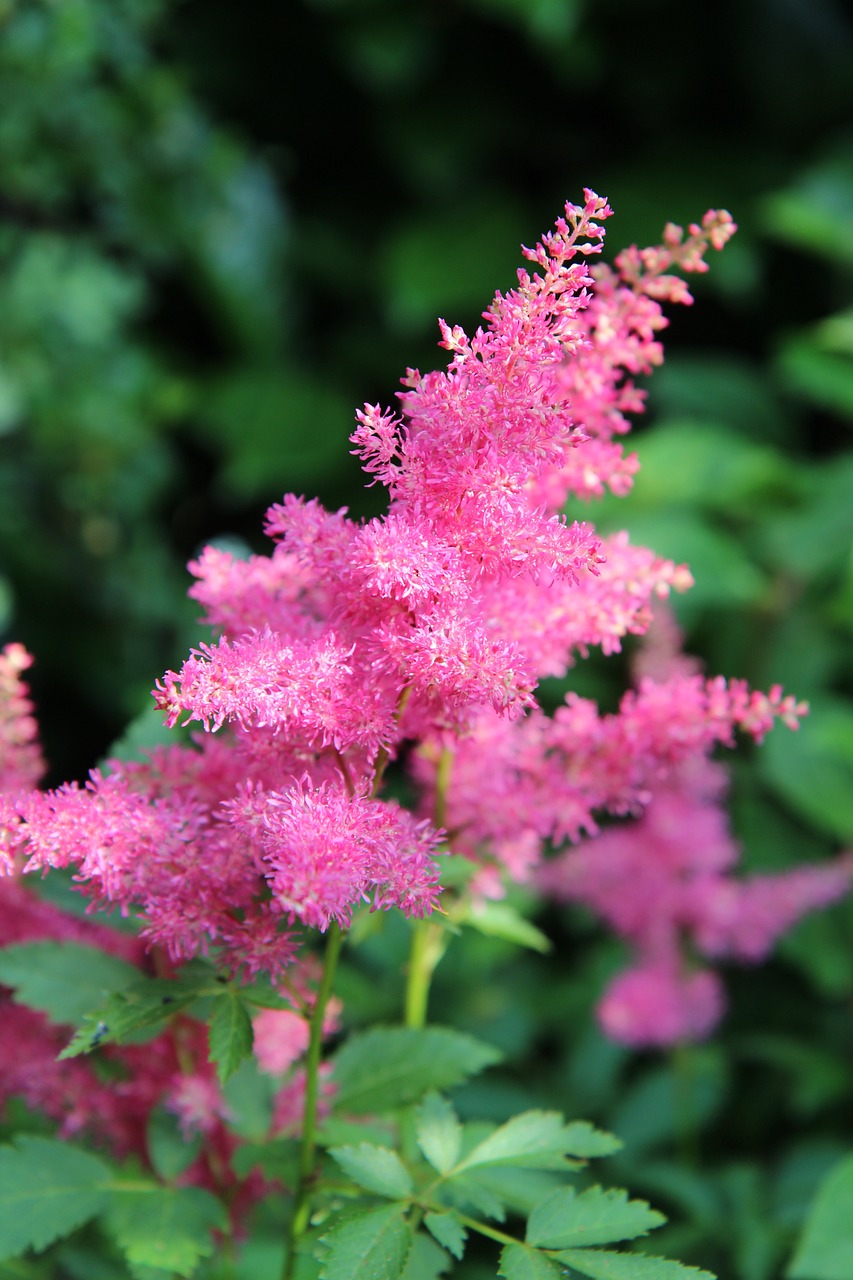
Astilbes, with their cascading plumes of delicate flowers and vibrant green foliage, are a mainstay in many shade gardens. These charming perennials bring a touch of elegance and texture to shady borders, and their low-maintenance nature makes them a favorite among beginner gardeners. But where do you even begin when it comes to cultivating these stunning plants? Fear not, fellow plant enthusiast! This comprehensive guide will equip you with all the knowledge you need to transform your shady haven into an astilbe paradise.
Unveiling the Allure of Astilbes

Astilbes, also known as false spirea, boast a captivating presence in the garden. Their feathery flower plumes, available in shades of white, pink, lavender, and deep red, rise gracefully above lush, fern-like foliage. These shade-loving plants thrive in cooler climates and provide a burst of color during the late spring and early summer months. Beyond their undeniable beauty, astilbes offer several advantages to gardeners:
- Low-maintenance: Once established, astilbes require minimal upkeep, making them perfect for busy schedules.
- Adaptability: These perennials can tolerate a range of soil conditions, as long as drainage is adequate.
- Long bloom time: Enjoy weeks of colorful blooms that attract butterflies and hummingbirds to your garden.
- Versatility: Astilbes come in various heights and colors, allowing you to create stunning combinations in your shade garden.
Preparing the Perfect Stage for Your Astilbe
Just like any star performer, astilbes need the right setting to truly shine. Here’s how to create the ideal environment for these shade-loving beauties:
Location, Location, Location
Astilbes crave cool, shady areas. Avoid planting them in direct sunlight, as this can scorch the leaves and hinder flower production. Morning sun is acceptable, but aim for afternoon shade, especially in hotter climates.
Tip: Observe the natural light patterns in your garden throughout the day to identify the perfect shady spot for your astilbes.
Soil Secrets
Well-drained soil is key for happy astilbes. They dislike soggy conditions, which can lead to root rot. If your soil is heavy clay, amend it with compost or aged manure to improve drainage and aeration. A slightly acidic soil (pH 6.0-6.5) is ideal, but astilbes can adapt to a wider range in the neutral range (pH 6.0-7.0) as well.
Test your soil: Purchasing a home soil test kit will help you determine your soil’s pH and nutrient levels.
Planting Your Astilbes: A Step-by-Step Guide
Now that you’ve chosen the perfect location and prepared the soil, it’s time to plant your astilbes!
Spring is generally the best time to plant astilbes, although fall planting can also be successful in mild climates. Follow these simple steps for planting success:
- Dig a hole: Create a hole that’s two to three times wider than the root ball of your astilbe.
- Amend the soil: Mix compost or aged manure into the dug-out soil to improve drainage and fertility.
- Position your astilbe: Gently place your astilbe in the hole, ensuring the crown (the point where the roots meet the stem) sits slightly above the soil surface.
- Backfill and water: Fill the hole with the amended soil, tamping it down gently to eliminate air pockets. Thoroughly water your newly planted astilbe.
Planting in groups: When planting multiple astilbes, space them according to their mature size. Dwarf varieties can be spaced 12-18 inches apart, while taller varieties may need 24-36 inches of space.
Nurturing Your Astilbes to Flourish
With proper planting complete, let’s delve into the care requirements to keep your astilbes thriving:
Watering Wisely
Astilbes prefer consistently moist soil, but not soggy. Water deeply once or twice a week, especially during hot and dry periods. A layer of mulch around the base of the plant will help retain moisture and suppress weeds.
Observe your plants: During periods of heavy rainfall, you may need to adjust your watering frequency to prevent waterlogging.
Fertilizer for Flourishing
While astilbes are not heavy feeders, a light application of balanced fertilizer in early spring can promote healthy growth and vibrant blooms. Organic fertilizers, such as compost tea or composted manure, are excellent choices for
astilbes and will help improve soil structure over time. Avoid over-fertilizing, as this can lead to excessive foliage growth at the expense of flowers.
Less is often more: When in doubt, err on the side of under-fertilizing.
Maintaining a Mulch Masterpiece
Applying a 2-3 inch layer of mulch around your astilbes offers a multitude of benefits:
- Moisture retention: Mulch helps conserve moisture in the soil, reducing the need for frequent watering.
- Weed suppression: A well-maintained mulch layer discourages weeds from competing with your astilbes for nutrients and water.
- Temperature regulation: Mulch helps moderate soil temperature, keeping it cool and moist during hot summers and protecting the roots from freezing winter temperatures.
Reapply mulch as needed: Over time, mulch decomposes and loses its effectiveness. Top up the mulch layer around your astilbes annually to maintain its benefits.
Deadheading for Continued Beauty
Once the blooms of your astilbes begin to fade, deadheading (removing spent flowers) can extend the flowering season and encourage the plant to produce a second flush of blooms. Simply snip off the flower stalk just below the faded florets, taking care not to damage healthy foliage.
Don’t deadhead too early: Allow the flower stalks to remain on the plant for a while if you’d like to enjoy the attractive seed heads that develop after flowering.
Keeping Your Astilbes Healthy
Astilbes are generally pest and disease resistant. However, there are a few potential issues to watch out for:
- Powdery mildew: This fungal disease can cause white powdery spots to appear on the leaves. Improve air circulation around your plants and water only at the base to prevent powdery mildew. Organic fungicides like neem oil can be used if necessary.
- Slugs and snails: These slimy creatures can munch on the leaves of your astilbes. Handpicking or using natural deterrents like crushed eggshells or beer traps can help control their populations.
Early intervention is key: Addressing any pest or disease problems promptly will minimize damage and ensure the continued health of your astilbes.
Bringing the Magic of Astilbes to Your Garden
Astilbes offer a spectrum of colors and heights, making them incredibly versatile additions to your shade garden. Here are some inspiring ideas to incorporate these captivating plants:
- Mass plantings: Create a stunning focal point by planting a group of astilbes of the same variety in a shady border.
- Color combinations: Pair your astilbes with colorful hostas, ferns, or shade-loving perennials like heuchera for a vibrant display.
- Container companions: Dwarf varieties of astilbes thrive in containers, adding a touch of elegance to patios and balconies.
Embrace experimentation: Don’t be afraid to experiment with different varieties and combinations to discover what works best in your garden.
