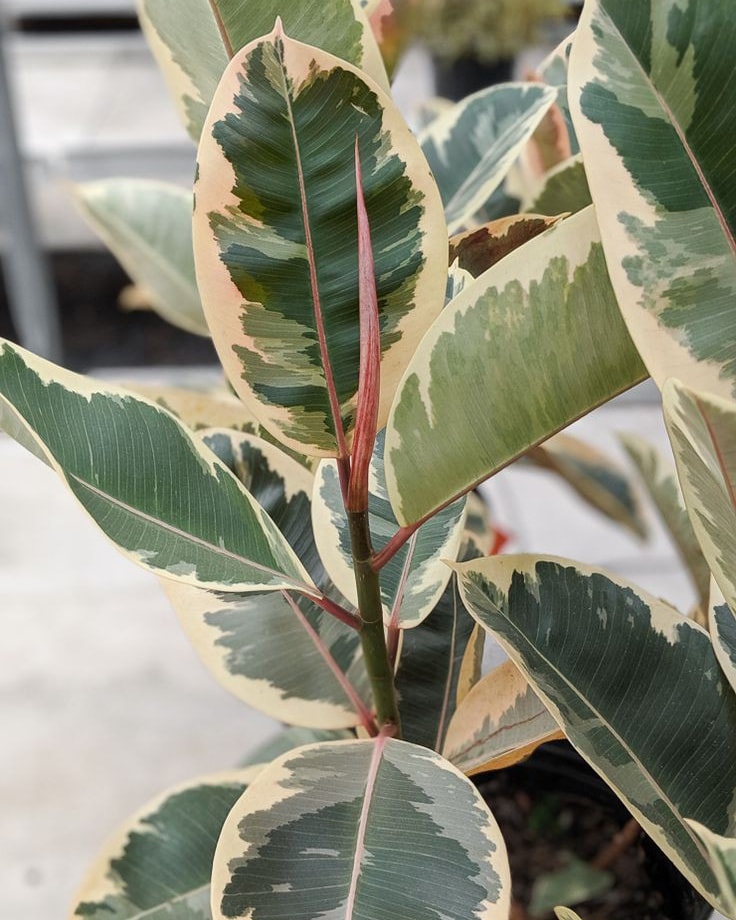
Rubber plants, known for their lush green leaves and striking appearance, make a stunning addition to any indoor space. Their ability to thrive indoors makes them a popular choice among houseplant enthusiasts. If you’ve ever admired a friend’s thriving rubber plant and wondered how to cultivate one of your own, you’re in the right place. Propagating a rubber plant indoors can seem daunting, but with the right approach, it can be a rewarding experience. This guide will walk you through the steps to successfully propagate a rubber plant indoors, ensuring you end up with a thriving new plant.
Why Propagate Rubber Plants?
- Cost-Effective: Propagating a rubber plant from an existing one is often cheaper than buying a new plant.
- Personal Growth: It’s a gratifying process that lets you observe the plant’s development closely.
- Gift Potential: A well-rooted rubber plant makes a thoughtful and personalized gift.
Understanding Rubber Plant Propagation
Before diving into the methods, it’s essential to understand what propagation is and why it works. Propagation is the process of creating new plants from existing ones, using various techniques to encourage growth. Rubber plants (Ficus elastica) can be propagated through stem cuttings, water, or soil. Each method has its advantages and potential pitfalls.
Choosing the Right Time
When is the best time to propagate a rubber plant indoors? The optimal period for propagation is during the plant’s active growing season, which is typically spring or early summer. During this time, the plant is more likely to respond positively to the propagation process.
Method 1: Propagation Through Stem Cuttings
- Selecting the Right Cutting
- Choose a healthy, mature rubber plant.
- Look for a stem that is at least 4-6 inches long with a few leaves.
- Ensure the stem has several nodes (the points on the stem where leaves grow), as these are critical for root development.
- Preparing the Cutting
- Cut the Stem: Use a sharp, clean knife or pruning shears to make a clean cut just below a node.
- Remove Lower Leaves: Strip off the lower leaves from the cutting, leaving just a couple at the top.
- Allow to Callus: Let the cut end of the stem dry out and callus over for about an hour. This helps prevent rot once the cutting is placed in water or soil.
- Propagating in Water
- Place in Water: Submerge the cut end of the stem in a jar of water, ensuring that at least one node is below the water line.
- Choose a Bright Spot: Place the jar in a location with bright, indirect light.
- Change Water Regularly: Refresh the water every few days to keep it clean and oxygenated.
- Wait for Roots: In a few weeks, you should see roots emerging from the node. Once the roots are a few inches long, the cutting is ready to be transferred to soil.
- Propagating in Soil
- Prepare the Pot: Fill a small pot with well-draining potting mix.
- Plant the Cutting: Insert the prepared cutting into the soil, ensuring the node is buried.
- Water Gently: Moisten the soil, but avoid soaking it. Keep the soil slightly damp but not waterlogged.
- Cover with a Plastic Bag: To create a humid environment, cover the pot with a plastic bag or a clear plastic dome.
- Place in Indirect Light: Position the pot in a bright spot away from direct sunlight.
Method 2: Propagation Through Air Layering
- What is Air Layering?
Air layering is a technique that encourages a stem to form roots while still attached to the parent plant. This method is particularly useful for rubber plants with thicker stems.
- Steps for Air Layering
- Choose a Healthy Stem: Select a stem that is at least one year old and has a diameter of about 1/2 inch.
- Make a Cut: Make a shallow incision on the stem about 1/3 of the way through.
- Apply Rooting Hormone: Dust the exposed area with rooting hormone to encourage root growth.
- Wrap in Moist Sphagnum Moss: Soak sphagnum moss in water, then wrap it around the incision. Secure it with plastic wrap or foil.
- Maintain Moisture: Keep the moss moist throughout the rooting process.
- Wait for Roots: After a few months, you should see roots emerging through the moss.
- Sever and Pot: Cut the stem below the new roots and plant it in a pot with well-draining soil.
Caring for Your Newly Propagated Rubber Plant
Once your rubber plant has established roots, it’s time to provide proper care to ensure it grows into a healthy, robust plant.
- Choosing the Right Pot
- Select a pot with drainage holes to prevent waterlogging.
- Opt for a pot size that allows room for the plant to grow without being too large.
- Soil Requirements
- Use a well-draining potting mix, such as a blend of peat, pine bark, and perlite.
- Avoid using garden soil, which can retain excess moisture.
- Watering Guidelines
- Water the plant when the top inch of soil feels dry.
- Avoid overwatering, as rubber plants prefer to dry out between waterings.
- Light Conditions
- Place the plant in bright, indirect light for optimal growth.
- Avoid direct sunlight, which can scorch the leaves.
- Fertilizing
- Feed the plant with a balanced, water-soluble fertilizer every 4-6 weeks during the growing season.
- Reduce feeding during the winter months when growth slows down.
- Temperature and Humidity
- Maintain a temperature range of 60-75°F (15-24°C).
- Rubber plants prefer moderate humidity but can tolerate average indoor levels.
Troubleshooting Common Issues
Even with the best care, issues can arise. Here’s how to address some common problems:
- Yellowing Leaves
- This could indicate overwatering or poor drainage. Check the soil and adjust your watering routine accordingly.
- Leggy Growth
- If the plant becomes leggy, it may need more light. Move it to a brighter location or supplement with grow lights.
- Pests
- Rubber plants can attract pests like spider mites and mealybugs. Treat infestations with insecticidal soap or neem oil.
Conclusion
Successfully propagating a rubber plant indoors is a fulfilling endeavor that allows you to expand your plant collection or share the joy of gardening with others. By following the methods outlined in this guide—stem cuttings, water propagation, soil propagation, and air layering—you can confidently cultivate a new rubber plant from the comfort of your home. Remember to provide the appropriate care and attention to ensure your propagated plant thrives and adds beauty to your indoor space. Happy propagating!