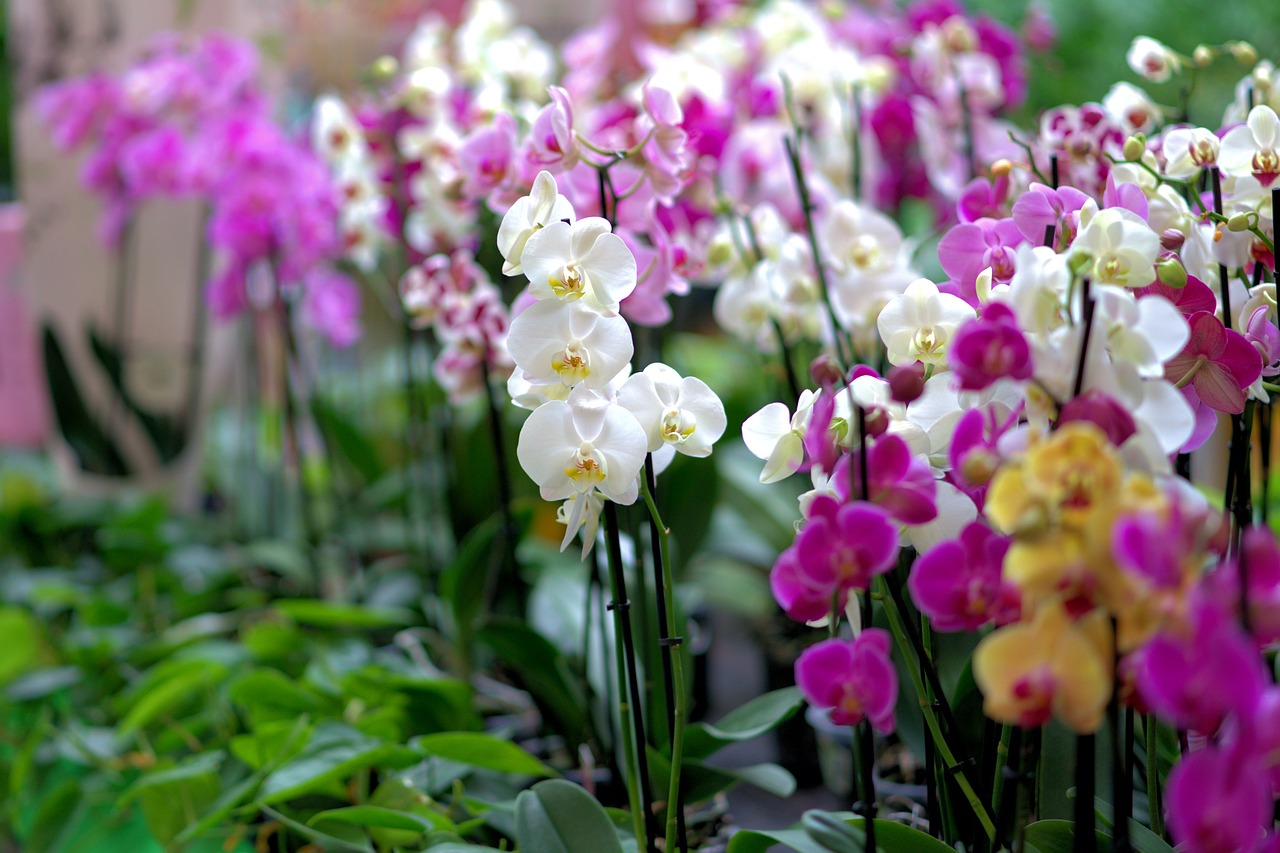
For the uninitiated, orchids can seem intimidating. These exotic flowers, with their delicate petals and vibrant colors, appear too perfect for the average houseplant enthusiast. But fear not, orchid admirers! With a little know-how, even a beginner can cultivate these stunning blooms and witness their mesmerizing floral displays. This guide unveils the secrets to orchid care, transforming you from a curious observer to a confident orchid whisperer.
Unveiling the Orchid’s Desires: Understanding Light and Water
Basking in the Perfect Glow
Unlike their sun-worshipping cousins, orchids prefer a more balanced approach to light. Imagine a tropical rainforest dappled with sunlight – that’s the ideal environment for these botanical wonders. Avoid harsh, direct sunlight, which can scorch the leaves. East or north-facing windows are perfect spots, offering gentle morning light. Does your orchid reside in a dimly lit corner? Fret not! Supplement its natural light with a strategically placed LED grow light, mimicking the sun’s rays during the shorter winter days.
The Art of the Hydrating Dance
Watering is perhaps the most crucial aspect of orchid care, and it’s often where beginners stumble. Unlike thirsty houseplants that crave constantly moist soil, orchids abhor soggy conditions. Their aerial roots, visible through the clear pots, act as moisture sensors. When these roots turn silvery-white, it’s your cue to quench their thirst. Completely submerge the pot in lukewarm water for 10-15 minutes, allowing the bark chips to absorb moisture thoroughly. Let the excess water drain completely before placing the orchid back in its pot. Remember, it’s better to underwater than to overwater!
Cultivating a Flourishing Paradise: Temperature, Humidity, and Fertilizer
Finding the Temperature Sweet Spot
Imagine a balmy summer evening – that’s the temperature zone orchids adore. Ideally, maintain temperatures between 60-80 degrees Fahrenheit during the day and slightly cooler (around 55 degrees Fahrenheit) at night. Avoid placing your orchid near heat sources like vents or radiators, as fluctuating temperatures can disrupt its growth cycle.
Embracing the Power of Humidity
Orchids hail from naturally humid environments. While your home may not replicate a tropical rainforest, you can create a more comfortable atmosphere for your orchid. Group your orchids together to increase localized humidity, or place them on a pebble tray filled with water. The evaporating water will gently increase the surrounding moisture levels. Misting the leaves regularly is another option, but ensure proper ventilation to prevent fungal growth.
Nourishing Your Orchid for Exquisite Blooms
While orchids aren’t heavy feeders, a well-balanced fertilizer can encourage vibrant blooms and healthy growth. Use a specific orchid fertilizer, formulated with a higher concentration of nitrogen to promote foliage growth, and a lower dose of phosphorus and potassium for flower development. Apply the fertilizer during the active growing season (usually spring and summer) at half the recommended strength, following the instructions on the product label. Remember, a little goes a long way!
The Allure of the Bloom: Witnessing the Orchid’s Grand Finale
Patience is a Virtue
Unlike some flowering houseplants that bloom readily, orchids take their time. Be patient! The blooming cycle can vary depending on the species, but generally, expect to wait anywhere from a few weeks to several months. Observing healthy root growth and new leaf development are positive signs that your orchid is thriving and on its way to producing a spectacular floral display.
Decoding the Language of Blooms
The orchid’s flower spike is a fascinating indicator of its blooming journey. A developing flower spike will emerge from the base of the plant. As the spike matures, tiny flower buds will appear, gradually transforming into the breathtaking blooms you’ve been waiting for. The color and shape of the flowers will vary depending on the orchid species, offering a delightful surprise when they finally unfurl.
Savoring the Spectacle
When your orchid finally bursts into bloom, it’s a moment to celebrate! The delicate petals in a kaleidoscope of colors and the intoxicating fragrance are a true reward for your dedication. The blooms can last for several weeks, so take this time to admire their beauty and appreciate the unique charm that orchids bring to your home.
Beyond the Bloom: Maintaining Long-Term Orchid Health
The Post-bloom Pruning Process
Once the flowers fade, resist the urge to prune the entire flower spike. Most orchid varieties will produce blooms again on the same spike, so patience is key. However, you can carefully trim the flower stem just above the lowest node where a new flower could potentially emerge. This will encourage future blooms and maintain a tidy appearance.
Repotting for Continued Growth: Providing a Fresh Start
As your orchid matures, its root system will expand, eventually outgrowing its current pot. Repotting every 1-2 years provides fresh potting medium, promotes healthy root growth, and encourages future blooms. Here’s how to successfully repot your orchid:
Identifying the Repotting Signs
- Rootbound: The roots outgrow the pot, circling around the inside or protruding from the drainage holes.
- Decomposed Medium: The bark chips in the potting medium break down and become compacted, hindering air circulation and water drainage.
- Visible Roots: Healthy orchid roots are silvery-white when dry and turn green after watering. If the roots appear brown, mushy, or dry and brittle, it might indicate root rot, necessitating repotting and removal of the damaged roots.
Gathering Repotting Supplies
- New Pot: Choose a pot only 1-2 inches larger in diameter than the current pot. Opt for a clear plastic pot or a pot with good drainage holes.
- Orchid Bark Mix: Fresh, well-aerated orchid potting medium is crucial. Look for a mix containing fir bark, coconut husk chips, or sphagnum moss specifically designed for orchids.
- Sharp Scissors or Pruning Shears: For removing dead or diseased roots.
- Optional: Cinnamon powder (helps prevent fungal infections on trimmed roots) and a chopstick (to assist with placing the orchid in the new pot).
The Repotting Process
- Watering: Water your orchid thoroughly a day before repotting. This makes the roots more pliable and less prone to breakage.
- Gently Remove the Orchid: Carefully remove the orchid from its current pot. If the roots are clinging to the pot, gently loosen them with a chopstick.
- Inspect the Roots: Examine the roots for signs of damage. Healthy roots are plump and silvery-white when dry. Using sharp, sterilized scissors, remove any dead, brown, or mushy roots. Optionally, sprinkle the cut ends with cinnamon powder to prevent fungal infections.
- Prepare the New Pot: Place a layer of fresh orchid potting medium at the bottom of the new pot.
- Position the Orchid: Center the orchid in the new pot, ensuring the crown (the base where the leaves emerge) sits slightly above the rim.
- Fill the Pot with Medium: Carefully fill the pot with fresh orchid potting medium, gently nudging it around the roots with your fingers or a chopstick to eliminate air pockets. The medium should be evenly distributed around the roots but not packed tightly.
- Water Thoroughly: Water the newly repotted orchid generously until water runs out of the drainage holes. Allow the pot to drain completely before placing it back in its saucer.
Post-Repotting Care
- Avoid Overwatering: After repotting, the roots are more susceptible to rot due to the disturbed root system. Water sparingly for the first few weeks, allowing the medium to dry slightly between waterings.
- Monitor for New Growth: Keep an eye on your orchid for signs of new root and leaf growth, indicating successful acclimation to the new pot.
- Resume Normal Care: Once your orchid establishes itself in the new pot, you can resume your regular watering, fertilizing, and light routines.