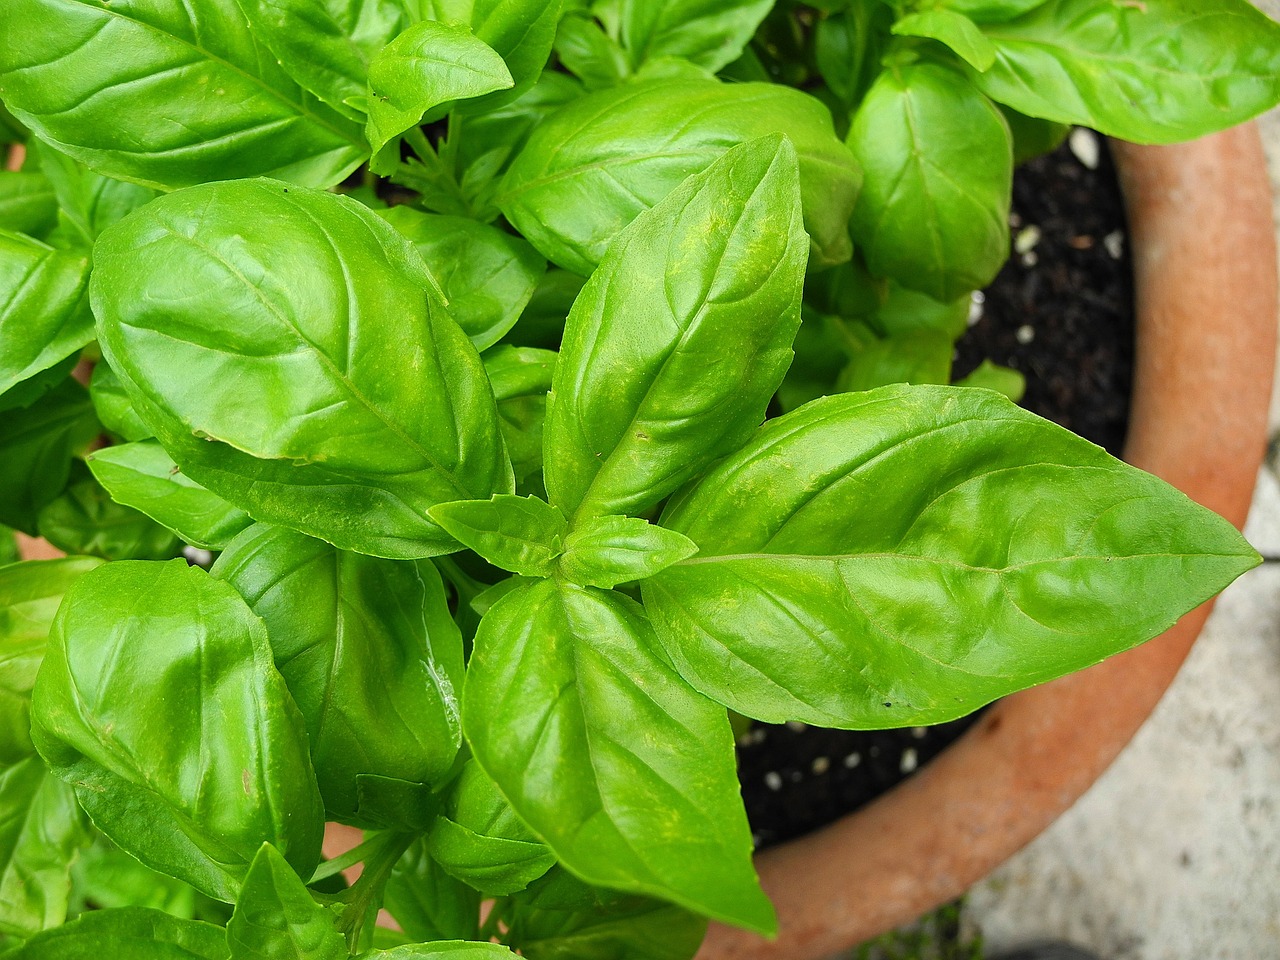
Fresh basil adds a touch of fragrant magic to countless dishes. But who says you need to keep buying bunches at the store? Basil is surprisingly easy to propagate, allowing you to transform a single sprig into a thriving herb garden. Here’s your roadmap to successful basil propagation, ensuring a constant supply of this culinary superstar.
Setting the Stage: Choosing Your Basil Begetting Method
There are two main methods for propagating basil: by seed and by cuttings. Each has its own advantages and caters to different preferences.
- Seed Sowing: The Joys of Starting from Scratch
Seed sowing allows you to witness the entire life cycle of your basil plant, from the tiniest sprout to a bushy masterpiece. It’s a rewarding experience, perfect for plant enthusiasts and anyone who enjoys a bit of gardening TLC.
Seed Selection Savvy
There are many basil varieties to choose from, each with its unique flavor profile. Genovese basil, known for its classic Italian aroma, is a popular choice. Thai basil boasts a citrusy punch, while Purple Ruffles adds a decorative touch with its vibrant foliage. Select seeds based on your culinary preferences and aesthetic desires.
Seeding Essentials
You’ll need a shallow container with drainage holes, a well-draining potting mix, and of course, your chosen basil seeds. Here’s how to get started:
- Potting Mix Magic: Fill your container with a light and airy potting mix specifically formulated for seedlings. This ensures proper drainage and avoids waterlogging, which can harm delicate young roots.
- Seeding Symphony: Moisten the potting mix but avoid soaking it. Sow your seeds thinly across the surface, ensuring they have enough space to germinate. Gently press the seeds into the soil for good contact.
- Light and Love: Cover the container with a clear plastic wrap to create a mini greenhouse environment. Place your seeds in a warm location with bright, indirect sunlight. Germination typically occurs within 7-14 days.
- Welcome, World!: Once your seedlings have sprouted a few sets of true leaves (those that differ from the initial round leaves), remove the plastic wrap. Gradually introduce them to direct sunlight, starting with a few hours a day and increasing gradually.
- Cuttings Capers: The Shortcut to Fresh Herbs
Propagating basil by cuttings is a faster way to obtain new plants, especially if you already have a mature basil plant at home. It’s a fantastic option for impatient herb enthusiasts or those who want to multiply their existing basil stock.
Choosing the Right Cuttings
Select healthy, non-flowering stems from your mature basil plant. Ideally, choose stems with at least 4-6 sets of leaves. Avoid woody or thin stems, as they might not root as successfully.
Snip, Snip, Hooray!
Using sharp, sterilized pruning shears, make a clean cut just below a leaf node (the bump where a leaf meets the stem). Remove the lower leaves, leaving only the top 2-3 pairs. This allows the plant to focus its energy on root development.
Water, Watch, and Wonder: Nurturing Your New Basil Babies
Whether you started with seeds or cuttings, the care for your nascent basil plants remains largely the same.
The Power of H2O
Basil enjoys consistently moist soil, but avoid overwatering. Aim to keep the soil damp but not soggy. Water deeply when the top inch of soil feels dry to the touch.
Light Fantastic
Basil thrives in bright and indirect sunlight. Aim for at least 6-8 hours of sunlight per day. If your seedlings seem leggy and stretched, it might be a sign they need more light. South-facing windows are ideal, but east or west-facing windows can work too, with careful monitoring.
Pinching for Perfection
Once your basil plant reaches about 6 inches tall, it’s time for pinching. Pinch off the topmost stem tip just above a leaf node. This encourages bushier growth and prevents the plant from becoming leggy. You can use the pinched-off leaves for cooking!
Feeding Frenzy (Optional):
Basil doesn’t require heavy feeding, but a light application of a balanced liquid fertilizer every few weeks can give it an extra boost. Opt for organic fertilizers for a natural approach.
From Seedling to Superstar: Graduation Day for Your Basil
Transplanting Triumph (For Seedlings):
Once your basil seedlings have developed at least 4-6 sets of true leaves and appear healthy and robust, it’s time to transplant them into a larger pot. Choose a pot with drainage holes and fill it with fresh potting mix. Gently remove the seedlings from their current container, being careful not to damage the roots. Dig a small hole in the new potting mix and place the seedling inside, ensuring the soil level reaches the base of the lower leaves. Firm the soil gently around the base of the plant. Water thoroughly and continue caring for your basil plant as described above.
Pot Up Power (For Cuttings):
Once your roots reach a healthy length (around an inch), it’s time to graduate your basil cutting to its own pot.
- Drainage is Key: Choose a pot with drainage holes to prevent waterlogging, which can lead to root rot. Opt for a pot size that’s just slightly larger than the root ball of your cutting.
- Soil Sanctuary: Fill the pot with a well-draining potting mix formulated for herbs. You can also create your own mix using equal parts potting soil, perlite, and compost.
- Planting Pointers: Gently plant your basil cutting in the pot, ensuring the stem is buried up to the first set of remaining leaves. Firm the soil gently around the base of the plant for support.
- Sun Seeker: Place your newly potted basil plant in a location that receives at least 6-8 hours of bright, indirect sunlight per day. A south-facing window is ideal.
- Watering Wisdom: Basil thrives in consistently moist soil, but avoid overwatering. Stick your finger into the soil; if the top inch feels dry, it’s time to water. Water deeply until water runs out the drainage holes. This ensures the roots receive a thorough drink.
