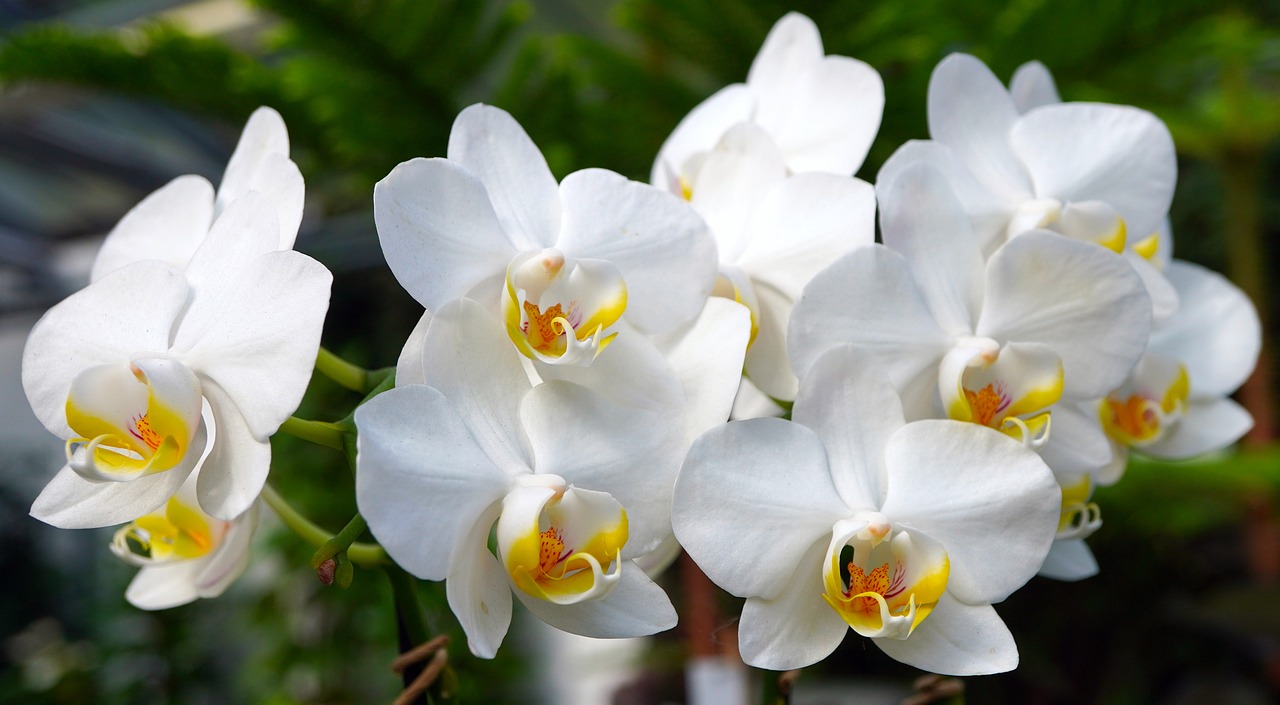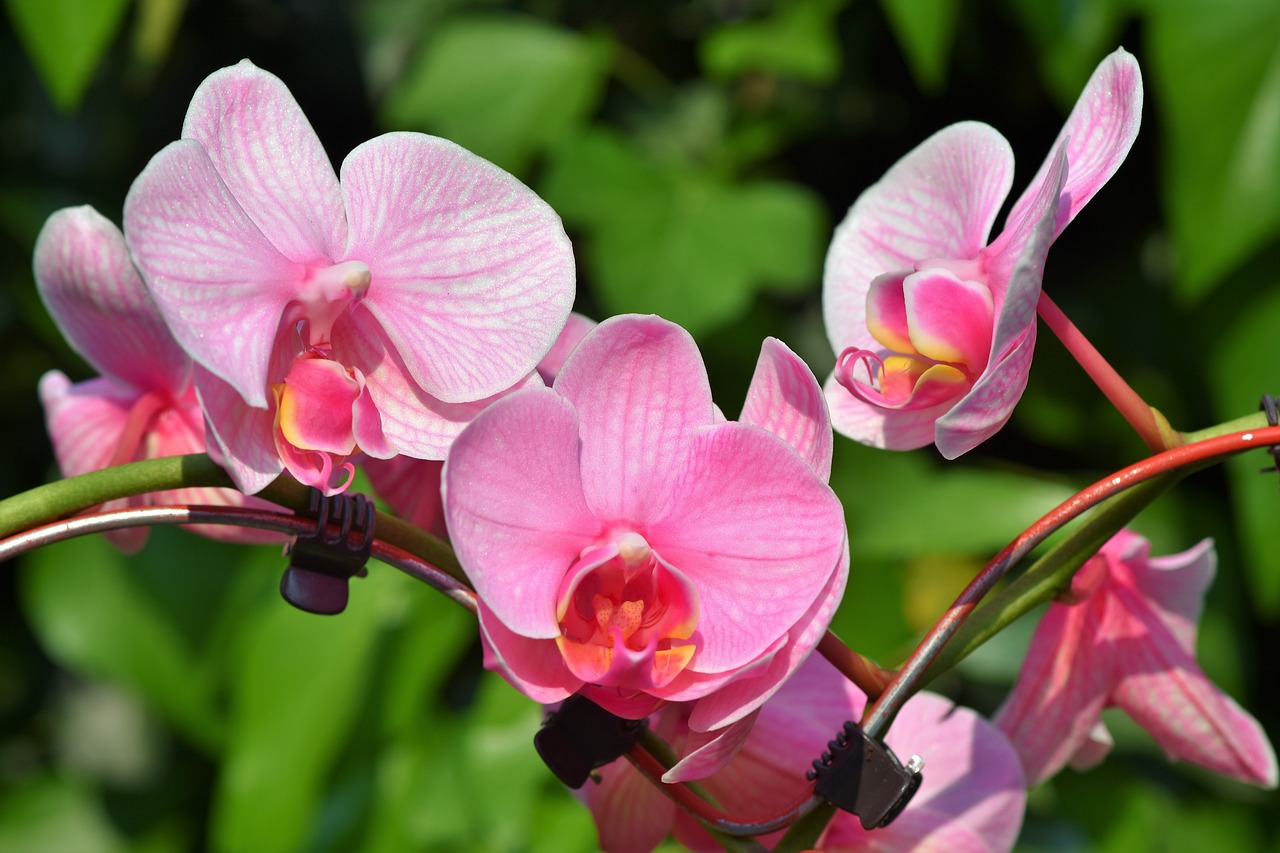
Orchids, with their captivating blooms and elegant forms, hold a special place in the hearts of plant enthusiasts. But what happens after the last flower fades? Do you resign yourself to a season of green foliage, longing for the vibrant display to return? Not a chance! With a few simple adjustments to your orchid’s care routine, you can coax it back into bloom, transforming your home into a floral paradise once again.
Understanding the Orchid’s Blooming Cycle

Before going into the secrets of reblooming, let’s take a peek into the fascinating world of orchid flowering. Unlike many houseplants that follow a predictable blooming season, orchids bloom in response to specific environmental cues. These cues can vary depending on the orchid species, but some common triggers include:
- Light: Most orchids require bright, indirect sunlight to initiate flower production. Think dappled sunlight filtering through a tree canopy rather than harsh afternoon sun.
- Temperature: A slight temperature drop, particularly at night, can simulate the changing seasons and encourage blooming in some varieties.
- Humidity: Orchids thrive in humid environments. Dry air can hinder flower development.
By mimicking these natural triggers, you can create the perfect conditions for your orchid to produce a dazzling floral display.
Step-by-Step Guide to Reblooming Success
Now that we understand the orchid’s blooming language, let’s translate it into practical steps. Here’s a roadmap to transform your orchid from a foliage friend into a blooming champion:
1. Post-Bloom Pruning:
- Once the last flower has withered and fallen, it’s time for a strategic prune. Locate the flower spike (the stem that held the blooms). If the spike remains green and plump at the base, it might rebloom. However, if it’s brown and dry throughout, it’s best to remove it completely.
- Using sterile pruning shears, cut the spike just above a node (the little bumps along the stem). Aim for a cut about 1-inch above a healthy node that shows signs of potential growth.
2. Lighting Up for Blooms:
- Light is the secret weapon in your orchid’s blooming arsenal. Find a location that receives bright, indirect sunlight for most of the day. An east-facing window is ideal. South-facing windows can be too harsh, so consider filtering the light with sheer curtains if necessary.
- Avoid placing your orchid directly in front of a window, as overheating can damage the plant. Rotate your orchid occasionally to ensure even light distribution and prevent lopsided growth.
3. The Watering Balancing Act:
- Orchids despise soggy roots, but equally dislike drought conditions. The key lies in finding the watering sweet spot.
- Here’s a helpful technique: When the roots turn silvery-white, it’s time for a soak. Submerge the pot in lukewarm water for 10-15 minutes, allowing the medium to absorb moisture thoroughly. Drain the pot completely after soaking to prevent waterlogging.
- Depending on your climate and pot size, watering frequency might range from once a week to once every two weeks. Observe your orchid and adjust the schedule based on its needs.
4. Feeding Frenzy for Flower Power:
- While orchids don’t require heavy feeding, a balanced fertilizer can provide the nutrients needed for blooming. Opt for a specific orchid fertilizer and dilute it to half strength.
- During the active growth phase (when new leaves are emerging), fertilize your orchid once a month. However, hold off on feeding during the resting period after blooming or during winter months.
5. Mimicking the Night:
- Did you know that some orchids respond to a period of uninterrupted darkness to trigger blooming? This mimics the natural shortening of daylight hours that occurs in their native habitats.
- Here’s a simple trick: Once new growth appears on your orchid, consider placing it in a dark location (like a closet) for 12-14 hours each night. This cool, dark period can stimulate flower bud formation.
6. Patience is a Blooming Virtue:
- Remember, coaxing your orchid to rebloom isn’t an overnight feat. Depending on the species and your care practices, it might take several weeks or even months to see flower buds emerge. Don’t get discouraged! Enjoy the healthy foliage and new growth in the meantime, knowing that a vibrant display awaits.
Bonus Tips for Flourishing Blooms:
- Repotting: Over time, orchid potting medium can break down and lose drainage. Repot your orchid every 1-2 years into a well-draining orchid mix. Choose a pot that’s only slightly larger than the root system to prevent overwatering.
- Humidity Boost: If your home environment is dry, consider increasing humidity around your orchid. Place the pot on a a pebble tray filled with water (ensure the pot sits above the waterline) or group your orchids together to create a humid microclimate. You can also use a humidifier to raise the overall humidity level in the room.
Root TLC: When watering or repotting your orchid, gently inspect the roots. Healthy roots should be plump and silvery-white. If you notice brown, mushy, or dead roots, carefully prune them off with sterile shears. This will encourage new root growth and improve the plant’s overall health.
Stress Busters: Orchids are surprisingly sensitive to stress. Avoid sudden changes in temperature, light, or watering routine. Additionally, keep your orchid away from drafts or blasts of hot air, as these can disrupt its blooming cycle.
Celebrate Small Victories: Witnessing the emergence of a new flower spike is a thrilling reward for your efforts. Take a moment to appreciate this sign of your orchid’s thriving spirit.
Troubleshooting Common Blooming Issues:
- No Flower Spike: Did your orchid follow all the blooming cues but remain stubbornly flowerless? There could be a few reasons:
- Insufficient Light: Ensure your orchid receives enough bright, indirect sunlight. Consider supplementing with artificial grow lights if natural light is limited.
- Nutrient Imbalance: Overfertilization can hinder blooming. If you suspect this, flush the potting medium with plain water to remove excess salts.
- Resting Period Needed: Some orchid varieties require a cooler resting period after blooming to initiate the next flowering cycle. Research the specific needs of your orchid species.
- Bud Blast: Have you ever witnessed tiny flower buds mysteriously shriveling and dropping off? This phenomenon, known as bud blast, can be caused by various factors:
- Temperature Fluctuations: Sudden changes in temperature can stress the orchid, leading to bud blast. Maintain consistent temperatures, especially at night.
- Humidity Swings: Orchids dislike fluctuating humidity levels. Aim for consistent, moderate humidity around the plant.
- Pests or Diseases: Inspect your orchid for signs of pests or diseases. Address any infestations promptly to prevent further damage.
Conclusion:
With a little understanding of your orchid’s needs and some consistent care practices, you can unlock its blooming potential. Witnessing your orchid erupt in a cascade of vibrant flowers is a truly rewarding experience. So, be patient, provide the right environment, and enjoy the journey of transforming your orchid into a blooming superstar!
