Ever dreamt of snipping fresh, fragrant chives straight from your windowsill for that finishing touch on a creamy potato soup or a batch of fluffy deviled eggs? Chives, these unassuming emerald spears, pack a powerful punch of oniony goodness, and cultivating them is easier than you think! This guide will transform you from an herb novice to a chive-growing guru, allowing you to bring a touch of gourmet magic to your home cooking.
This post may have affiliate links. This means that sometimes when you click a link on our site and make a purchase on Amazon, we may earn a small commission at no additional cost to you. We only recommend products we truly believe in, and your support helps keep us running!
Setting the Stage: Location, Location, Location!
Just like any aspiring actor, chives need the perfect setting to truly flourish. Here’s how to create a chive haven in your home or garden:
- Sunshine Superstar : Chives crave sunshine, ideally at least 6 hours a day. A south-facing windowsill or a sunny spot in your garden is ideal. Worried about scorching summer afternoons? Don’t fret! Chives can tolerate some afternoon shade, especially in hotter climates.
- Drainage Drama: Soggy roots are a chive’s worst nightmare. Opt for well-draining soil, either in your garden bed or a pot with drainage holes. Amending your soil with compost or sand can improve drainage if needed.
- Potted Paradise: Living in an apartment? No problem! Chives thrive in containers. Choose a pot at least 6 inches deep with drainage holes.
Planting Power: Seeds or Starts?
There are two main paths to chive cultivation: seeds or starter plants.
- Seed Symphony: Starting from seed offers a sense of accomplishment, but it takes a little longer. Sow seeds indoors 6-8 weeks before the last frost, and transplant seedlings outdoors after all danger of frost has passed. Keep the soil moist but not soggy during germination.
- Shortcut to Snipping: For faster gratification, purchase starter plants from your local nursery. Simply plant them in your chosen location after the last frost.
Keeping Your Chives Chipper: Care and Maintenance
Once your chives are settled in, providing proper care is essential for a thriving herb garden.
- Watering Wisdom: Water your chives regularly, especially during hot weather. Aim to keep the soil moist but not waterlogged. A good rule of thumb is to water when the top inch of soil feels dry to the touch.
- Feeding Frenzy: While not strictly necessary, a balanced fertilizer applied once a month during the growing season can give your chives an extra boost. Opt for a water-soluble fertilizer diluted according to package instructions.
- Mulch Magic: A layer of mulch around the base of your chives helps retain moisture, suppress weeds, and regulate soil temperature. Aim for a 1-2 inch layer of organic mulch like shredded bark or compost.
Snip, Savor, Repeat: Harvesting Your Chives
The best part about growing chives? The endless supply of fresh flavor at your fingertips! Here’s how to harvest and enjoy your chive bounty:
- Sharp Shoots: Use sharp scissors or shears to snip chives whenever you need them. Aim to harvest from the outer edges of the plant, cutting about an inch above the base. This encourages new growth.
- Fresher is Better: Chives are best enjoyed fresh. Their flavor diminishes after being cut, so snip what you need just before using them.
- A Culinary Canvas: The delicate oniony flavor of chives complements a wide array of dishes. Sprinkle them on scrambled eggs, baked potatoes, creamy soups, or potato salad. Add a touch of elegance to salads, dips, or even a simple buttered toast.
Beyond the Basics: Keeping Your Chives Thriving
With a little extra TLC, your chive patch can become a long-lasting source of culinary joy.
- Division Daze : Every 3-4 years, consider dividing your chive clumps. This helps maintain healthy growth and prevents overcrowding. Simply dig up the clump, carefully separate it into smaller sections, and replant them in fresh soil.
- Winter Woes : Living in a cold climate? Chives are surprisingly resilient. In colder zones, mulch heavily around the base of your plants before winter to protect the roots. Alternatively, pot your chives and bring them indoors for the winter, placing them in a sunny windowsill.
While generally pest-resistant, chives can occasionally attract aphids. If you notice these tiny sap-sucking insects, a blast of water from your hose can usually dislodge them. For a more persistent infestation, try an insecticidal soap solution according to label instructions.
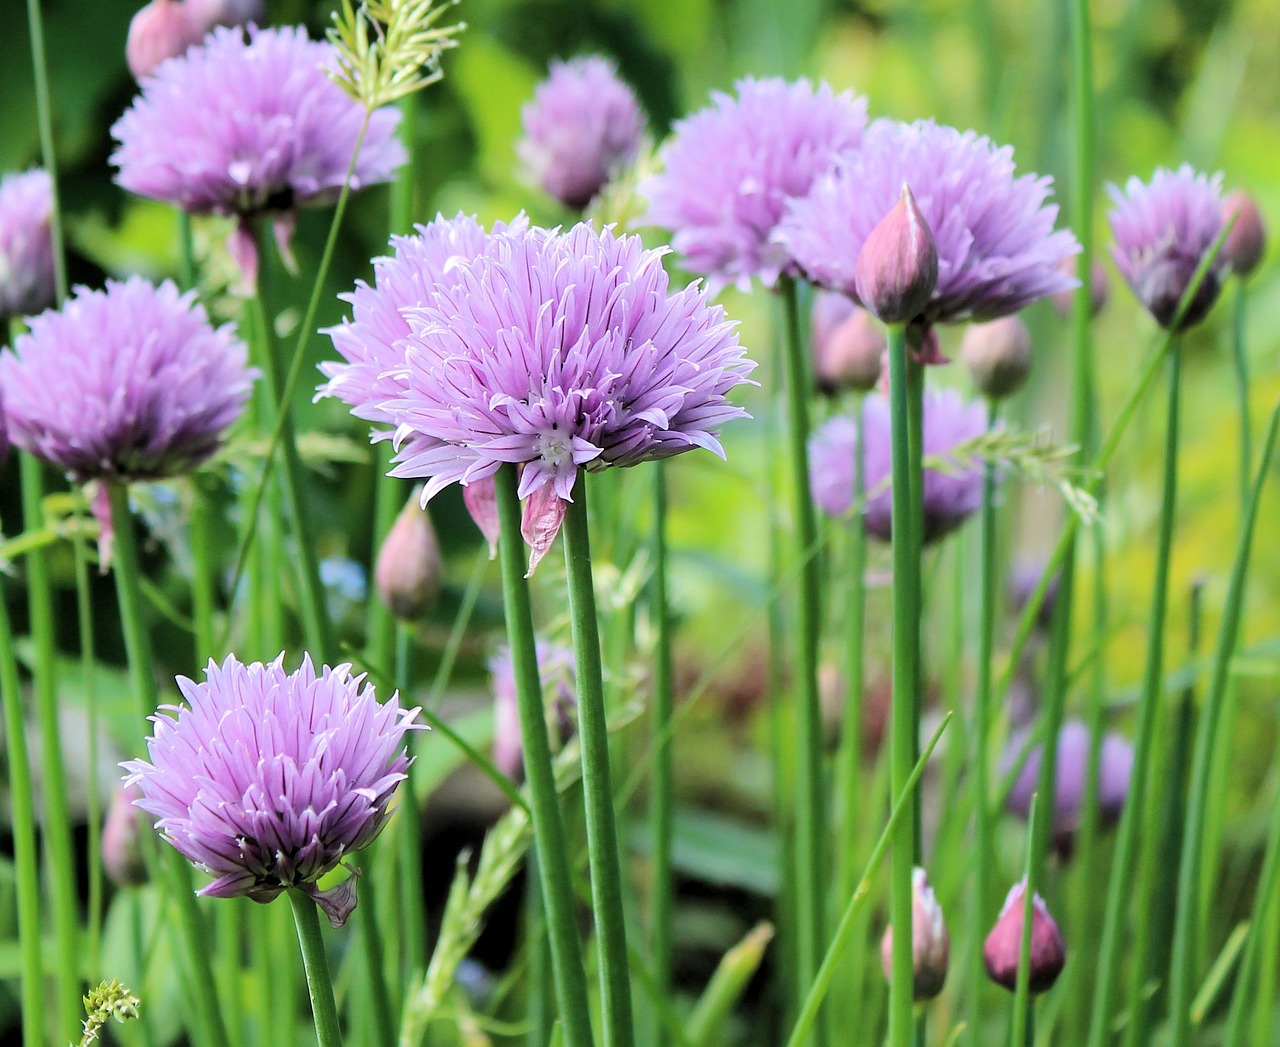
Blooming Beauty: To Snip or Not to Snip?
Chives produce beautiful purple flowers in late spring or early summer. These blooms are not only lovely to look at, but they’re also edible! However, allowing your chives to flower can reduce leaf production. If you prioritize a constant supply of fresh chives, snip off the flower buds as they appear. This will encourage the plant to focus its energy on producing more leaves.
Troubleshooting: Common Chive Challenges
Even the most dedicated chive cultivator might encounter occasional hiccups. Here’s how to diagnose and address some common issues:
- Leggy Growth: If your chives are growing tall and spindly with pale leaves, they’re likely not getting enough sunlight. Move them to a sunnier location.
- Yellowing Leaves: Yellowing leaves can indicate overwatering or underwatering. Adjust your watering schedule accordingly.
- Poor Drainage: Soggy soil and wilting leaves point towards poor drainage. Ensure your pot has drainage holes and amend the soil with compost or sand for better drainage.
The Chive Companion: Companion Planting for Success
Did you know chives can actually benefit other plants in your garden? Here are some companion planting ideas for your chive haven:
- Tomato Tango: Planting chives near tomatoes is said to deter tomato hornworms, a common pest.
- Lettuce Love: Chives and lettuce make great companions. The chives can help deter aphids from the lettuce.
- Carrot Camaraderie: Planting chives with carrots can improve germination rates and deter carrot flies.
With a little planning, care, and these helpful tips, your chive patch will soon be flourishing, ready to elevate your culinary creations from ordinary to extraordinary. So grab your scissors, embrace your inner herb gardener, and get ready to experience the joy of snipping fresh, flavorful chives straight from your own little green haven!