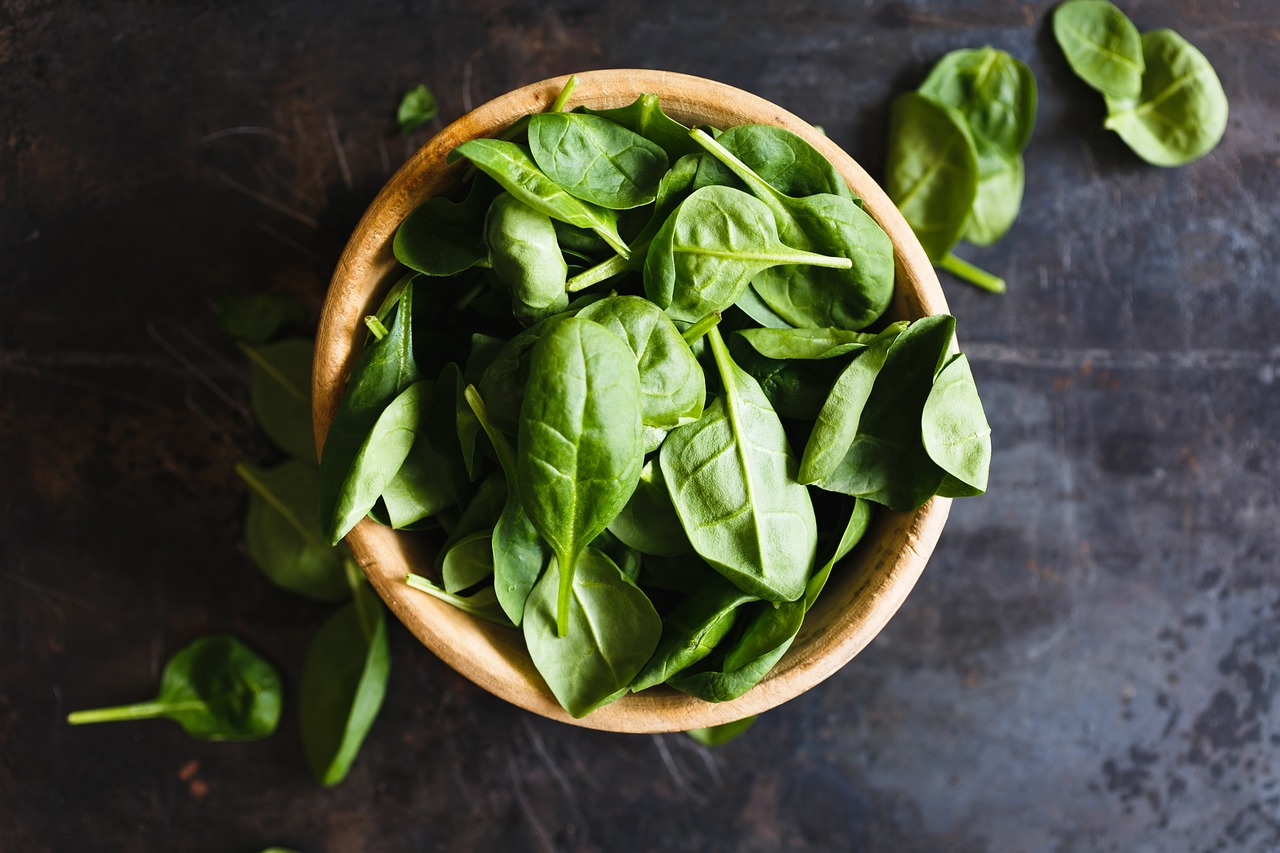
Ah, basil. The fragrant king of summer herbs, its verdant leaves infuse dishes with a touch of sunshine. But what happens when summer’s bounty wanes and fresh basil becomes a distant memory?
Fellow herb enthusiast! Drying your own basil is a surprisingly simple process that allows you to capture summer’s essence and enjoy its flavor throughout the year.
Why Dry Your Own Basil?
While store-bought dried basil is readily available, there are several compelling reasons to embark on your own drying adventure:
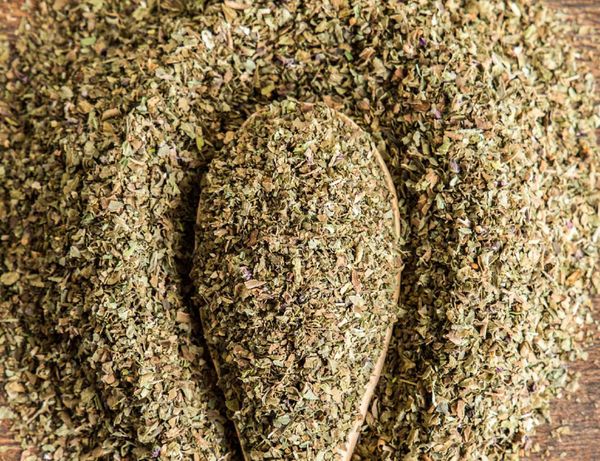
- Superior Flavor: Freshly dried basil retains a vibrancy of flavor that commercially dried varieties often lack. The drying process you control allows you to preserve the delicate essential oils that give basil its unique character.
- Customization: Depending on the drying method, you can tailor the texture of your dried basil. Some methods result in a more coarse crumble, perfect for sprinkling over pizzas, while others yield a finer powder ideal for sauces and marinades.
- Cost-Effective: A single bunch of fresh basil can be transformed into a generous amount of dried herb, saving you money in the long run, especially if you’re a frequent basil user.
- The Satisfaction Factor: There’s a certain satisfaction in creating your own pantry staples. Witnessing the transformation of fresh leaves into a flavorful seasoning adds a personal touch to your culinary creations.
Choosing Your Drying Method: A Three-Way Showdown
Now that you’re convinced of the merits of home-dried basil, let’s explore the three most popular drying methods: air-drying, oven-drying, and dehydrating. Each method offers its own advantages and considerations:
1. Air-Drying: The Classic Approach
- Simplicity: Air-drying is the most low-tech and beginner-friendly method. It requires minimal equipment and relies solely on good air circulation.
- Process: Select healthy, blemish-free basil leaves. Wash them gently and pat them dry with a clean cloth or paper towel. Bunch the leaves loosely together, securing them with twine or a rubber band. Hang the bunches upside down in a warm, dry, and well-ventilated area, ideally out of direct sunlight. A cool, dark attic or a covered porch are excellent drying spots.
- Drying Time: This method takes the longest, typically requiring 5-7 days. Patience is key!
- Benefits: Air-drying preserves the natural color and volatile oils of the basil, resulting in a high-quality dried herb.
- Drawbacks: Air-drying requires consistent air circulation and can be susceptible to mold growth in humid environments.
2. Oven-Drying: Speed Up the Process
- Efficiency: If time is of the essence, oven-drying offers a faster alternative to air-drying.
- Process: Preheat your oven to the lowest possible setting, ideally between 170°F (75°C) and 200°F (95°C). Line a baking sheet with parchment paper. Wash and dry the basil leaves as described in the air-drying method. Arrange the leaves in a single layer on the baking sheet, ensuring they don’t overlap. Prop the oven door slightly open to allow moisture to escape.
- Drying Time: Drying time can vary depending on your oven temperature, basil variety, and leaf size. Check on the leaves frequently, typically every 30 minutes. The basil is ready when the leaves crumble easily between your fingers. Drying time can range from 1-3 hours.
- Benefits: Oven-drying is a relatively quick and straightforward method.
- Drawbacks: High heat can degrade the volatile oils in the basil, resulting in a less potent flavor compared to air-drying.
3. Dehydrating: Precise Control
- Modern Convenience: Dehydrators provide the most controlled drying environment, allowing you to set the temperature and ensure consistent results.
- Process: Follow your dehydrator’s instructions for herb drying. Wash and dry the basil leaves. Arrange them in a single layer on the dehydrator trays. Set the temperature to a low setting, typically between 95°F (35°C) and 125°F (52°C).
- Drying Time: Drying time can vary depending on your dehydrator model, basil variety, and leaf size. Most dehydrators come with timers, allowing you to set a drying time and walk away.
- Benefits: Dehydrators offer the most precise control over the drying process, resulting in a consistent and high-quality dried herb.
- Drawbacks: Dehydrators require an upfront investment and may not be necessary for casual herb drying.
Selecting Your Basil Drying Champion: The Right Method for You
The ideal drying method depends on your priorities and resources. Here’s a breakdown to help you choose:
- For the Time-Constrained Chef: If speed is your primary concern, oven-drying is a good option. Just remember, faster drying may come at the expense of some flavor intensity.
- For the Traditionalist: If you value a natural drying process and a focus on preserving the delicate flavors of basil, air-drying is the way to go. Just be prepared for a longer drying time and ensure you have a suitable drying environment.
- For the Control Freak (in a good way!): If you crave precise control over the drying process and prioritize consistent results, a dehydrator is your champion. It allows you to set the perfect temperature and walk away with peace of mind.
Bonus Round: Microwaving for Basil Emergencies?
While not a traditional drying method, some sources suggest microwaving basil leaves for a quick drying fix. However, this method is generally not recommended. Microwaves can unevenly distribute heat, potentially scorching the leaves and significantly diminishing their flavor. It’s best to stick to the tried-and-true methods for optimal results.
Post-Drying Pampering: Storing Your Basil Treasure
Once your basil is beautifully dried, proper storage is crucial to preserve its flavor and potency. Here are some key tips:
- Cool, Dark, and Airtight: Store your dried basil in a cool, dark, and airtight container. Glass jars with tight-fitting lids are ideal. Avoid plastic containers as they can trap moisture, which can lead to spoilage.
- Location, Location, Location: Keep your dried basil away from direct sunlight, heat sources, and moisture. A pantry shelf away from the stove or oven is a perfect spot.
- Label It!: Label your container with the herb name and date of drying. This helps you keep track of your stash and ensures you use the oldest herbs first.
Unleashing the Flavor: Rehydrating and Using Your Dried Basil
While dried basil is fantastic on its own, rehydrating it can sometimes enhance its flavor and aroma. Here’s how:
- The Gentle Touch: Place a teaspoon of dried basil in a small bowl. Pour a tablespoon of hot water (not boiling) over the basil. Let it steep for 5-10 minutes. The rehydrated basil will have a softer texture and a more pronounced aroma.
- Embrace the Steam: Another option is to hold the dried basil over a pot of steaming water for a few seconds. The steam will gently rehydrate the leaves, releasing their fragrant oils.
Now comes the fun part: incorporating your home-dried basil into your culinary creations! Here are some inspiring ideas:
- Italian Classics: Elevate your pasta dishes, pizzas, and tomato sauces with a sprinkle of dried basil.
- Summer Salads: Add a touch of freshness to summer salads with a pinch of dried basil.
- Herb Blends: Combine your dried basil with other dried herbs like oregano and thyme to create custom herb blends.
- Vinegars and Oils: Infuse olive oil or vinegar with dried basil for a flavorful addition to dressings and marinades.
Drying your own basil is a rewarding and practical way to extend the summer season’s bounty. With a little planning and the right method, you can enjoy the vibrant taste of basil all year long. So grab a bunch of fresh basil, choose your drying champion, and get ready to capture the essence of summer in a jar!