Seed starting with grow lights is a game-changer for gardeners, offering the ability to kick-start the growing season and nurture healthy, robust plants. Whether you’re a beginner or a seasoned gardener, maximizing the potential of grow lights is essential for successful seed starting. In this article, we’ll explore the top 10 tips to help you make the most of seed starting with grow lights, ensuring that your plants thrive from the very beginning.
Table of Contents
Understanding the Basics of Seed Starting with Grow Lights
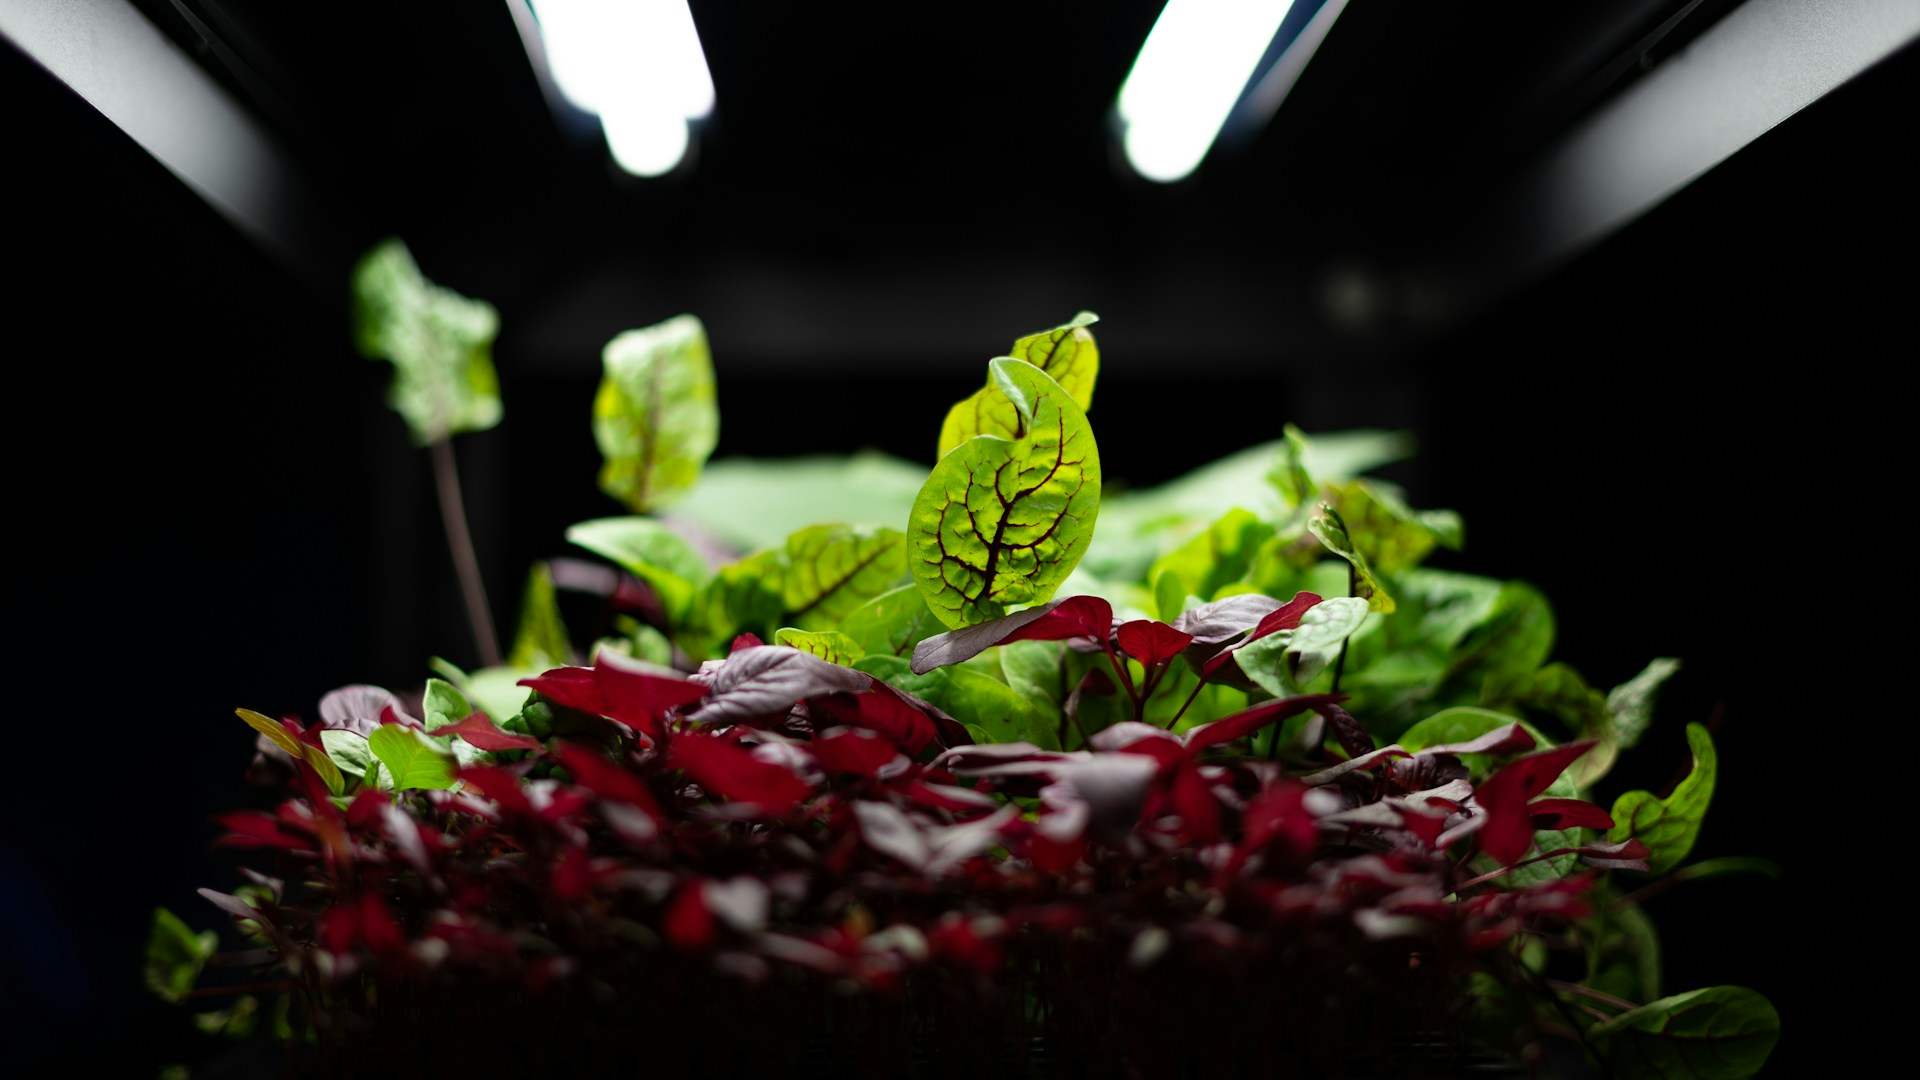
1. Choose the Right Grow Lights
When it comes to seed starting with grow lights, not all lights are created equal. LED and fluorescent lights are popular choices for indoor seed starting, as they provide the full spectrum of light that young plants need to thrive.
2. Understand Light Intensity and Duration
Adjusting the height of your grow lights and the duration of daily exposure is crucial for seed starting success. Different plants have varying light requirements, so it’s essential to research the specific needs of the seeds you’re starting.
3. Consider Light Placement
Positioning your grow lights correctly is key to ensuring that all your seedlings receive adequate light. Be mindful of the distance between the lights and the plants, as well as the angle of the light to promote even growth.
Preparing for Seed Starting with Grow Lights
4. Use the Right Containers
Opt for seed trays or small pots that allow for good drainage and airflow. This will help prevent overwatering and promote healthy root development in preparation for the transition to the garden.
5. Invest in a Timer
Controlling the duration of light exposure is made easier with a timer. This ensures that your seedlings receive consistent light cycles, mimicking natural daylight patterns and promoting strong, healthy growth.
6. Choose the Ideal Location
Select a dedicated space for your seed starting setup, considering factors such as temperature, humidity, and accessibility to water and power sources. A well-planned location will contribute to the overall success of your seed starting with grow lights.
Best Practices for Seed Starting with Grow Lights
7. Monitor Temperature and Humidity
Maintaining the right environmental conditions is essential for seed starting success. Keep a close eye on the temperature and humidity levels around your grow lights to create an optimal growing environment for your seedlings.
8. Practice Regular Rotation
To prevent seedlings from leaning towards the light source and promote uniform growth, make it a habit to rotate your trays of seedlings regularly. This simple step can make a significant difference in the quality of your young plants
9. Adjust Light Heights as Needed
As your seedlings grow, they’ll require more headroom. Be prepared to adjust the height of your grow lights to maintain the ideal distance from the plants, preventing issues such as leggy growth and light burn.
Nurturing Your Seedlings to Transplant-Ready Stage
10. Gradually Introduce Seedlings to Natural Light
In the weeks leading up to transplanting, gradually expose your seedlings to natural light to help them acclimate to outdoor conditions. This gradual transition will reduce the risk of shock and ensure a smooth adjustment period for your young plants.
Mastering seed starting with grow lights is a rewarding journey that begins with a solid understanding of the key factors that contribute to success. By choosing the right grow lights, preparing your setup thoughtfully, and implementing best practices for nurturing your seedlings, you can maximize the potential of seed starting with grow lights. With the top 10 tips shared in this article, you’re well-equipped to embark on a successful seed starting journey that will yield healthy, thriving plants for your garden.