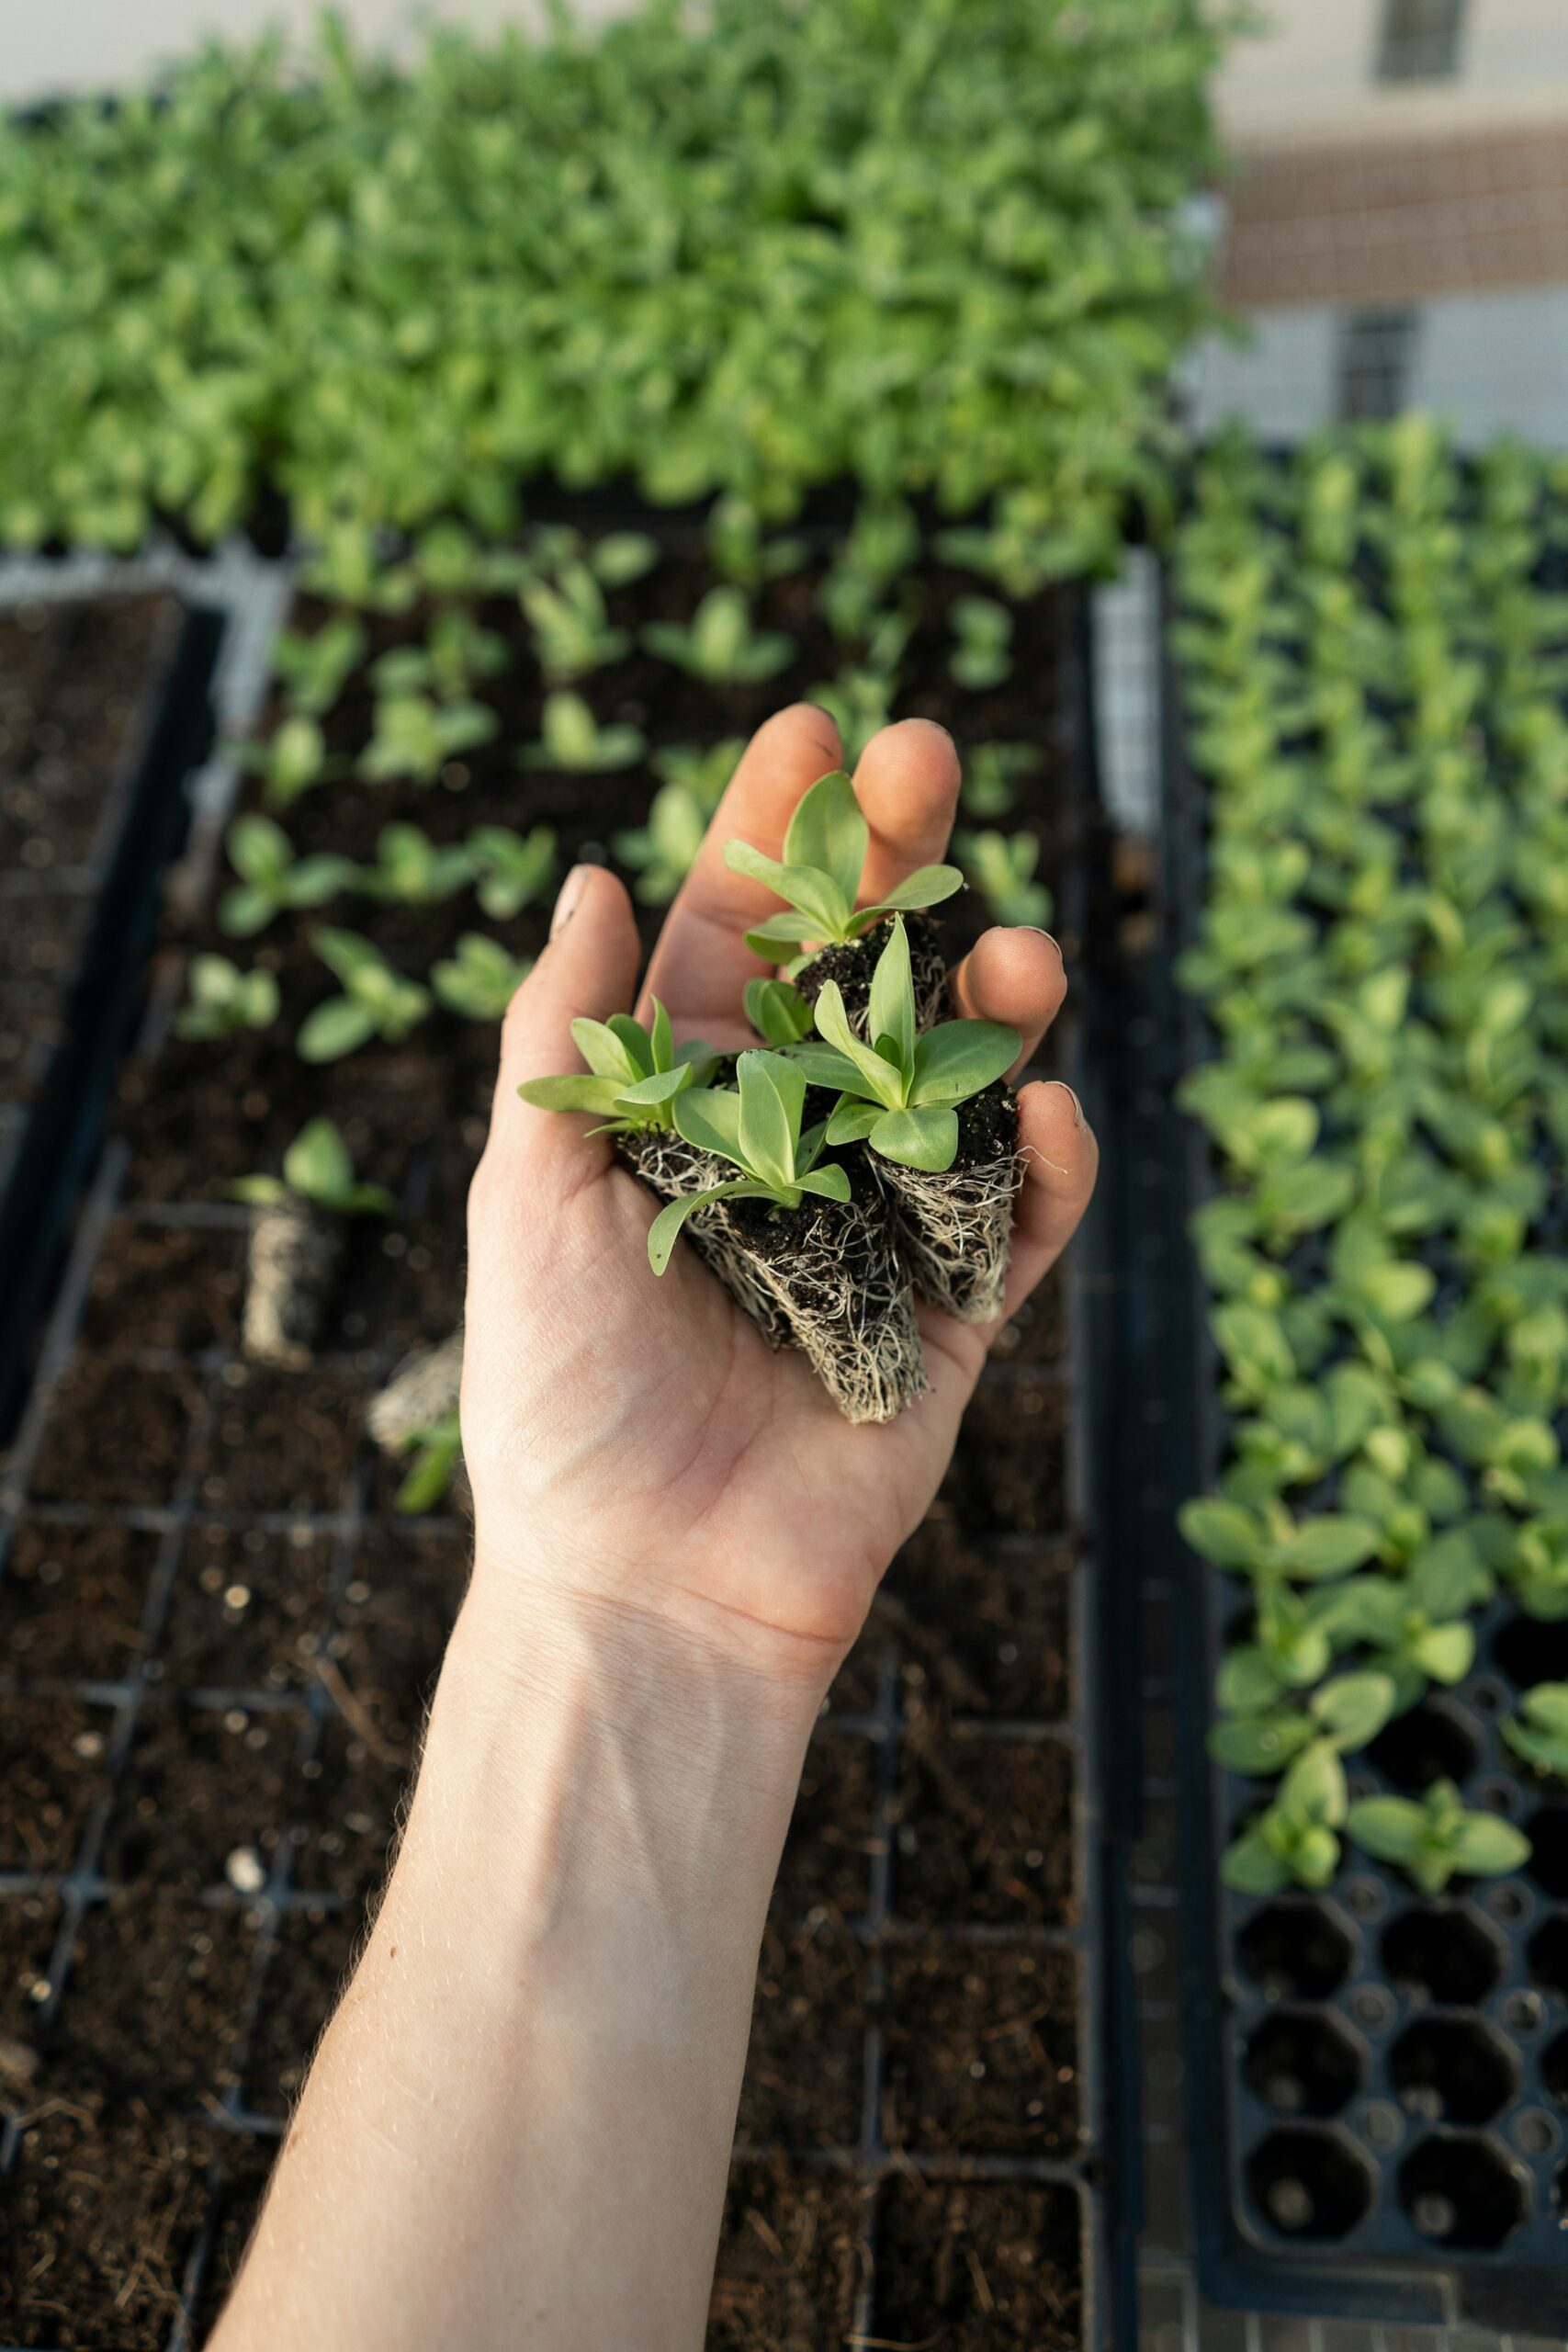
Welcome to the ultimate guide on transforming your kitchen into a seed-starting powerhouse. If you’re an avid gardener or someone looking to embark on a new green journey, this article is tailored just for you. By utilizing the space and resources in your kitchen, you can kickstart your seeds’ growth and ensure a bountiful harvest. Let’s dive into the five tiny yet powerful tricks that will revolutionize your seed-starting experience.
1. Maximizing Natural Light
The quest for the perfect seed-starting haven in your kitchen begins with one crucial element: natural light. Think of it as the lifeblood of your tiny botanical empire, the fuel that drives photosynthesis and nurtures your seedlings into thriving young plants. So, let’s turn your kitchen into a sun-drenched sanctuary, and here’s how:
1. Locate the Sun King’s Domain:
Every kitchen has its own sunniest corner, a golden triangle where daylight reigns supreme. Scout out this sacred space, usually a south-facing window bathed in warmth for most of the day. Imagine your seedlings basking in this natural spotlight, stretching their leaves towards the radiant glow.
2. Window Wonderland:
South-facing windows are your best bet, soaking up the sun’s rays from dawn to dusk. But don’t despair if your kitchen faces another direction! East-facing windows offer morning sunshine, perfect for kickstarting photosynthesis, while west-facing windows provide a warm afternoon glow. Even north-facing windows can contribute, especially with a little help from…
3. Reflective Allies:
Mirror, mirror on the wall, who’s the brightest of them all? In this case, you are! Mirrors strategically placed behind or near your seedlings can bounce precious sunlight, creating a mini sun-drenched oasis. Whiteboards, aluminum foil, or even light-colored walls can also play a supporting role in reflecting light and ensuring your seedlings get their daily dose of vitamin D.
4. Light Leveled Up:
Not all windows are created equal. Short windows or overhangs might cast shadows, leaving some seedlings yearning for more sunshine. To combat this, consider raising your seed trays on stands or shelves to bring them closer to the light source. Remember, even a little extra sun can make a big difference!
5. The Sun Never Sets (Kind of):
For those cloudy days or extended periods of darkness, consider supplementing natural light with grow lights. Choose full-spectrum LED lights that mimic natural sunlight and set them on a timer to provide your seedlings with the right amount of light (usually 12-16 hours per day).
Bonus Tip: Rotate your seed trays regularly to ensure all your seedlings receive even light exposure and prevent them from leaning towards the light source.
2. Creating a DIY Grow Light Station
In addition to natural light, setting up a DIY grow light station can significantly boost your seed-starting efforts. This can be easily achieved using a few simple materials. Install adjustable wire shelves in a corner of your kitchen and hang fluorescent or LED grow lights above each shelf. This setup allows you to control the light intensity and position, ensuring that each type of seed receives the appropriate amount of light. By creating an indoor oasis for your seedlings, you can kickstart their growth regardless of the outdoor weather conditions.
3. Utilizing Vertical Space
When space is limited, thinking vertically can work wonders for your seed-starting endeavors. Consider installing a vertical shelving unit or repurposing an old bookshelf to accommodate your seed trays. This not only saves valuable floor space but also allows you to grow a larger number of seedlings in a compact area. Furthermore, vertical gardening can be an aesthetically pleasing addition to your kitchen, turning it into a seed-starting powerhouse that’s as beautiful as it is functional.
4. Incorporating a Seed-Starting Calendar
To ensure the success of your seed-starting venture, it’s crucial to incorporate a seed-starting calendar into your kitchen. This calendar should outline the ideal sowing, transplanting, and harvesting dates for each type of seed you plan to grow. By staying organized and following a schedule, you can maximize the potential of your kitchen as a seed-starting powerhouse. Additionally, a seed-starting calendar helps you stay on track with your gardening tasks, turning your kitchen into a well-oiled seed-starting machine.
5. Embracing Indoor Seed-Starting Techniques
Finally, to truly harness the power of your kitchen as a seed-starting powerhouse, consider embracing indoor seed-starting techniques that allow you to grow plants year-round. This can include growing microgreens, herbs, or even dwarf fruit varieties on your kitchen counter or windowsill. By diversifying your indoor garden, you can make the most of your kitchen’s potential as a continuous source of fresh, home-grown produce.
In conclusion, by implementing these five tiny tricks, you can effortlessly transform your kitchen into a seed-starting powerhouse. From maximizing natural light to embracing indoor seed-starting techniques, your kitchen has the potential to become a thriving hub of greenery and growth. So, roll up your sleeves, gather your seeds, and get ready to witness the incredible transformation of “Your Kitchen into a Seed-Starting” powerhouse right before your eyes.
