Hydrangeas, with their vibrant mophead blooms and elegant presence, are a cherished addition to many gardens. But for some gardeners, the question of pruning these beauties can be a source of confusion. Fear not, fellow plant enthusiasts! This guide will transform hydrangea pruning from a daunting task to a simple process that unlocks a cascade of stunning blooms.
Understanding Your Hydrangea (It’s Not a One-Size-Fits-All!)
The key to successful hydrangea pruning lies in understanding the specific type you have. Here’s a breakdown of the three main hydrangea types and their pruning requirements:
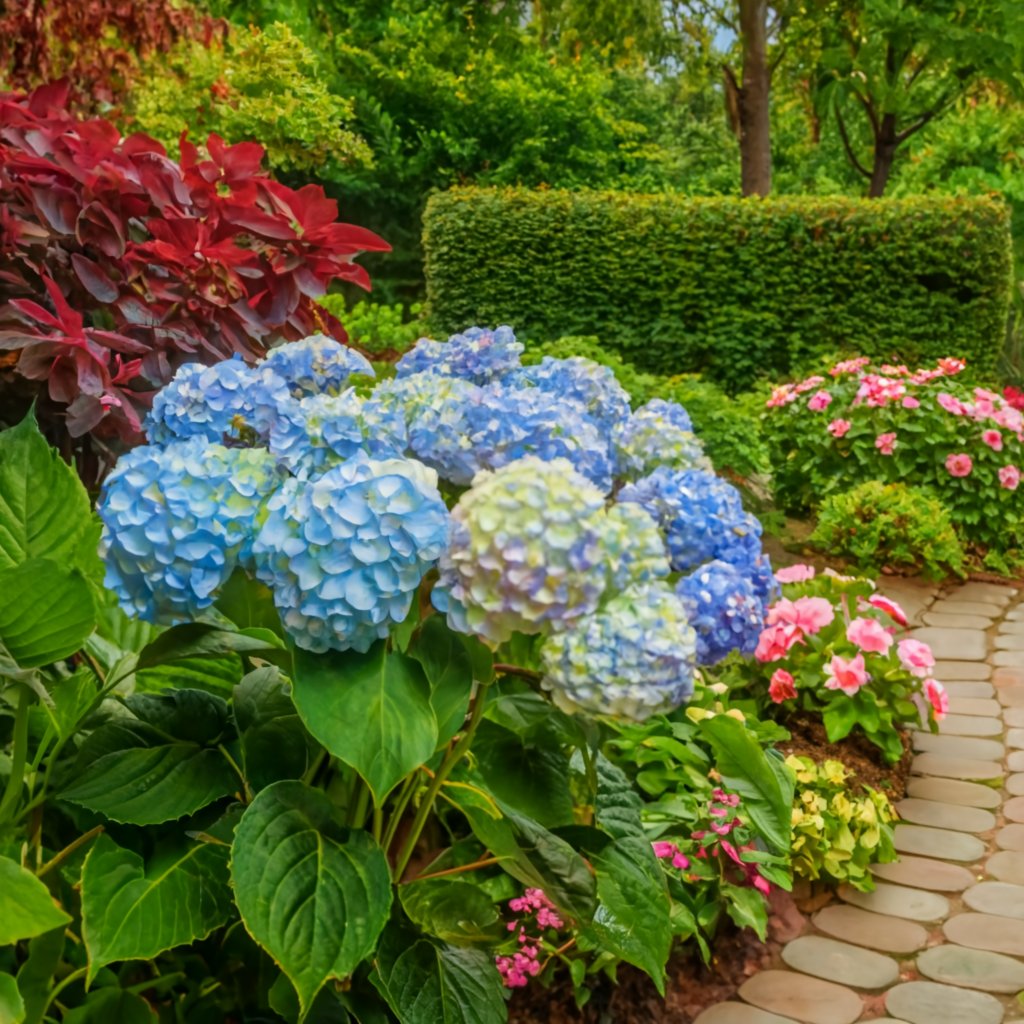
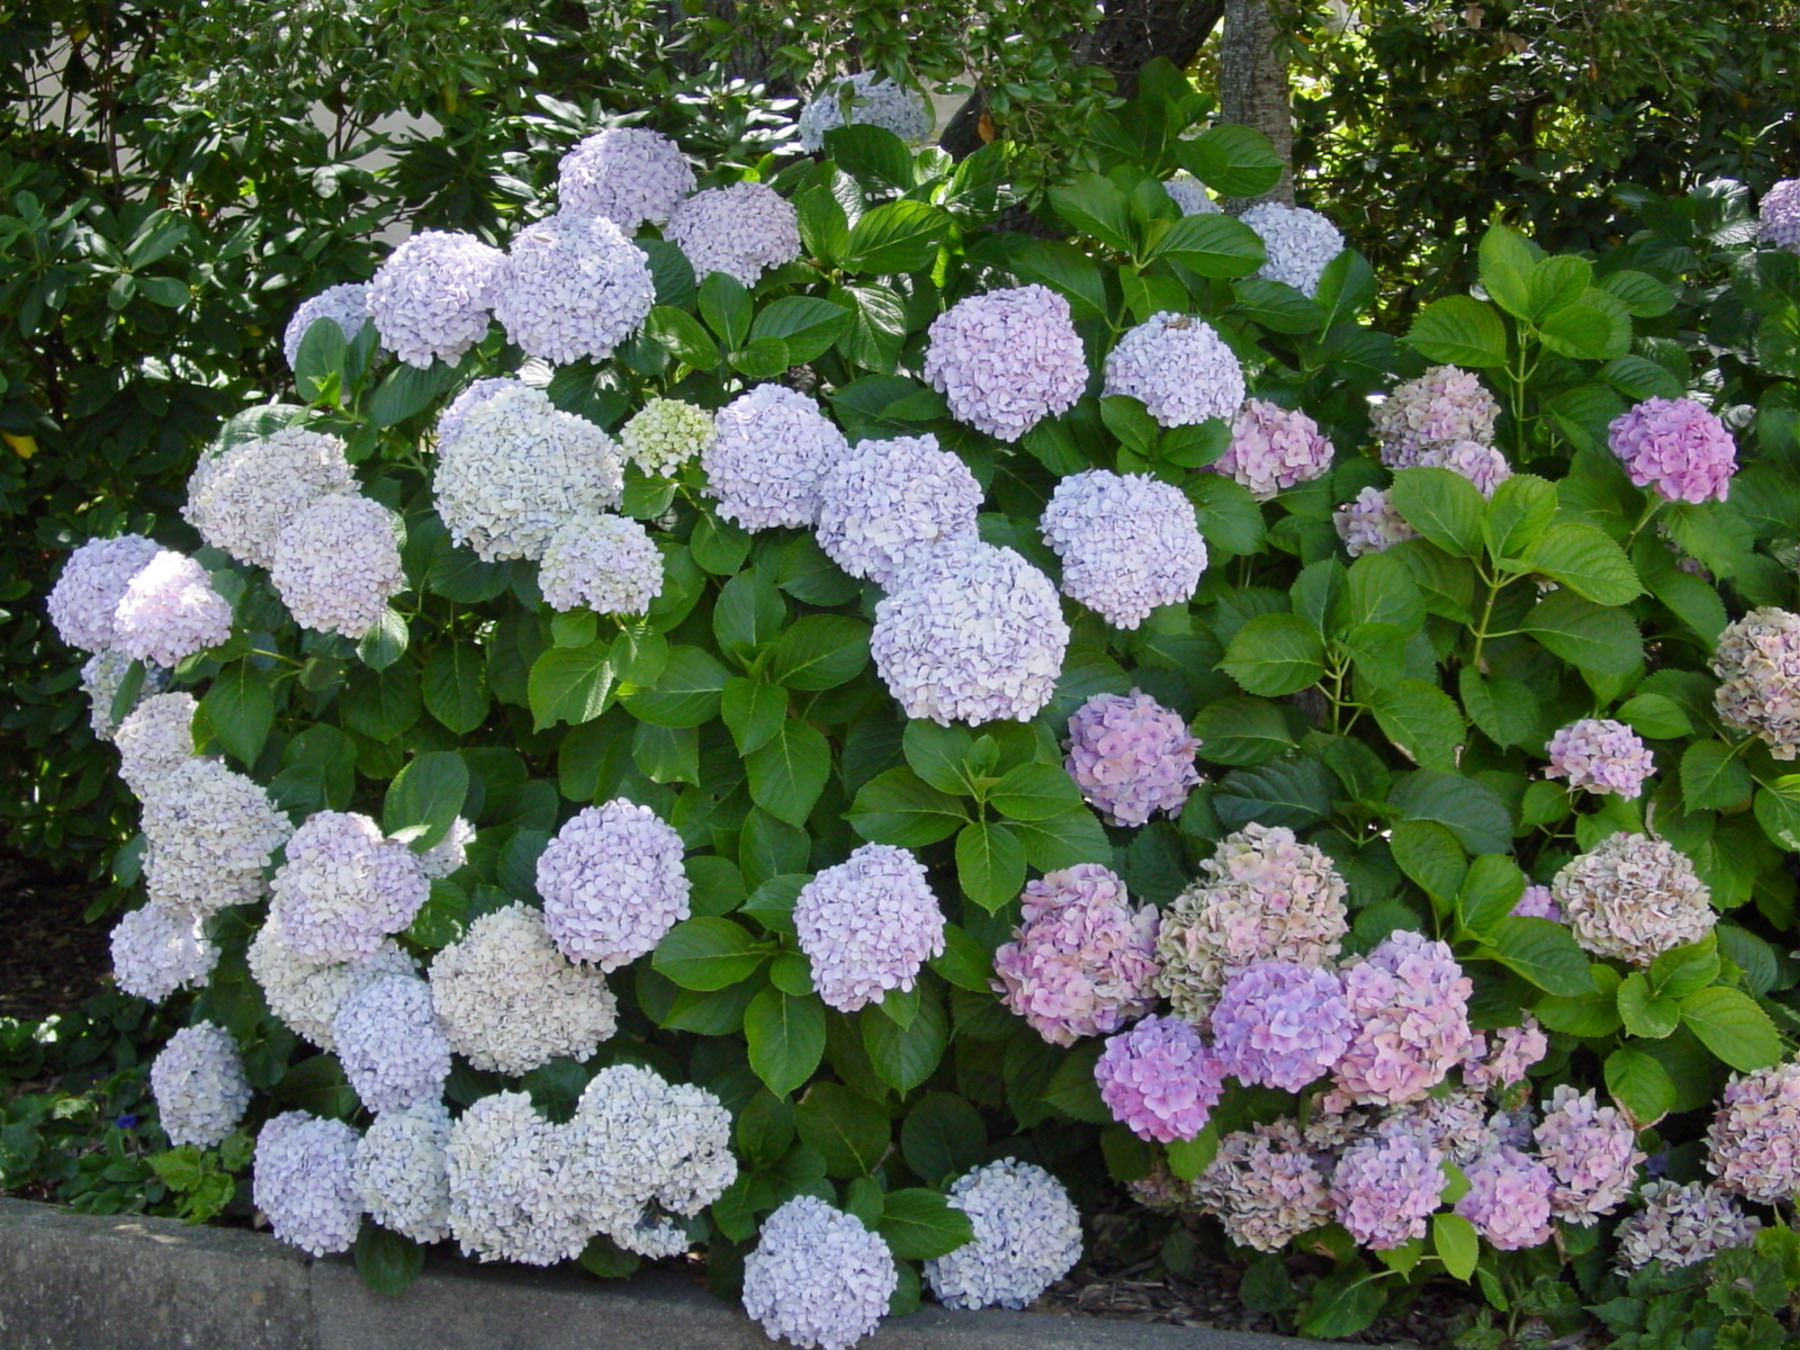
Bigleaf Hydrangeas

These showstoppers produce stunning blue, pink, or purple blooms. Prune bigleaf hydrangeas in late summer (after flowering) or early fall.
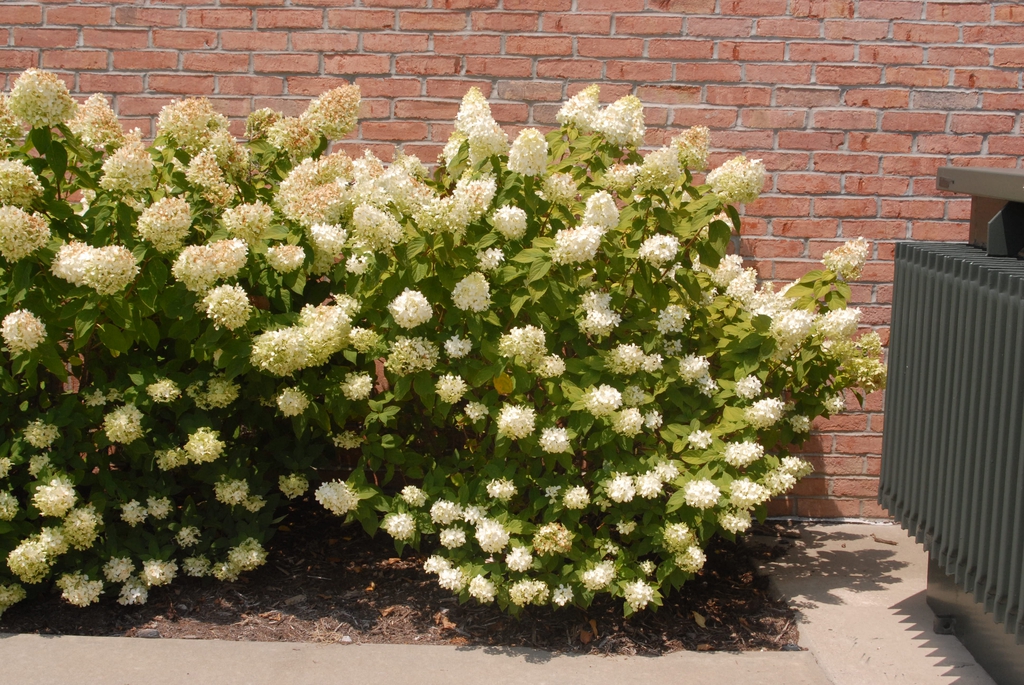
Panicle Hydrangeas

Panicle hydrangeas boast large, cone-shaped flower clusters in white or shades of pink. Prune these hydrangeas in late winter or early spring before new growth appears.
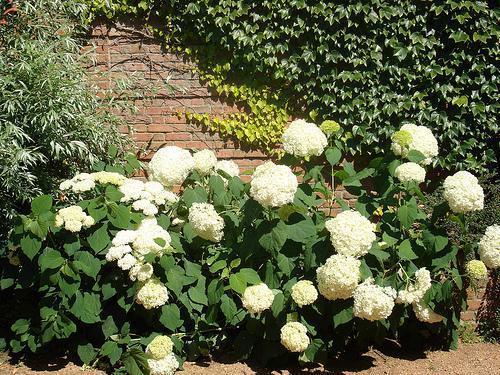
Smooth Hydrangeas

These reliable bloomers produce large, white, snowball-like flower clusters. Prune smooth hydrangeas in late winter or early spring before new growth emerges.
Knowing your hydrangea’s type empowers you to choose the right pruning approach for a flourishing display of blooms.
Gear Up for Effortless Pruning (The Essentials)
Before diving into the world of hydrangea pruning, ensure you have the essential tools for a smooth and successful experience:
- Sharp Pruning Shears: A clean cut minimizes damage to the plant. Opt for bypass pruners for thicker stems and anvil pruners for dead or dry branches.
- Lopping Shears: For thicker branches beyond the capacity of your pruning shears.
- Gloves: Protect your hands from thorns and keep them clean.
- Rake: To clear away debris after pruning.
With the right tools in hand, you’re ready to tackle hydrangea pruning with confidence!
Unveiling the Secrets: Step-by-Step Pruning Techniques
Now that you understand your hydrangea type and have your tools assembled, let’s delve into the specific pruning techniques for each variety:
Bigleaf Hydrangeas:
- Identify Spent Blooms: Locate the flower heads that have finished flowering. These will be faded or dry to the touch.
- Locate Renewal Buds: Just below the spent flower head, you’ll find small, plump buds for next year’s blooms.
- Make Your Cut: Using your sharp pruning shears, cut just above a healthy pair of renewal buds, aiming for a diagonal cut about ¼ inch above the bud. Avoid cutting into the new growth.
- Remove Old or Diseased Stems: Look for any dead, diseased, or overcrowded stems. Prune these back to a healthy branch or at the base of the plant.
- Thinning for Airflow: For bushier plants, selectively remove some older stems to improve air circulation within the hydrangea. This helps prevent disease and promotes healthy growth.
Panicle Hydrangeas:
- Shorten Stems: Using your pruning shears, shorten the length of each stem by about one-third to one-half its original length. Aim for a cut just above a healthy bud.
- Encourage Branching: For bushier plants with larger flower heads, consider making a secondary cut on each remaining stem, removing about an inch above a lower bud. This encourages the development of side branches, resulting in a fuller display of blooms.
- Rejuvenating Overgrown Plants: For overgrown panicle hydrangeas, you can perform a more drastic renewal prune. Cut back all stems to within 2-3 buds from the base of the plant in late winter or early spring. This will encourage strong new growth and a rejuvenated plant in the following season.
Smooth Hydrangeas:
- Cut Back Stems: Using your pruning shears, cut back all stems to a height of about 12-18 inches from the ground in late winter or early spring. This encourages vigorous new growth and abundant blooms in the summer.
- Remove Weak or Diseased Stems: While pruning, identify any weak, diseased, or dead stems and remove them entirely at the base of the plant.
Remember: When pruning any hydrangea type, always make clean cuts with sharp tools. This minimizes the risk of infection and promotes healthy healing.
Beyond the Basics: Pro Tips for Hydrangea Happiness
While the core pruning techniques ensure a good foundation, here are some additional
While the core pruning techniques ensure a good foundation, here are some additional pro tips to elevate your hydrangea care and maximize their blooming potential:
- Hydration is Key: Hydrangeas are thirsty plants, especially during hot summer months. Water deeply and regularly at the base of the plant, aiming for the soil to be consistently moist but not soggy.
- Mulch Matters: Applying a layer of mulch around the base of your hydrangeas helps retain moisture, regulate soil temperature, and suppress weeds. Opt for organic mulch like wood chips or shredded bark for a natural look and added benefits.
- Mind the Munchers: Deer and rabbits can be drawn to the tender foliage of hydrangeas. If you suspect these visitors are feasting on your plants, consider using protective fencing or repellents to deter them.
- The Power of Deadheading: Throughout the blooming season, you can deadhead spent flowers to encourage new blooms and maintain a neat appearance. Simply pinch off the faded flower head just above a set of healthy leaves.
- Don’t Fear the Flopped Blooms: Bigleaf hydrangeas with heavy flower heads might struggle to hold themselves upright, especially after heavy rain. To prevent drooping, use plant supports or stakes to gently guide the stems upright.
Addressing Common Hydrangea Concerns
Even with proper care, hydrangeas can sometimes present challenges. Here’s how to address some common hydrangea concerns:
- No Blooms? The most common culprit behind a lack of blooms is incorrect pruning. Ensure you’re pruning your specific hydrangea type at the right time of year and using the appropriate technique. Additionally, insufficient sunlight or nutrient deficiencies can also hinder flowering.
- Pink or Blue Blooms? For bigleaf hydrangeas, the flower color is influenced by soil pH. Acidic soil (pH below 6.0) promotes blue blooms, while alkaline soil (pH above 7.0) encourages pink blooms. You can adjust your soil pH with additives like aluminum sulfate (for bluer blooms) or lime (for pinker blooms) but do so cautiously with soil testing to avoid harming the plant.
- Brown Leaves or Wilting: These symptoms can indicate underwatering, overwatering, or disease. Check the soil moisture and adjust your watering habits accordingly. Inspect the plant for signs of pests or diseases and treat accordingly.
