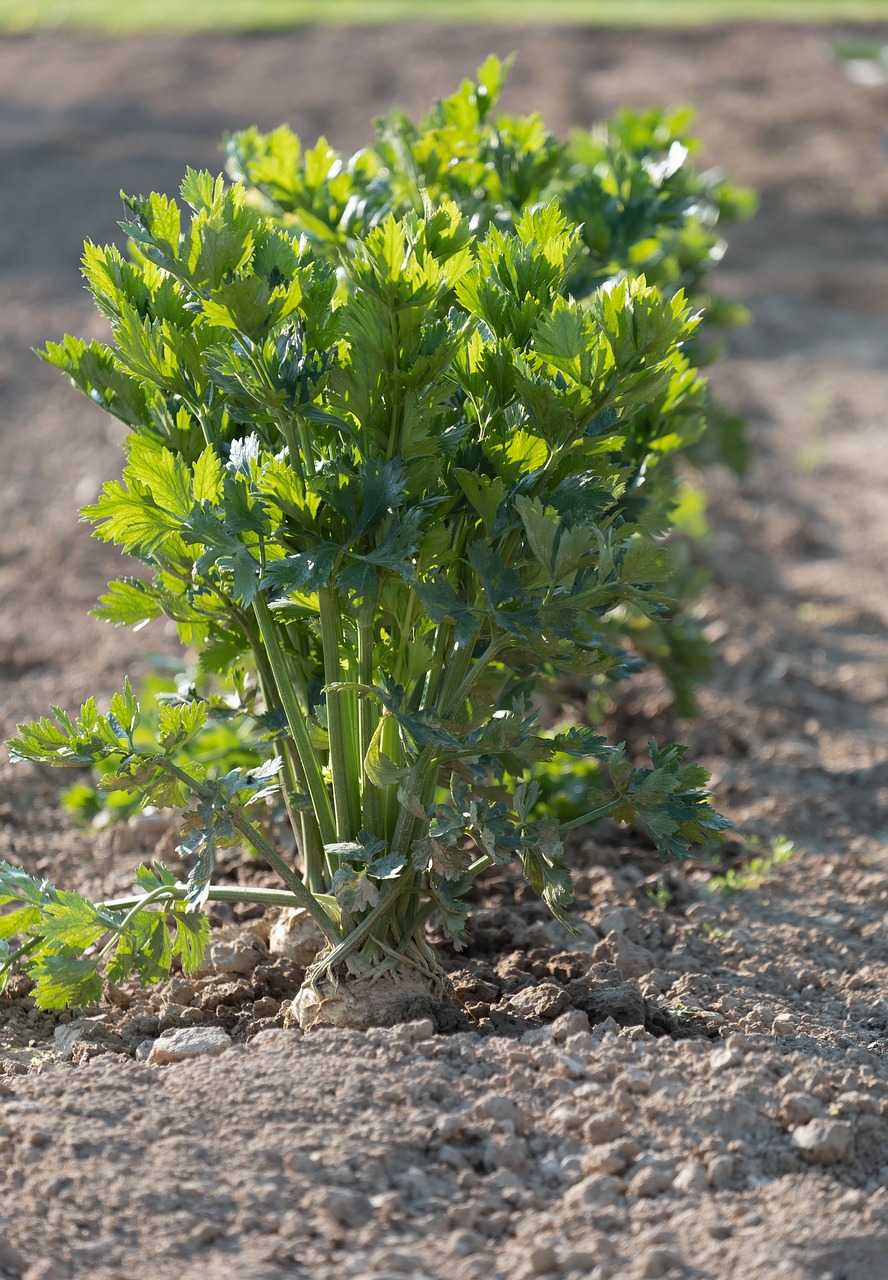
Celery, that emerald green crunch in your favorite salads and stews, isn’t just a grocery store staple. It’s a surprisingly rewarding vegetable to grow at home, offering a taste of accomplishment alongside a harvest of crisp, homegrown goodness. But where do you even begin? Dear veggie enthusiast! This guide will walk you through every step, from selecting seeds to blanching those stalks for peak flavor.
Seed Selection and Starting Strong
Not all celery is created equal. When choosing seeds, consider your climate and desired harvest time. Here’s a breakdown of popular varieties:
- Early varieties (60-70 days): Perfect for impatient gardeners or those with short growing seasons. Look for varieties like ‘Utah 52-70’ or ‘Golden Self-Blanching’.
- Midseason varieties (70-90 days): Offer a good balance between growing time and yield. Try ‘Tall Utah’ or ‘Tango’.
- Late varieties (90-120 days): Produce the thickest stalks, ideal for avid celery fans. ‘Giant Pascal’ and ‘Monarch’ are excellent choices.
Starting from Seed:
Celery seeds are tiny, so opt for seed starting indoors 8-10 weeks before the last frost. Here’s how:
- Prepare the Seed Tray: Fill a shallow tray with a moistened seed starting mix.
- Sow the Seeds: Gently press the tiny seeds onto the soil surface, barely covering them.
- Light and Moisture: Keep the tray in a warm location (around 70°F) with bright light, using a grow light if needed. Mist the surface regularly to maintain moisture.
- Patience is Key: Germination can take up to two weeks.
- Thinning the Seedlings: Once seedlings have two sets of true leaves, thin them to ensure proper spacing.
Transplanting:
When your seedlings have 4-6 true leaves and the danger of frost has passed, it’s time to transplant them to their final home!
Growing Celery In Pots
Choosing the Right Container:
- Select a pot at least 12 inches deep and 18 inches wide for a single celery plant. Opt for even larger containers if growing multiple plants.
- Plastic pots are ideal for celery as they retain moisture well. However, well-draining ceramic or terracotta pots can work too, as long as you’re extra vigilant about watering.
Potting Mix and Drainage:
- Fill your chosen container with a high-quality, well-draining potting mix. Adding organic compost to the mix will further enhance moisture retention.
- Ensure your pot has adequate drainage holes. If not, consider adding them yourself or using a saucer with gravel to prevent waterlogging.
Planting:
- Once your seedlings have 4-6 true leaves, transplant them to your prepared container. Space them 8-12 inches apart for proper airflow and stalk development.
- Gently firm the soil around the base of each plant and water thoroughly.
Creating a Celery In Garden
Location, Location, Location:
Celery thrives in cool, moist conditions. Choose a spot with full sun to light shade, offering protection from the harsh afternoon sun in hot climates.
Soil Preparation:
Celery prefers rich, fertile soil with excellent drainage. Amending your garden bed with compost or aged manure is highly recommended. Aim for a soil pH between 6.0 and 6.8.
Planting:
- Space your transplants 12-18 inches apart, depending on the variety.
- Gently firm the soil around the base of each plant.
- Water thoroughly after planting.
Nurturing Your Celery Patch
Watering:
Consistent moisture is crucial for growing crisp, flavorful celery. Water deeply and regularly, especially during hot weather. Aim to keep the soil evenly moist but not soggy.
Mulching:
Apply a layer of organic mulch around your plants to retain moisture, suppress weeds, and regulate soil temperature.
Fertilizing:
Feed your celery plants a balanced fertilizer every few weeks during the growing season. A light application of fish emulsion or compost tea can also be beneficial.
Blanching for Tender Stalks (Optional):
For a milder flavor and lighter green color, you can blanch your celery stalks. Here’s how:
- As your celery plants mature, pile soil or mounded compost around the lower 6-8 inches of the stalks to block sunlight.
- Alternatively, use cardboard or newspaper collars to achieve the same effect.
Dealing with Common Threats:
While celery is a relatively low-maintenance plant, keep an eye out for these potential problems:
- Celery Leafminer: This pest can cause unsightly damage to leaves. Use insecticidal soap or neem oil for control.
- Earwigs: These nocturnal insects can munch on leaves. Encourage beneficial predators in your garden like ladybugs and lacewings, or create earwig traps.
- Diseases: Fungal diseases like blight can affect celery. Ensure proper air circulation and avoid overhead watering to minimize the risk.
Harvesting and Enjoying Your Bounty
Harvest Time:
You can harvest celery stalks as needed throughout the growing season. Simply cut mature stalks at the base with a sharp knife.
Storing Your Harvest:
Wrap harvested celery stalks in damp paper towels and store them in the crisper drawer of your refrigerator for up to two weeks.
Beyond the Bunch:
Celery isn’t just for salads! Explore its versatility in a variety of dishes:
- Creamy Celery Soup: A comforting classic, perfect for for chilly evenings.
- Stuffed Celery Stalks: Fill them with your favorite cream cheese mixture, chopped vegetables, or cooked grains for a delightful appetizer or light lunch.
- Stir-fries and Sautéed Dishes: Diced celery adds a delightful crunch to Asian-inspired dishes and quick stir-fries.
- Celery Root (Celeryiac): Don’t discard the celery root! This underappreciated bulb can be roasted, mashed, or used in soups and stews for a unique earthy flavor.
