Seed starting without grow lights is a cost-effective and eco-friendly way to grow your plants at home. With the right techniques and tools, you can create a thriving environment for your seeds to germinate and grow. In this guide, we will walk you through a 5-step process to ensure easy and successful seed starting without the need for grow lights.
Step 1: Choose the Right Seeds
Picking the right seeds is the foundation of successful seed starting without grow lights, and it requires considering three key factors: climate compatibility, growing season symphony, and sunlight seekers vs. shade dwellers.
Climate Compatibility: Think of your home as a miniature biome, with its own temperature fluctuations and daylight rhythms. Your seed choices need to be compatible with this internal ecosystem. Warm-weather sun worshippers like tomatoes and peppers crave long days and balmy nights, making them ideal candidates for indoor germination before the frost melts. On the flip side, cool-season crooners like spinach and lettuce prefer the crisp dawn of spring, happily sowing their seeds directly outdoors once the soil warms.
Growing Season Symphony: Pay attention to the length of your growing season, like a conductor orchestrating the play’s duration. If you have a short summer, think of fast-maturing varieties that can sprint from seed to harvest before the curtain falls on warm weather. For those with generous, sun-drenched stretches, long-season favorites like eggplants and pumpkins can bask in the extended spotlight.
Sunlight Seekers vs. Shade Dwellers: Not all plants are sun worshippers. While tomatoes crave eight to ten hours of daily sunshine, leafy greens might prefer a dappled afternoon shade. Choose seeds that align with your available light. A south-facing window can be a haven for light-lovers, while east-facing nooks may suit shade-tolerant varieties.
Beyond the Basics: Dig deeper into the specific needs of your chosen seeds. Some, like basil, may prefer light, well-draining soil, while others, like peppers, might benefit from a touch of fertilizer or a pinch of starter mix. Knowledge is power when it comes to creating the perfect haven for your tiny botanical babies.
Step 2: Prepare the Seed Starting Mix
A high-quality seed starting mix is essential for successful seed germination. This mix should be well-draining, sterile, and rich in nutrients. You can create your own seed starting mix by combining equal parts of peat moss, vermiculite, and perlite. Alternatively, you can purchase a pre-made seed starting mix from your local garden center.
Step 3: Plant the Seeds
Once you have your seeds and seed starting mix, it’s time to plant the seeds. Fill your seed starting tray or pots with the mix, leaving about 1/4 inch of space at the top. Plant the seeds according to the instructions on the seed packet, usually about 1/4 inch deep. Gently press the soil around the seeds to ensure good contact with the soil.
Step 4: Provide Adequate Water and Light
While seed starting without grow lights is possible, it’s essential to provide your seeds with adequate water and light. Place your seed starting tray or pots in a warm, sunny location, such as a south-facing window. If you don’t have access to natural light, you can use a seedling heat mat to maintain a consistent temperature.
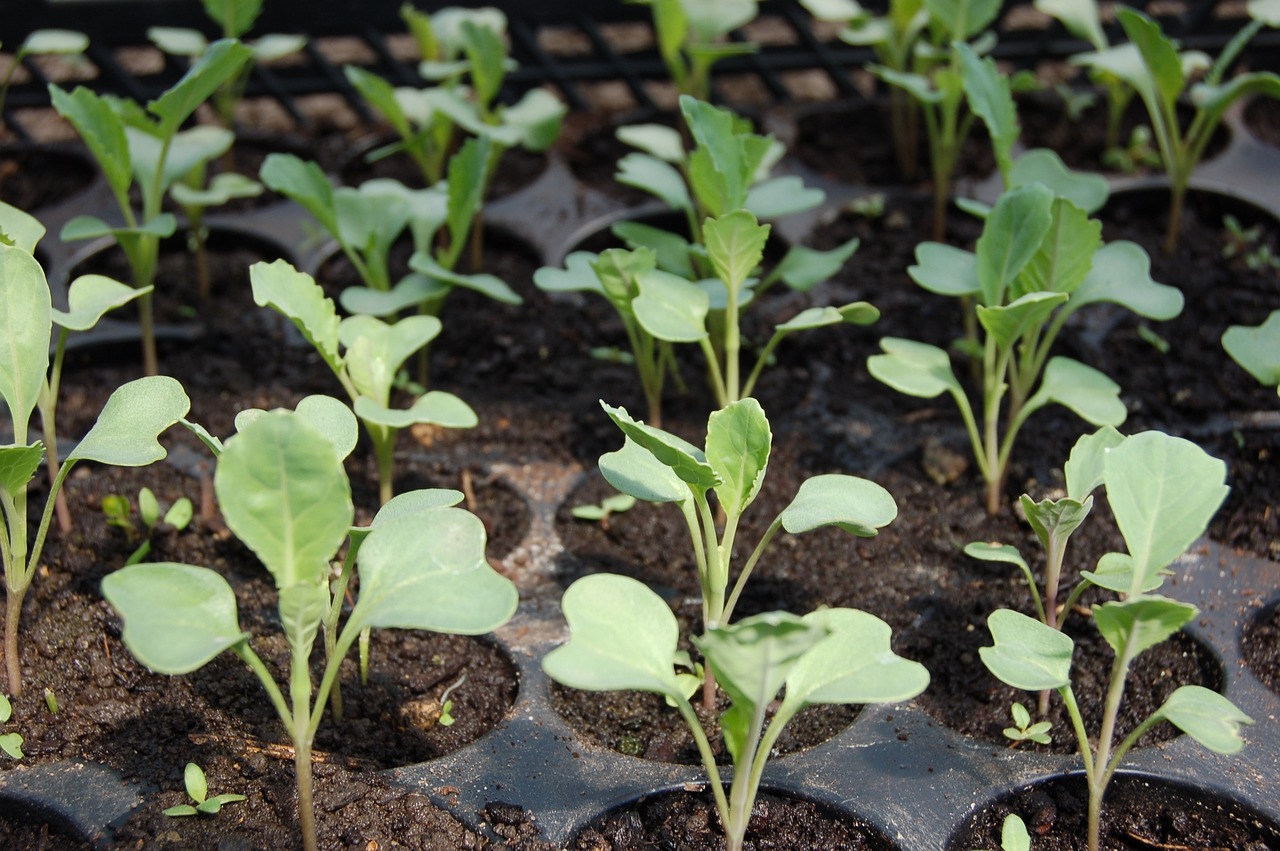
Step 5: Monitor and Care for Your Seedlings
As your seeds germinate and grow, monitor their progress and provide the necessary care. Keep the soil consistently moist but not waterlogged, and ensure they receive enough light. Once your seedlings have grown their first set of true leaves, you can transplant them into larger pots or directly into your garden.
Seed starting without grow lights is a rewarding and eco-friendly way to grow your own plants at home. By following these 5 steps, you can create a thriving environment for your seeds to germinate and grow. Remember to choose the right seeds, prepare the seed starting mix, plant the seeds, provide adequate water and light, and monitor and care for your seedlings. With patience and dedication, you’ll be enjoying the fruits of your labor in no time.