Gardening is a great way to connect with nature and grow your fresh produce. However, not everyone has access to a large garden or outdoor space. That’s where bucket gardening comes in! It’s a simple and affordable way to grow your fruits, vegetables, and herbs, even if you only have a small balcony or patio. In this article, we’ll share 10 tips for high yields in bucket gardening, perfect for beginners.
This post may have affiliate links. This means that sometimes when you click a link on our site and make a purchase on Amazon, we may earn a small commission at no additional cost to you. We only recommend products we truly believe in, and your support helps keep us running!
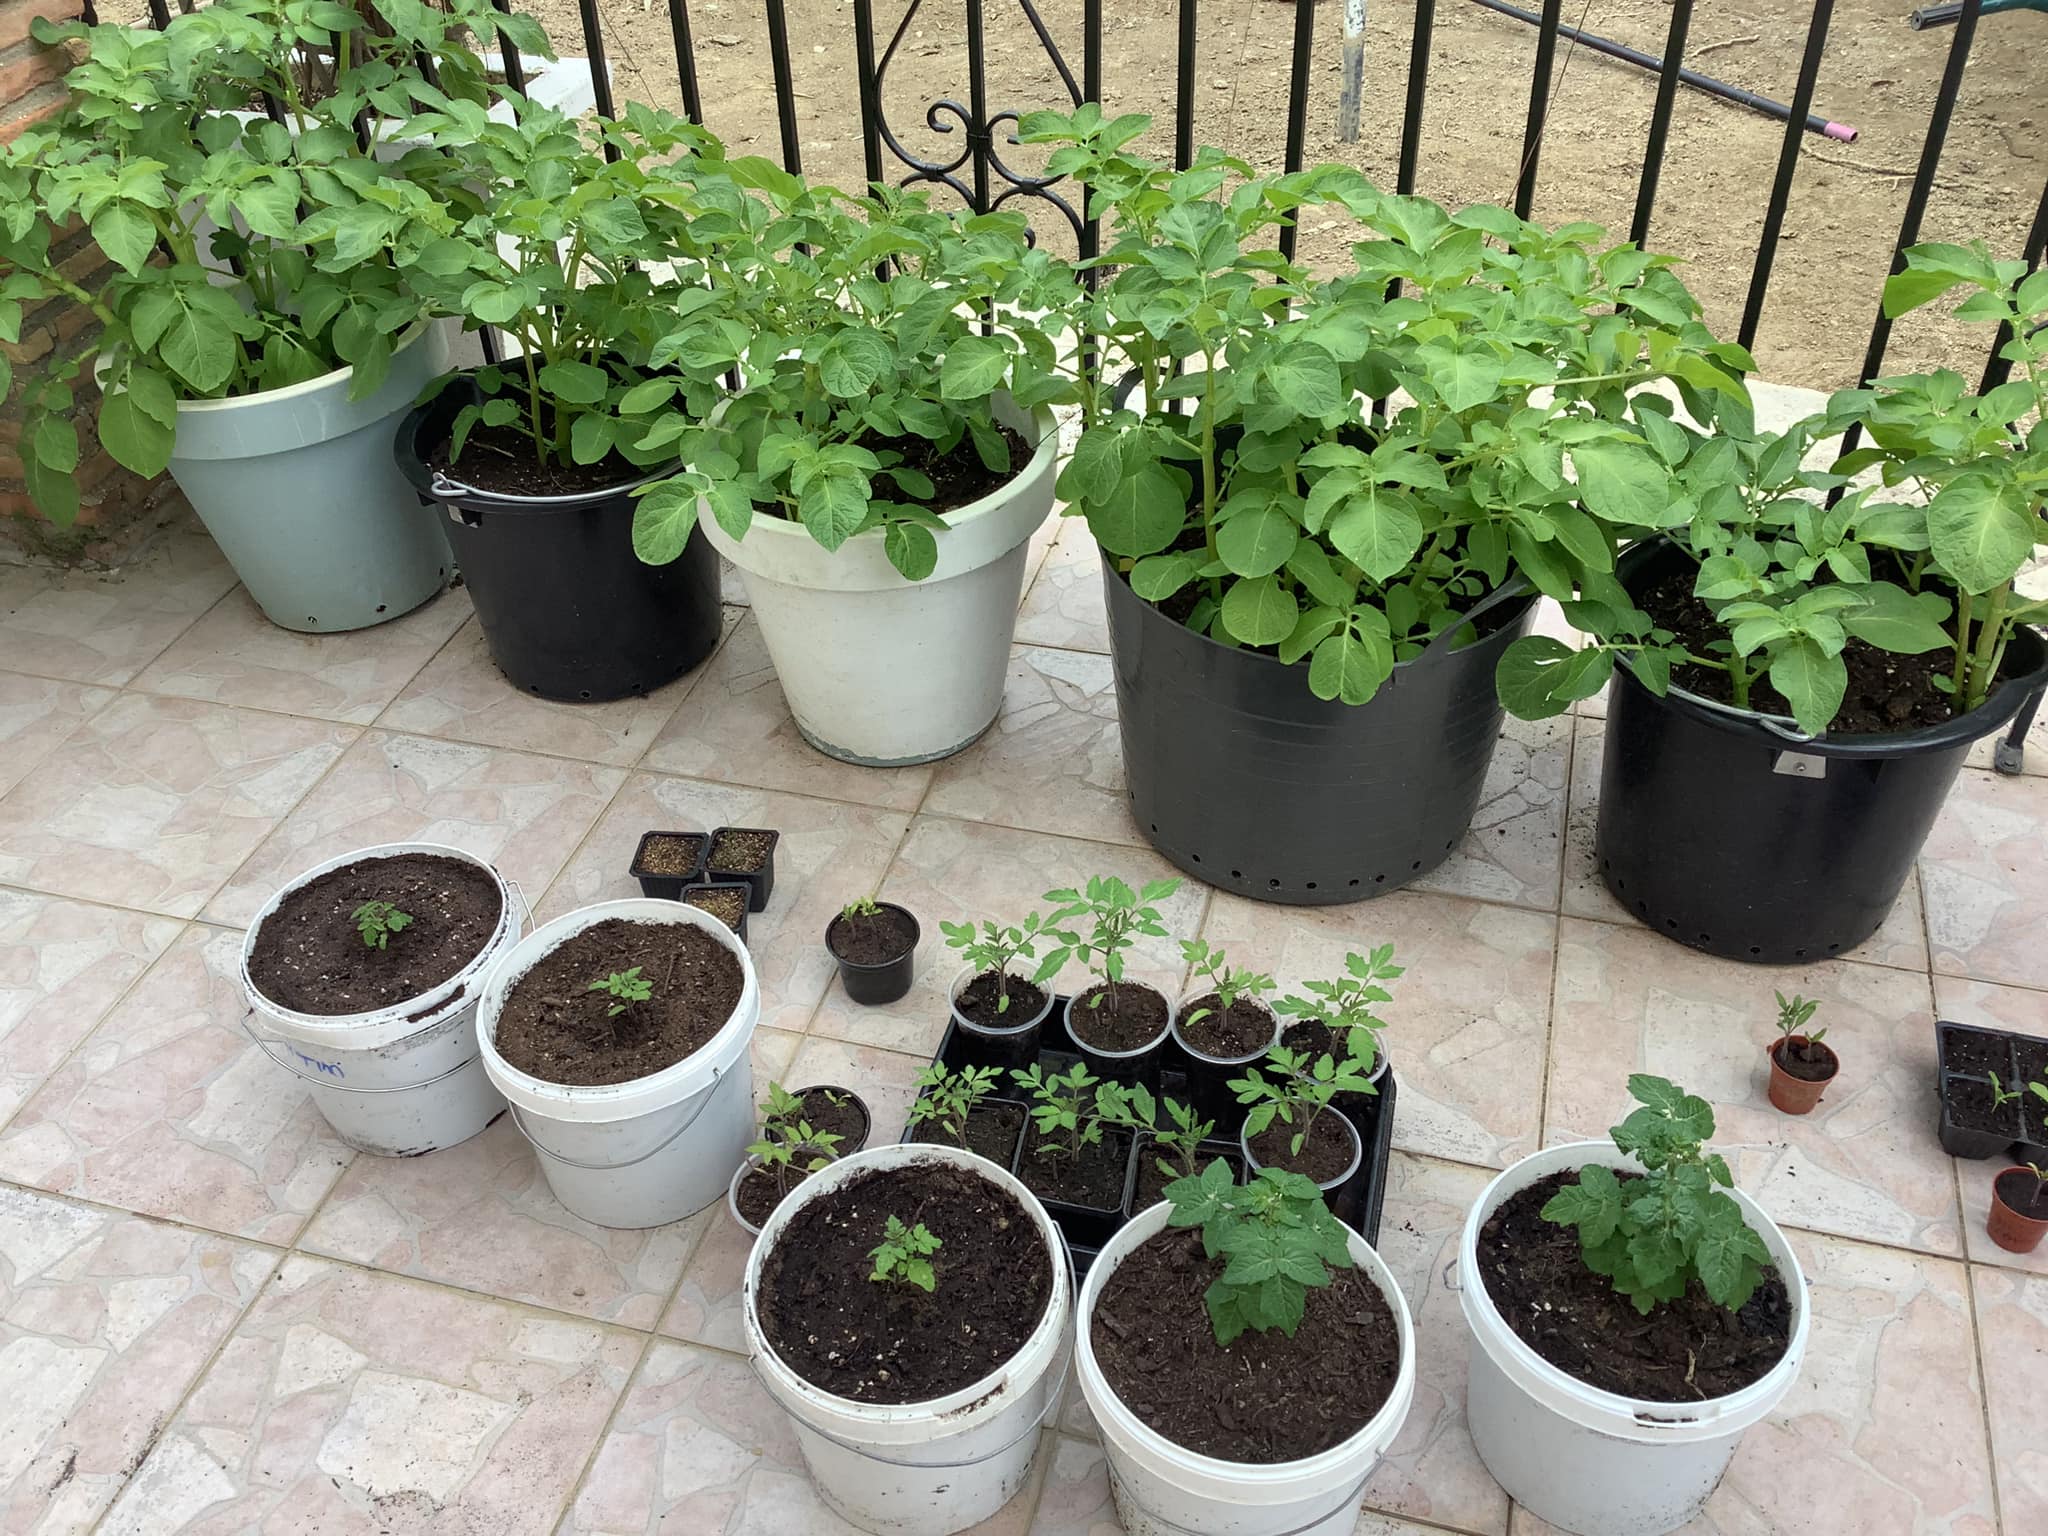
1. Choosing Your Perfect Bucket Brigade: Selecting the Right Containers
The foundation of your bucket garden lies in selecting suitable containers. Opt for sturdy, food-grade plastic buckets with a capacity of at least 5 gallons. This allows ample space for root development, crucial for healthy plant growth. Ensure proper drainage by drilling several holes in the bottom of each bucket to prevent waterlogging, which can harm your precious plants.
Pro Tip: Upcycle old buckets! Just ensure they’re thoroughly cleaned and free of harmful chemicals before repurposing them for your green haven.
2. Location, Location, Location: Finding the Sweet Spot for Your Plants
Sunlight is the golden ticket for thriving bucket gardens. Most vegetables and herbs require at least 6-8 hours of direct sunlight daily. South-facing balconies or patios are ideal, offering maximum sun exposure. If full sun isn’t available, consider placing your buckets in the sunniest spot you have and supplementing with grow lights if necessary.
Different plants have varying sunlight needs. Research the specific requirements of your chosen vegetables or herbs to ensure they receive the optimal amount of sunshine.
3. Building the Perfect Potting Mix: The Recipe for Success
The foundation of your plant’s health lies in the soil you provide. Forget the garden soil from your backyard – it’s often too dense and retains too much moisture, potentially suffocating your bucket dwellers. Instead, opt for a high-quality, well-draining potting mix specifically formulated for container gardening. These mixes often contain a blend of ingredients like peat moss, perlite, and compost, offering the perfect balance of aeration, drainage, and moisture retention.
Top Tip: Consider adding a slow-release fertilizer to your potting mix according to the manufacturer’s instructions. This provides sustained nutrients for your plants throughout the growing season.
4. Planting Powerhouses: Selecting the Right Crops for Your Buckets
Not all vegetables and herbs are created equal when it comes to bucket gardening. Opt for compact, determinate varieties that thrive in limited spaces. Here are some excellent choices for beginners:
- Vegetables: Tomatoes (cherry or bush varieties), peppers, lettuce, spinach, kale, beans, and bush cucumbers.
- Herbs: Basil, parsley, cilantro, mint, oregano, thyme, and rosemary.
Feeling adventurous? Once you’ve mastered the basics, experiment with other vegetables and herbs that pique your interest. Research their suitability for container gardening before planting.
5. Watering Wisely: Keeping Your Plants Hydrated without Drowning Them
Finding the watering sweet spot is crucial for bucket gardening success. Overwatering is a common pitfall, leading to root rot and wilting plants. Conversely, underwatering can stunt growth and leave your plants thirsty. The frequency of watering depends on several factors, including:
- Plant type: Some plants require more frequent watering than others.
- Climate: Hotter, drier climates necessitate more frequent watering.
- Sunlight exposure: Plants in full sun dry out faster than those in partial shade.
The finger test: Insert your finger into the potting mix. If the top inch feels dry, it’s time to water. Water deeply until water drains from the holes at the bottom of the bucket, but avoid letting the buckets sit in water.
6. Sunshine Champions: Optimizing Light for Indoor Growers
If your balcony or patio doesn’t offer enough sunlight, fret not! You can still cultivate a thriving bucket garden indoors with the help of artificial grow lights. Choose grow lights specifically designed for plant growth, such as LED grow lights, and position them close to your plants, mimicking natural sunlight.
Adjust the lighting duration based on your plants’ needs. Most vegetables and herbs require around 12-16 hours of light daily.
7. Feeding Frenzy: Nourishing Your Plants for Optimal Growth
While a good quality potting mix provides essential nutrients, most plants benefit from supplemental feeding throughout the growing season. Opt for organic, water-soluble fertilizers specifically formulated for container gardens. Follow the manufacturer’s instructions for dilution and application frequency to avoid over-fertilizing, which can damage your plants.
Bonus Tip: Consider using compost tea as a natural nutrient booster. Simply steep composted material in water and dilute the resulting liquid before applying it to your plants.
8. Mulching
Apply a layer of organic mulch, such as straw or shredded leaves, around your plants. Mulching helps regulate soil temperature, conserve moisture, suppress weed growth, and provide essential nutrients as it breaks down over time.
9. Pruning and Harvesting
Regularly inspect your plants for any signs of disease, pests, or overgrowth. Prune off any damaged or dead leaves to promote healthy growth. Harvest your crops when they reach their peak ripeness to encourage continuous production.
10. Pollination Power: Helping Your Plants Reproduce (if applicable)
If you’re growing flowering vegetables or fruits that require pollination to produce, such as tomatoes, peppers, and eggplants, you might need to lend a helping hand, especially indoors. Since natural pollinators like bees and butterflies are scarce indoors, you can encourage pollination by gently shaking the plants or using a cotton swab to brush the pollen from the male flower stamens to the female flower stigma.