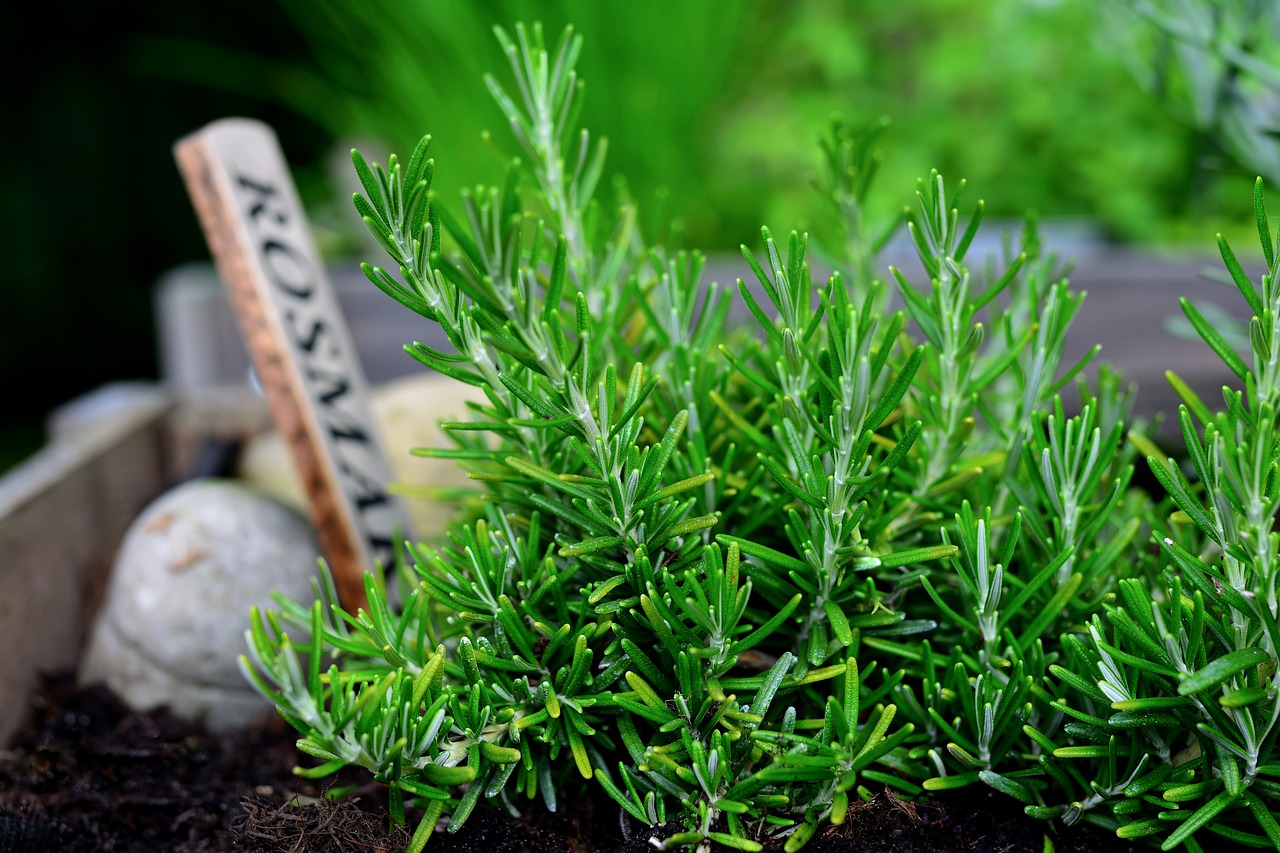
Ever dreamt of snipping fresh rosemary sprigs straight from your windowsill for that next culinary masterpiece? Rosemary, that fragrant herb with needle-like leaves, isn’t just for remembrance – it’s surprisingly easy to cultivate from the comfort of your home. Here’s a step-by-step guide to transform tiny seeds into a thriving rosemary plant, ready to elevate your cooking game.
Planting the Seeds of Success
Before diving in, let’s gather our essential ingredients:
- Seeds: Look for a reputable seed supplier and choose rosemary seeds specifically designated for planting.
- Seed-starting mix: Opt for a well-draining, lightweight mix specifically formulated for seedlings.
- Potting container: Small pots with drainage holes are ideal for starting rosemary seeds. Recycled yogurt cups or plastic containers with drainage holes poked in work too!
- Humidity dome (optional): This helps retain moisture during germination. A clear plastic bag can be used in a pinch.
- Spray bottle: A mister filled with water will be your gentle watering tool.
Sowing the Seeds
Now that we have our supplies, let’s get planting!
- Prep the Pots: Fill your chosen containers with the seed-starting mix, leaving about ½ inch of space at the top. Gently tamp down the soil to create a level surface.
- Seeding Secrets: Here’s where the magic begins! Rosemary seeds prefer light for germination, so don’t bury them deeply. Scatter 2-3 seeds per pot on the soil surface, then gently press them down slightly.
- Moisture Matters: Using your trusty spray bottle, mist the soil surface thoroughly until evenly moist, but not soggy.
- Creating a Greenhouse Effect (optional): If using a humidity dome, place it over the pots to trap moisture and create a warm, humid environment. Alternatively, you can use a clear plastic bag secured loosely around the pots with a rubber band.
- Finding the Perfect Spot: Place your seed-filled pots in a bright, warm location that receives at least 6-8 hours of direct sunlight daily. A sunny windowsill is a great option! Ideal temperatures for germination are around 70-80°F (21-27°C).
Patience is a Virtue
Germination can take anywhere from 14-28 days, so be patient! Here’s how to nurture your tiny seedlings during this time:
- Maintaining Moisture: Keep the soil consistently moist, but not waterlogged. Check the soil daily and mist whenever the surface feels dry to the touch.
- Light, Light, Light: Continue providing your seedlings with ample sunlight. If natural light is limited, consider supplementing with grow lights.
- Ventilation is Key: If using a humidity dome or plastic bag, remove it once you see sprouts emerge. This allows for proper air circulation and prevents damping off, a fungal disease that can harm seedlings.
Nurturing Your Tiny Herb Garden
Once your seedlings reach a height of 2-3 inches with several sets of true leaves, it’s time to thin them out and give them some space to thrive:
- Thinning the Herd: Gently remove the weaker seedlings, leaving only the strongest one per pot. You can use scissors or tweezers for this delicate task.
- Potting Up: Now that your seedlings have some growing space, it’s time to consider transplanting them into larger pots. Choose containers with good drainage and a diameter of at least 6 inches. Use a well-draining potting mix formulated for herbs. Gently remove the seedling from its starter pot, disturbing the roots as little as possible. Plant it in the new pot at the same depth it was growing previously. Water thoroughly to settle the soil.
Farewell, Seedling, Hello Thriving Rosemary Plant
Your rosemary plant is well on its way to becoming a fragrant and culinary companion! Here’s how to care for it in its new home:
- Light and Location: Rosemary thrives in full sun, ideally receiving at least 6-8 hours of direct sunlight daily. A south-facing window or a sunny patio is ideal.
- Watering Wisely: Rosemary is drought-tolerant once established. Allow the soil to dry slightly between waterings. Overwatering can lead to root rot.
- Feeding Time: During the growing season (spring and summer), fertilize your rosemary plant with a balanced liquid fertilizer once a month, diluted according to the manufacturer’s instructions.
- Snip and Savor: Don’t be afraid to start harvesting your rosemary once it reaches a height of 6-8 inches. Regularly pinching off stems encourages bushier growth. Use sharp shears to snip off fresh sprigs whenever your culinary creations call for a touch of rosemary magic!
Rosemary Beyond the Kitchen
Rosemary isn’t just a culinary superstar. Its fragrant properties and symbolic meaning make it a versatile plant:
- Aromatic Delights: Rosemary essential oil is known for its invigorating and therapeutic properties. You can use it in diffusers or homemade cleaning products.
- Natural Air Purifier: Rosemary plants are believed to help purify the air by removing airborne pollutants.
- Symbolic Significance: In many cultures, rosemary represents remembrance and loyalty. A potted rosemary plant can be a thoughtful and fragrant gift.
The Joy of Growing Your Own
Growing rosemary from seed is a rewarding experience. From witnessing the tiny sprout emerge to harvesting your first batch of fragrant leaves, you’ll gain a deeper appreciation for this versatile herb. The satisfaction of using homegrown rosemary in your cooking adds a whole new level of flavor and accomplishment to every dish.