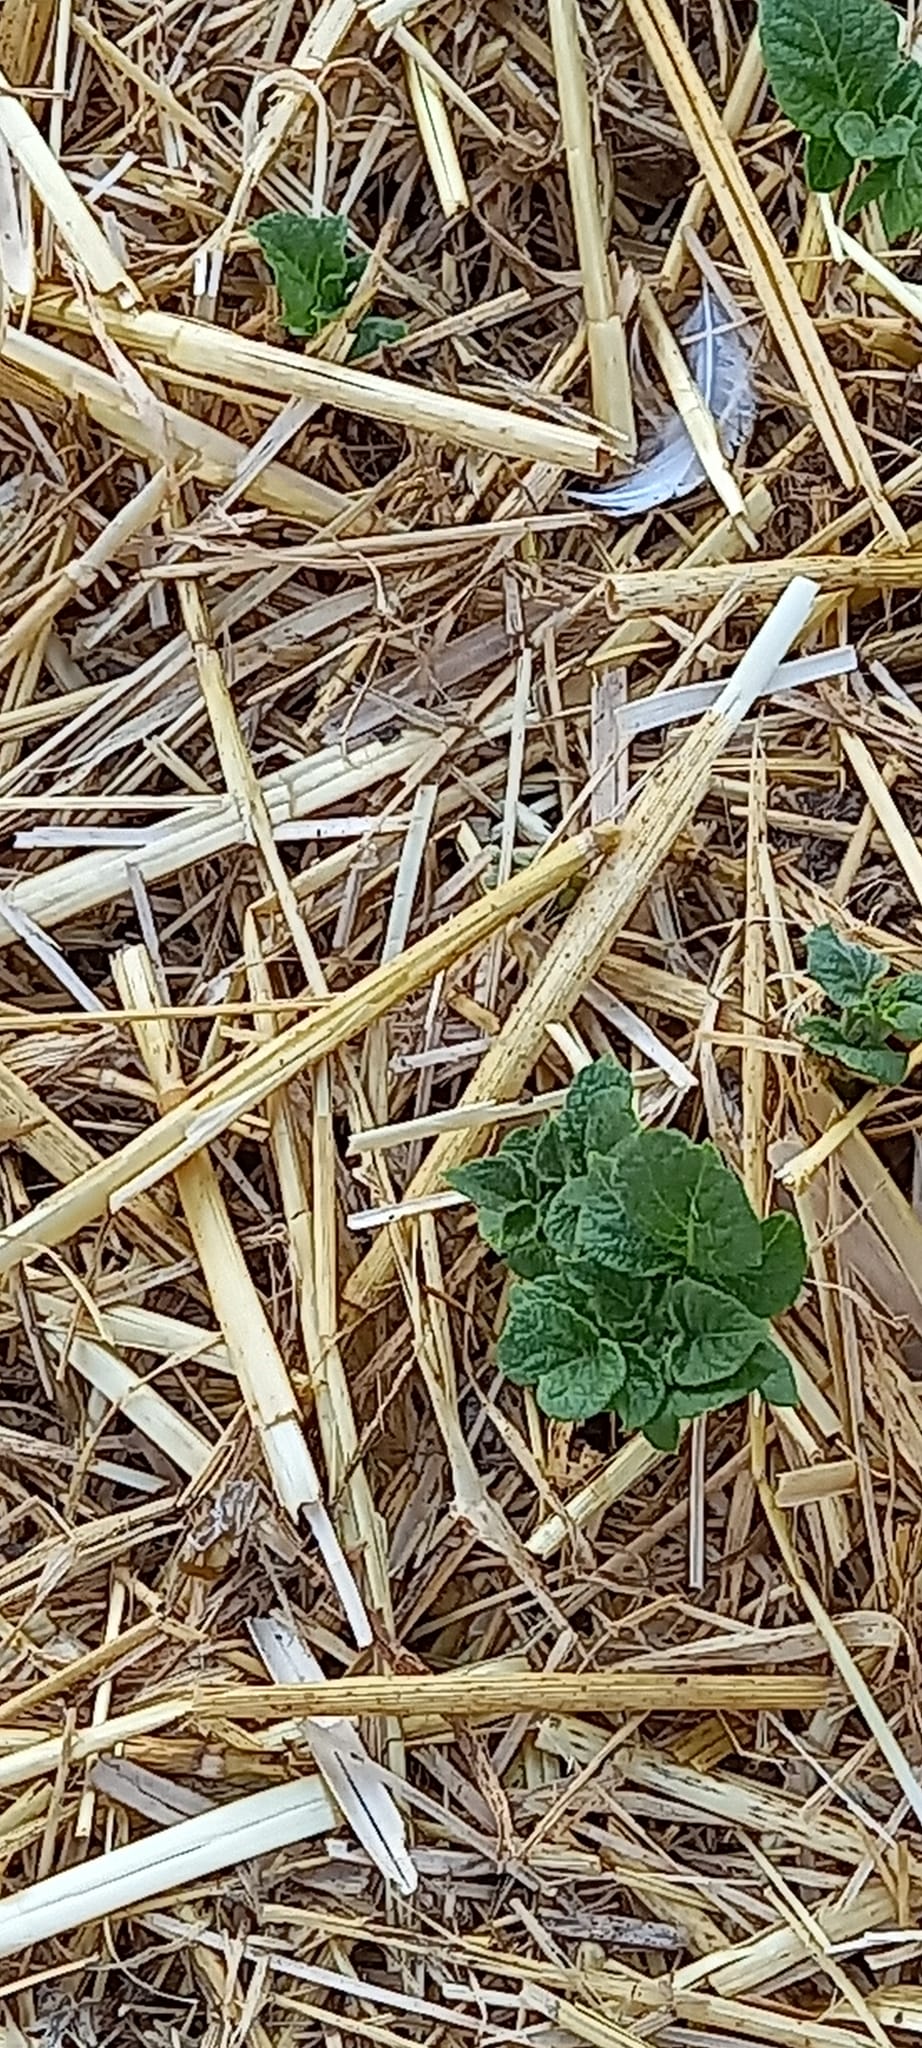
ave you ever dreamt of harvesting a basket full of fluffy, homegrown potatoes without breaking a sweat? Well, dream no more! This ingenious method of growing potatoes in straw offers a back-friendly, time-saving alternative to traditional planting techniques.
This guide will equip you with the knowledge and confidence to cultivate perfect potatoes, straight from the comfort of your backyard, with minimal effort required. So, ditch the shovel, grab a bag of straw, and get ready to witness the magic of spuds sprouting from a bed of golden hay!
Step 1: Setting the Stage for Success
Choosing the Right Spuds:
Not all potatoes are created equal when it comes to straw growing. Opt for certified “seed potatoes,” which are disease-free and specifically designed for planting. Look for varieties known for their suitability for straw cultivation, such as early-maturing ‘Anya’ or fingerling ‘French Fingerling.’
Preparing Your Patch of Paradise:
- Location, Location, Location: Select a sunny spot in your garden that receives at least 6-8 hours of direct sunlight daily. Ensure the area has good drainage to prevent waterlogging, which can harm your potato plants.
- No Digging Required!: Unlike traditional methods, there’s no need to break your back tilling the soil. Simply clear the chosen area of any weeds or debris.
Step 2: Awakening the Potato Powerhouse
Encouraging Sprouting:
Around 6-8 weeks before planting, begin the “chitting” process. Cut your seed potatoes into pieces, each containing at least one “eye” (the small indentation where new growth emerges). Place them cut-side up in a cool, well-lit location, allowing them to develop healthy, stubby sprouts.
Step 3: Building the Foundation
Nourishing the Soil (Optional):
While not strictly necessary, sprinkling a handful of organic fertilizer or compost onto the cleared planting area can provide your potatoes with an extra boost of nutrients.
Laying the Golden Blanket:
Spread a generous layer of straw over the prepared area, aiming for a depth of about 4-6 inches. Ensure the straw is loose and airy, allowing for proper ventilation and water drainage.
Step 4: Planting Your Precious Cargo
Nesting the Seedlings:
Carefully place your sprouted seed potatoes on top of the straw layer, ensuring the sprouts face upwards. Space them approximately 12-18 inches apart for larger varieties, and slightly closer for early-maturing types.
Tucking Them In:
Gently fold the edges of the straw layer over the potatoes, creating a cozy nest around them. Aim for a final straw depth of around 6-8 inches, ensuring all the potatoes are covered and no light reaches them.
Step 5: Nurturing Your Spud Symphony
Watering Wisely:
Straw acts as a natural mulch, helping retain moisture in the soil. However, don’t neglect watering altogether. Aim to provide deep watering once or twice a week, especially during dry spells, ensuring the straw layer remains consistently damp.
Keeping the Weeds at Bay:
The thick layer of straw effectively suppresses most weed growth. However, if you notice any stubborn weeds peeking through, simply remove them by hand.
Step 6: Witnessing the Spud Spectacle
The Magic of Earthing Up:
As your potato plants grow, their stems will begin to lengthen. To encourage further tuber development, add additional layers of straw around the base of the plants every few weeks, keeping the lower leaves covered. This process, known as “earthing up,” encourages the formation of more potatoes and protects them from sunlight exposure.
Patience is a Virtue:
Depending on the variety you choose, your potatoes will be ready to harvest anywhere from 60 to 90 days after planting. Observe the foliage; when the leaves begin to yellow and die back, it’s harvest time!
Step 7: Reaping the Rewards of Your Labor
Unearthing Your Culinary Treasures:
Carefully pull back the straw and gently dig around the base of the plant to reveal your bounty. Be mindful not to damage the delicate potatoes as you harvest them.
Storing Your Spud Stash:
Store your freshly harvested potatoes in a cool, dark, and well-ventilated location. Ideally, aim for a temperature between 40-50°F (4-10°C) and avoid storing them near onions or apples, as these fruits release ethylene gas, which can accelerate spoilage.
