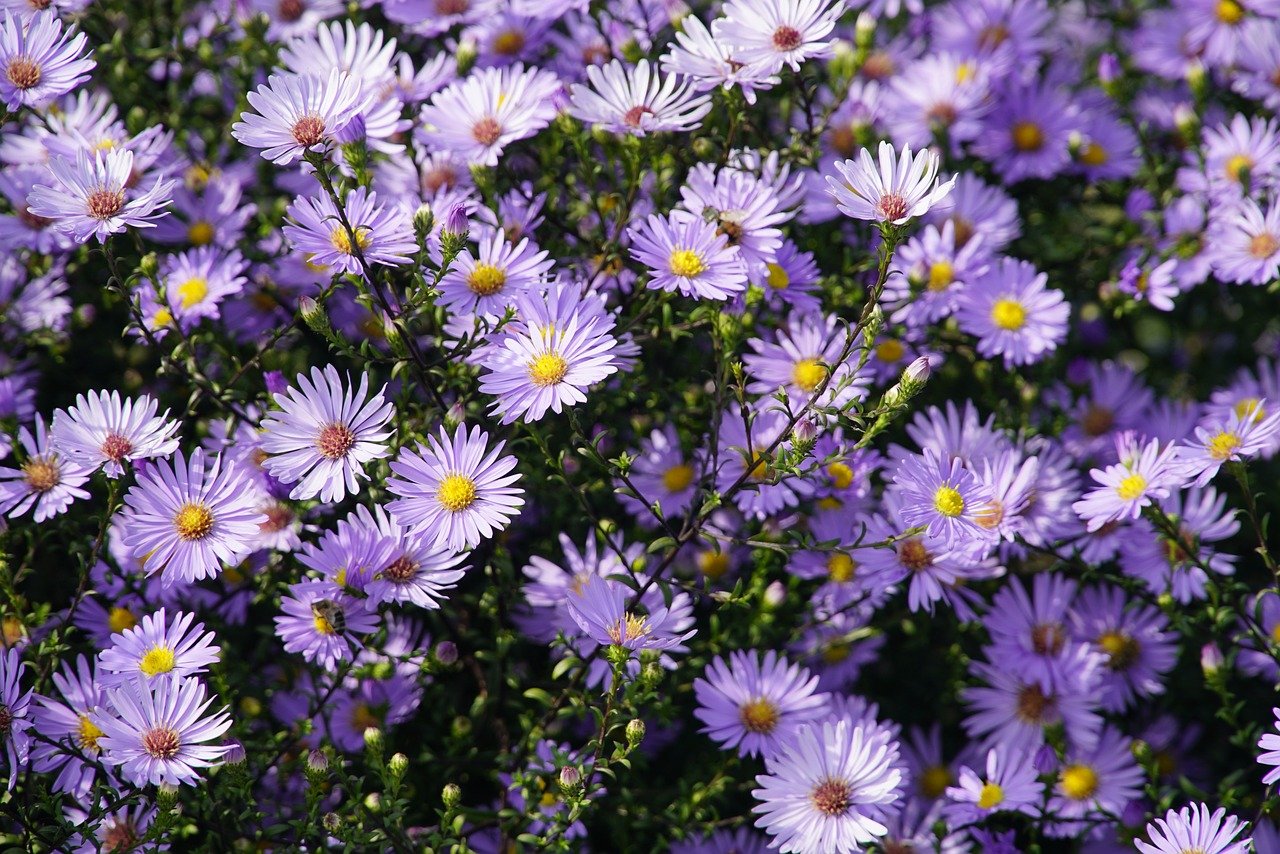
Asters, with their vibrant blooms and star-shaped centers, are a gardener’s delight. These late-summer showstoppers bring a burst of color when many other flowers are fading, adding a touch of magic to the autumn landscape. But don’t be fooled by their captivating beauty – asters are surprisingly easy to grow, even for novice gardeners.
This guide will walk you through everything you need to know to cultivate a dazzling display of asters in your own garden, from selecting the perfect seeds to nurturing them into magnificent blooms.
This post may have affiliate links. This means that sometimes when you click a link on our site and make a purchase on Amazon, we may earn a small commission at no additional cost to you. We only recommend products we truly believe in, and your support helps keep us running!
Unveiling the Aster’s Secrets
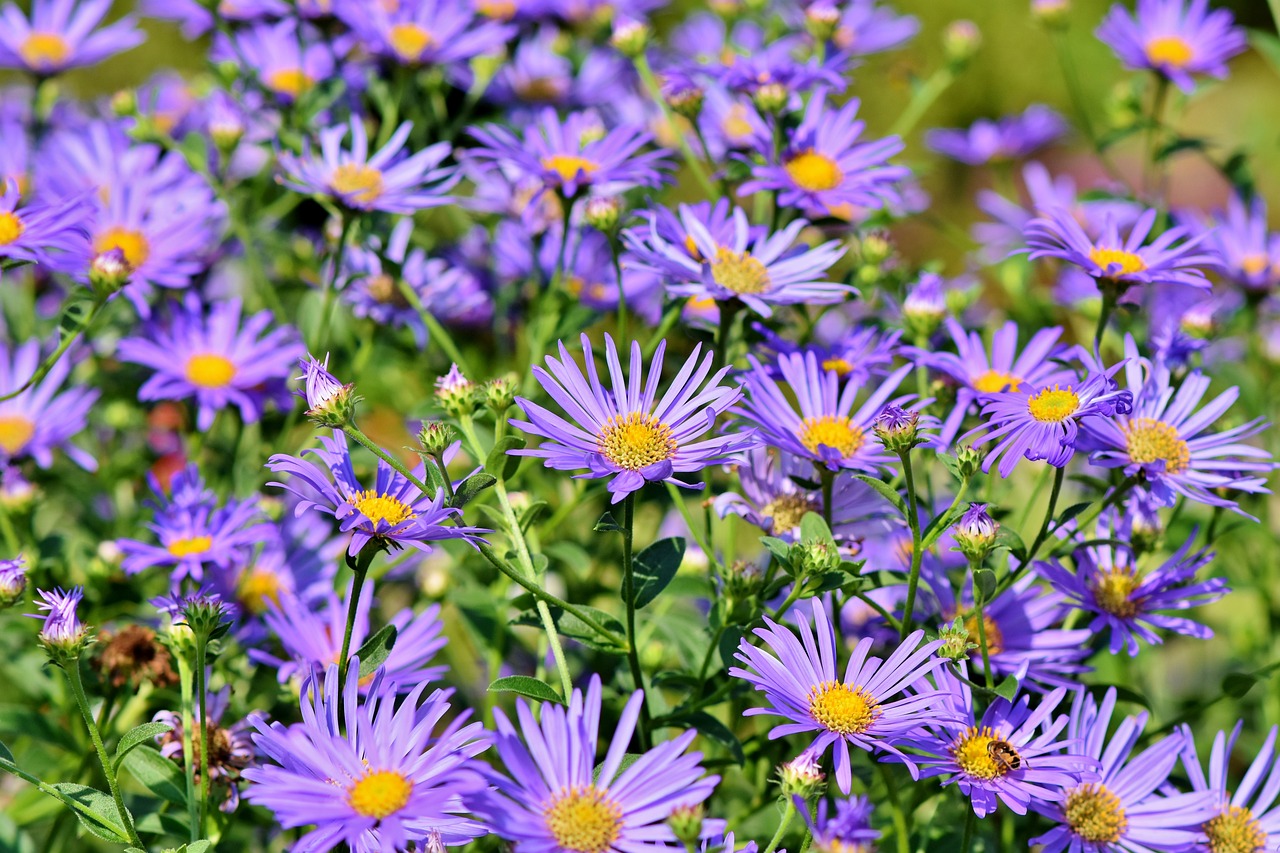
Asters, members of the Asteraceae family (which also includes sunflowers and daisies), come in a staggering array of colors. From classic purples and blues to fiery reds, soft pinks, and even bi-colored varieties, there’s an aster to suit every taste. They also boast a range of heights, making them ideal for borders, beds, or containers. Taller varieties like the majestic ‘Giant White’ can reach up to 5 feet, while compact options like the ‘Dwarf Cupcake’ series stay under a foot tall, perfect for edging walkways or brightening up window boxes.
Before going into the planting process, it’s important to understand whether you’ll be growing annual or perennial asters. Annual asters, like the popular China aster, complete their entire lifecycle in one season, rewarding you with blooms from mid-summer to fall. Perennial asters, on the other hand, will come back year after year, with proper care, forming clumps of vibrant flowers throughout late summer and autumn.
Sowing the Seeds of Success
There are two main ways to cultivate asters: starting seeds indoors or direct sowing outdoors.
Indoor Seed Starting
For a head start on the blooming season, particularly in cooler climates, starting your asters indoors is a great option. Here’s how:
- Timing is Key: Aim to sow your seeds 6-8 weeks before the last frost date in your area. You can find this information online or by consulting your local gardening center.
- Prepare the Seed Trays: Fill a clean seed tray with a well-draining potting mix. Moisten the mix slightly, but avoid making it soggy.
- Sowing the Seeds: Scatter the tiny aster seeds thinly across the surface of the soil. Gently press them down with your fingertip to ensure good contact.
- Light and Warmth: Place the seed tray in a location that receives bright, indirect sunlight. Cover the tray with a clear plastic dome or film to retain moisture. Aim for a consistent temperature between 65-70°F (18-21°C).
- Sprouting Magic: Seeds should germinate within 7-14 days. Once seedlings emerge, remove the plastic cover and provide them with plenty of light.
- Transplanting Time: When seedlings have developed 2-3 sets of true leaves (the leaves that appear after the initial cotyledons), it’s time to transplant them into individual pots or containers.
Direct Sowing Outdoors
If you prefer a more hands-off approach, you can sow your aster seeds directly outdoors. This method works best for areas with mild spring weather.
- Timing is Still Important: Wait until the danger of frost has completely passed and soil temperatures have warmed to at least 60°F (15°C).
- Preparing the Planting Bed: Choose a location in your garden that receives at least 6-8 hours of direct sunlight daily. Aster plants thrive in well-drained, fertile soil. Amend your soil with compost or aged manure if necessary, to improve drainage and nutrient content.
- Sowing the Seeds: Make shallow furrows in the prepared bed, spacing them according to the mature size of the aster variety you’ve chosen. (Refer to seed packet instructions for specific spacing recommendations). Scatter the seeds thinly within the furrows and cover them lightly with soil. Water gently to settle the seeds.
Nurturing Your Aster Seedlings
Whether you started your asters indoors or outdoors, proper care will ensure they thrive and produce an abundance of blooms.
- Watering: Water your aster seedlings regularly, especially during hot and dry periods. Aim to keep the soil consistently moist, but avoid overwatering which can lead to root rot.
- Light: Asters are sun-loving plants. Provide them with at least 6-8 hours of direct sunlight daily for optimal growth and flowering.
- Feeding: Asters are not heavy feeders. A light application of a balanced fertilizer once a month during the growing season is sufficient.
- Thinning: For seedlings sown directly outdoors, it’s crucial to thin them once they’ve reached a few inches tall. This ensures proper spacing for healthy growth and abundant blooms. Refer to seed packet instructions for specific thinning recommendations for your chosen aster variety.
- Pinching: (Optional) Pinching back the growing tips of your aster seedlings once they reach about 4-6 inches tall can encourage bushier growth and produce more flower heads. Simply pinch off the top inch or two of new growth with your thumb and forefinger.
The Great Outdoors Await
Once your aster seedlings have matured and the danger of frost has completely passed, it’s time to harden them off before transplanting them into their permanent positions in the garden. Hardening off gradually exposes them to outdoor conditions, preparing them for the transition.
- A Week of Adjustment: A week before transplanting, begin taking your seedlings outdoors for gradually increasing periods each day. Start with a couple of hours in a shaded location, then progressively increase the duration and amount of direct sunlight they receive.
- Transplanting Tips: Choose a cool, cloudy day for transplanting, ideally in the late afternoon. Space your aster plants according to the mature size of the variety, as indicated on the seed packet. Gently dig individual holes for each plant, ensuring the depth allows the root ball to sit level with the surrounding soil. Water the planting holes thoroughly before carefully placing your seedlings in position. Backfill the holes with soil and firm it gently around the base of each plant.
Helping Your Asters Flourish
With your asters happily settled in their new home, here’s how to nurture them for a spectacular floral display:
- Watering: Continue to water your asters regularly, especially during dry spells. Aim for consistent moisture without saturating the soil.
- Mulching: Apply a layer of organic mulch around the base of your plants to retain moisture, suppress weeds, and regulate soil temperature. Choose a material like shredded bark, aged compost, or straw.
- Deadheading: (Optional but recommended) Regularly deadheading spent blooms encourages continuous flowering throughout the season. Simply snip off the wilted flower heads just below the base, using sharp pruners or shears.
Dealing with Aster Troubles
Asters are generally low-maintenance and pest-resistant. However, they can be susceptible to a few common issues:
- Powdery Mildew: This fungal disease appears as white powdery patches on leaves and stems. Improve air circulation around your plants and water only at the base to prevent moisture buildup. In severe cases, an organic fungicide spray may be necessary.
- Aphids: These tiny sap-sucking insects can cause stunted growth and distorted leaves. Encourage natural predators like ladybugs by planting companion flowers like nasturtiums or dill. If infestations persist, use an organic insecticidal soap spray.
Reaping the Rewards
As summer wanes and many other flowers begin to fade, your asters will burst into vibrant bloom, adding a touch of magic to your garden. Enjoy the dazzling display of colors and starry-shaped centers, attracting butterflies and pollinators throughout the late summer and fall months.
With a little care and attention, you can cultivate a breathtaking display of asters in your own garden, transforming it into a haven of color and beauty well into the autumn season. So why not give these easy-to-grow charmers a try? You might just be surprised at how much joy they bring!