Ever dreamed of snipping fresh, flavorful greens straight from your windowsill? Microgreens, the tiny powerhouses packed with nutrients, are the answer. But before you dive headfirst into this exciting world of indoor gardening, there are a few potential pitfalls to navigate. Don’t worry, though! By understanding these common mistakes, you can ensure your microgreen adventure flourishes from seed to supper.
Planting the Seeds of Success: Choosing the Right Equipment
Not All Trays Are Created Equal
Microgreens thrive in shallow containers with good drainage. Deep pots might seem like a good idea for future growth, but excess moisture can lead to root rot. Opt for shallow trays with drainage holes, allowing for proper water flow and preventing soggy greens.
Seeding Savvy: Less is More
While it might be tempting to sprinkle seeds generously across the tray, overcrowding is a recipe for disaster. Plants compete for light, nutrients, and space, resulting in stunted growth and leggy greens. Research the recommended seeding density for your chosen microgreen variety and follow it closely.
The Power of Light: Illuminating the Path to Growth
Microgreens crave sunshine, even indoors. While a sunny windowsill might seem ideal, natural light can be inconsistent. Invest in a good quality grow light to provide the consistent, intense light your microgreens crave. Aim for 12-16 hours of daily light exposure for optimal growth.
Watering Wisdom: Finding the Perfect Balance
Finding the Watering Sweet Spot
Overwatering is the arch-nemesis of microgreens. They prefer consistently moist soil, not soggy. The best approach is the bottom-watering method. Fill a larger tray with a shallow layer of water and place your microgreen tray on top. The growing medium will absorb the water it needs from below, preventing waterlogging.
Humidity: Friend or Foe?
While some level of humidity is beneficial for germination, excessive moisture in the air can lead to mold growth. If you notice condensation forming on the tray cover, increase air circulation by slightly lifting the cover or using a fan on a low setting.
The Importance of Drainage: Keeping Things Flowing Smoothly
Excess water needs a way to escape. Ensure your growing medium is well-draining, and your trays have sufficient drainage holes. Standing water can quickly turn your thriving microgreen haven into a swamp, so proper drainage is crucial.
Seeding Success: From Seed to Snip
Seed Selection: Quality Matters
Not all seeds are created equal. Opt for organic, untreated seeds specifically meant for microgreen production. These seeds are often larger and healthier, leading to better yields and robust growth. Avoid using seeds treated with fungicides or pesticides, as these chemicals can harm your microgreens.
The Art of Seeding: Patience is Key
Microgreens don’t need to be buried deep. Gently press the seeds onto the pre-moistened growing medium, ensuring good contact. Aim for even distribution without overcrowding. Patience is key – resist the urge to bury the seeds, as they need light to germinate.
Blackout Bliss: Encouraging Germination
Some microgreen varieties benefit from a blackout period during germination. After seeding, lightly cover the tray with a dome or plastic wrap to retain moisture and create darkness. Once germination begins, remove the cover and introduce light.
Harvesting Happiness: Snipping Your Bounty
Timing is Everything: Knowing When to Reap the Rewards
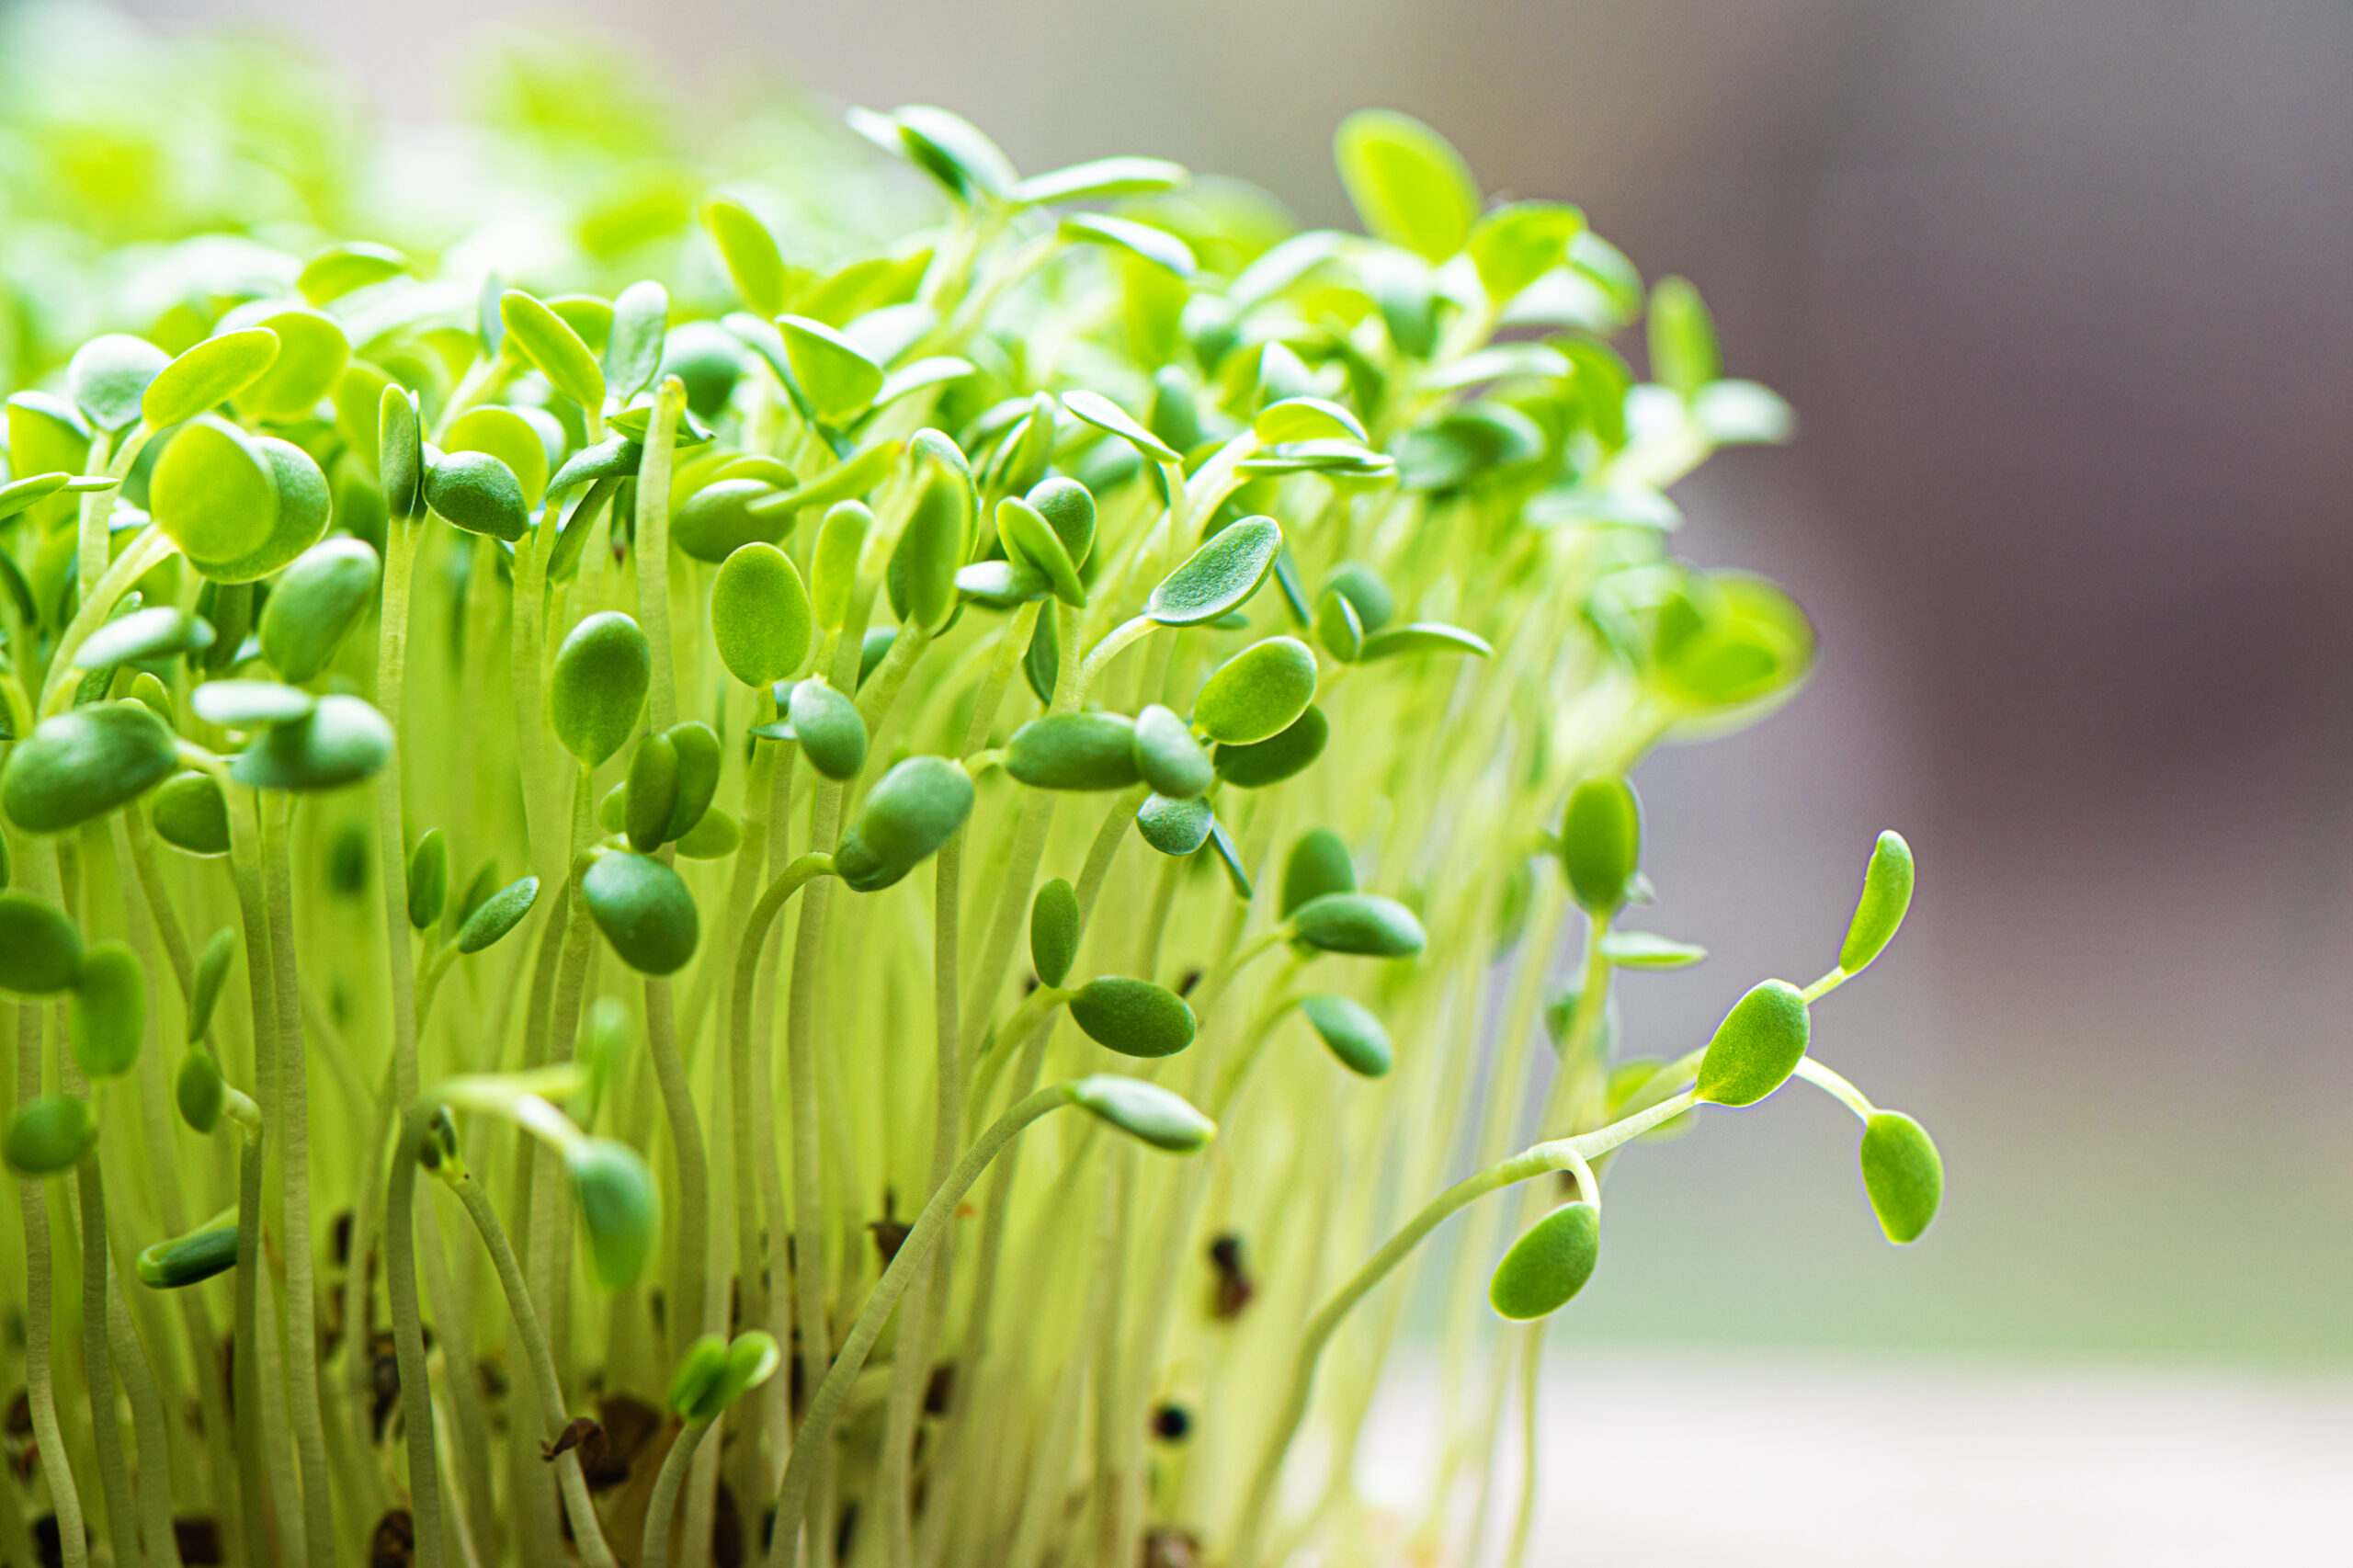
The harvest window for microgreens varies depending on the variety. Most microgreens are ready to harvest within 7-14 days of germination, when the first true leaves have emerged. The greens should be brightly colored, crisp, and have developed their characteristic flavor.
Sharp Shoots: Using the Right Tools for the Job
Scissors are your best friend when it comes to harvesting microgreens. Use sharp, clean scissors to snip the greens just above the soil line. This will encourage regrowth for a second harvest with some varieties. Avoid pulling the greens, as this can damage the roots and hinder future growth.
Storing Your Fresh Harvest: Keeping the Flavor Alive
Freshly harvested microgreens are best enjoyed within a few days. Store them unwashed in a clean, airtight container in the refrigerator. The cold temperatures will slow down spoilage and maintain their crispness.
Conclusion: From Seedling to Satisfaction
Growing microgreens is a rewarding and delightful journey. By understanding and avoiding these common mistakes, you can cultivate a thriving indoor garden that provides a burst of flavor