Did you know that you can grow your own potatoes from store-bought spuds? It’s a fascinating process that allows you to transform those humble potatoes into a bountiful harvest right in your own backyard. In this step-by-step guide, we will walk you through the process of growing potatoes from store-bought potatoes. From selecting the right potatoes to planting, caring for, and harvesting your crop, you’ll discover all the secrets to success. Get ready to embark on a potato-growing adventure and enjoy the satisfaction of harvesting your homegrown potatoes.
The “Why” and “Why Not” of Grocery Store Potato Sprouts
The Allure of Adventure:
The allure of growing your own food, no matter how unconventional the method, is undeniable. It fosters a connection to our food sources and instills a sense of accomplishment. Plus, the surprise factor! Will your grocery store spud surprise you with a bountiful harvest, or will it be a fun learning experience regardless?
The Potential Pitfalls:
It’s crucial to understand that supermarket potatoes are not specifically intended for planting. They often undergo treatments to prevent sprouting, which can hinder their growth potential. Additionally, these potatoes may harbor diseases or pests that could transfer to your soil and future plantings.
The Seed Potato Advantage:
Certified seed potatoes, available at garden centers and online retailers, offer several advantages. They are disease-free, specially treated to encourage vigorous growth, and come in a wider variety of potato types and flavors to choose from.
Growing Potatoes from Store-Bought Potatoes: A Step-by-Step Guide
Ready to embark on this spud-tastic adventure? Here’s what you’ll need:
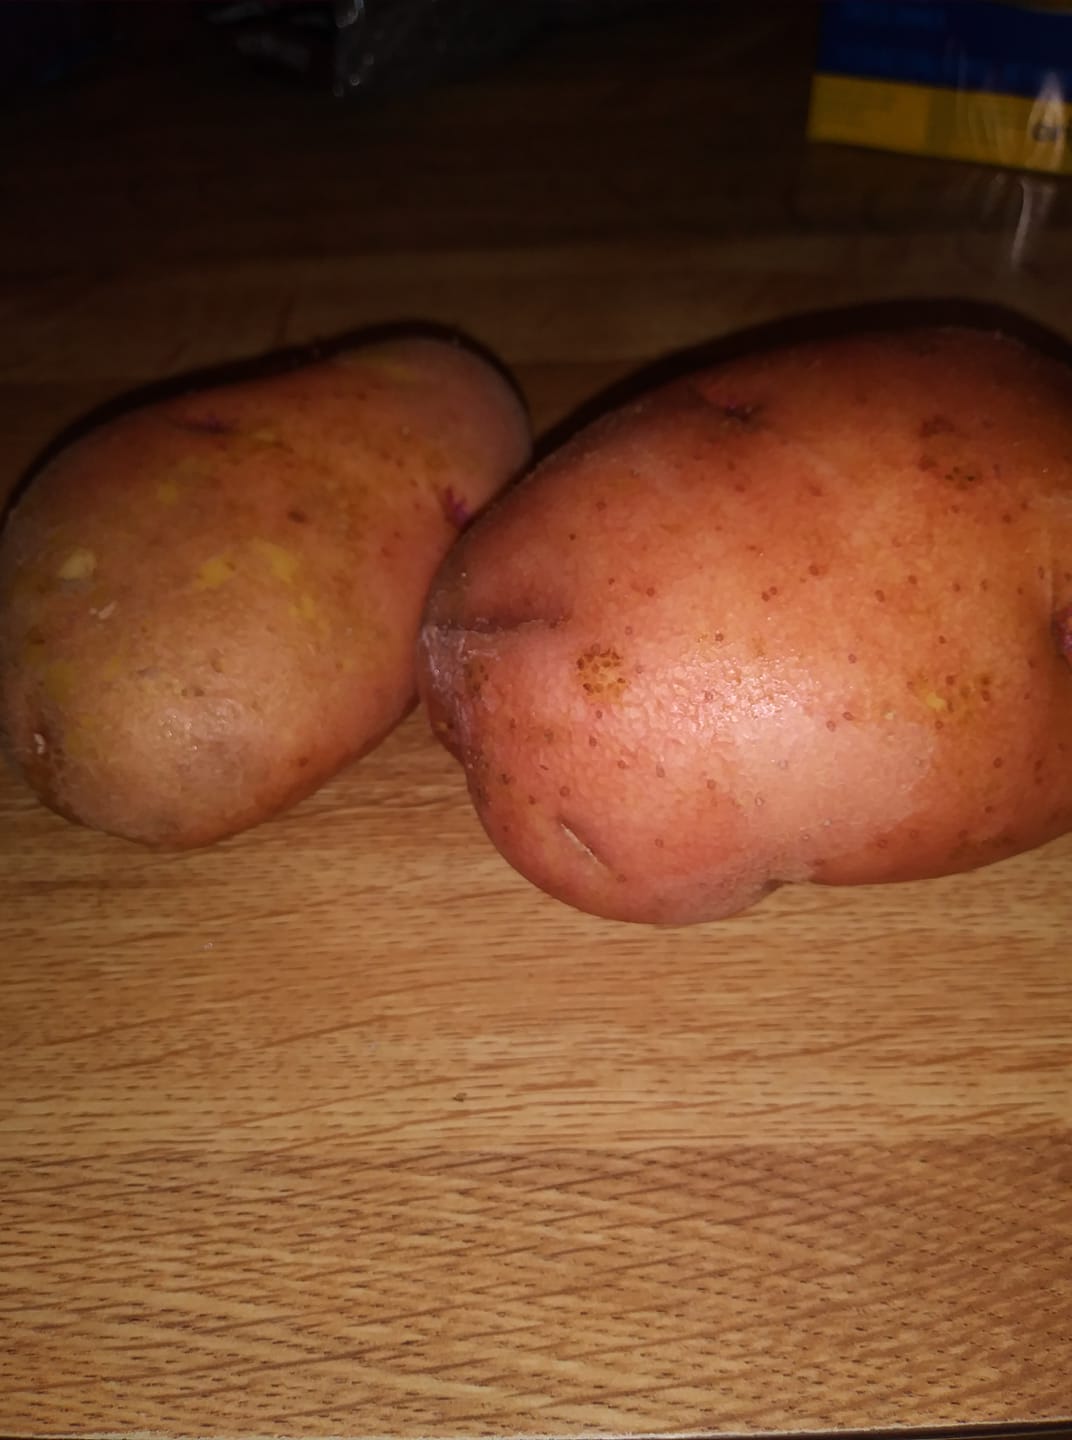
- Grocery store potatoes: Choose firm potatoes with visible “eyes” (the little bumps where sprouts emerge). Organic potatoes are generally preferred, as they are less likely to have been treated with sprout inhibitors.
- A sunny spot: Aim for at least 6-8 hours of direct sunlight daily.
- A container or raised bed: Ensure it has drainage holes and is large enough to accommodate your potato plants (around 5 gallons per plant).
- Potting mix: Opt for a well-draining, organic potting mix.
- Optional: A sharp knife, compost or aged manure.
Step 1: Encourage Sprouting
- Place your potatoes in a cool, dry, and well-ventilated location, away from direct sunlight. Aim for temperatures between 45-70°F (7-21°C).
- Wait patiently! It can take several weeks for the potatoes to sprout, so be patient.
Step 2: Prepare for Planting
- Once the sprouts reach about 1-2 inches long, it’s time for planting. If desired, carefully cut the potato into pieces, ensuring each piece has at least one healthy sprout (eye). Allow the cut surfaces to “cure” for a day or two before planting to prevent rot.
- Fill your container with potting mix, leaving a few inches from the top. If using a raised bed, amend your soil with compost or aged manure for additional nutrients.
Step 3: Planting and Care
- Gently place the sprouted potato pieces (or whole potatoes if not cut) into the soil, with the sprouts facing upwards. Cover them with about 2-3 inches of soil.
- Water thoroughly and keep the soil consistently moist, but not soggy. As the plants grow, gradually add more soil around the base, hilling them up to encourage additional tuber formation.
- Provide your potato plants with plenty of sunlight and consistent watering.
- Be mindful of potential pests and diseases. Hand-picking or using organic methods like insecticidal soap can help control pests.
Step 4: Harvest Time!
- Your potatoes are ready to harvest when the tops begin to die back and turn yellow. Carefully dig around the base of the plant to unearth your spud treasures.
- Enjoy your homegrown potatoes! They may not produce the same bountiful harvest as certified seed potatoes, but the satisfaction of growing your own is priceless.