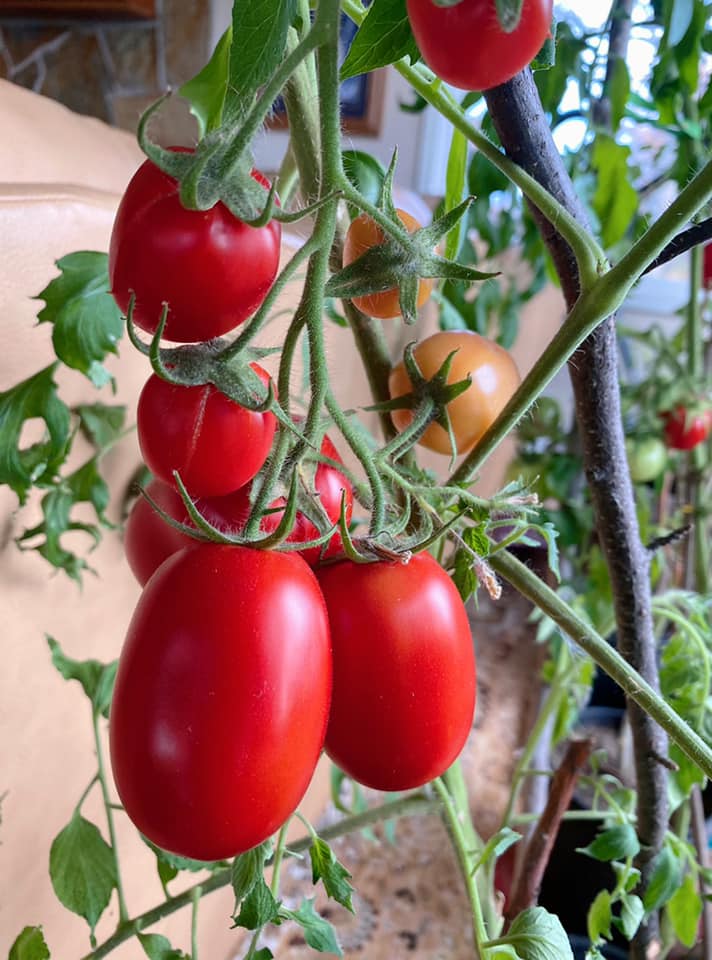
For most gardeners, the end of summer signals the last tomatoes of the season. But with the right indoor growing setup, you can harvest fresh, homegrown tomatoes all winter long! Growing tomatoes inside during winter takes a little more effort yet allows you to enjoy vine-ripened flavor at a time when markets offer only pallid grocery store varieties. Follow this comprehensive winter growing guide and you’ll learn how to successfully cultivate abundant crops of indoors tomatoes this winter. With the right seeds, lighting, and care you can become a year-round tomato producer.
Table of Contents
Choosing Right Varieties Growing Tomatoes Inside During Winter
Standard full-sized tomato varieties aren’t well-suited to indoor winter culture. Seeking out more compact varieties bred specifically for container growing will yield better results on your windowsills or under lights. Great indoor winter varieties include:
- Micro-Tom – A dwarf tomato only 4-6” tall but produces nice cherry-sized fruits. Thrives near windowsills.
- Windowbox Roma – Mini 2-3” paste tomatoes bred for small spaces and hanging baskets.
- Tiny Tim – An iconic dwarf cherry tomato that grows just 12-18” tall. Prolific fruits.
- Totem – A pole tomato bred for hanging baskets with long vines bearing small-medium fruits.
- Small Fry – Heavy yields of bite-sized grapes on plants that stay under 2’ tall and wide.
- Orange Hat – Vigorous plants to 3’ tall that crank out 1-2” orange fruits. Tolerates lower light.
Stick with any mini, dwarf, patio, or cherry-type tomatoes, ideally those bred by indoor specialty growers. For lowest maintenance focus on determinate bush varieties rather than indeterminate/vining types.
Setting up Grow Lights for Optimal Winter Growth
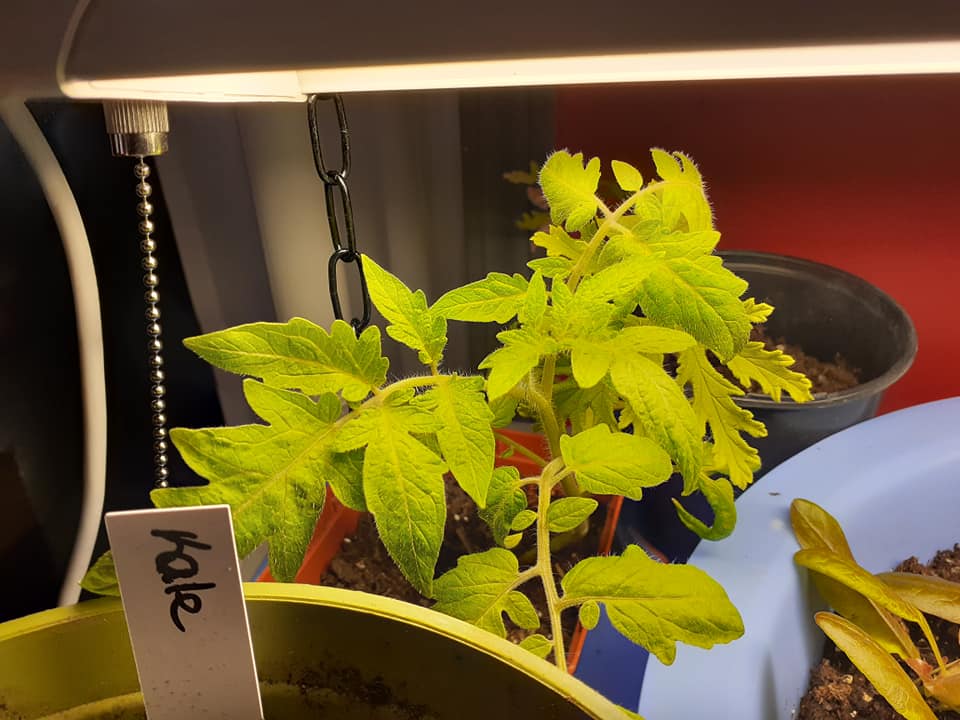
The biggest challenge growing tomatoes in winter is lack of sufficient sunlight, especially in winter. Investing in full spectrum LED grow lights is key to supplementing weaker natural light. Consider these factors when installing grow lights:
- Height – Lights should hang just 6 to 12 inches above plants, moving fixtures up as plants grow. Light intensity diminishes the further from the source.
- Lumens – Tomato seedlings need about 2500 lumens per square foot. Fruiting plants need 5000+ lumens for robust growth and yields. Choose lights accordingly.
- Bulb color – Full spectrum bulbs with wavelengths from 400 (blue) to 700 (red) nm mimic sunlight. Combine cool and warm color LEDs.
- Time span – Offer plants 16-18 hours of cumulative light daily. Use timers to automate optimal on/off lighting duration.
- Reflectors – Use bulbs with built-in reflective hoods or install standalone aluminum reflectors to maximize light efficiency.
Keep lights on and close to plants, with intense 5000K blue light for vegetative growth, switching to lower 3000K red spectrum bulbs once flowering starts.
Choosing Containers Suited for Compact Tomato Plants
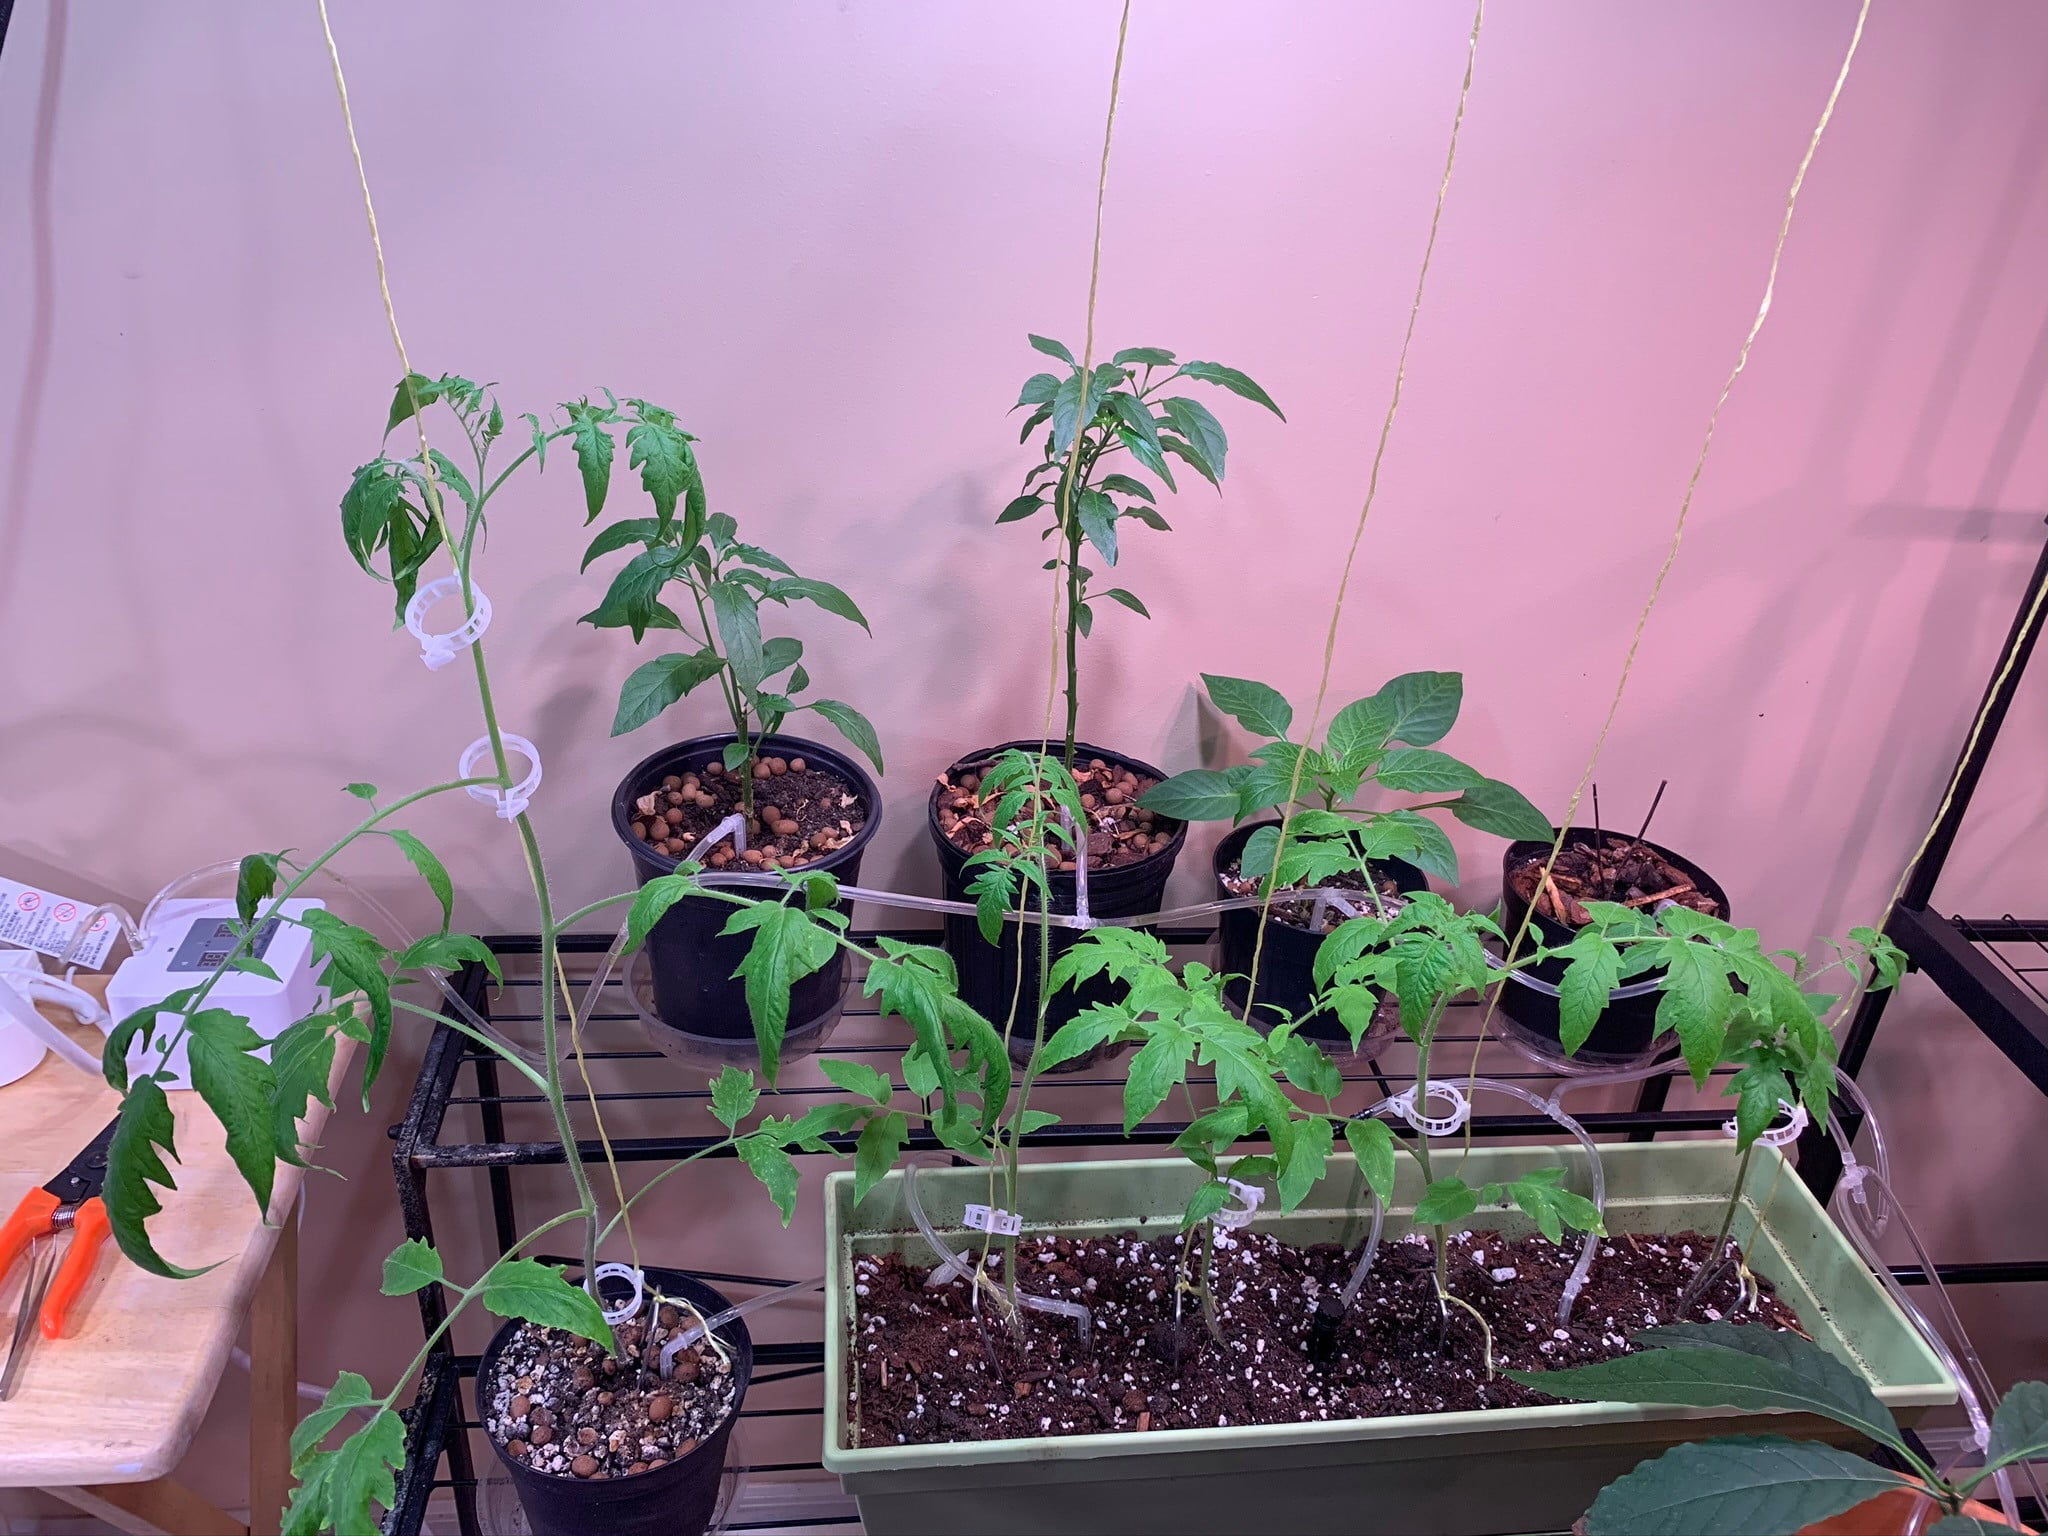
You can grow micro tomatoes in almost any decently sized container with drainage holes – just match sizes proportionally. Optimal winter growing containers include:
- Pots with a diameter of 5-7 inches are suitable either for nurturing a single primary plant or for initially accommodating 3-4 seedlings, which can later be thinned down to select a single strong contender. Use 1-2 gallon pots for somewhat larger varieties.
- Hanging baskets ranging from 10-12 inches in diameter are ideal for supporting cascading cherry tomato vines, creating an elegant draping effect. Go slightly larger for Totem pole types.
- Window boxes with heights ranging from 8-15 inches are well-suited for arranging a linear row of 3-5 dwarf tomato plants.
- 3-5 gallon grow bags – Provide enough root space for patio hybrids under 2’ tall.
- Half whiskey barrels – Ideal for larger specimens up to 3’ high. Use barrel-hugging cages.
Clay, plastic, wood and self-watering containers all work. Focus on sizing appropriately for maturity size of your variety. Include drainage holes and drip trays.
Creating an Ideal Indoor Growing Medium
Tomato roots need a loose, well-aerated growing medium that also retains moisture and nutrients. Aim for a mix containing:
- 1 part compost – Provides organic matter and slow-release nutrition.
- 1 part perlite or vermiculite – Lightens soil texture for improved drainage and aeration.
- 1 part peat moss or coco coir – Helps retain moisture and nutrients for steady root uptake.
- 1 cup bone meal – Phosphorus for root and fruit development.
- 1 cup worm castings – Nutrient rich organic matter full of beneficial microbes.
- Mycorrhizae fungi – Boosts root growth and nutrient absorption.
Pasteurize any soil components to kill lingering pests and diseases. For containers, a commercial organic potting soil blended with perlite and compost works well also. When preparing growing media, make sure it drains freely and doesn’t become compacted, providing plenty of air space around roots.
Starting Seeds for Transplanting into Containers
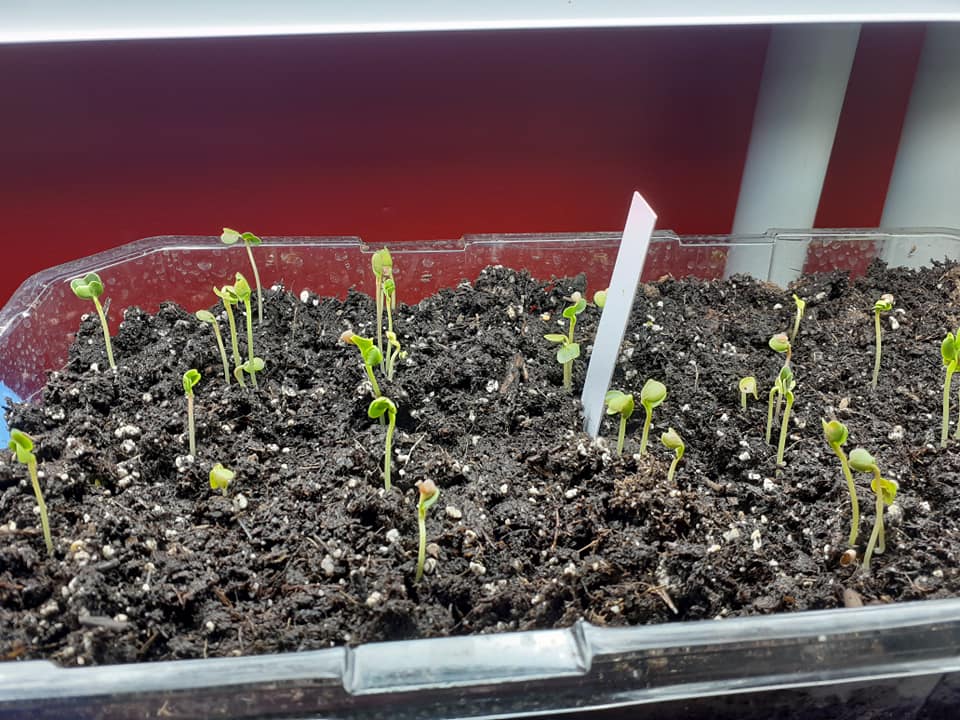
While it is possible to directly sow indoor tomatoes into final containers, you’ll get a sizable head start by seeding them first indoors under lights. Here’s a quick seed starting primer:
- Plant seeds 6-8 weeks before target transplant date into cell packs or 3-4” pots filled with seed starting mix.
- Cover tiny seeds lightly with 1⁄4” layer of mix; tamp gently.
- Keep soil evenly moist and provide consistent warmth around 75°F for best germination.
- Begin fertilizing lightly once true leaves emerge. Use a balanced liquid houseplant fertilizer.
- Offer 14-16 hours of daylight with grow lights kept just above new seedlings.
- Harden off young plants before transplanting into indoor containers. Slowly expose to indoor conditions over 7-10 days.
Starting tomato seeds first avoids direct sowing failures and gets plants off to their quickest, strongest start in their final fruiting containers.
Feeding & Watering Indoor Tomato Plants for Productivity
Indoor tomatoes require slightly different care than outdoor plants. Follow these tips for robust container plants:
Watering
- Check soil moisture frequently, watering when just the top inch dries. Prioritize consistent soil moisture.
- Water underneath plants or use drip trays to avoid wetting foliage, which can encourage disease.
- As plants grow, increase watering frequency. Fruiting plants need more moisture.
Fertilizing
- Use a balanced liquid fertilizer with each watering at half strength from transplant onward.
-Alternate between a macro-nutrient formula and one higher in micronutrients for full spectrum coverage. - Every 2-3 weeks scratch 1 Tablespoon controlled-release indoor plant fertilizer into surface soil for longer-term nutrients.
- Spray kelp extract directly onto leaves occasionally for added micronutrients.
Meeting tomato needs for adequate hydration & nutrition sustains vigor and productivity throughout winter months when sunlight is weakest.
Caring for Indoor Tomato Plants During Fruiting Stage
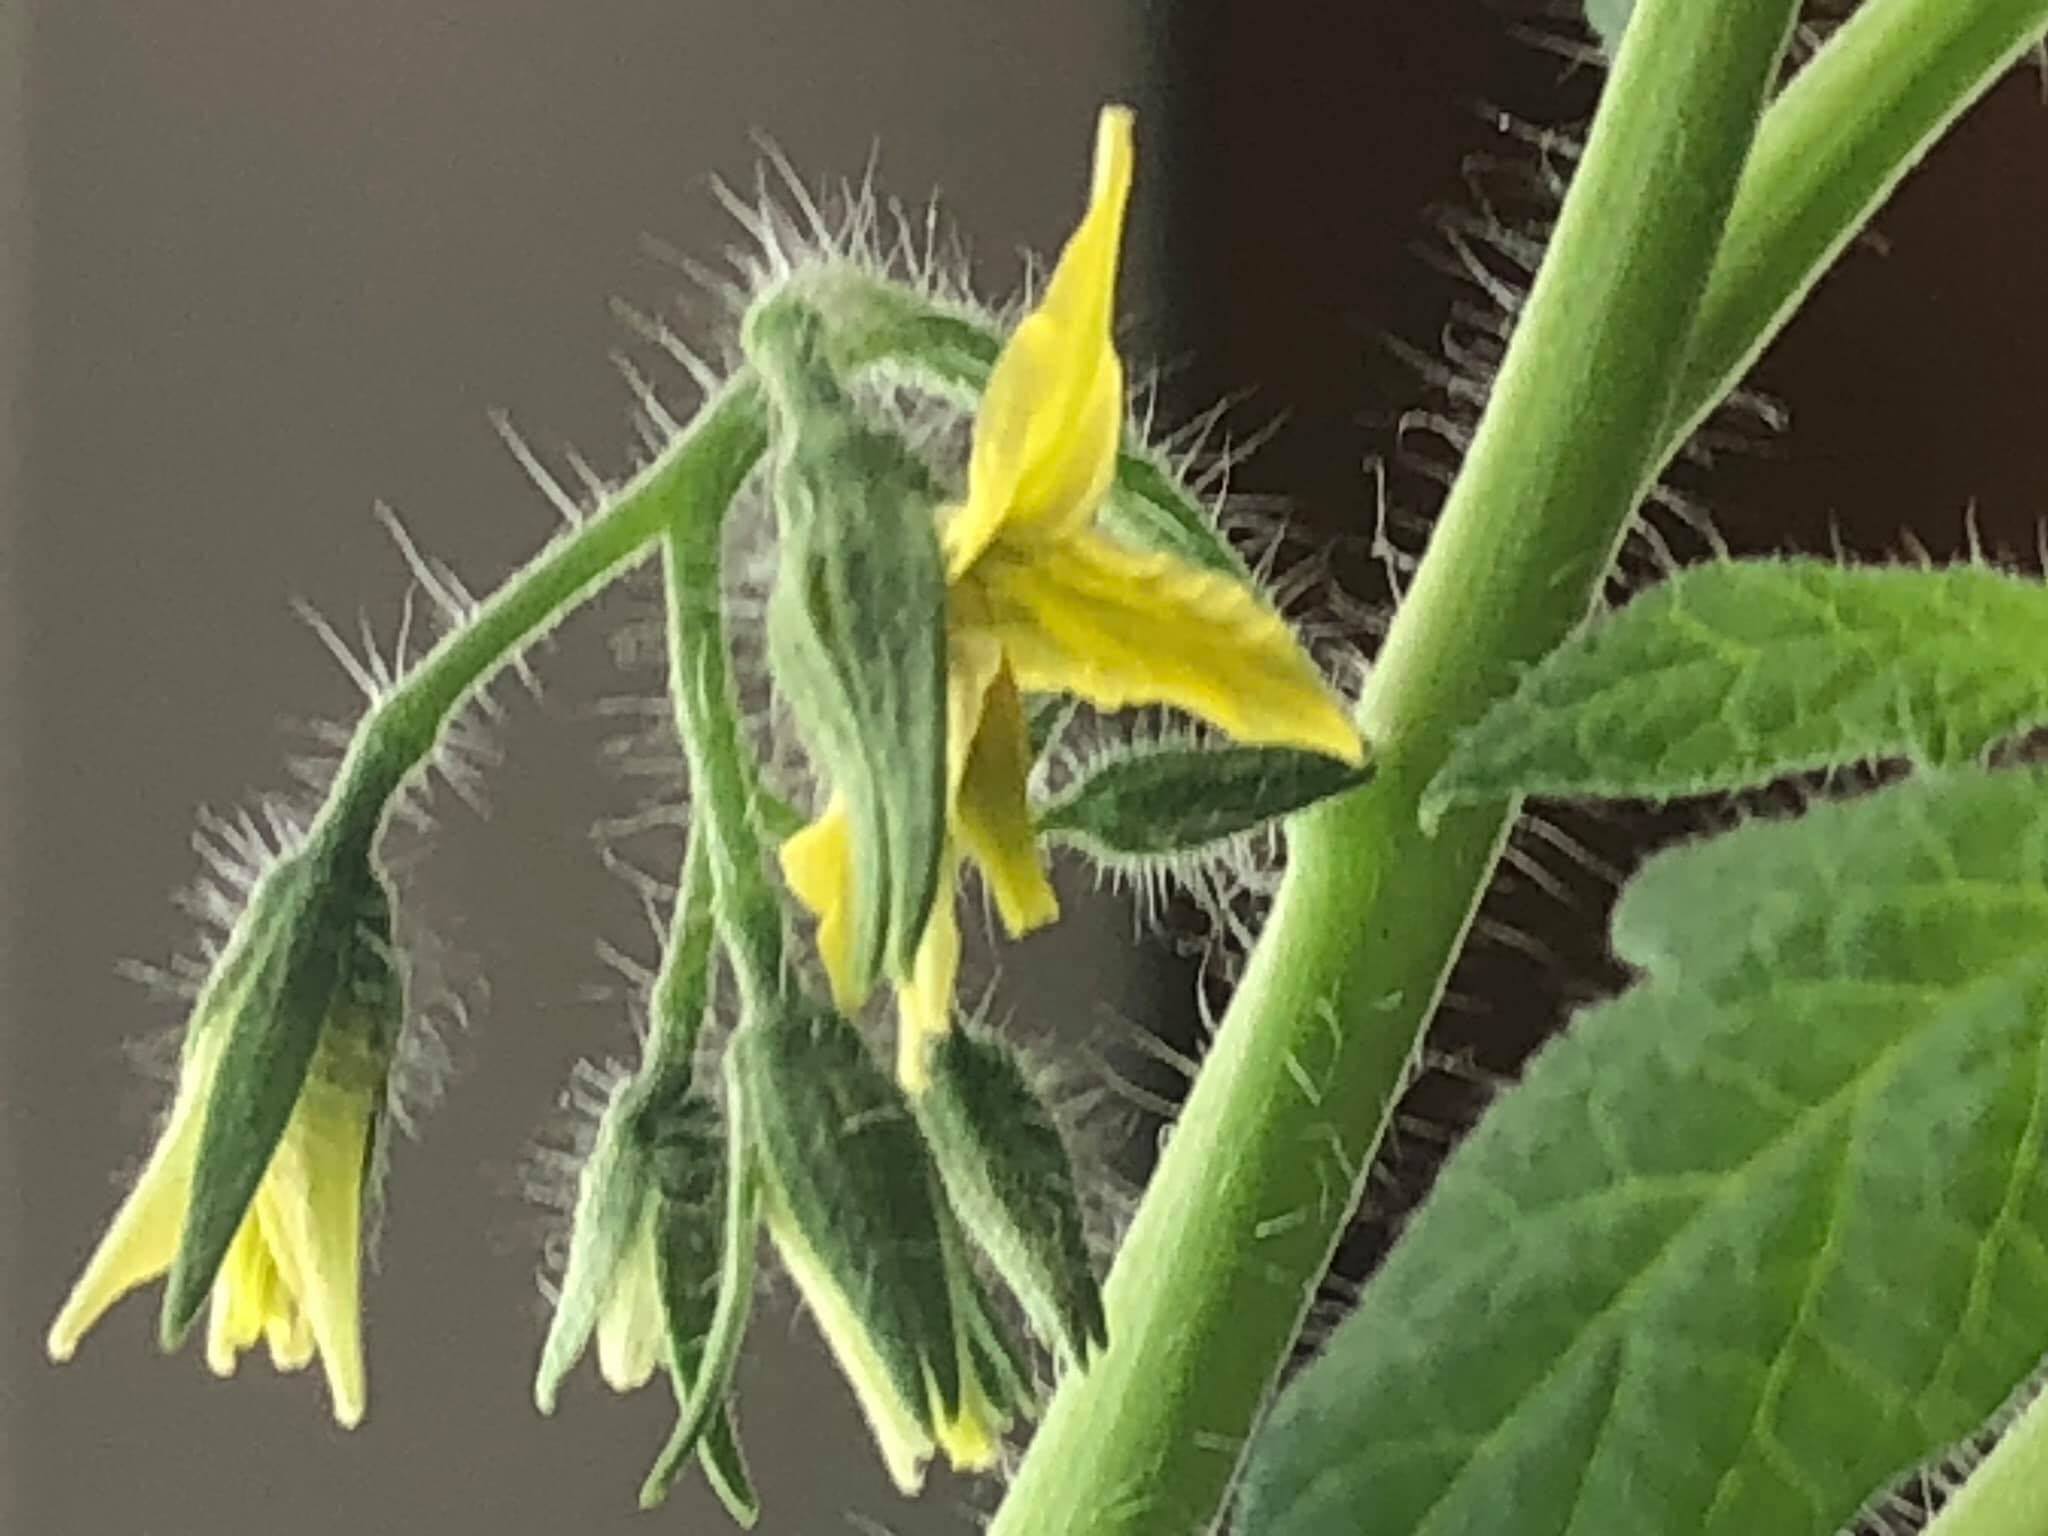
Once blossoms start appearing on indoor tomatoes, adjust your care to support maximum fruit production:
- Prune suckers and excess foliage to direct energy into fewer fruits. But don’t over-prune.
- Stake, trellis or cage tomato plants to support heavy fruit clusters. Use velcro ties on supports to avoid stem damage.
- Increase watering and fertilizing frequency as plants enter peak fruiting period. Pay close attention to moisture needs.
- Tap or vibrate flowering stems daily to encourage pollination. Alternatively use a soft brush or cotton swab to manually pollinate.
- Maintain optimal temperature range between 70-80°F for fruit set. Elevate humidity around plants.
- Provide good airflow circulation around plants to prevent foliar disease issues. De-leaf only minimally.
Meeting increased fruiting requirements ensures your indoor tomatoes successfully transition from bloom to abundant ripe tomatoes on the vine.
Maximizing Fruit Production with Season Extension Tricks
Even with grow lights, indoor tomato plants still face challenges setting copious flowers and fruits compared to outdoor cousins enjoying endless sunlight. Maximize fruit potential through these season extension tricks:
- Switch grow light cycles to long days once flowering starts – aim for 18 hours of daily light. Short days limit flowering.
- Use mylar film reflectors around plants to increase light intensity and duration exposure.
- Keep ambient temperature on the cooler side around 65-70°F to discourage rampant foliage growth that limits fruiting.
- Try a terpene foliar spray to chemically signal plants it’s time for fruiting. Spray weekly starting at flower onset.
- Dust flowers lightly with a small paintbrush to mechanically stimulate pollination and fruit set when blossoms appear.
- Provide physical vibration of plants daily by gently shaking to promote release of pollen within flowers.
With crafty techniques you can override environmental hurdles and enjoy relatively plentiful tomato harvests even in non-ideal indoor conditions.
How to Ripen Tomatoes Indoors for Great Flavor
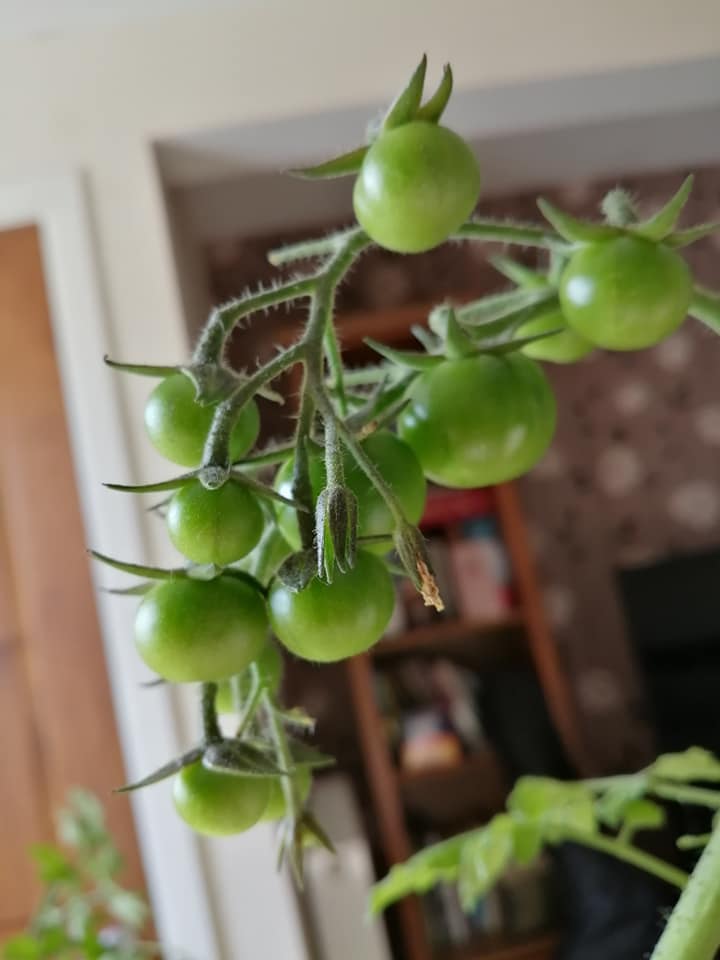
One final challenge growing indoor winter tomatoes is ripeness. With weaker light and lower temperatures than outdoor summer conditions, it can be tricky getting tomatoes to fully ripen with great color and sugars. Here are some tips to improve ripening:
- Leave tomatoes on vines longer indoors, even if they are already mature size and showing color. Maximize vine ripening time.
- Gently twist or clip tomatoes off vines when max color is reached, bringing indoors to finish the ripening process.
- Place harvested mature green tomatoes in a paper bag with a ripe banana or apple. These fruits emit ethylene gas that triggers ripening.
- Display tomatoes on counters out of direct sunlight. Light can inhibit indoor ripening. Keep temps 65-75°F.
- Check frequently and remove any tomatoes that start to wrinkle or rot before fully ripening. Use those for cooking.
- Consider using a small portable ethylene generator designed for home fruit ripening to speed up the process.
- Stray unripe tomatoes can be pickled or cooked into sauce even if they resist full ripening indoors.
With patience and a little assistance, your homegrown indoor tomatoes can develop impressive sweetness and flavor for winter and early spring enjoyment. Getting the ripening process right is the final step to savoring fully vine-ripened tomatoes year-round.
