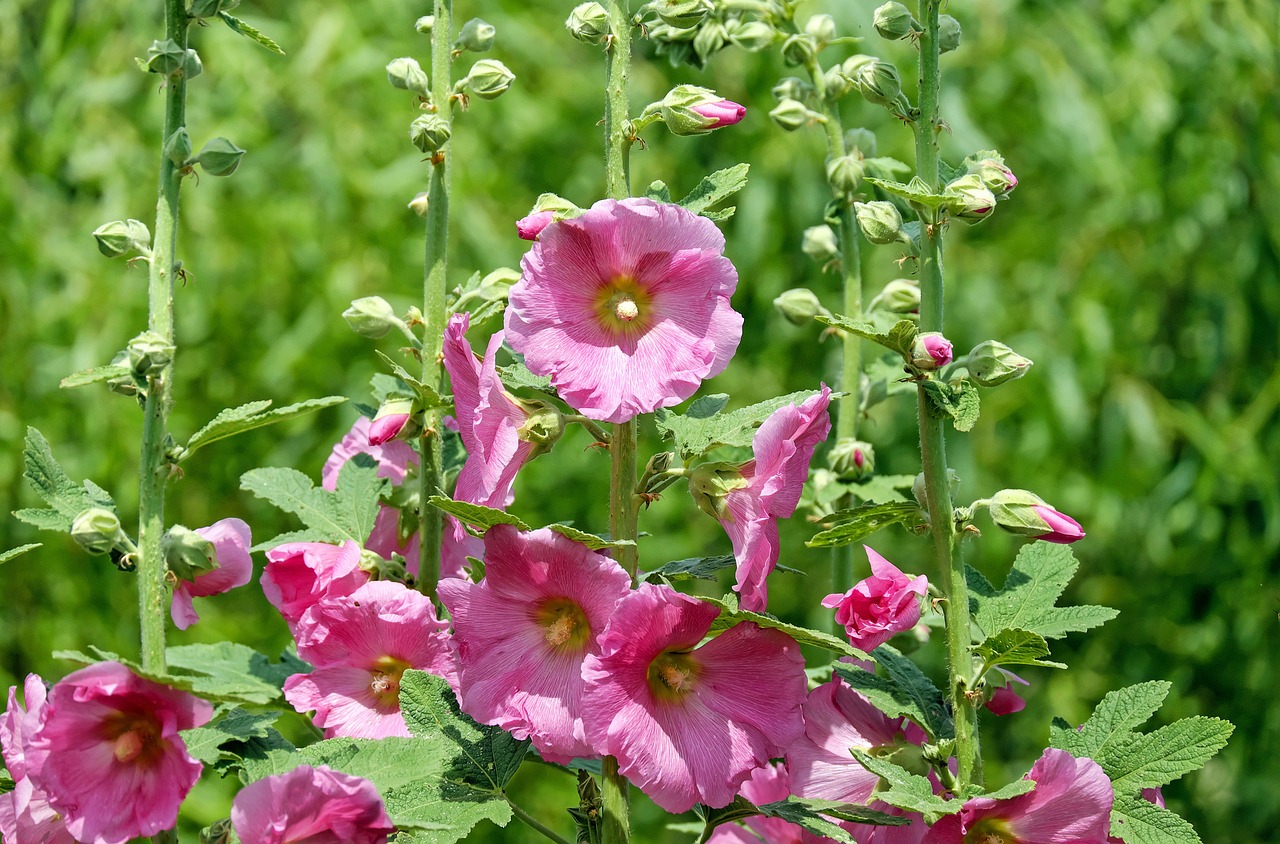
The hollyhock. Its name evokes images of quaint cottages and sprawling English gardens. But these aren’t your grandmother’s flowers! With towering stalks adorned with vibrantly colored blooms, hollyhocks add a touch of drama and grandeur to any garden. But their impressive stature can be intimidating for new gardeners.
This comprehensive guide will equip you with everything you need to cultivate these majestic blooms, transforming your garden into a show-stopping spectacle.
Setting the Stage: Selecting the Perfect Location
Just like a star actress needs the right lighting, hollyhocks thrive under the spotlight. They demand a minimum of six to eight hours of direct sunlight daily. Don’t relegate them to the shady corners of your garden – they’ll become leggy and produce fewer, smaller flowers. When choosing a spot, consider the mature height of the plants, which can reach up to eight feet! Plant them towards the back of borders or use them as dramatic focal points.
Soil Savvy
Hollyhocks aren’t fussy eaters, but they do appreciate a rich and well-draining soil. Amending your planting area with organic matter like compost or aged manure will provide them with the nutrients they need to flourish. If your soil leans towards the clay side, consider mixing in some sand or perlite to improve drainage. Remember, stagnant water is the enemy – it can lead to root rot and ultimately, a sad, wilting hollyhock.
Sowing the Seeds of Success
There are two main ways to cultivate hollyhocks: starting from seeds or transplanting established seedlings. For the thrill of nurturing a plant from scratch, starting from seeds is incredibly rewarding.
Seed Starting Indoors
- Timing is Key: Aim to sow your seeds indoors 6-8 weeks before the last frost date in your area. This gives them a head start before being transplanted outdoors.
- Cozy Accommodations: Opt for individual pots or a seed tray filled with a well-draining potting mix. Sow the seeds about ¼ inch deep and keep the soil consistently moist.
- Light Fantastic: Provide your seedlings with plenty of light, ideally using a grow light if natural sunlight is limited.
- The Great Outdoors Awaits (h4): Once the danger of frost has passed and your seedlings have developed at least 4-6 true leaves, it’s time to harden them off. Gradually expose them to outdoor conditions for a week before transplanting them into their permanent home.
Transplanting Established Seedlings
If you’d prefer a quicker route to blooms, opt for purchasing established hollyhock seedlings from your local nursery.
- The Right Fit: Choose a location that meets the sun and soil requirements mentioned earlier.
- Dig Deep: Dig a hole that’s slightly larger than the root ball of your seedling.
- Gentle Touch: Carefully remove the seedling from its pot, disturbing the roots as little as possible.
- Settling In: Place the seedling in the hole and fill the space with soil, ensuring the crown (the point where the roots meet the stem) sits at ground level.
- Hydration Hero: Water the newly transplanted hollyhock thoroughly to help it settle in.
Cultivating Elegance: Ongoing Care for Thriving Hollyhocks
Now that your hollyhocks are happily settled in, here’s how to ensure they reach their full potential:
Watering Wisely
Hollyhocks appreciate consistent moisture, especially during their first growing season. Aim to water them deeply at the base of the plant once or twice a week, allowing the top inch of soil to dry out between waterings. Avoid overhead watering, as this can promote fungal diseases.
Feeding Frenzy
To encourage strong growth and abundant blooms, fertilize your hollyhocks with a balanced fertilizer every 4-6 weeks during the growing season. A light application of organic fertilizer like compost tea or fish emulsion is a great option.
Staking for Stability
Due to their towering height, hollyhocks can become top-heavy, especially when laden with blooms. To prevent them from toppling over, staking is recommended. Install sturdy stakes next to the plants early in the season and loosely tie the stems to the stakes as they grow.
Deadheading for Drama
Once the flowers begin to fade, deadhead them by pinching off the spent blooms just below the flower head. This not only keeps your plants looking tidy, but it also encourages them to produce more flowers throughout the season.
Winter Woes
Hollyhocks are generally biennial, meaning they complete their life cycle in two years. In the first year, they focus on foliage growth. In the second year, they produce their magnificent flowers before dying off. However, with a little extra care, you can extend their lifespan and enjoy their blooms for multiple seasons.
- Cutting Back: After the first frost, cut the flower stalks back to about 6 inches above the ground. This helps to protect the plant from harsh winter conditions.
- Mulch Magic: Apply a layer of mulch around the base of the plant to insulate the roots and suppress weeds. Opt for organic materials like shredded bark or compost.
Propagating for Perennial Pleasure
Don’t want to say goodbye to your hollyhocks after just two years? Fear not! Hollyhocks can be easily propagated from root division in the fall or early spring.
- Divide and Conquer: Carefully dig up the mature hollyhock plant and use a sharp knife to divide the root crown into sections, each with at least one or two healthy eyes (buds).
- Replanting: Replant the divisions in separate locations following the same planting guidelines as mentioned earlier.
Troubleshooting: Common Hollyhock Problems
While relatively low-maintenance, hollyhocks can be susceptible to a few common problems. Here’s how to identify and address them:
Rust : This fungal disease manifests as orange or brown spots on the leaves. To prevent rust, ensure good air circulation around your plants and avoid overhead watering. If rust does appear, remove and destroy affected leaves, and consider using a fungicide specifically labeled for hollyhocks.
Japanese Beetles: These metallic green beetles with coppery wing covers can munch on hollyhock foliage. Handpick and remove them from your plants, or use insecticidal soap spray if the infestation is severe.
Aphids (h3): These tiny, sap-sucking insects can cause stunted growth and distorted leaves. A strong blast of water from the hose can dislodge them, or you can use insecticidal soap spray for a more targeted approach.