Learning how to save tomato seeds can be a rewarding and cost-effective way to ensure a bountiful harvest in the following year. Not only does it give you control over the varieties you grow, but it also helps preserve heirloom and open-pollinated tomato varieties that are at risk of being lost. In this comprehensive guide, we will walk you through the step-by-step process of saving tomato seeds so you can grow healthy and vibrant plants in your garden.
Table of Contents
When to Save Tomato Seeds
To start saving tomato seeds, it’s crucial to choose fully ripe tomatoes. This usually falls between mid-summer to fall, when the tomatoes have reached their optimal maturity. It’s important to note that tomatoes are slow-growing plants, so most gardeners prefer to start the seeds indoors well in advance of the planting season. Tomato seeds usually take six to eight weeks to become viable seedlings, and once transplanted outdoors, they may take up to two months to produce ripe fruit, depending on the variety and size.
Working With Tomato Seeds
Unlike many other plants, tomato seeds require a bit more work to be properly saved. The seeds of tomatoes are enclosed in a gel-like sack that contains growth inhibitors, preventing the seeds from sprouting inside the fruit. To remove this gel covering, it’s necessary to allow the fruits to rot and ferment. Although this process occurs naturally when the fruit falls off the plant, we will accelerate it for seed-saving purposes.
What You’ll Need
- Ripe tomatoes
- Mixing bowl
- Canning jar
- Colander
- Cheesecloth or paper towel
- Paper plate
- Sealable envelope
Harvesting the Seeds
Harvesting tomato seeds is a simple process that allows you to save seeds from open-pollinated (OP) tomatoes, including heirloom varieties. Here are the steps to harvest tomato seeds:
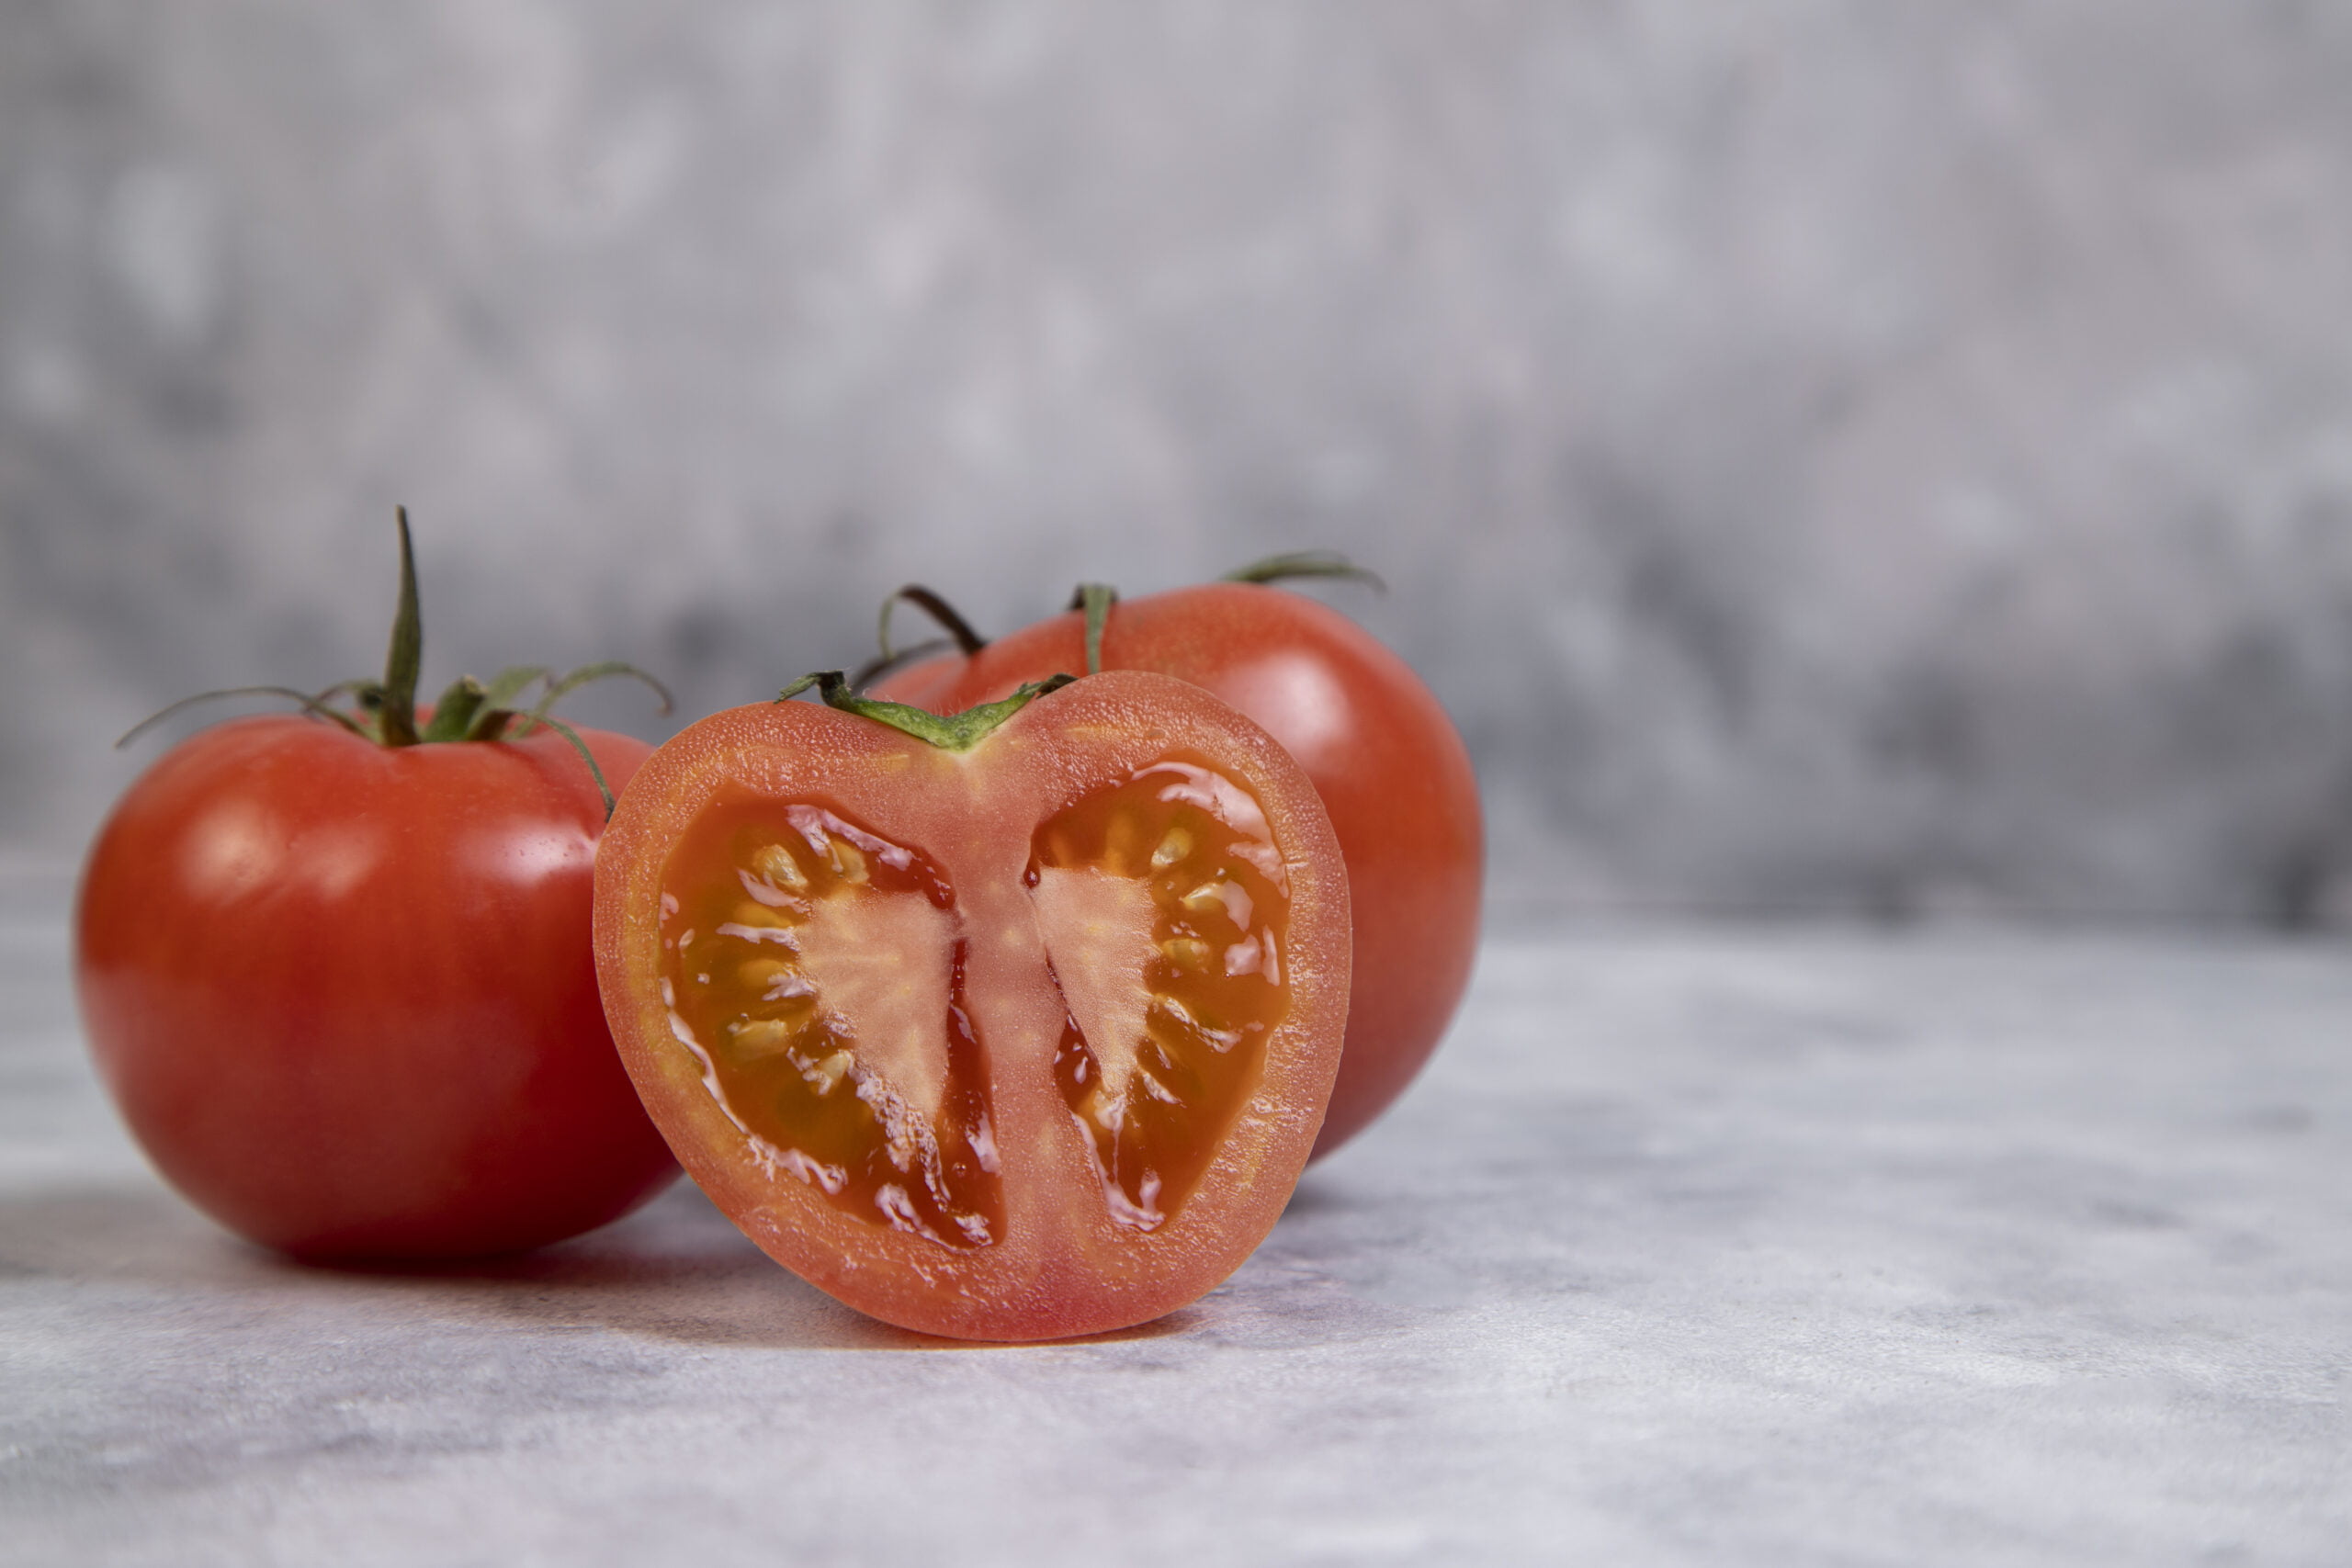
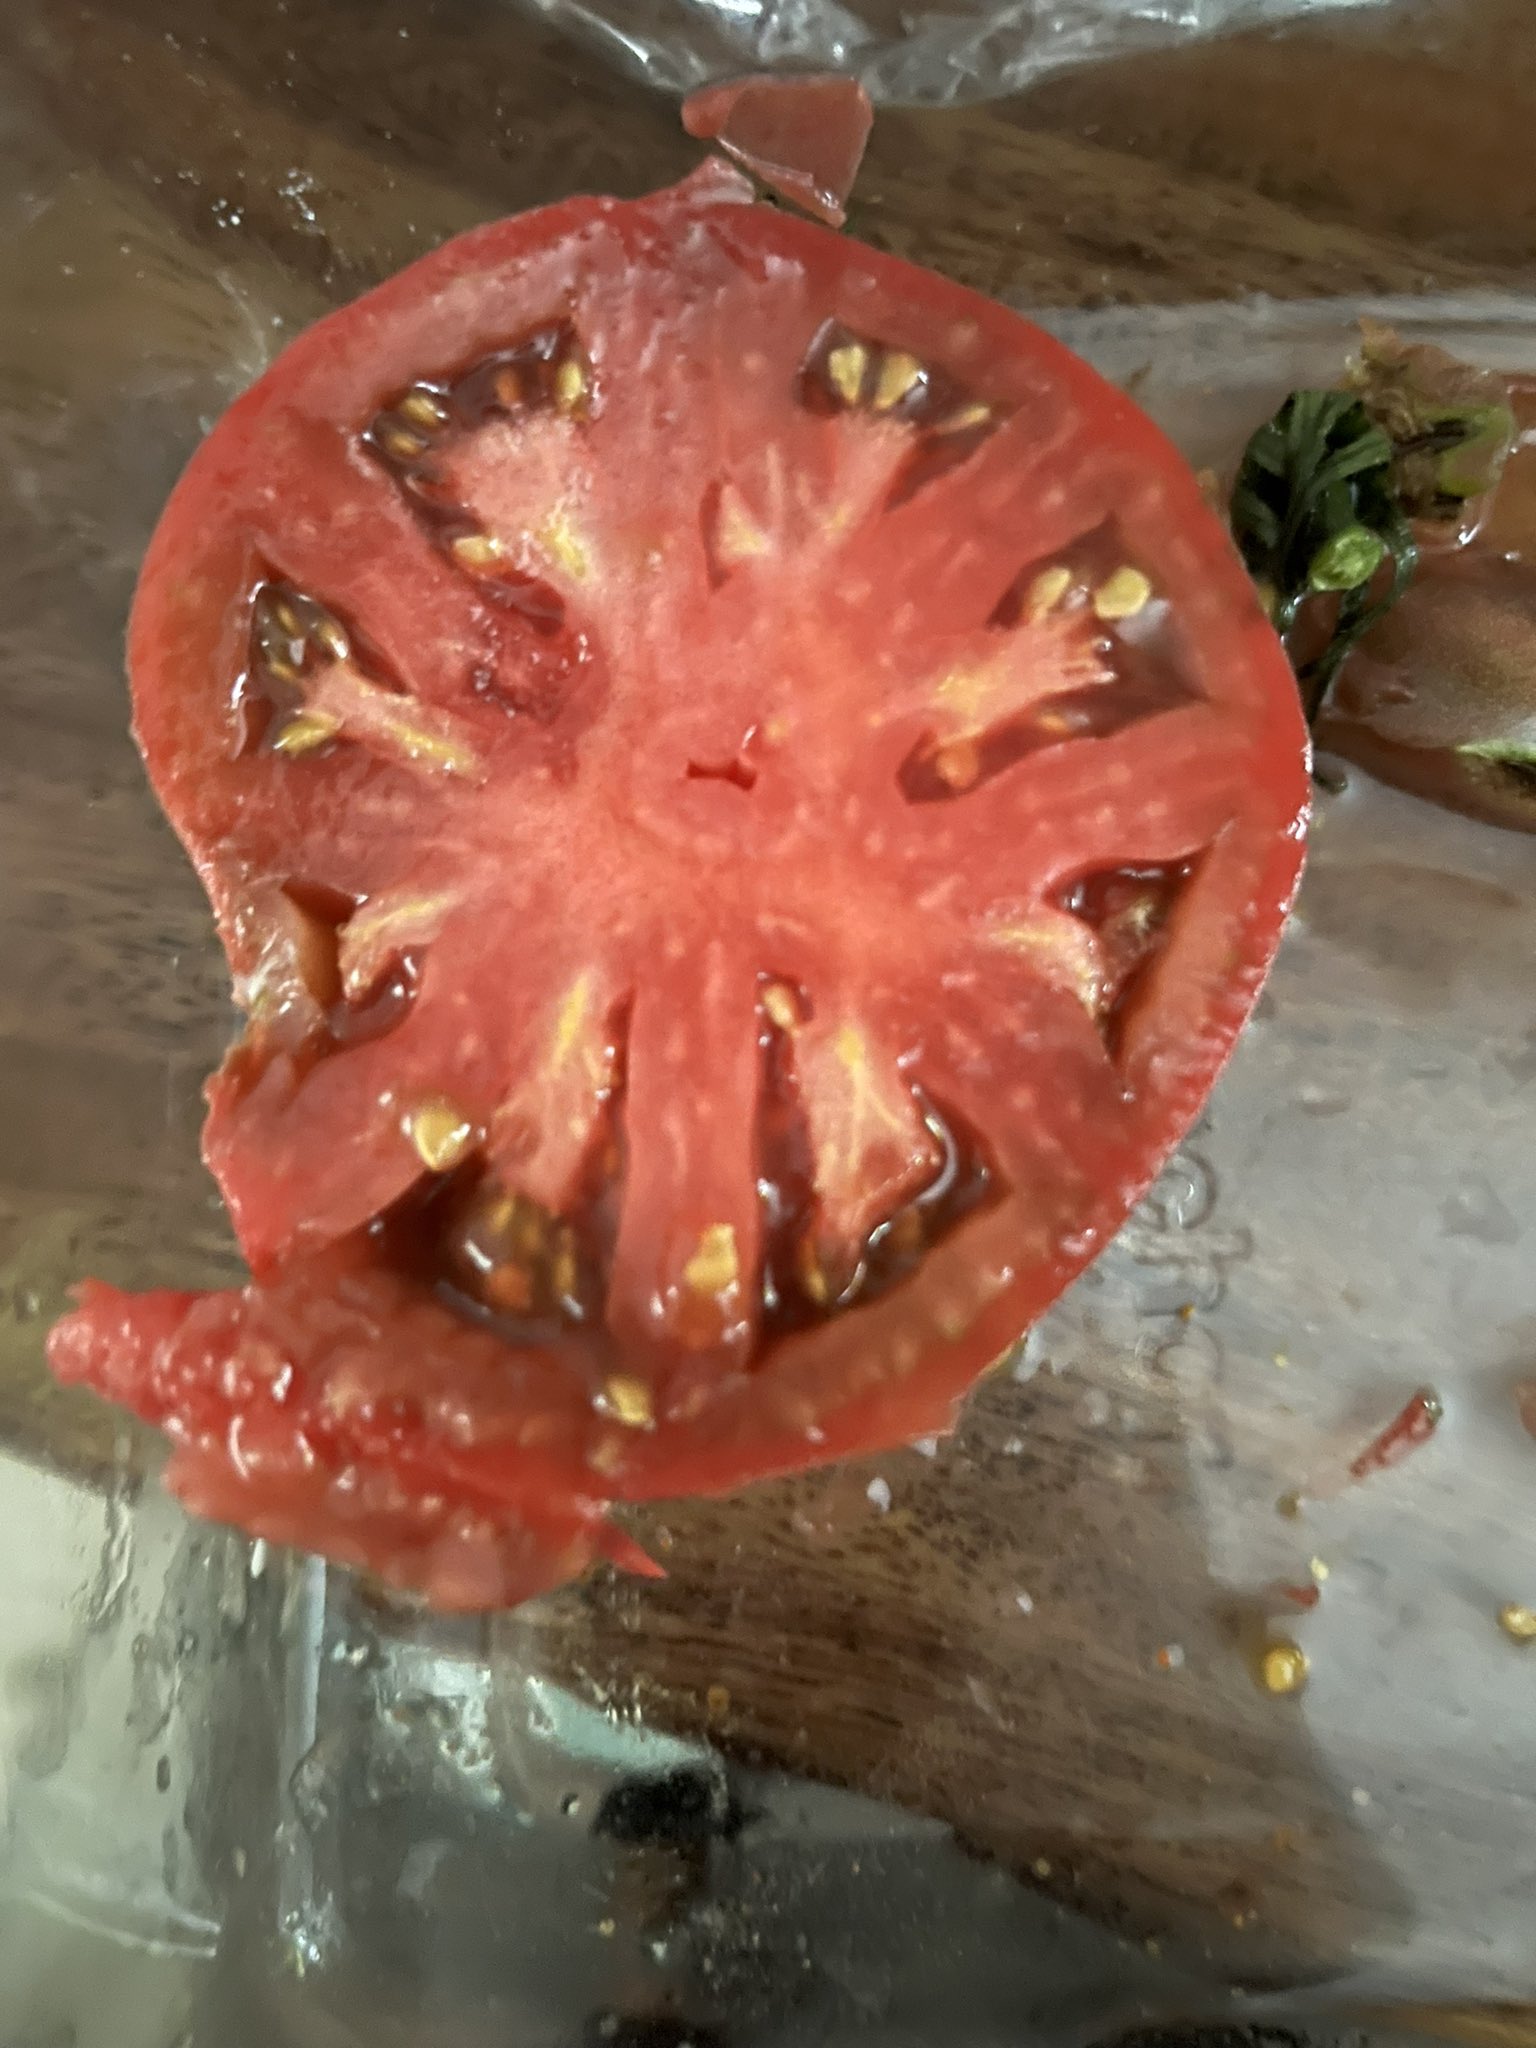
Slice the Tomatoes
To begin, take ripe tomatoes and slice them in half. This exposes the seed cavities within the tomato. You can use a sharp knife for this task. Ensure that the tomatoes are fully ripe for the best seed quality.
Scoop Out the Seeds
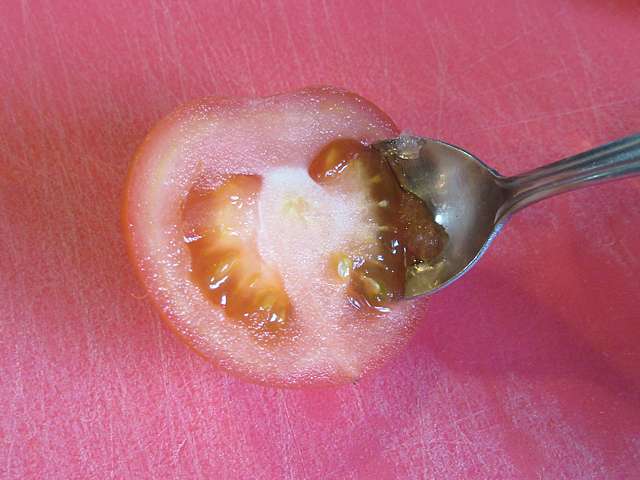
If you find that the majority of the seeds are concentrated in the central cavity of the tomato, you can remove them by gently scooping them out. You can use a spoon or your fingers for this purpose. Try to be gentle to avoid damaging the seeds, and aim to separate them from the surrounding flesh as much as possible.
Remove Flesh for Cooking (Optional)
If your intention is to use the tomato flesh for cooking or other purposes, it’s important to remove all the flesh that surrounds the seeds. This step ensures that you separate the seeds entirely from the flesh. However, if you’re solely interested in saving seeds and not using the flesh, you can be less meticulous about this step.
Place Seeds in a Clean Container
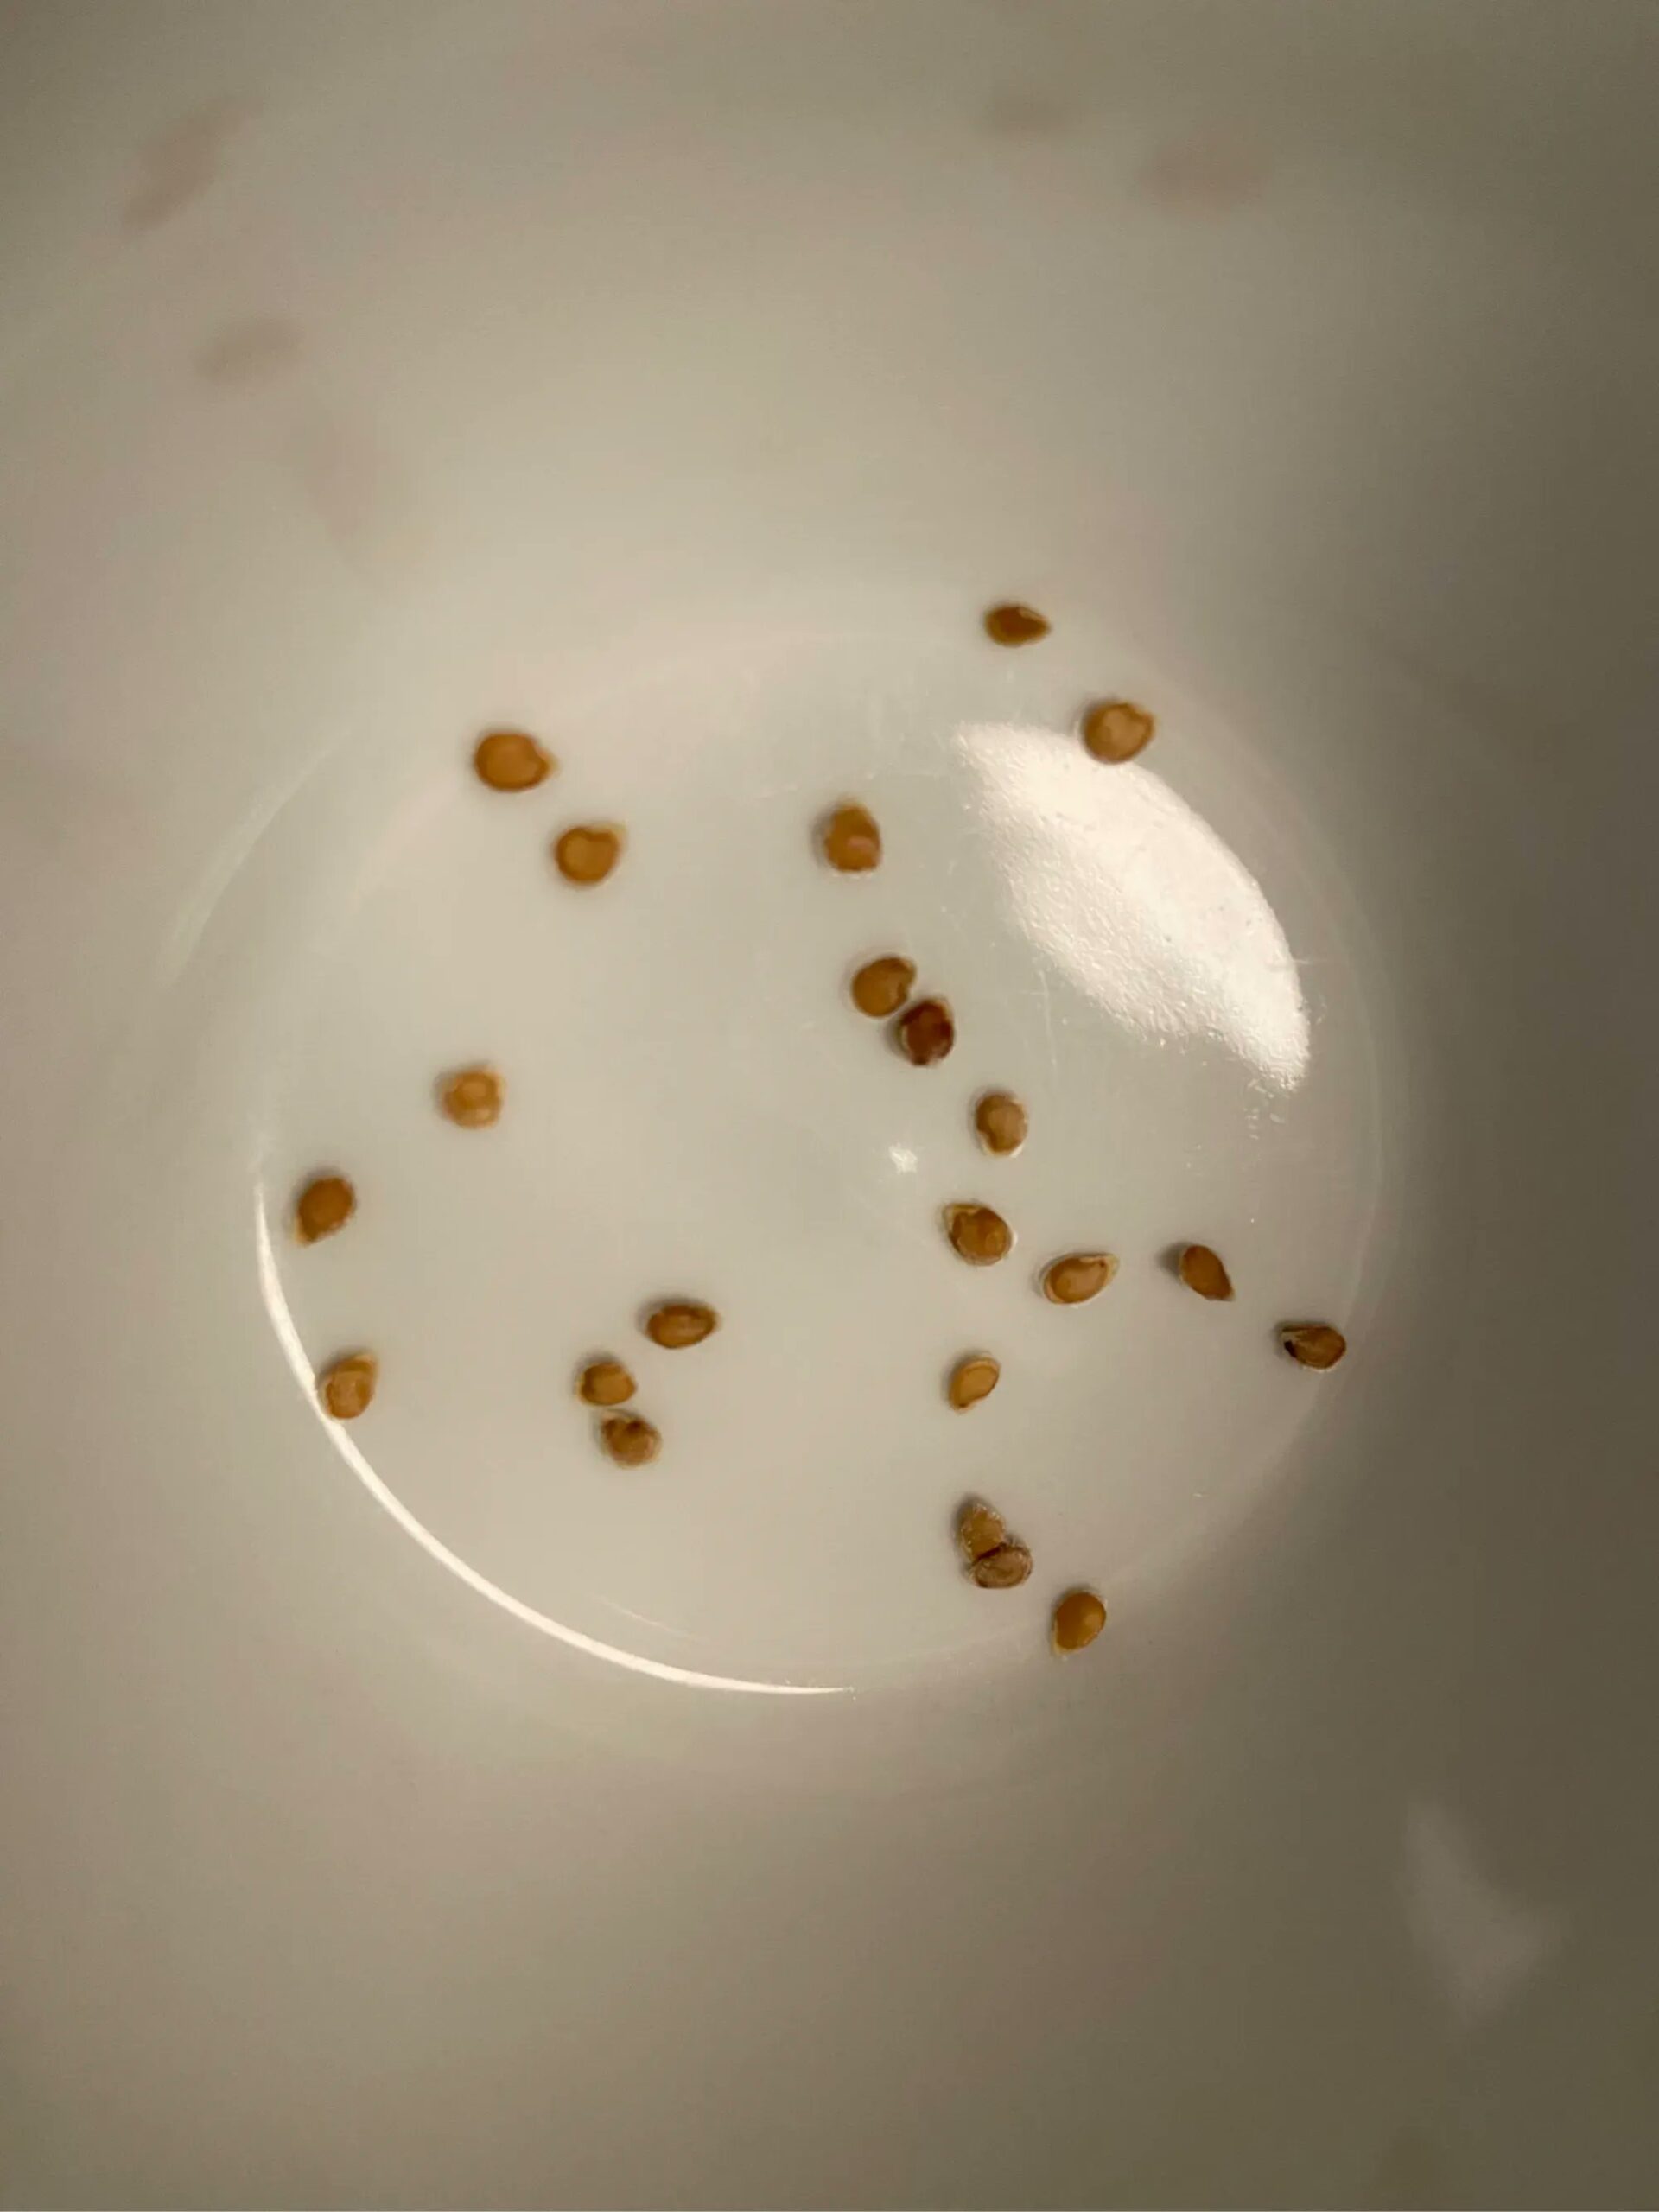
After extracting the seeds, collect them in a clean container. It’s crucial that the container is thoroughly clean to prevent any mold or bacterial growth on the seeds. This container can be a bowl or a glass jar, but it should be sanitized to maintain seed quality.
Place the seeds in a clean bowl or jar, making sure to only save seeds from open-pollinated (OP) tomatoes, including all heirloom varieties. Hybrid tomato seeds may grow, but they often produce plants with different characteristics than expected.
Initiating Fermentation
To initiate the fermentation process when saving tomato seeds, follow these steps:
Assess the Liquid Content
Check if there is enough natural liquid from the tomato pulp to sufficiently cover the seeds. If not, you may need to add up to a cup of water to the mixture. This added water helps in separating the seeds from the pulp during fermentation.
Choose a Suitable Container
Opt for a container that can accommodate the tomato seeds and pulp mixture. Sterilized glass canning jars are a good choice for this purpose because they help contain the unpleasant odor associated with fermentation. This also allows for easy monitoring of the process.
Place the Container in a Warm Location
Find a warm and out-of-the-way spot for the container with the tomato seeds and pulp. Fermentation typically takes place over the course of 2 to 4 days, so make sure the location is suitable for this duration.
Cover the Container Top
To prevent fruit flies and other pests from entering the container, cover the top with a piece of cheesecloth or a paper towel. This cover allows air circulation while acting as a barrier to insects.
Monitoring the Fermentation
Monitoring the fermentation process is crucial to ensure that it’s completed successfully. These are the steps to monitor the fermentation of tomato seeds:
Regular Checks
During the fermentation period, it’s essential to regularly inspect the mixture. Look for any signs of mold formation on the surface of the seeds and pulp.
Mold Formation
As the fermentation progresses, you may notice a layer of mold developing on top of the tomato seeds and pulp. This is a natural part of the process and indicates that the fermentation is underway.
Observe Bubbles
Another sign that fermentation is in progress is the appearance of bubbles rising from the mixture. These bubbles are a result of the fermentation gases being released.
Completion of Fermentation
Once the fermentation process is complete, you will typically see one of two scenarios:
- The entire surface of the tomato pulp is encased in a layer of mold.
- The seeds have settled to the bottom of the container in a watery liquid, with the thicker pulp and mold sitting on top of them.
Avoid Over-Fermentation
It’s important to avoid over-fermenting the tomato seeds, as this can lead to germination. Over-fermentation can cause the seeds to sprout, which is not desirable at this stage.
Time Frame
The duration of fermentation can vary but usually falls within the range of 2 to 4 days. The exact time may depend on factors like temperature and humidity. It’s important to monitor the process closely to avoid overdoing it.
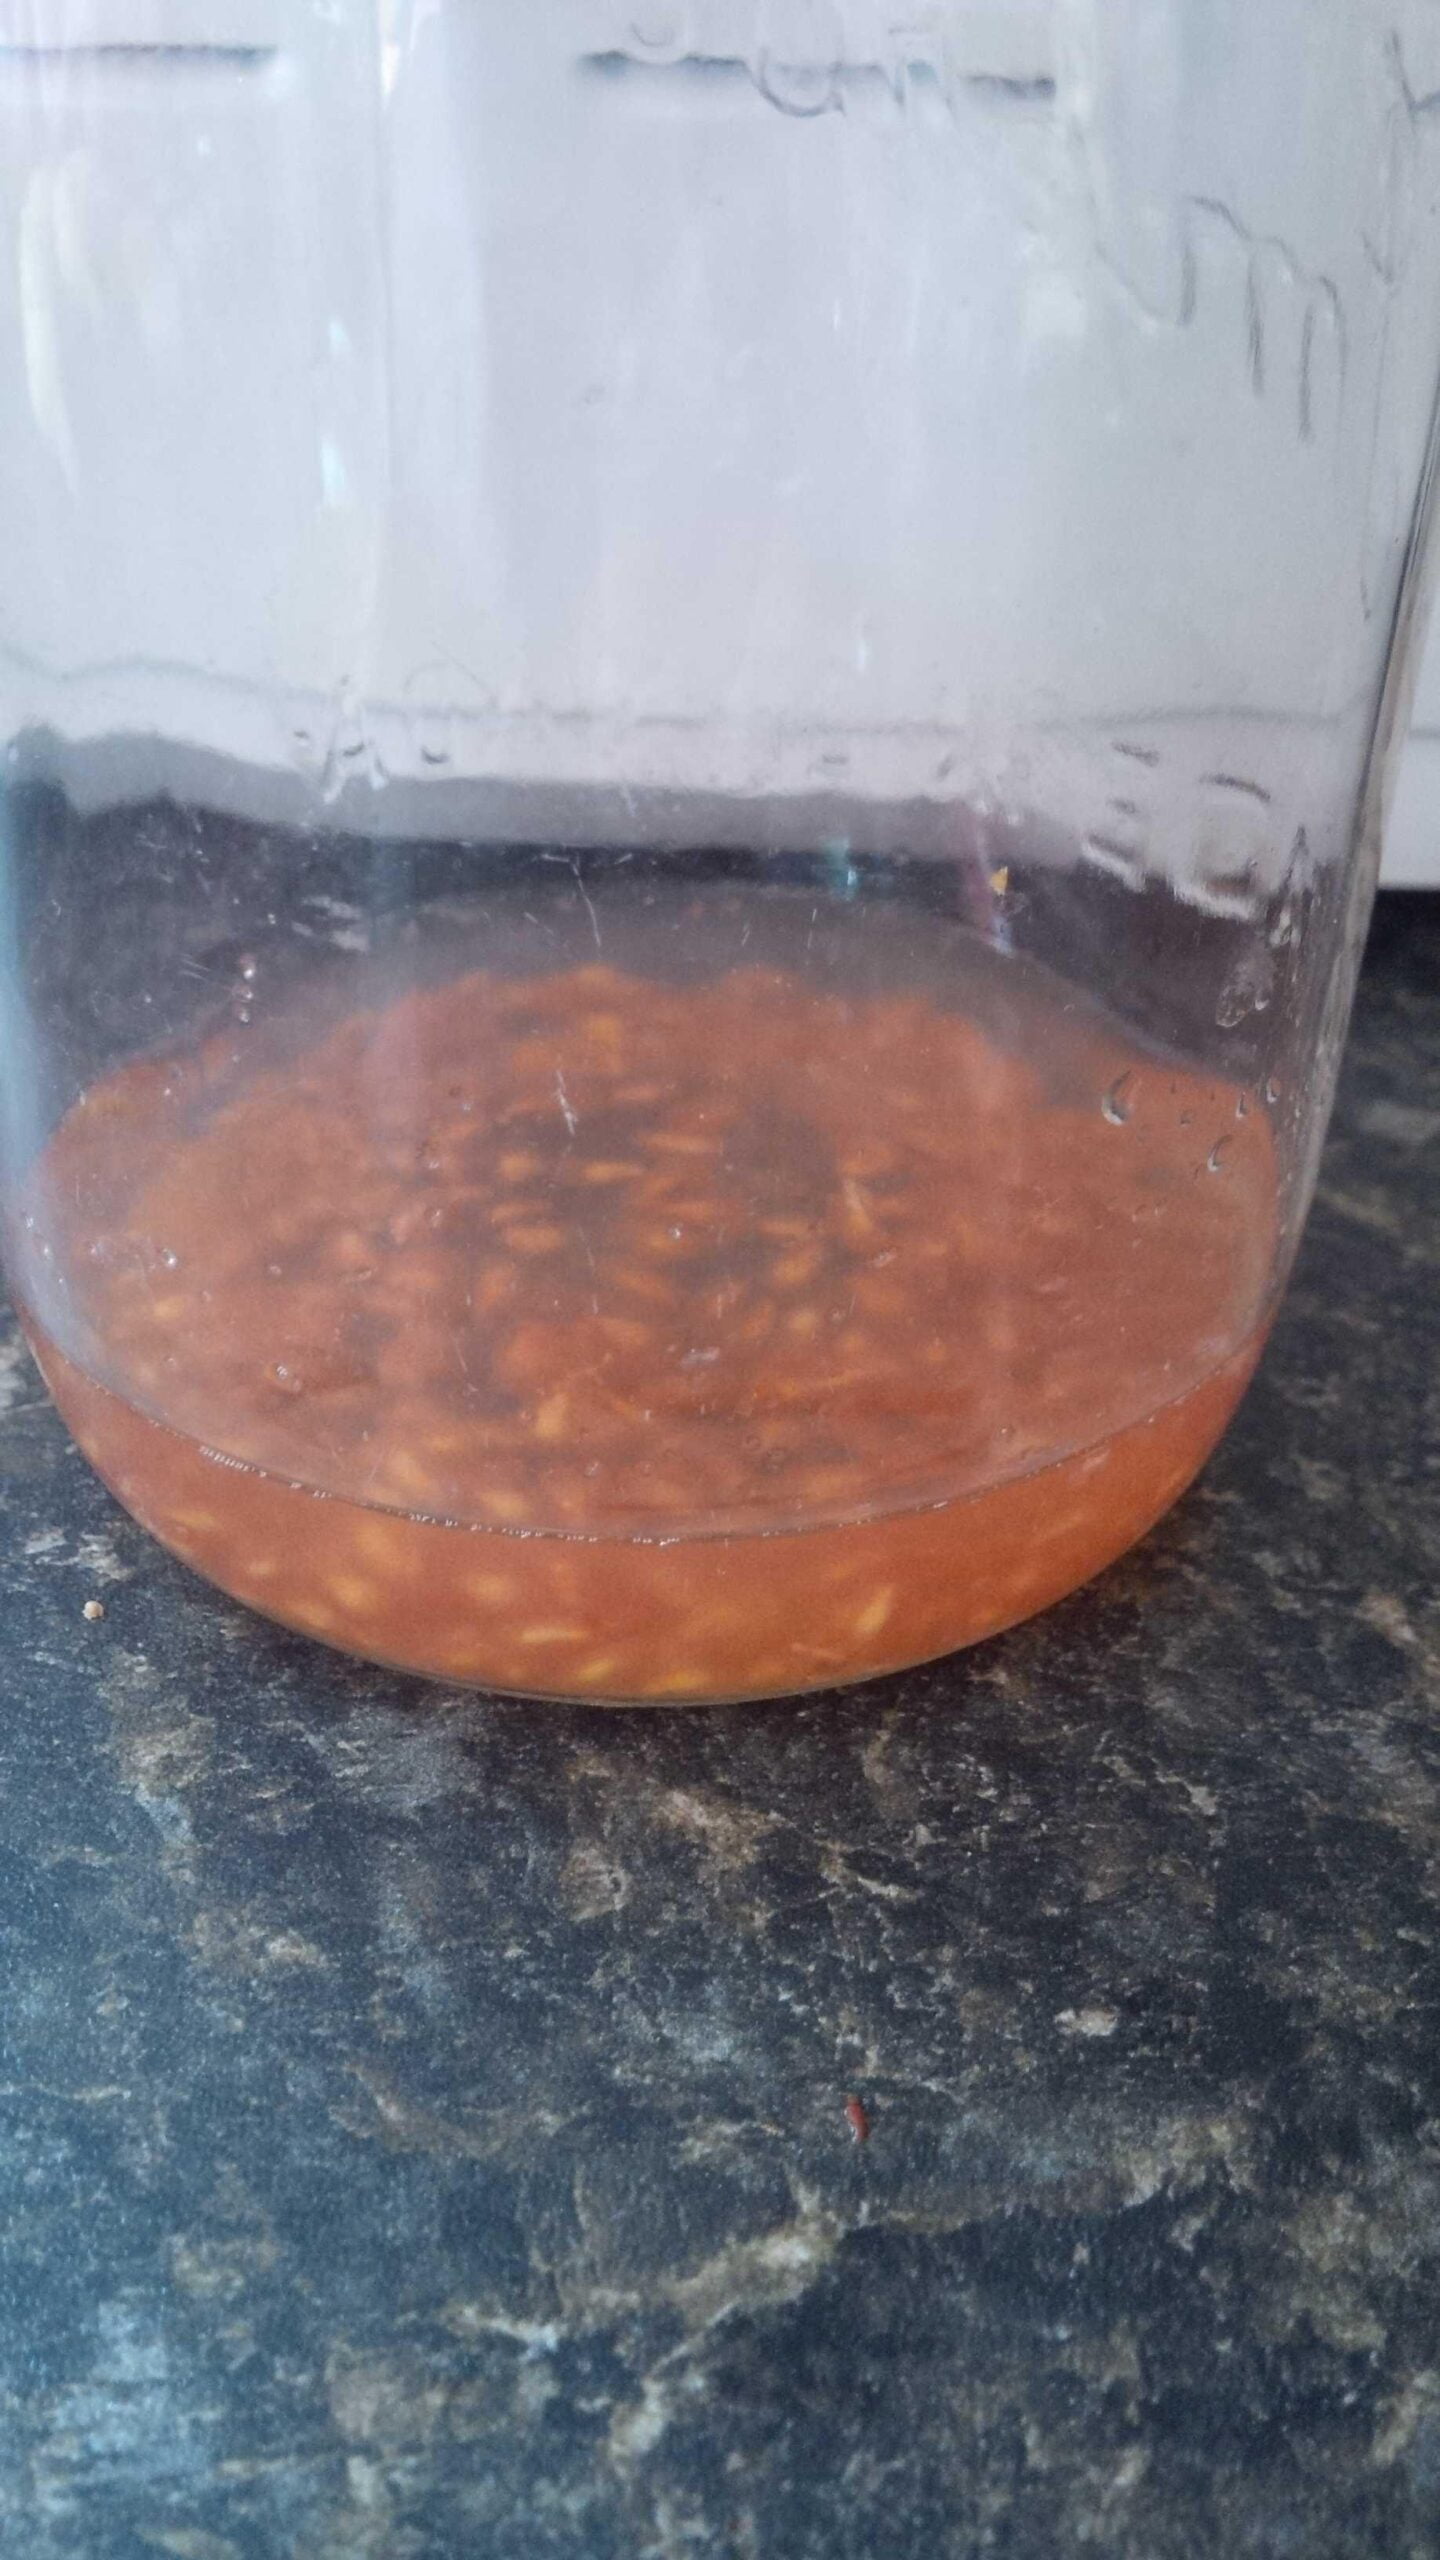
Glass Jar Observation
If you’re using a glass jar for fermentation, it might be harder to see the mold layer due to the container’s opacity. However, you can generally tell that fermentation is complete when the seeds settle at the bottom in a watery liquid, with the thicker pulp and mold sitting on top of them.
Once you’ve determined that the fermentation is complete, you can proceed with rinsing and drying the seeds to prepare them for storage. Proper monitoring ensures that the seeds are processed at the right time, improving their viability for future planting.
Separating and Cleaning the Seeds
The next step after fermenting the tomato seeds is to separate and clean them. Here’s how to do it:
Remove Mold Covering
Carefully remove the layer of mold that may be covering the seeds. You can do this by gently lifting the mold layer from the surface of the seeds or by rinsing it along with the seeds in the next step.
Rinse Under Running Water
Place the entire seed mixture, including the seeds, any remaining pulp bits, and the mold, into a colander or fine-mesh strainer. Then, rinse the seeds gently under running water. The goal here is to remove any remaining bits of pulp and mold, leaving only clean seeds behind.
Thorough Cleaning
Take your time during this step to ensure that the seeds are thoroughly cleaned. Use your fingers to gently agitate the seeds as you rinse them, helping to dislodge any clinging pulp or mold.
Strain and Inspect
As you rinse, the water will carry away the unwanted debris, leaving the clean seeds in the colander or strainer. Continue rinsing until the seeds are free of any remaining pulp or mold.
Drain Excess Water
After rinsing, allow the seeds to drain in the colander or strainer for a few minutes to remove excess water.
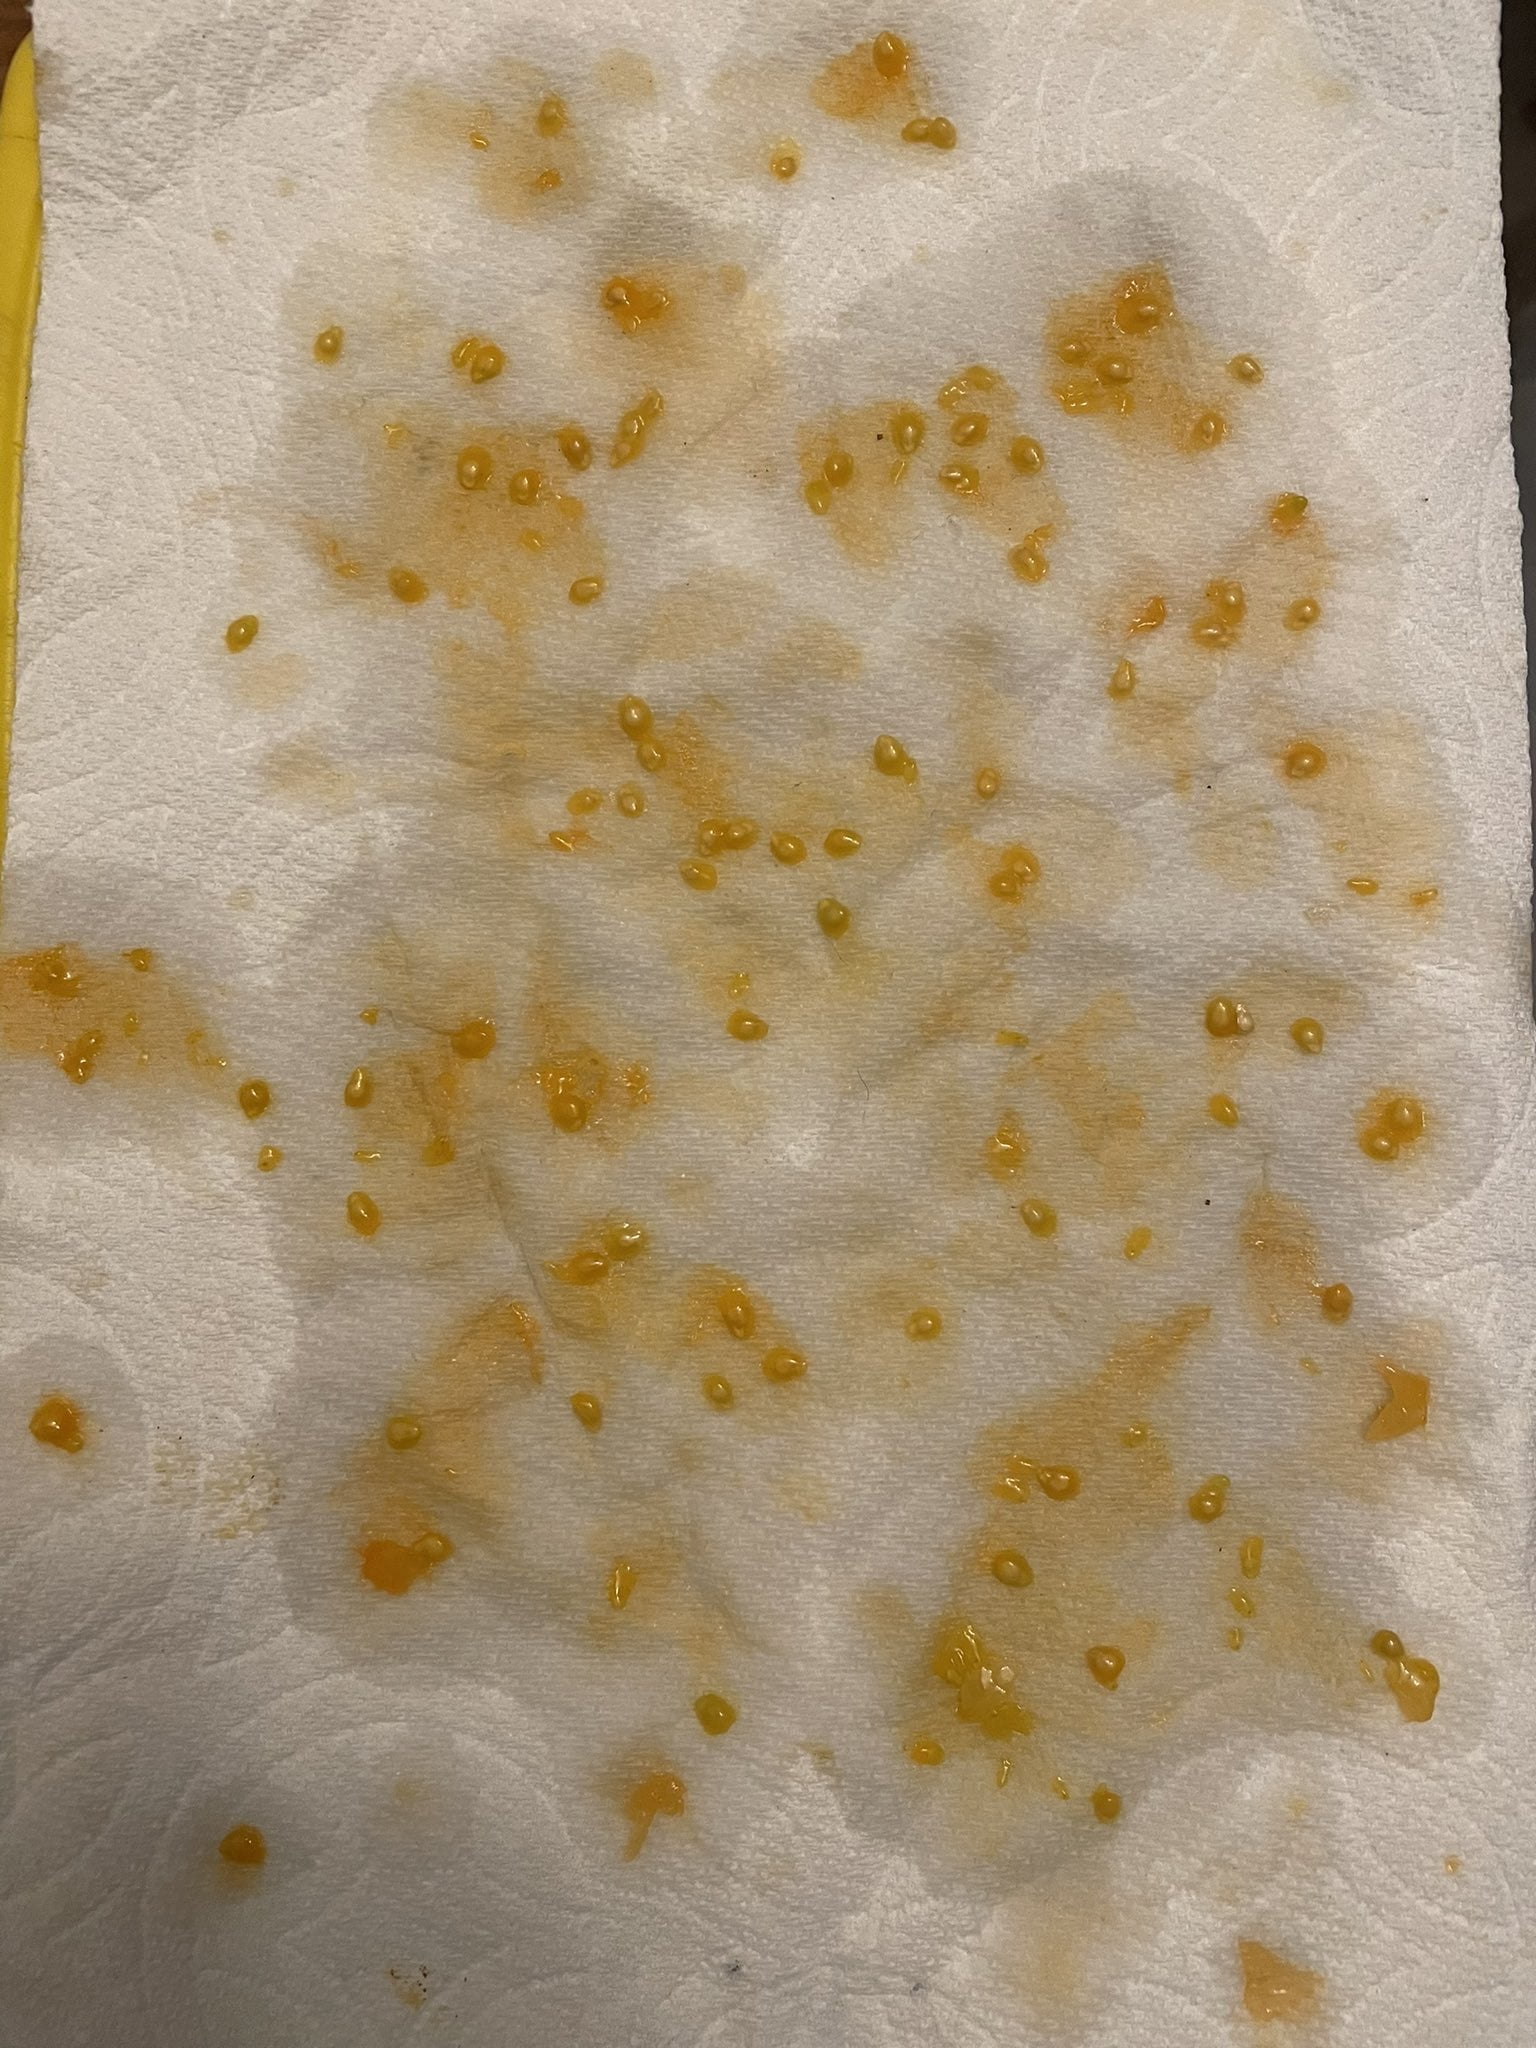
Drying and Storing the Seeds
After extracting and cleaning tomato seeds from the pulp, it is important to dry them thoroughly before storage. Spread seeds evenly in a single layer on a glass or ceramic plate or dish. Avoid using paper as seeds may stick.
Place the plate in a warm, dry, well-ventilated location out of direct sunlight. The ideal conditions are around 70-75°F and 40-50% relative humidity.
Gently stir or shake the seeds daily to ensure even drying and prevent clumping. Drying typically takes 5-7 days. Seeds are ready when they break instead of bend.
Do not use artificial heat sources like ovens or heat lamps to speed drying, as excess heat can damage seeds. Air drying works best to preserve viability.
Once completely dry, transfer seeds to an airtight, moisture-proof container like a glass jar or plastic bag. Ensure containers are fully sealed. Label with variety name and harvest year.
Store containers in a consistently cool, dark, and dry location around 40-50°F. The refrigerator is ideal, but any dark cabinet works. Properly stored, tomato seeds remain viable for 4+ years.
Following a careful process of extraction, washing, fermentation, drying, and storage will ensure you have the healthiest, highest viability seeds to start next year’s crop. Saving seeds is an easy way to preserve beloved heirloom varieties.