Ever looked in your pantry and discovered an onion with a rebellious streak, sporting a verdant green sprout? Don’t relegate it to the compost bin just yet! With a little know-how, you can transform this sprouted onion into a thriving member of your garden, rewarding you with homegrown goodness. This guide will unveil the secrets to breathing new life into your sprouted onions, taking you from curious sprout to culinary delight.
This post may have affiliate links. This means that sometimes when you click a link on our site and make a purchase on Amazon, we may earn a small commission at no additional cost to you. We only recommend products we truly believe in, and your support helps keep us running!
Setting the Stage: Prepping for Sprout Success
Before we dive into the planting process, let’s ensure your sprouted onion has the foundation for success. Here’s what you’ll need:
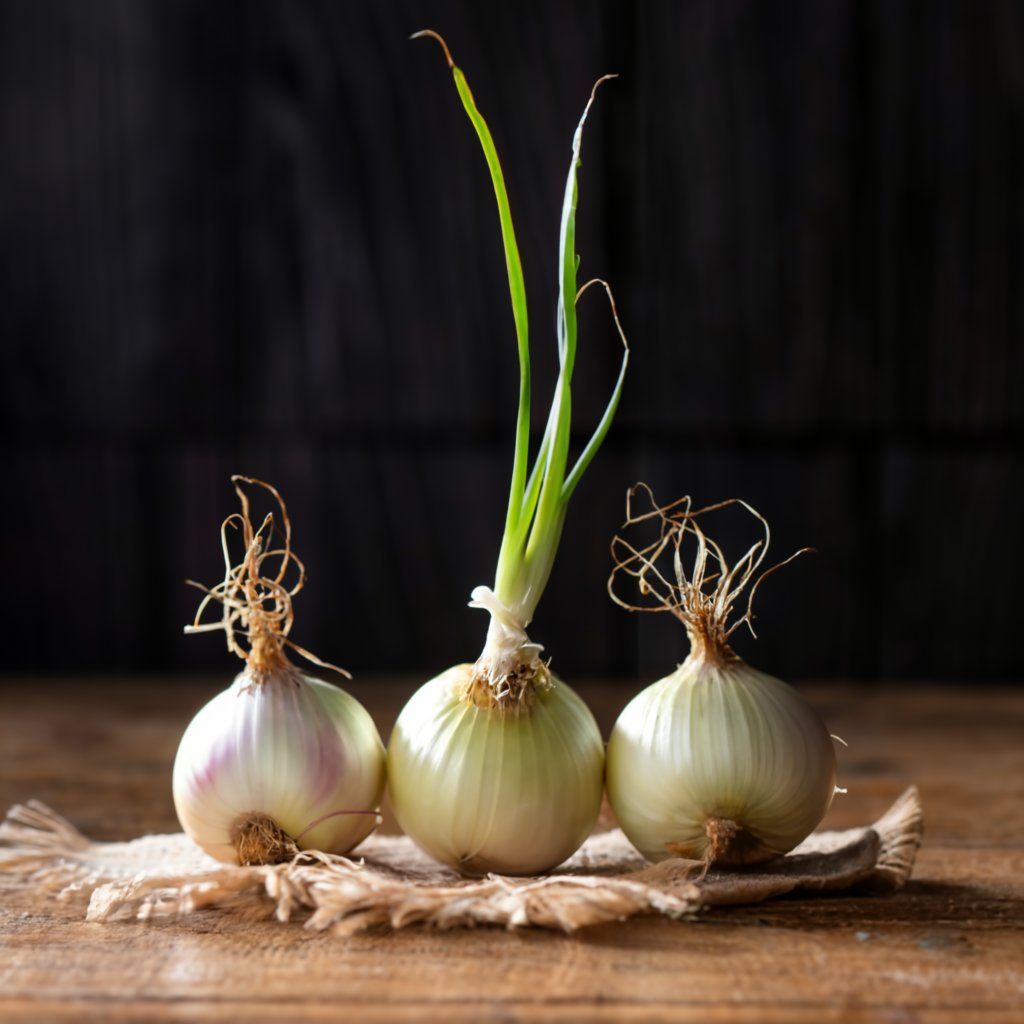
- The Star of the Show: Your sprouted onion! Choose a firm onion with a healthy green shoot reaching for the light. Avoid any onions that are soft or mushy.
- A Sunny Sanctuary: Onions crave sunshine, so select a location that receives at least 6-8 hours of direct sunlight daily. If planting indoors, a south-facing window is ideal.
- The Perfect Potting Mix: Opt for a well-draining potting mix. Look for a blend specifically formulated for vegetables or cacti, as these often provide excellent drainage.
- A Comfy Container: Choose a pot that’s at least 6 inches deep and wide. Drainage holes are crucial, so ensure your pot has them.
- Watering Can at the Ready: Keep a watering can handy to keep your newly planted onion happy.
Sprout Separation: Dividing and Conquering
Onions can sometimes produce multiple green shoots from a single bulb. To maximize your harvest, consider separating these sprouts before planting. Here’s how:
- Gently Unravel: Carefully remove the outer papery skin from the onion bulb.
- Identify the Shoots: Locate the individual green shoots emerging from the top.
- Separate with Care: If the shoots feel firm and separate easily, gently pull them apart.
- Not Mandatory, But Beneficial: If the shoots seem intertwined, you can use a sterilized knife to carefully separate them. However, this isn’t always necessary.
Remember: Don’t fret if some shoots don’t have visible roots yet. They will develop once planted in the soil.
Planting Power: Giving Your Sprouts a New Home
Now that you have your prepped sprouted onion (or separated sprouts), it’s time to give them a permanent home!
- Fill ‘Er Up: Fill your chosen pot with the well-draining potting mix, leaving about an inch of space from the rim.
- Making a Well: Gently create a small indentation in the center of the soil, deep enough to accommodate the root end of your sprout.
- Planting Time: Place the root end of your sprout (or individual sprouts) into the indentation, ensuring the green shoots remain upright above the soil surface.
- Filling In the Gaps: Carefully fill in the remaining space around the sprout(s) with potting mix, firming it gently to secure the plant.
- Watering Wisdom: Give your newly planted onion a good watering, ensuring the water drains freely from the pot’s drainage holes.
Top Tip: For extra stability, you can gently push some soil up against the base of the green shoots.
Nurturing Your Sproutlings: The Road to Onion Bliss
With your sprouted onions nestled in their new home, here’s how to care for them to ensure a bountiful harvest:
Light Up Their Lives: As mentioned earlier, onions are sun worshippers. Provide them with at least 6-8 hours of direct sunlight daily for optimal growth.
Watering Wisely: Water your onion plants regularly, aiming to keep the soil consistently moist but not waterlogged. Allow the top inch of soil to dry slightly between waterings.
Feeding Frenzy: While not strictly necessary, you can give your onions a boost with a balanced fertilizer every 4-6 weeks during the growing season. Opt for a water-soluble fertilizer diluted according to the package instructions.
Weed Warriors: Keep an eye out for weeds that might compete with your onions for nutrients and sunlight. Gently remove any weeds that pop up around your plants.
The Waiting Game: Be patient! Depending on the variety of onion you’re growing, it can take anywhere from 60-100 days to harvest mature onions.
Signs of Success: When to Harvest Your Onions
How do you know when your homegrown onions are ready to harvest? Here are some telltale signs:
The Tops Tell a Tale: The green tops of your onion plants will begin to yellow and flop over as the bulbs mature underground. This is a good indication that the onions are nearing harvest time.
- The Bulb Test: Gently brush away some soil from the base of your onion plant. If the bulb feels firm and round to the touch, it’s likely ready for harvest.
- Size Matters (But Not Too Much): Depending on the variety of onion you planted, the mature bulbs can range in size from a small golf ball to a large tennis ball. Don’t worry if your onions aren’t perfectly uniform; homegrown often have a unique charm!
The Grand Finale: Harvesting and Enjoying Your Bounty
The moment you’ve been waiting for! Here’s how to harvest your homegrown onions:
- Loosen the Soil: Carefully loosen the soil around the base of your onion plant with a garden fork.
- Gently Does It: Gently lift the onion plant from the soil.
- Shake it Off: Brush away any excess soil from the bulb.
- Curing for Perfection: Don’t rush to slice up your onions just yet! To allow them to store well, they need a curing period. Find a warm, well-ventilated area with good air circulation. Spread your onions out in a single layer on a mesh screen or netting for a couple of weeks. The tops will continue to dry out, and the outer skin of the onion will become papery. This curing process helps to improve the flavor and storage life of your onions.
Beyond the Basics: Expanding Your Onion Horizons
Now that you’ve mastered the art of growing onions from sprouted bulbs, you might be curious to explore further. Here are some additional tips:
- Variety is the Spice of Life: There’s a whole world of onion varieties waiting to be discovered! Experiment with planting different types, from sweet yellow onions to spicy red varieties.
- Saving Seeds for the Future: Did you know you can save seeds from your own onions? Once your onion plant flowers and produces seed heads, allow them to dry completely on the plant. Then, harvest the seeds and store them in a cool, dry place for future planting endeavors.
- Going Green All Year Round: You can enjoy the fresh green shoots of your onion plant throughout its growing cycle. Simply snip off what you need for salads or garnishes, taking care not to remove too much foliage at once. This won’t hinder the growth of the bulb underground.