Welcome, fellow gardening enthusiasts and eco-warriors! Are you ready to dive into the world of plastic water bottle gardening and unlock your green thumb? Look no further! In this comprehensive guide, we will equip you with 6 proven tips that go beyond the basics. Get ready to unleash your gardening potential, witness the magic of sustainable practices, and cultivate a flourishing plastic water bottle garden!
Table of Contents
Mastering the Plastic Water Bottle Garden: Unlock Your Green Thumb with 6 Proven Tips
Tip 1: Choose Your Green Allies Wisely – Bottle Selection Matters!

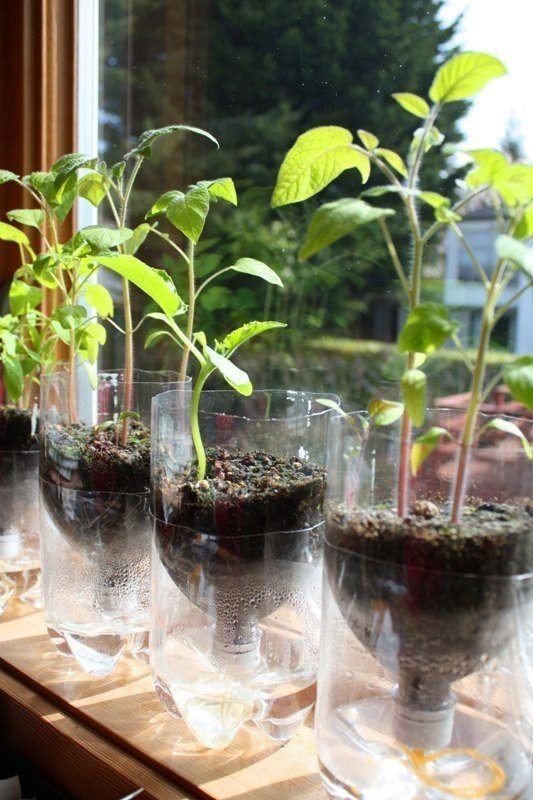
When it comes to plastic water bottle gardening, the choice of bottles is crucial for your plants’ success. Opt for sturdy bottles that offer proper drainage and ample space for plant growth. Consider repurposing soda bottles for compact herbs like basil or thyme, large water bottles for taller plants such as tomatoes or peppers, and juice bottles for smaller vegetables like radishes or carrots. Remember, the right bottle selection can make all the difference!
Here are a few additional considerations when choosing bottles for your plastic water bottle garden:
- Material durability: Choose bottles made of thick plastic, such as repurposed soda bottles or sturdy juice bottles. Alternatively, you can use glass bottles that provide long-lasting durability.
- Size and depth: For compact herbs like basil or thyme, repurpose soda bottles with a depth of at least 6 inches (15 cm). For taller plants such as tomatoes or peppers, large water bottles with a depth of 12 inches (30 cm) or more would be suitable. Smaller vegetables like radishes or carrots can thrive in juice bottles with a depth of 4-6 inches (10-15 cm).
- Light transparency: Transparent water bottles, such as clear plastic bottles, allow ample sunlight to reach the roots of sun-loving plants like herbs or vegetables that require full sun exposure. For shade-loving plants like lettuce or spinach, you can use opaque bottles like milk jugs or yogurt containers to provide a partially shaded environment
- Bottle color: In cooler climates, consider using dark-colored bottles like black or dark green, as they absorb more heat from sunlight, providing warmth to heat-loving plants such as peppers or eggplants. In warmer regions, opt for light-colored bottles like white or light green, as they reflect sunlight and prevent overheating for plants like lettuces or herbs that prefer cooler conditions.
- Eco-friendliness: Look for bottles made from recycled materials, such as PET (polyethylene terephthalate) bottles, which are commonly used for water or soda. These bottles can be easily recycled after use, promoting a sustainable approach to plastic water bottle gardening.
Tip 2: Prepping for Success – Give Your Bottles Some Tender Loving Care
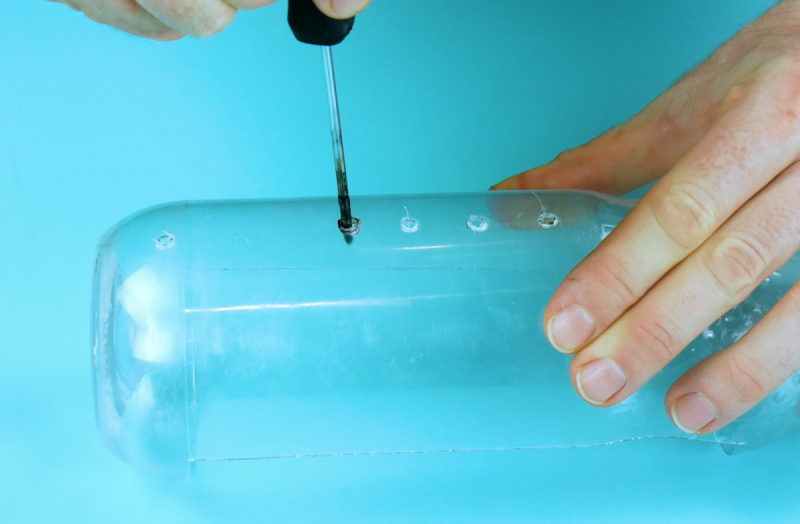
Before planting your favorite herbs and vegetables, it’s essential to show some love to your plastic water bottles. Thoroughly clean them to remove any residue or impurities that could affect plant health. Create proper drainage by carefully poking holes at the bottom, ensuring excess water can escape. Also, remember to remove the bottle caps to provide your green pals with the breathing space they need!
Tip 3: Vertical Marvels – Maximize Space with Bottle Towers
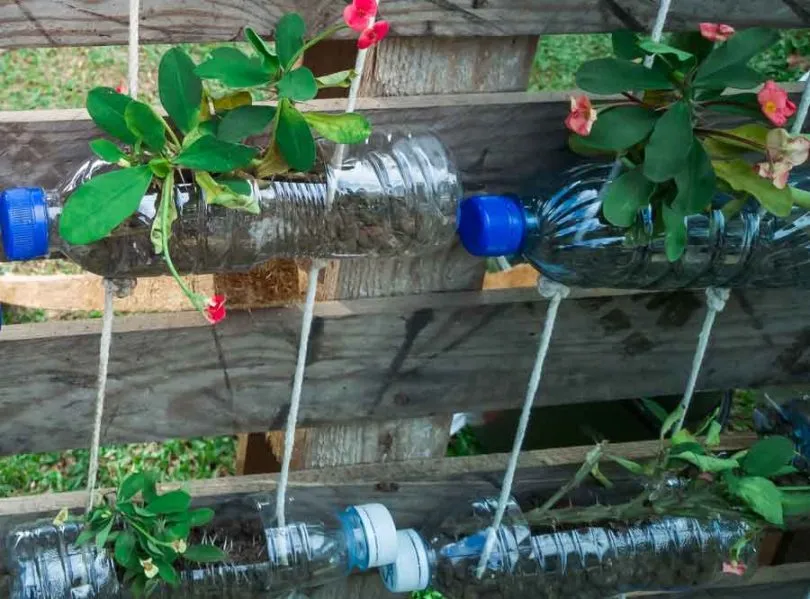
If you have limited space, don’t fret! Plastic water bottle gardening allows you to maximize your growing area by going vertical. Construct bottle towers by stacking bottles on top of each other, creating a visually stunning and space-saving garden. Not only will you save precious ground space, but you’ll also add a touch of charm to your outdoor oasis.
Vertical gardening with bottle towers is an effective way to maximize space in a plastic water bottle garden. By stacking bottles on top of each other, you can create a visually appealing and space-saving garden.
Consider the following important factors:
- Construction: Use a stable support structure and stack bottles of different sizes, starting with larger bottles at the bottom and progressing to smaller ones at the top.
- Plant Selection: Choose trailing plants for the sides of the tower and compact herbs, lettuce, or small ornamental flowers for the top. This allows for a diverse and attractive vertical garden.
- Watering and Drainage: Water the top bottle and let the excess water flow down through the bottles to ensure all plants receive sufficient moisture. Monitor moisture levels regularly and adjust watering as needed.
- Sunlight and Placement: Position the bottle tower in a location with adequate sunlight for the plants’ requirements. Ensure proper airflow and avoid excessive shading by nearby structures
- Maintenance and Support: Provide additional support as plants grow by using trellises, stakes, or strings. Regularly check for stability and make adjustments as necessary.
Implementing vertical gardening techniques with bottle towers offers a creative and space-efficient solution for growing a variety of plants, even in small spaces. With the right plant choices and proper care, you can create an impressive vertical garden that maximizes your growing area and adds charm to your outdoor or indoor space.
Tip 4: Tender Loving Care for Your Bottle Garden – Nurture Your Green Buddies
Just like any other garden, your plastic water bottle garden needs some TLC (tender loving care). Provide them with ample sunlight, regular watering sessions, and organic fertilizers to keep them happy and healthy. Keep an eye out for pests and diseases, and take necessary measures to protect your precious plants. Remember, a little extra care goes a long way in ensuring a thriving plastic water bottle garden.
Here are some valuable practices to consider:
- Sunlight: Place your garden in a sunny location, ensuring your plants receive 6-8 hours of direct sunlight per day.
- Watering: Maintain a regular watering schedule, keeping the soil moist but not overly saturated. Adjust the frequency based on the needs of your plants and weather conditions.
- Fertilization: Use organic fertilizers to replenish nutrients in the soil and promote healthy plant growth. Follow recommended dosages and application frequencies.
- Pest and Disease Management: Monitor your plants for pests and diseases, using organic pest control methods and removing infected plants promptly.
- Pruning and Harvesting: Trim and prune your plants as needed to maintain their shape and remove dead leaves. Harvest your herbs and vegetables when they are ripe for the best flavor.
- Seasonal Adjustments: Adapt your care routine to account for changing seasons, providing shade or protection from frost as necessary.
By following these tips and providing the necessary care, you’ll create an environment where your plastic water bottle garden can thrive, resulting in a beautiful and productive space.
Tip 5: Nutrient Boost – Feed Your Plants for Optimal Growth
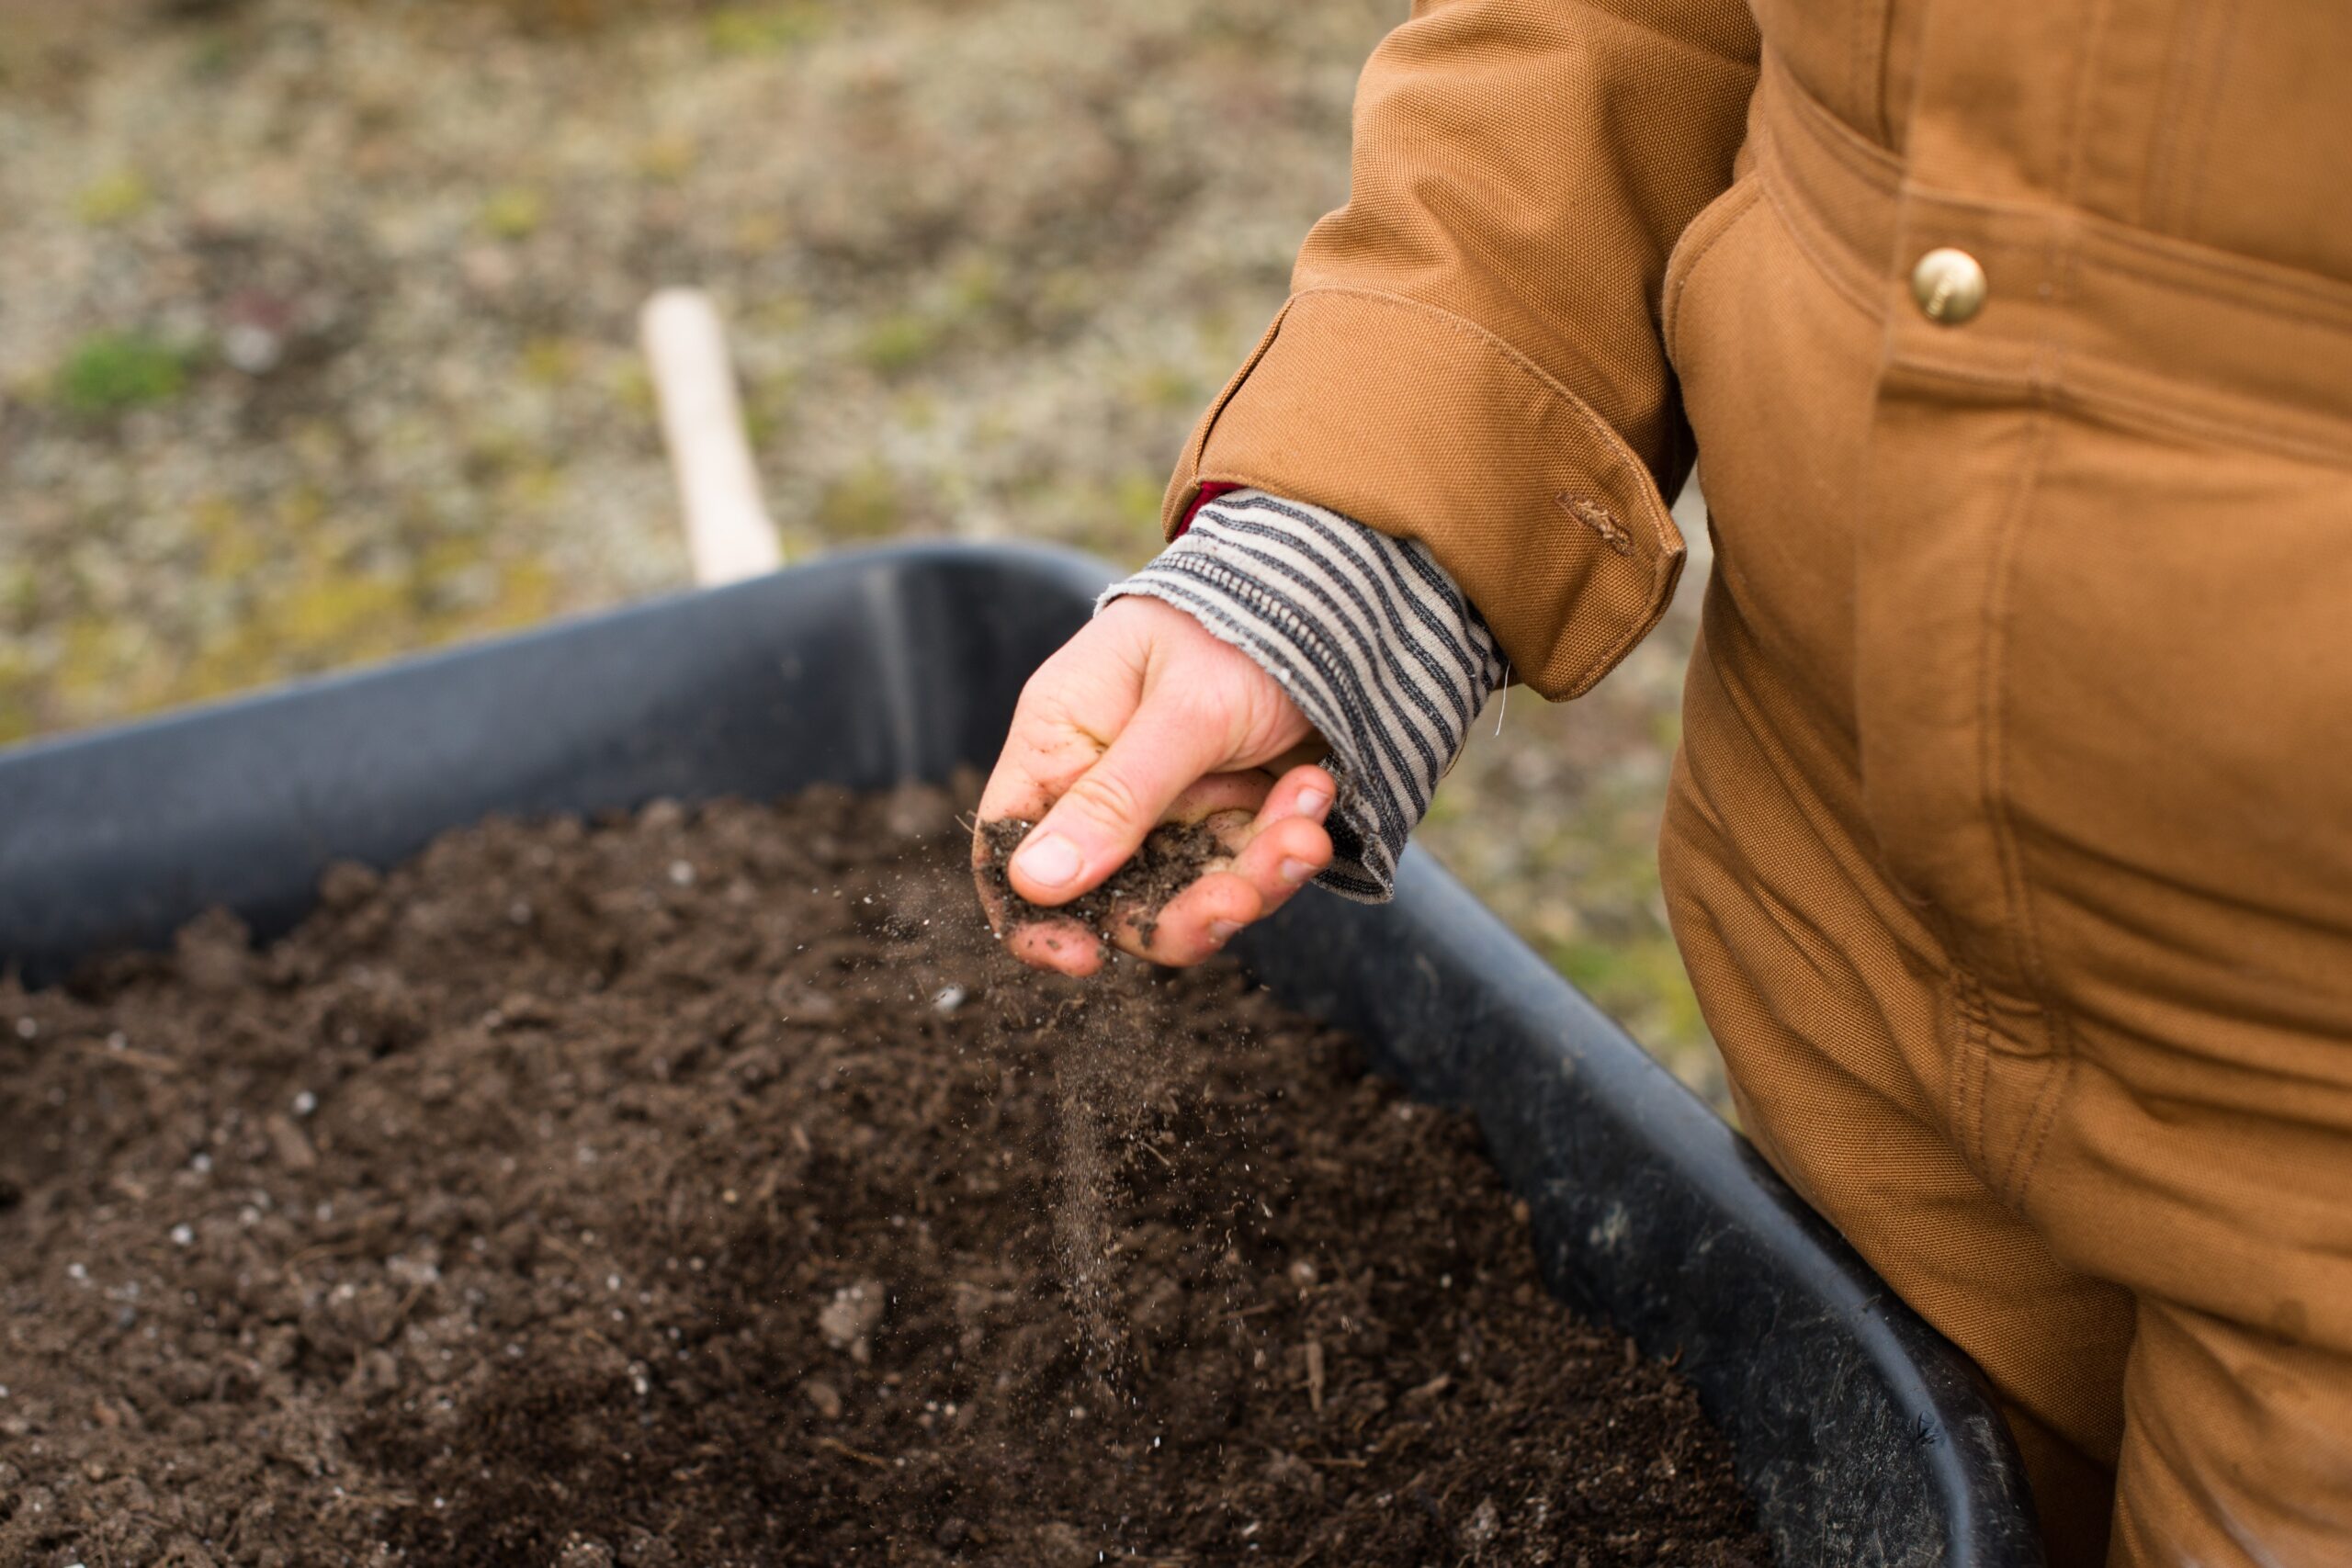
To unlock the full potential of your plastic water bottle garden and achieve bountiful yields, it’s crucial to provide your plants with the necessary nutrients. Enhancing the soil with organic fertilizers or compost will supply the essential elements needed for healthy growth and development. You also need to consider the factors below when feeding your plants with nutrients.
- Importance of Nutrients: Plants require a balanced supply of nutrients to thrive. The three primary nutrients are nitrogen (N), phosphorus (P), and potassium (K), often referred to as NPK. Nitrogen promotes leaf and stem growth, phosphorus supports root development and flowering, and potassium enhances overall plant health and disease resistance.
- Composting: Composting is a sustainable way to recycle kitchen scraps and garden waste into nutrient-rich compost. By adding compost to your plastic water bottle garden, you’ll enrich the soil with organic matter, improving its fertility and moisture-holding capacity. This promotes nutrient availability to the plants and enhances their overall health
- Organic Fertilizers: Organic fertilizers are derived from natural sources and offer several benefits. They improve soil structure, enhance microbial activity, and release nutrients slowly, providing a steady supply over time. Examples of organic fertilizers include compost, worm castings, well-rotted manure, and seaweed extract.
- Dosage and Application: Follow the recommended dosage instructions provided with your chosen organic fertilizer. Different products may have varying application rates, so it’s important to read and understand the instructions. Avoid overfertilizing, as it can lead to nutrient imbalances or burn the plants’ roots. Apply the fertilizer evenly around the base of the plants, taking care not to let it touch the leaves.
- Organic Nutrient Tea: Another option to provide a nutrient boost is by brewing organic nutrient teas. These teas are made by steeping nutrient-rich ingredients like compost, worm castings, or specific plant materials in water. The resulting liquid can be used as a foliar spray or soil drench to deliver additional nutrients to your plants.
By feeding your plants with organic fertilizers or compost, you’ll create a nutrient-rich environment that promotes vigorous growth, increases plant resilience, and improves overall productivity in your plastic water bottle garden. Remember to follow the recommended dosages, observe the plants’ response, and adjust the fertilization routine as needed.
Tip 6: Pest Prevention – Safeguard Your Garden
Keeping pests at bay is crucial for the success of your plastic water bottle garden. Implement preventive measures such as companion planting or natural pest repellents to deter common garden pests. Research pest-resistant herbs and vegetables that thrive in a plastic water bottle garden and incorporate them into your planting scheme. By taking proactive steps to prevent pest infestations, you’ll maintain the health and productivity of your plants.
To protect your plastic water bottle garden from pests and ensure its productivity, it’s important to take proactive measures. Here are some valuable strategies:
- Natural Pest Repellents: Utilize natural pest repellents to keep unwanted critters away from your garden. For example, creating a mixture of garlic, onion, and water and spraying it on your plants can deter pests like aphids, caterpillars, and mites. Another option is to plant aromatic herbs like rosemary, mint, or lavender, which have strong scents that repel pests.
- Perform routine inspections to check for any signs of pests or diseases in your plants. Look for holes in leaves, discoloration, or the presence of pests themselves. If you spot any issues, take appropriate measures such as handpicking pests or using organic insecticides as a last resort.
FAQ – Frequently Asked Questions
How do I prevent my plastic water bottle garden from overheating in hot weather?
Plastic water bottle gardens can be prone to overheating, especially in scorching weather. To prevent this, consider shading the bottles using materials like shade cloth or placing them in partially shaded areas. Additionally, providing adequate watering and mulching the soil can help regulate temperature and retain moisture.
Can I grow root vegetables in a plastic water bottle garden?
While it can be challenging to grow large root vegetables like potatoes or beets in a plastic water bottle garden, smaller varieties like radishes and carrots can thrive. Opt for shorter or cylindrical varieties that are well-suited to container gardening. Ensure the bottles have enough depth for proper root growth, and provide loose and well-draining soil for optimal development.
Can I use any type of soil for my plastic water bottle? garden?
Absolutely! As long as it’s well-draining and nutrient-rich, your plants will thrive. Consider using a potting mix specifically designed for container gardening to provide the ideal growing environment.
Conclusion:
Congratulations! You’ve unlocked the secrets to mastering the plastic water bottle garden and harnessing your green thumb. Armed with our 6 proven tips, you’re well on your way to becoming a plastic water bottle gardening guru. Embrace the art of sustainable gardening, grow herbs and vegetables in a unique and eco-friendly way, and witness the bountiful harvests in your very own plastic water bottle garden.
Prepare to amaze your friends and family with your newly acquired gardening skills!