Welcome to the realm of Plastic Bottle Garden Secrets, where you’ll unlock a wealth of knowledge and expert tips to create a flourishing green oasis right in your own backyard. In this article, we’ll delve into 10 invaluable secrets that will empower you to nurture your plastic bottle garden with finesse. So, grab your gardening gloves, gather your plastic bottles, and let’s embark on this exciting journey together!
Table of Contents
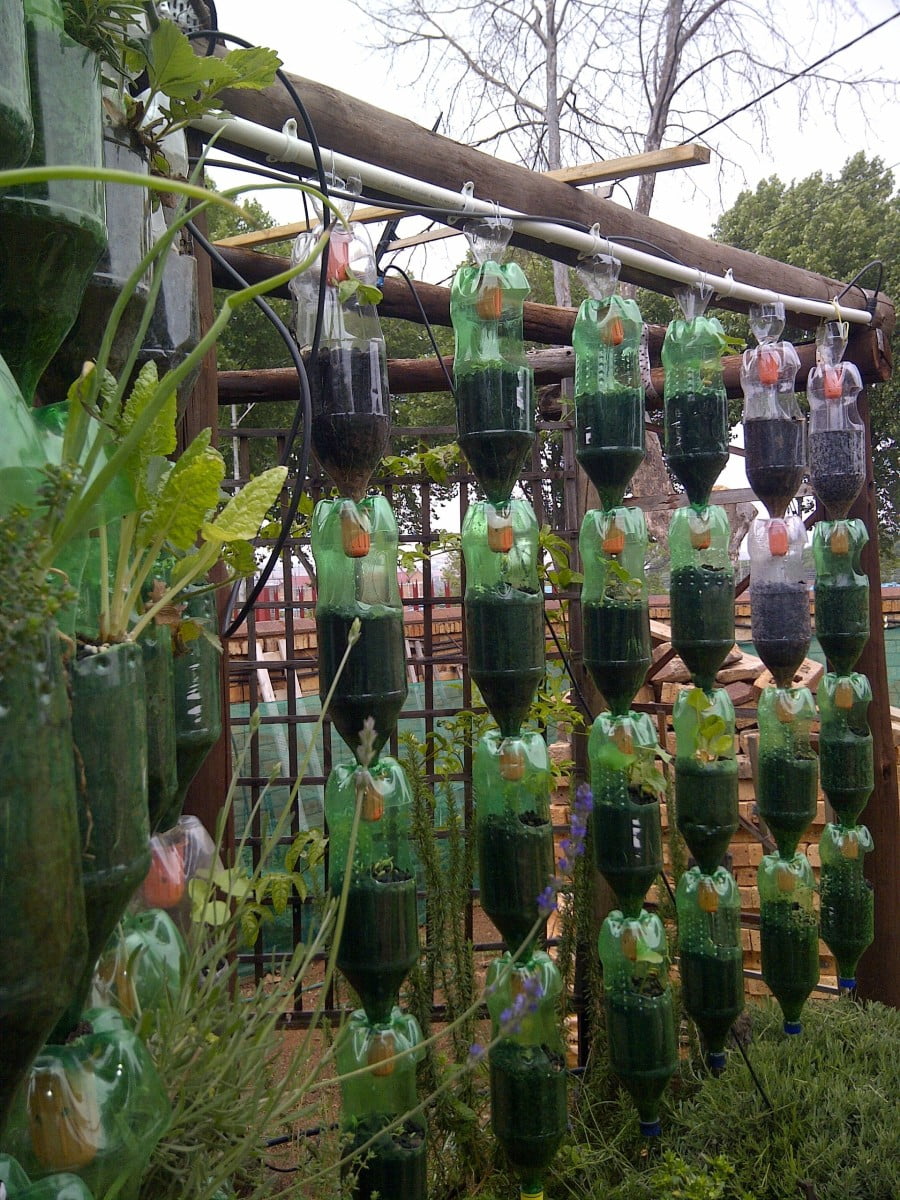
Plastic Bottle Garden Secrets: 10 Expert Tips for Nurturing Your Green Oasis
Why Plastic Bottle Gardens Hold the Key to Sustainability
Plastic bottle gardens offer a multitude of benefits that make them crucial for achieving sustainability goals. By understanding the importance of recycling and repurposing plastic bottles, we can make a significant positive impact on the environment. Here are some reasons why plastic bottle gardens are key to sustainability:
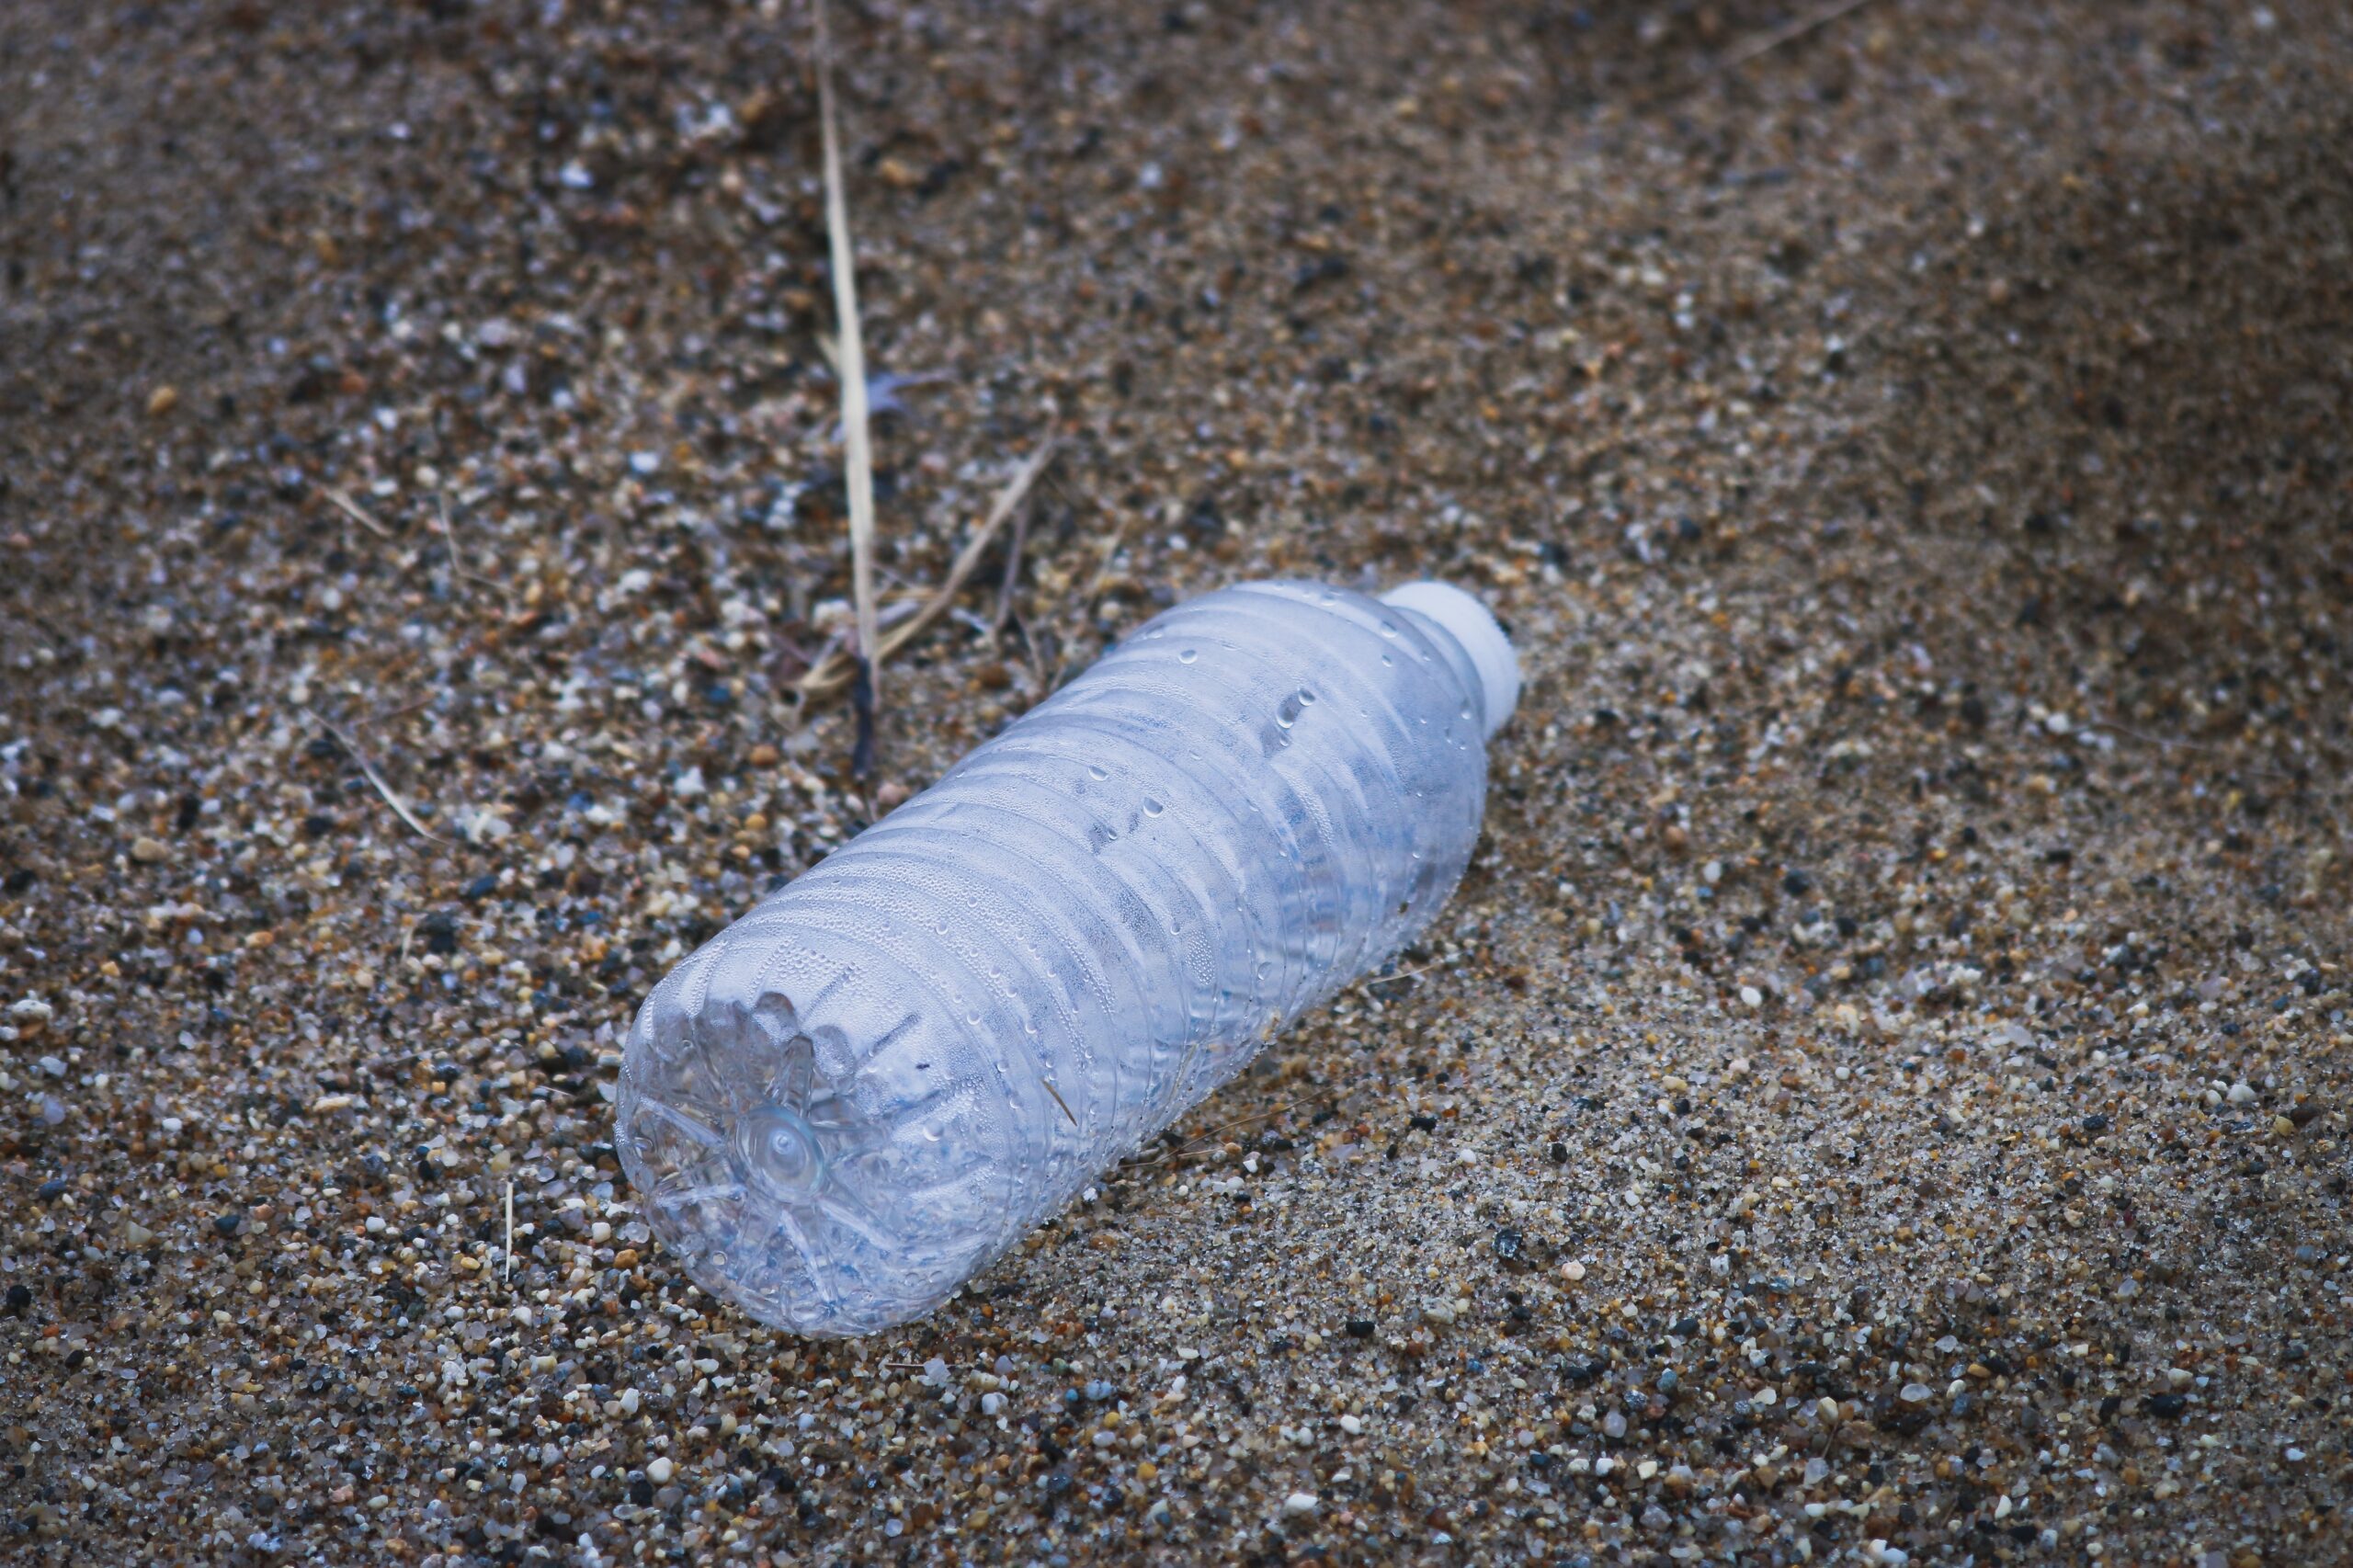
- Waste Reduction: Plastic bottles are a significant source of waste in our society. By repurposing them as containers for growing plants, we give them a new life and divert them from ending up in landfills or oceans. Plastic bottle gardens provide an innovative solution to reduce waste and promote a circular economy.
- Accessibility and Affordability: Plastic bottles are widely available and inexpensive, making them accessible to a wide range of individuals. Plastic bottle gardens offer an affordable alternative to traditional gardening methods, allowing more people to engage in sustainable gardening practices regardless of their financial resources.
- Encouraging Recycling and Repurposing: Plastic bottle gardens provide an opportunity to educate and raise awareness about the importance of recycling and repurposing. By showcasing the versatility of plastic bottles in gardening, we encourage individuals to rethink their relationship with plastic waste and find creative ways to give it a new purpose.
Unveiling the 10 Expert Tips for Nurturing Your Green Oasis
Tip 1: The Foundation of Success: Choosing the Right Bottles
To ensure the success of your plastic bottle garden, it’s important to select suitable bottles. Look for food-grade plastics like PET or HDPE and consider the size and shape based on your plants. Clean the bottles thoroughly, create drainage holes, and repurpose discarded bottles when possible. Transparent or translucent bottles can help monitor plant health. By following these tips, you’ll establish a strong foundation for your garden to flourish.
Tip 2: Sun, Shade, and Optimal Placement
Proper sunlight and shade are essential for the growth of your plants in a plastic bottle garden. Identify areas that receive ample direct sunlight for most of the day and position your garden there. Ensure that the openings of the bottles face the light source to allow plants to receive optimal sunlight. Avoid placing the garden near structures or plants that may cast shadows and obstruct sunlight. By strategically positioning your garden and providing unobstructed access to sunlight, you can create an ideal environment for your plants to thrive.
Tip 3: Feeding the Greenery: Soil and Fertilization
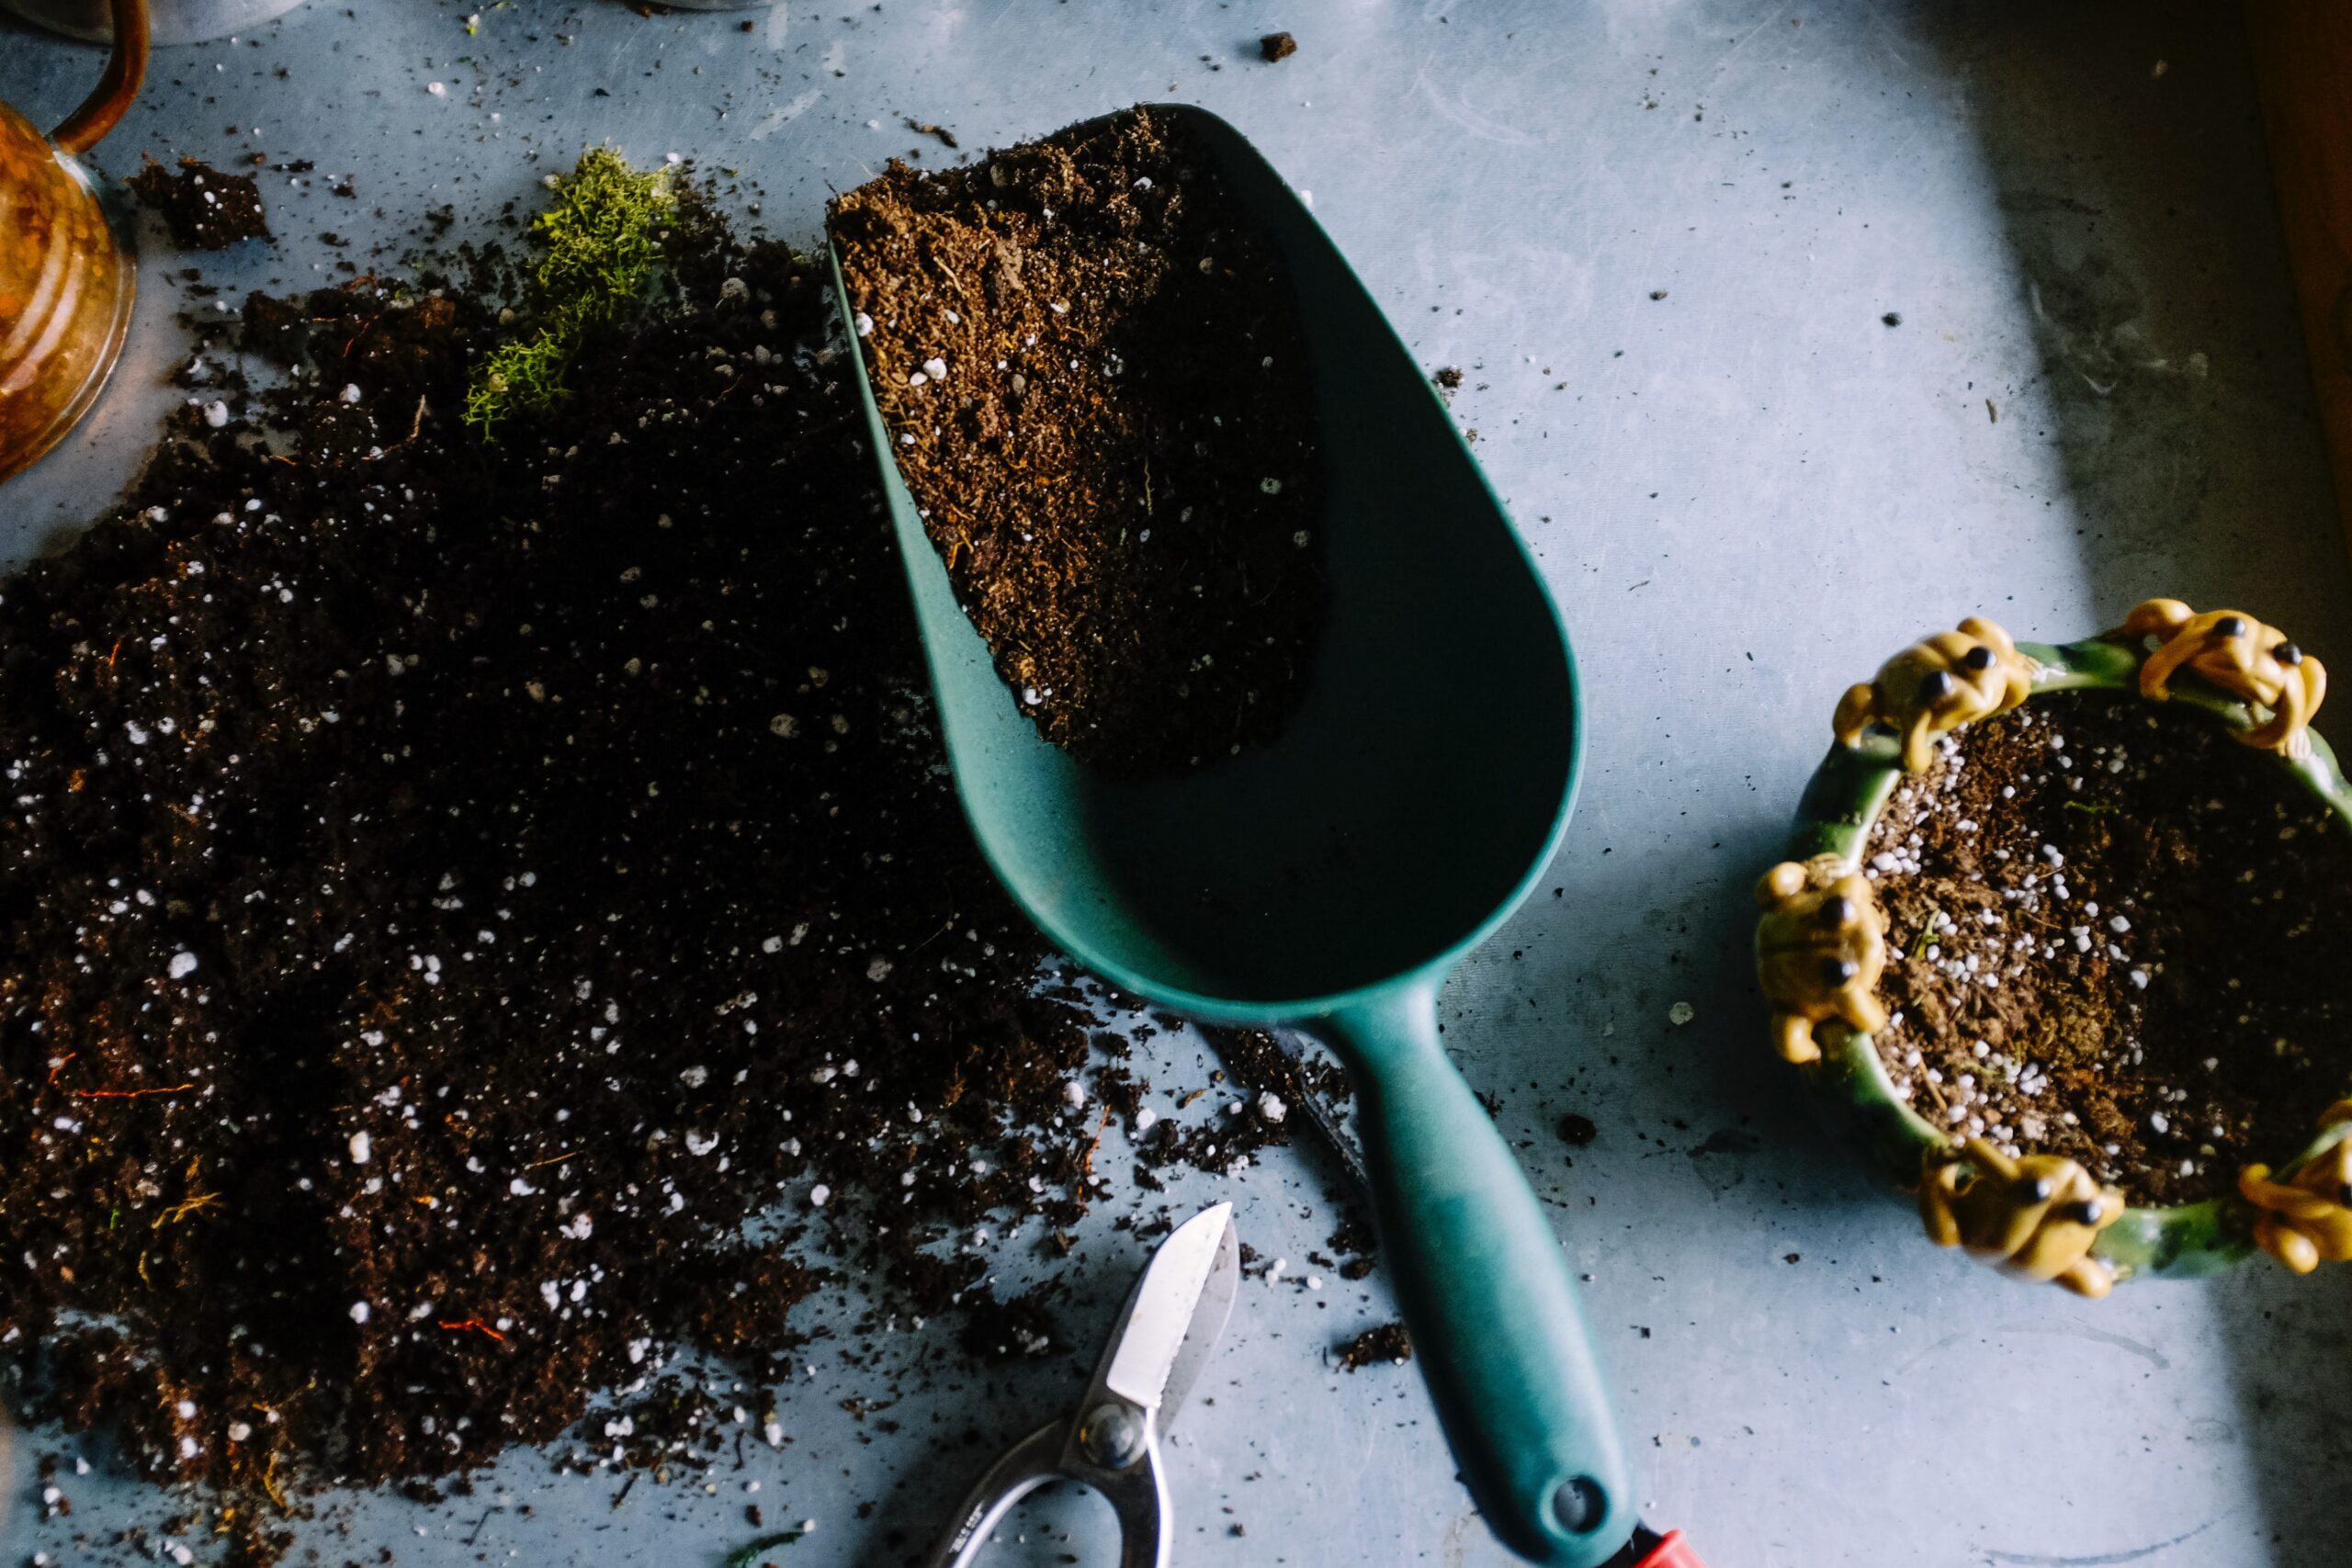
To promote the growth of your plants in a plastic bottle garden, it is crucial to create the perfect soil mix. Consider using a combination of nutrient-rich soil, compost, and organic matter. This mixture provides a fertile environment for your plants to thrive.
Additionally, explore organic and homemade fertilizer options to further enhance the nutrient content of the soil. Organic fertilizers such as compost tea, banana peels, or eggshells can be excellent choices. These natural alternatives not only provide essential nutrients but also contribute to the overall health of your garden.
Experiment with different soil mixtures and homemade fertilizers to find the combination that works best for your plants. Regularly monitor the condition of the soil and adjust the fertilization accordingly to ensure your plants receive the necessary nutrients for optimal growth.
Tip 4: Watering Wisdom: Hydration Hacks for Your Plants

Proper watering is essential for the health and vitality of your plants in a plastic bottle garden. To master the art of watering, consider the following tips and techniques:
- Watering Frequency: Pay attention to the moisture needs of your plants, and try to prevent applying too much water as it can affect the formation of the root system. Similarly, underwatering can cause stress and hinder growth. Find the right balance by monitoring the soil moisture regularly.
- Soil Moisture Check: Use your finger or a moisture meter to gauge the moisture levels in the soil. Gently insert your finger into the soil, going about an inch deep. If the soil feels dry to the touch, that’s a signal that it needs to be watered
- If it feels moist, you can delay watering for a bit. This simple technique helps prevent overwatering or underwatering.
- Watering Techniques: Instead of drenching the entire garden, focus on watering the root zone of each plant. This ensures that water reaches the roots where it is needed most. Consider using a watering can or a drip irrigation system to deliver water directly to the base of the plants.
- Mulching: Enhance the condition of your plants by applying a protective layer of organic mulch, such as wood chips or straw, around them. Mulch helps retain moisture in the soil, reducing the frequency of watering and providing a protective barrier against evaporation.
- Time of Day: Water your plastic bottle garden in the early morning or late afternoon when temperatures are cooler. This allows the plants to absorb water effectively without excessive evaporation.
Tip 5: Nurturing Seedlings and Transplants
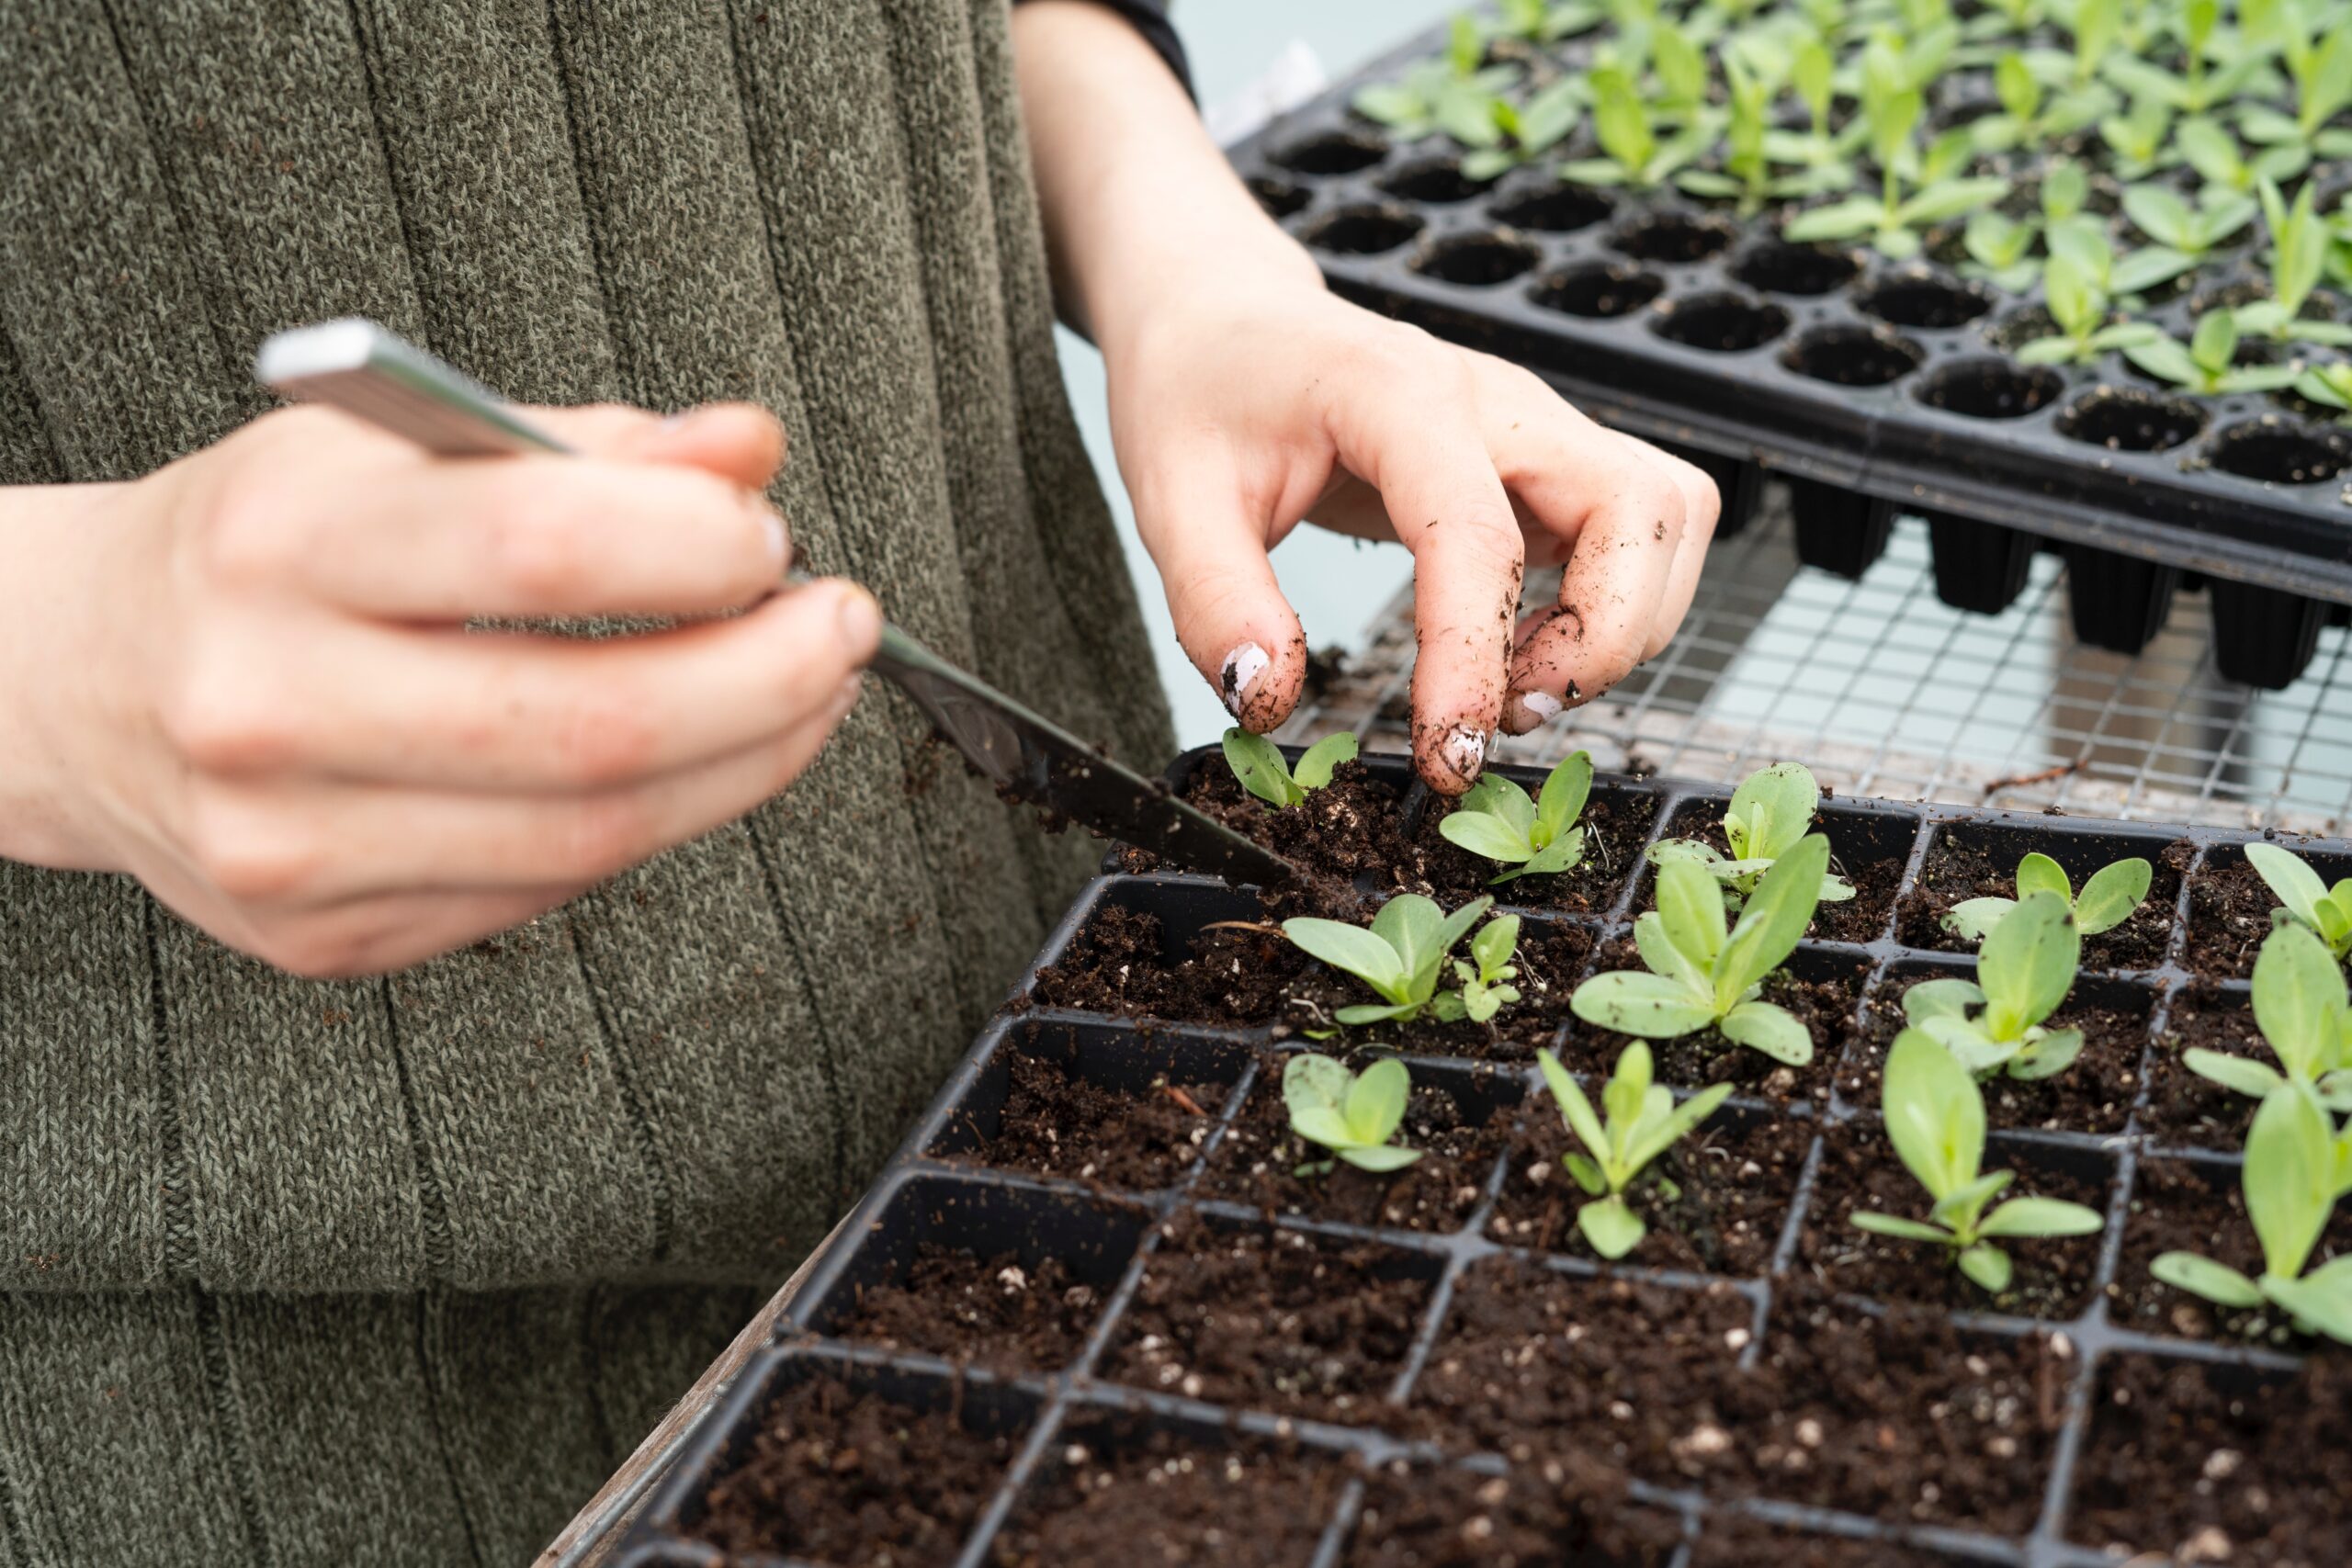
Starting seeds and transplanting young plants are critical stages in the development of your plastic bottle garden. Follow these best practices to ensure a smooth transition and promote healthy growth:
Starting Seeds:
- Choose Quality Seeds: Select high-quality seeds from reputable sources to increase the chances of successful germination. Consider the specific requirements and preferences of each plant species.
- Seed Starting Containers: Use small containers or seedling trays filled with a well-draining seed starting mix. Plastic bottles with the top cut off can serve as excellent containers for starting seeds.
- Sow Seeds at the Right Depth: Read the seed packet instructions to determine the appropriate planting depth for each type of seed. Generally, small seeds require shallow planting, while larger seeds can be planted deeper.
- Provide Optimal Conditions: Place the seedling containers in a warm and well-lit area. Maintain a consistent temperature and ensure adequate sunlight or artificial light for optimal germination.
- Watering: Keep the soil consistently moist but not waterlogged. Use a misting spray bottle or a gentle watering can to avoid dislodging the seeds.
Transplanting:
- Timing: Wait until the seedlings have developed a strong root system and have at least two to three sets of true leaves before transplanting. This ensures they are robust enough to withstand the transplant shock.
- Preparing the Bottles: Cut off the bottom of a plastic bottle, leaving the top portion as a protective dome. Create drainage holes in the bottom and sides of the bottle for proper water flow.
- Hardening Off: Gradually expose the seedlings to outdoor conditions over a period of several days. To acclimate them, start by positioning them in a sheltered location for a few hours daily, gradually extending the duration and intensity of their exposure.
- Transplanting Technique: Dig a hole in the garden bed or container large enough to accommodate the root ball of the seedling. Handle the seedling with care as you gently extract it from its container, taking precautions to avoid any harm to its delicate roots.
- Watering after Transplanting: Water the transplanted seedlings immediately after planting to settle the soil and ensure good root-to-soil contact. Provide regular watering until the plants become established.
By following these step-by-step instructions and helpful advice for seed starting and transplanting, you can nurture your seedlings and young plants effectively, setting them up for healthy growth and development in your plastic bottle garden.
Tip 6: Taming Pests and Preventing Diseases
Keeping pests at bay and preventing diseases in your plastic bottle garden is crucial for the health and vitality of your plants. Here are some natural remedies and methods to protect your plants from harm:
- Companion Planting: Integrate pest-repellent plants among your garden beds. For example, marigolds, basil, and mint can deter insects with their strong aromas. Research companion planting combinations that work well for the specific pests you want to control.
- Natural Predators: Encourage beneficial insects and animals that prey on garden pests. Ladybugs, lacewings, and birds like wrens and chickadees are excellent natural predators. Create habitats and provide food sources to attract these helpful creatures to your garden.
- Homemade Pest Sprays: Create your own organic pest control sprays using household ingredients. Some effective options include neem oil spray (a natural insecticide), garlic and chili pepper spray (to repel pests), or soap spray (to suffocate soft-bodied insects). Dilute these ingredients with water according to the instructions and apply to affected plants.
- Proper Plant Spacing: Avoid overcrowding your plants, as this can create a favorable environment for pests and diseases. Sufficient airflow and spacing between plants allow for better drying of leaves, reducing the risk of fungal diseases.
- Organic Mulch: Apply organic mulch around your plants to suppress weeds and maintain soil moisture. Mulch acts as a protective barrier against pests and also helps regulate soil temperature.
By implementing these specific pest control methods and natural remedies, you can effectively tame pests and prevent diseases in your plastic bottle garden, ensuring the health and well-being of your plants.
Tip 7: The Art of Pruning and Trimming
Pruning plays a significant role in the development and maintenance of healthy plants. It promotes growth, shapes the plants, and enhances their overall appearance. Here are some expert techniques and instructions for pruning and trimming your plants in your plastic bottle garden:
- Timing: Prune your plants at the appropriate time to maximize their health and growth. Generally, it’s best to prune in late winter or early spring before the active growing season begins. However, different plant species may have specific pruning requirements, so research the ideal timing for each plant in your garden.
- Removal of Dead or Diseased Branches: Start by identifying and removing any dead, damaged, or diseased branches. Make a clean cut just above the nearest healthy bud or branch collar. This helps prevent the spread of diseases and encourages new growth.
- Consider Plant Type: Different plant types require specific pruning approaches. For example, prune herbaceous plants (e.g., basil, mint) by removing the top portion of the stems to encourage branching and prevent flowering. For flowering plants, prune after they have finished flowering to remove spent blooms and encourage new growth.
- Heading Back: Heading back involves pruning the tips of branches to promote branching and denser growth. Make the cut just above a bud or leaf node, angling it away from the bud. This technique encourages bushier growth and can help maintain compact plant forms.
- Regular Maintenance: Regularly inspect your plants and perform light pruning to maintain their shape and size. Avoid heavy pruning during the growing season, as it can stress the plant.
Tip 8: Harnessing the Power of Companion Planting
Companion planting is a technique that involves strategically planting different species together to maximize their benefits and create a more harmonious garden ecosystem. In your plastic bottle garden, you can harness the power of companion planting to enhance growth and deter pests. Here are some examples of companion plant combinations and their benefits:
- Basil and Tomatoes: Planting basil near tomato plants can help repel pests like aphids and tomato hornworms. Additionally, basil’s aromatic leaves enhance the flavor of tomatoes when used together in culinary dishes.
- Marigolds and Vegetables: Marigolds emit a scent that repels many common garden pests, such as nematodes, aphids, and whiteflies. Plant marigolds alongside your vegetable plants to provide natural pest control.
- Nasturtiums and Cucumbers: Nasturtiums act as a trap crop, attracting aphids away from cucumber plants. Their vibrant flowers also add beauty to your garden.
- Mint and Cabbage: Mint is known for its strong aroma, which helps repel cabbage moths and aphids. Plant mint near cabbage plants to protect them from these common pests
When planning your plastic bottle garden, consider these companion planting combinations to create a more resilient and balanced ecosystem. By harnessing the power of companion planting, you can enhance growth, improve pest resistance, and create a visually appealing garden.
Tip 9: Embracing Seasonal Care and Protection
To ensure year-round success in your plastic bottle garden, adapt your gardening practices to each season. Follow these summarized tips:
- Spring: Start seeds indoors and gradually introduce seedlings to outdoor conditions. Protect plants from late frosts.
- Summer: Water regularly and provide shade to prevent heat stress. Monitor for pests and use organic pest control methods.
- Fall: Extend the growing season with protective measures. Harvest mature crops and clean up the garden. Mulch and prepare for winter.
- Winter: Protect plants from frost with insulation. Adjust watering schedule and plan for spring.
By following these guidelines, you’ll support the health and productivity of your plastic bottle garden throughout the changing seasons.
Tip 10: Sustainable Harvesting and Renewal
When it’s time to harvest the bountiful crops from your plastic bottle garden, follow these sustainable practices:
- Harvesting: Use sharp garden shears or scissors to cut mature fruits, vegetables, or herbs. Avoid damaging the plants or roots while harvesting.
- Selective Harvesting: Only pick the ripe produce and leave the immature ones to continue growing. This allows for a continuous harvest throughout the season.
- Reusing Harvested Materials: After harvesting, don’t discard the plant remnants. Instead, compost them to create nutrient-rich soil for future use. Use a compost bin or pile and add the harvested plant material along with other organic waste.
- Recycling Plastic Bottles: If you need to replace any plastic bottles in your garden, make sure to recycle the old ones properly. Rinse them out and check with your local recycling facilities for appropriate disposal methods.
- Renewing Your Garden: To keep your plastic bottle garden thriving, replenish the soil with compost or organic fertilizers between planting seasons. This ensures a continuous supply of nutrients for future crops.
By following these sustainable practices, you’ll minimize waste, nourish your garden with natural resources, and contribute to a more environmentally friendly gardening approach.
Frequently Asked Questions
How can natural light be maximized in a plastic bottle garden?
To maximize natural light in a plastic bottle garden, it is essential to position the garden in a spot that receives ample sunlight. Identify areas with direct sunlight for the majority of the day and place the garden there. Orient the bottles so that their openings face the light source, allowing plants to receive optimal sunlight. Avoid shading the garden with nearby structures or plants that may obstruct sunlight. By strategically placing the garden and ensuring unobstructed access to sunlight, you can create an ideal environment for your plants.
Which plants grow best in a plastic bottle garden?
Plants that grow best in plastic bottle gardens include herbs like basil and mint, leafy greens such as lettuce and spinach, small vegetables like cherry tomatoes and radishes, flowering plants like marigolds and petunias, and resilient succulents and cacti. It’s essential to consider each plant’s specific requirements and adapt your choices based on available space, light conditions, and climate.
Conclusion
Congratulations! You’ve now uncovered what will help you nurture your very own green oasis. By implementing these 10 expert tips, you’re well-equipped to create a sustainable and thriving garden that not only beautifies your surroundings but also contributes to a greener planet. So, embrace the power of plastic bottle gardens and let your green oasis flourish!