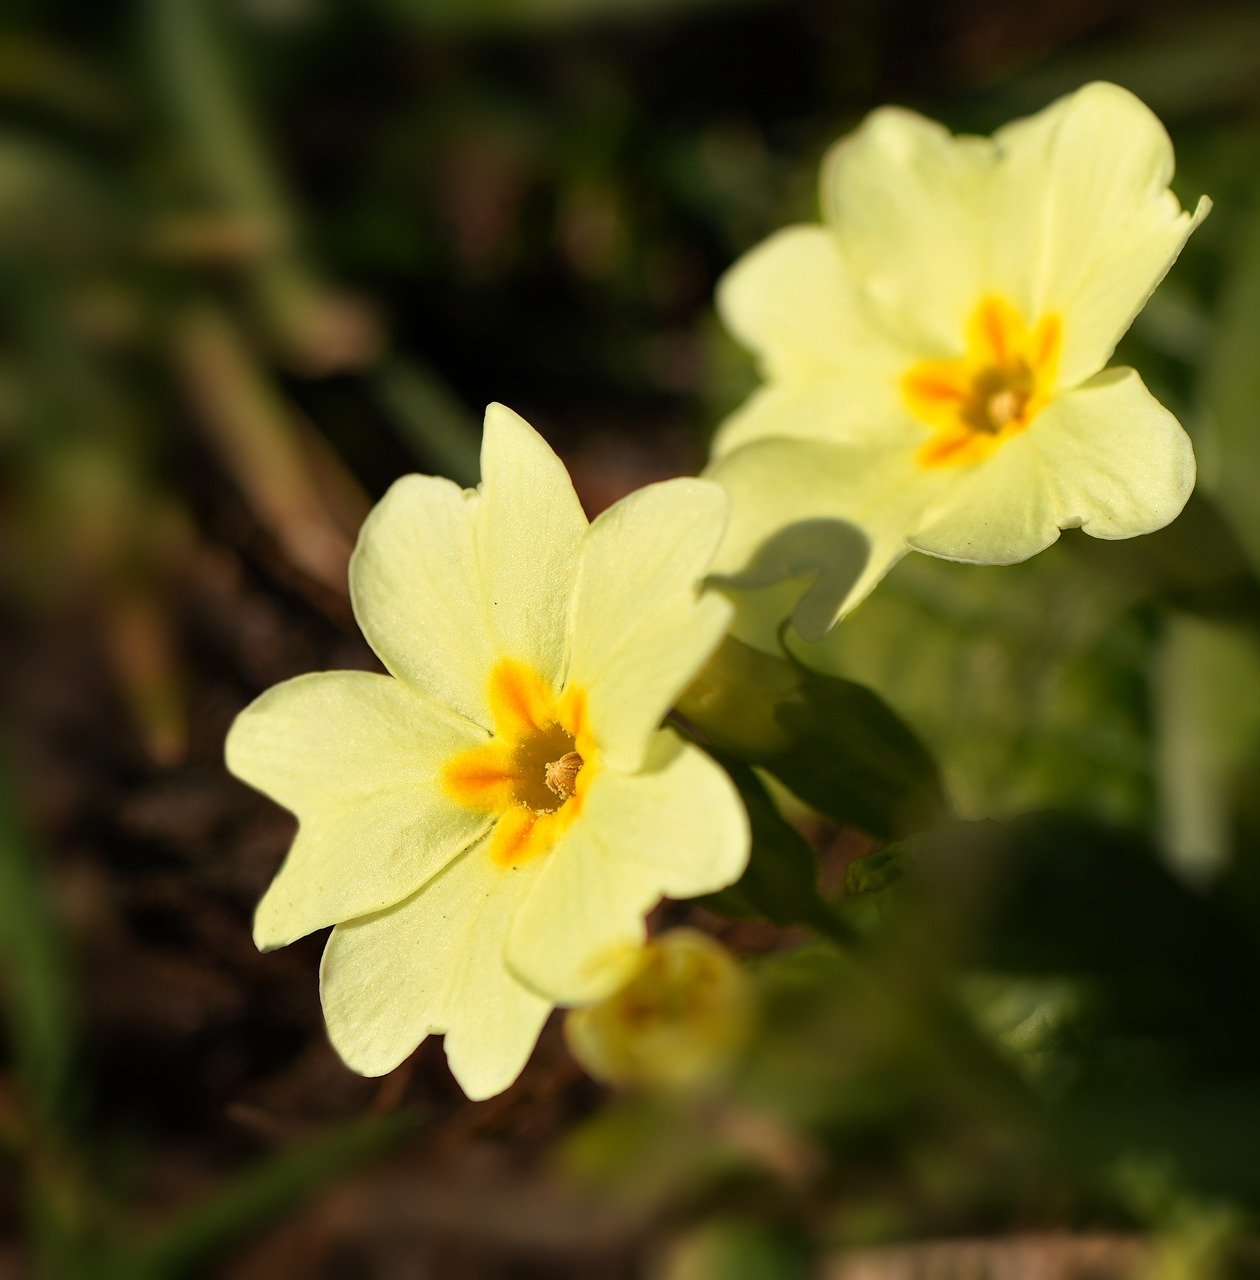
The primrose, with its cheerful blooms in a vibrant palette, is a true herald of spring. These charming flowers, boasting velvety petals and a whimsical air, bring a touch of magic to gardens and windowsills alike. But beneath their delicate beauty lies surprising resilience. With a little know-how, you can cultivate these floral gems and witness them unfurl their colorful magic year after year.
This post may have affiliate links. This means that sometimes when you click a link on our site and make a purchase on Amazon, we may earn a small commission at no additional cost to you. We only recommend products we truly believe in, and your support helps keep us running!
Primroses: A Tapestry of Colors and Varieties
The world of primroses is a vibrant tapestry, offering a dazzling array of colors, sizes, and bloom times. Here are some popular varieties to consider for your garden:
English Primrose
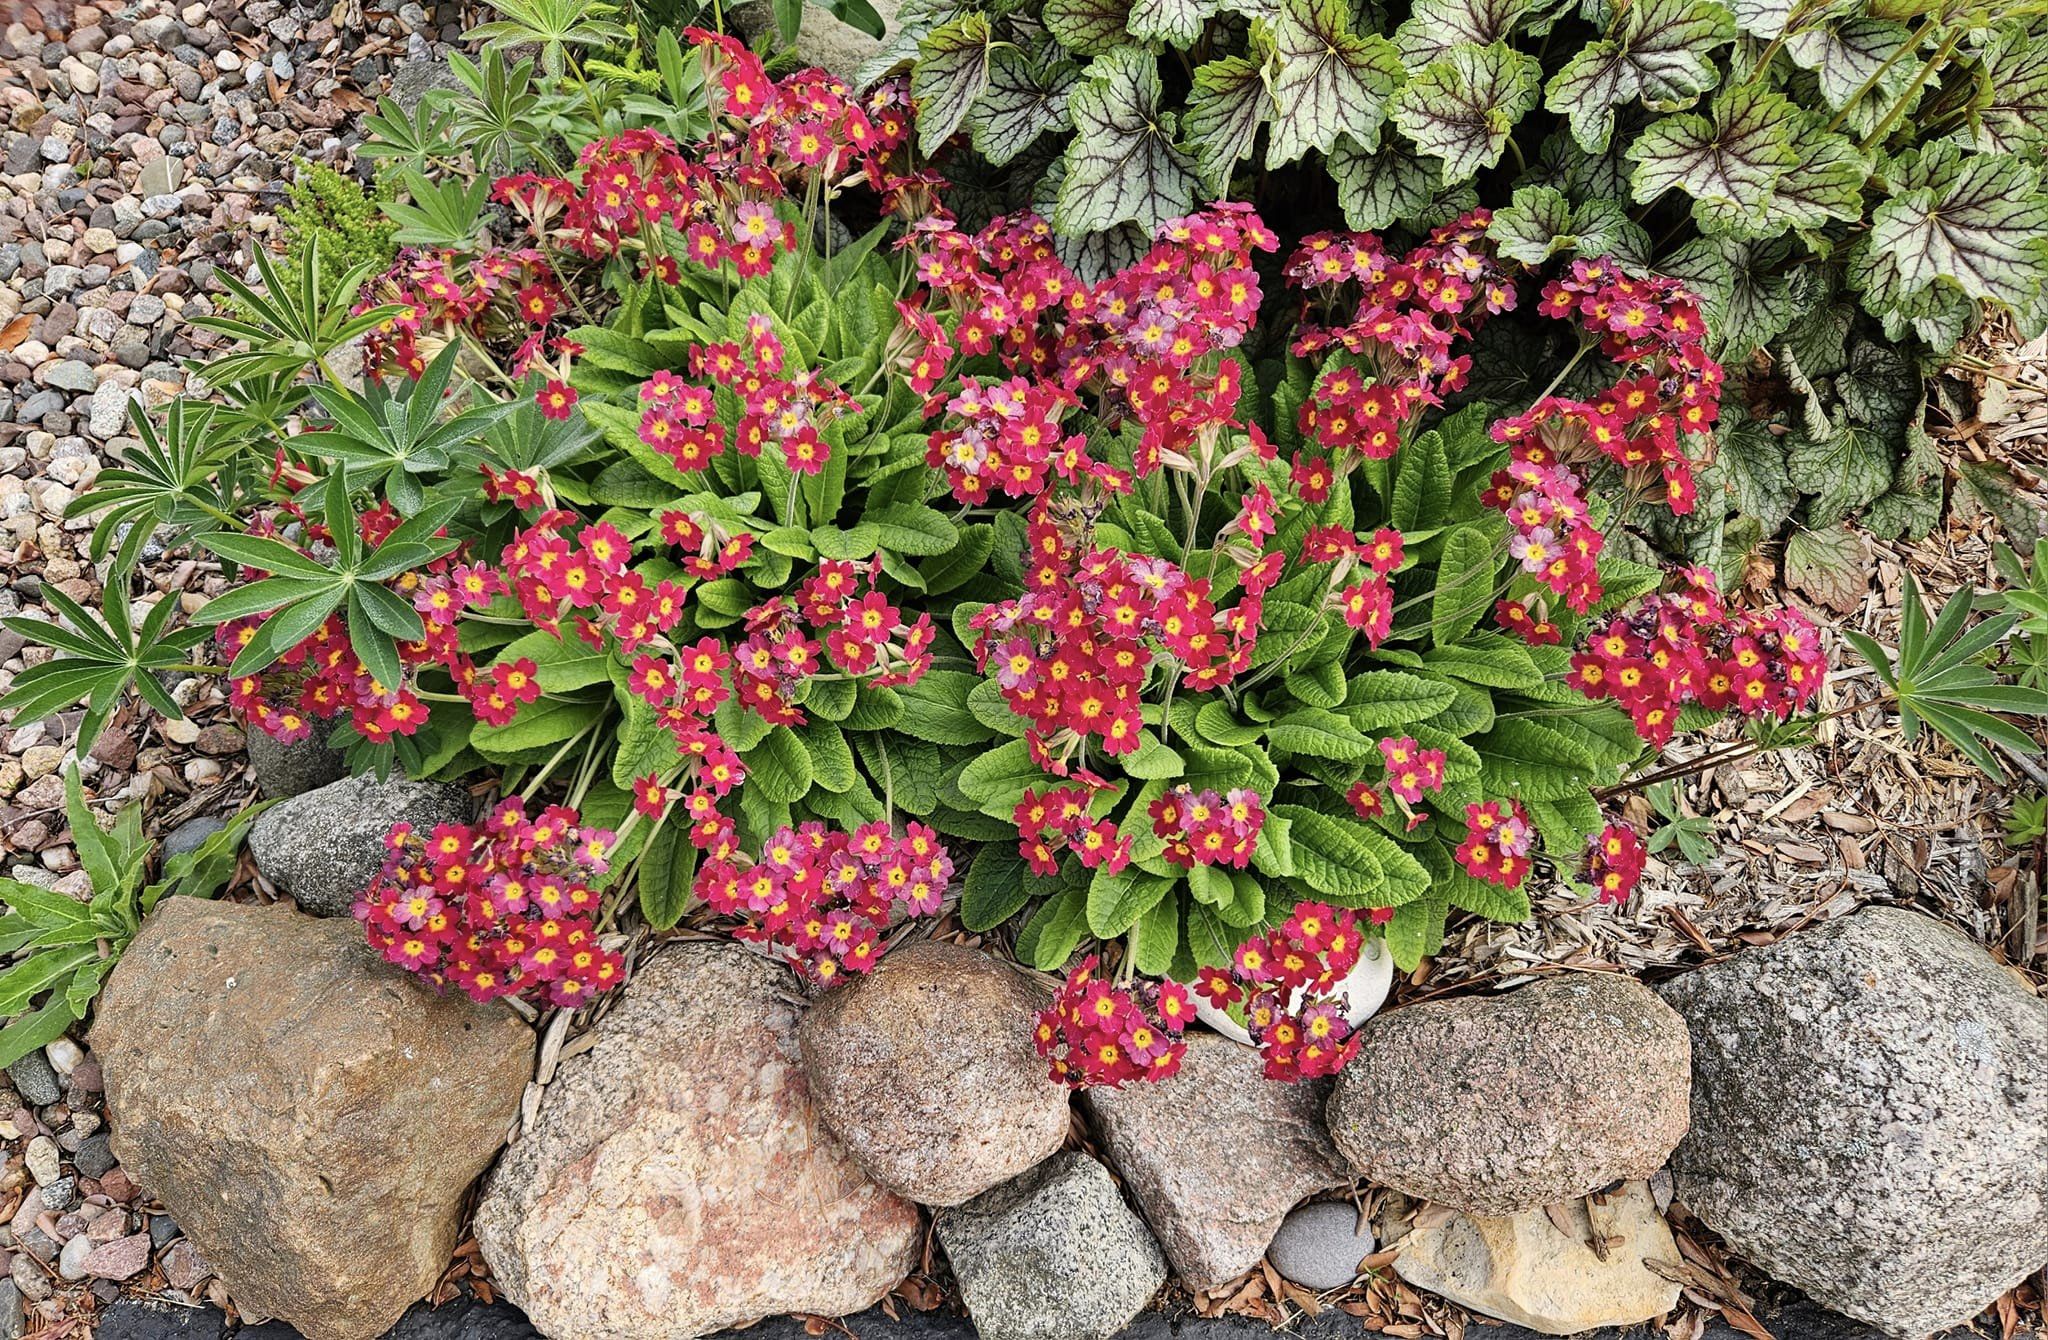
A classic choice with fragrant, single blooms in shades of pink, purple, white, and yellow.
Polyanthus Primrose
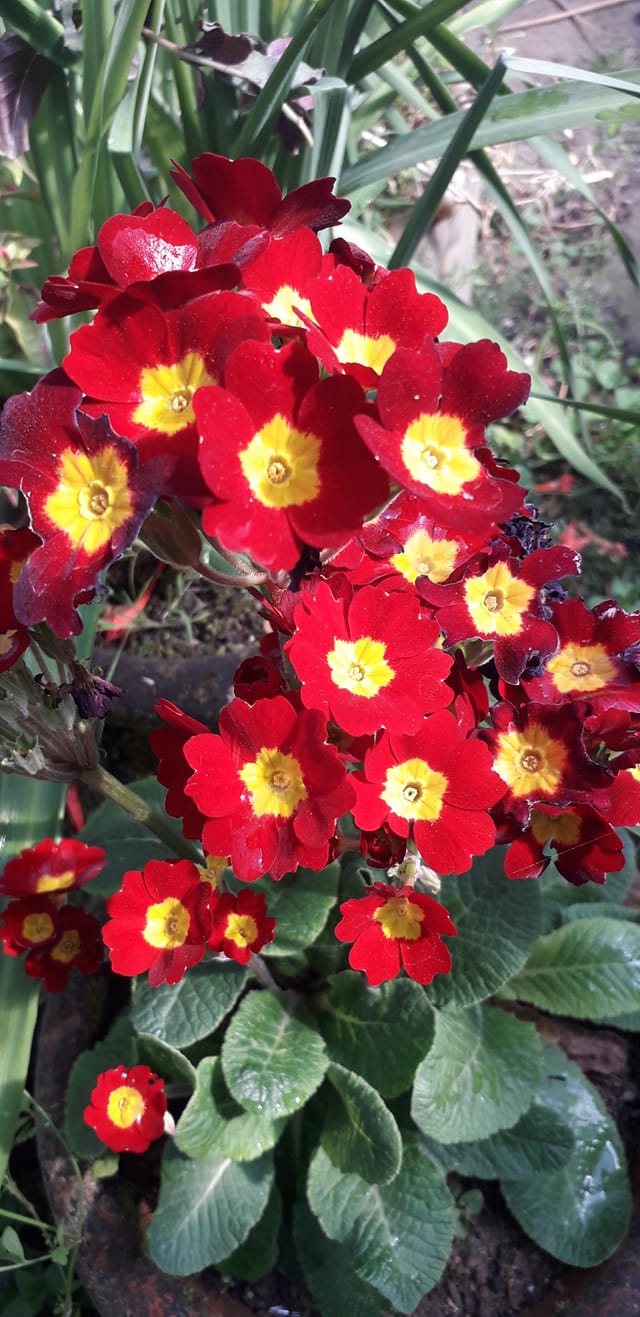
Boasting clusters of smaller flowers in a wider color palette, these primroses offer a long blooming season.
Cowslip Primrose
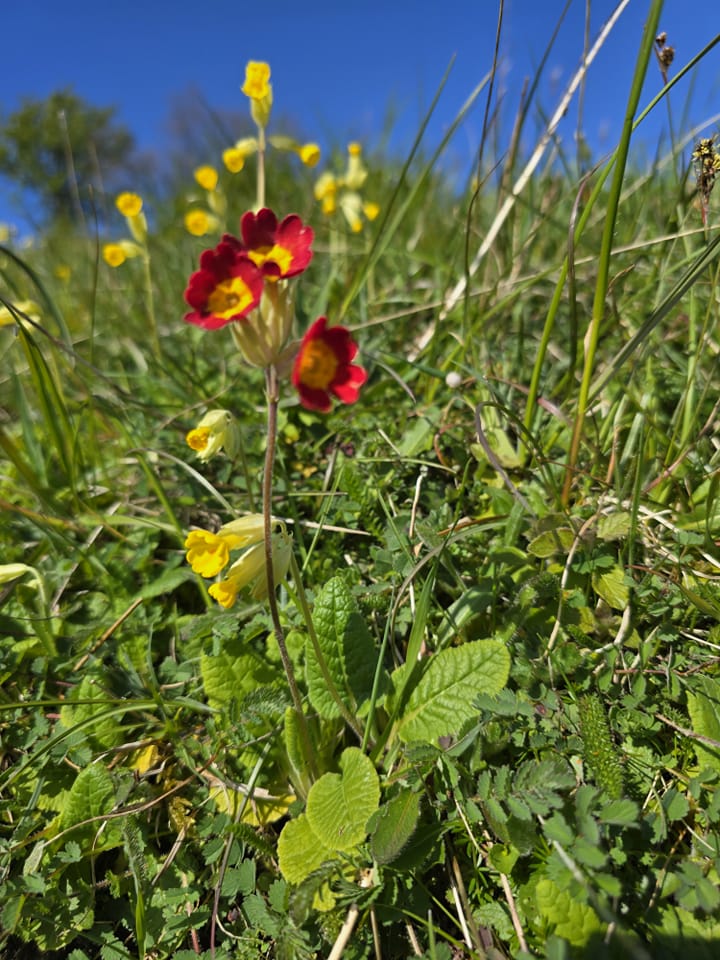
Native to European meadows, these primroses feature cheerful yellow blooms with a unique, drooping habit.
Candelabra Primrose

Known for its tall, stately flower stalks adorned with clusters of orange, yellow, or red blooms, this variety adds a touch of drama to the garden.
Planting Your Primrose Patch: Setting the Stage for Success
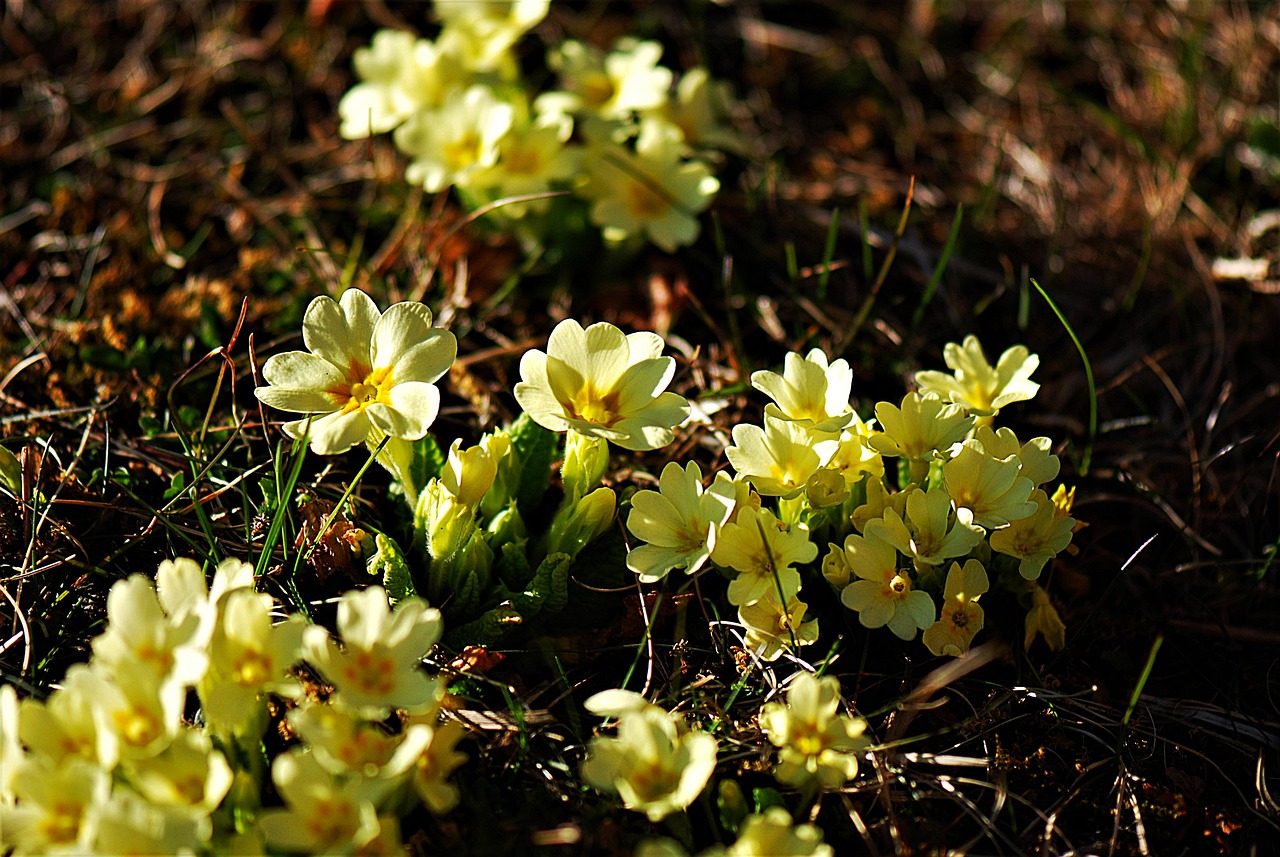
Primroses, like shy woodland creatures, thrive in cool, shaded environments. When choosing a location, mimic their natural habitat. Look for a spot beneath dappled sunlight filtering through trees or near a north-facing wall. Avoid harsh afternoon sun, especially in hot climates, as it can scorch the delicate blooms.
Soil Preparation: The Foundation of a Flourishing Garden
The foundation of a thriving primrose patch lies in the soil. These little flowers crave a well-draining, moisture-retentive haven. Here’s how to create the perfect soil symphony for your primroses:
- Light and Loose: Ensure the soil is light and crumbly. A simple test: grab a handful of soil and squeeze it. If it crumbles readily, you’re good to go. If it remains compacted, consider amending the soil with organic matter like compost or aged manure. This will improve drainage and provide sustained moisture.
- Acidity Matters: Aim for slightly acidic soil with a pH between 6.0 and 7.0. You can test your soil’s pH using a simple home testing kit available at most gardening stores. If your soil leans too alkaline, adding peat moss or coffee grounds can help to lower the pH level.
Planting Pointers: Giving Your Primroses a Happy Home
Once you’ve identified the perfect spot and prepared the soil, it’s time to plant your primroses. Here are some key things to remember:
- Timing is Key: The ideal planting window depends on your climate. In cooler regions, plant in early spring when the danger of frost has passed. In warmer climates, fall planting allows the primroses to establish roots before the summer heat arrives.
- Spacing it Out: When planting, space your primroses according to the variety. Miniature primroses can be nestled closer together, at a distance of 6 inches, while larger varieties might need up to 12 inches of breathing room.
- Gently Does It: Dig a hole slightly larger than the root ball of your primrose. Gently tease out any tangled roots and position the plant in the hole. Ensure the crown (the point where the roots meet the stem) sits slightly above the soil level. Backfill the hole and water thoroughly.
Nurturing Your Primroses: A Recipe for Vibrant Blooms
With their delicate nature, primroses require a touch of TLC to thrive. Here’s how to nurture your floral companions:
Watering Wisdom: Finding the Balance
Primroses, like thirsty travelers, crave consistent moisture. However, overwatering is their nemesis. Aim to keep the soil evenly moist, but not soggy. Water deeply when the top inch of soil feels dry to the touch. During hot and dry spells, you might need to water more frequently. A layer of mulch around the base of the plant helps retain moisture and keeps the roots cool.
Fertilizing for Flourishing Flowers
Primroses are not heavy feeders. A light application of a balanced, organic fertilizer in early spring and again in mid-summer is sufficient. Avoid using harsh chemical fertilizers, which can damage the delicate roots. Opt for organic options like compost tea or diluted fish emulsion.
Deadheading for Extended Beauty
To encourage continuous blooming and prevent the plant from setting seed, deadhead spent flowers regularly. Simply snip off the wilted flower head using sharp pruners, taking care not to damage the surrounding foliage. This will prompt the plant to produce new blooms, extending the flowering season.
Primroses Beyond Spring: Care Throughout the Year
While primroses are synonymous with spring, with proper care, they can grace your garden year-round. Here’s a seasonal breakdown of primrose care:
Summertime Care:
- Maintain consistent moisture, especially during hot and dry periods.
- Deadhead spent flowers regularly.
- Consider providing shade during the hottest part of the day, especially in warm climates.
Fall and Winter Care:
- As temperatures drop, reduce watering frequency. Allow the soil to dry slightly between waterings.
- Apply a layer of mulch around the base of the plant in late fall to protect the roots from harsh winter temperatures. In colder climates, you might consider covering the plants with burlap or evergreen boughs for additional protection.
Dividing and Propagating Your Primroses
With proper care, primrose clumps can become crowded over time. Dividing allows you to rejuvenate existing plants and create new ones, sharing the floral magic with other parts of your garden or with friends
The Art of Division: Bringing New Life to Existing Plants
The ideal time for dividing primroses is in early fall, once the summer heat has subsided. Here’s a step-by-step guide:
- Unearthing the Clump: Gently lift the primrose clump from the ground using a garden fork. Be careful not to damage the delicate roots.
- Teasing Apart: Using your hands or a gentle rake, tease apart the primrose clump into smaller sections. Aim for 2-3 divisions per mature clump, ensuring each division has a healthy portion of roots and leaves.
- Replanting the Divisions: Replant each division in a prepared bed with well-draining, slightly acidic soil. Follow the same planting guidelines outlined earlier, spacing the divisions according to the variety. Water thoroughly to settle the soil around the roots.
Propagating from Seed: A Labor of Love
Primroses can also be propagated from seed, although this method requires patience and a bit more care. Here’s what you’ll need:
- Seed starting trays with well-draining potting mix
- Primrose seeds
- A mister or spray bottle
- Clear plastic wrap
- Seeding Success: Sow primrose seeds in late winter or early spring onto the surface of the moistened potting mix in your seed starting trays. Gently press the seeds into the soil but don’t bury them deeply. Light is essential for germination.
- Creating a Greenhouse Effect: Cover the trays with clear plastic wrap to create a mini greenhouse environment. This helps retain moisture and promotes germination.
- Patience is Key: Place the trays in a cool, well-lit location (indirect sunlight is best). Keep the soil consistently moist, but not soggy, using a mister or spray bottle. Germination can take several weeks, so be patient.
- Welcome, Seedlings!: Once the seedlings emerge, gradually remove the plastic wrap to allow for air circulation. As the seedlings grow, thin them out to allow for proper spacing.
- Transplanting to the Garden: Once the seedlings are strong enough and all danger of frost has passed, harden them off for a week before transplanting them to their permanent location in the garden.
Primroses are not only visually captivating but also surprisingly versatile. Plant them in borders, create stunning container displays, or use them to brighten up shady corners of your garden. With a little planning and care, you can cultivate these delightful flowers and enjoy their cheerful presence throughout the seasons.
