Tomatoes are one of the most widely grown vegetables in home gardens. However, their sprawling vines and heavy fruit present some unique challenges. As vines elongate and fruits swell, branches become weighed down. This puts tomatoes at risk of insect damage, disease, and rotting if they sit directly on damp soil.
So when should you use tomato cages for optimal results?
Read on to learn:
- The benefits of using cages for tomatoes
- Key timing considerations for cage installation
- Steps for properly installing and using cages
- Tips for selecting the right cage size and type
- Alternative options like trellising for extra support
With the right technique and schedule, tomato cages can make growing tomatoes much simpler and rewarding. Let’s explore when cages should be deployed for a thriving summer tomato crop
Table of Contents
Why Use Cages for Tomato Plants?

Before learning precisely when to use tomato cages, it helps to understand the key benefits cages provide:
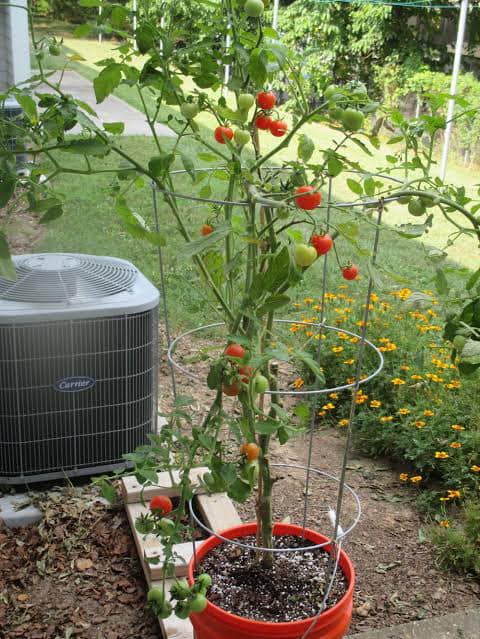
- Keeps fruits off the ground to prevent rotting
- Allows air circulation to reduce fungus and diseases
- Stimulates upward growth, discouraging sprawling vines
- Eliminates the need for tying plants to vertical stakes
- Makes watering, pruning, and harvesting easier
- Contains messy vines in a tidy presentation
- Provides flexibility as plants grow and move in wind
- Protects tomatoes from bird or animal damage
Tomato plants grown in properly sized and timed cages require much less maintenance while producing higher quality, cleaner fruit. But to gain these advantages, timing is everything. Next let’s look at when cages should go on.
When Should You Use Tomato Cages?
Here are the optimal times during the tomato plant growth cycle to install cages:
- At transplanting – Put cages over very young plants if you may forget later. Just remove and replace if it impedes growth.
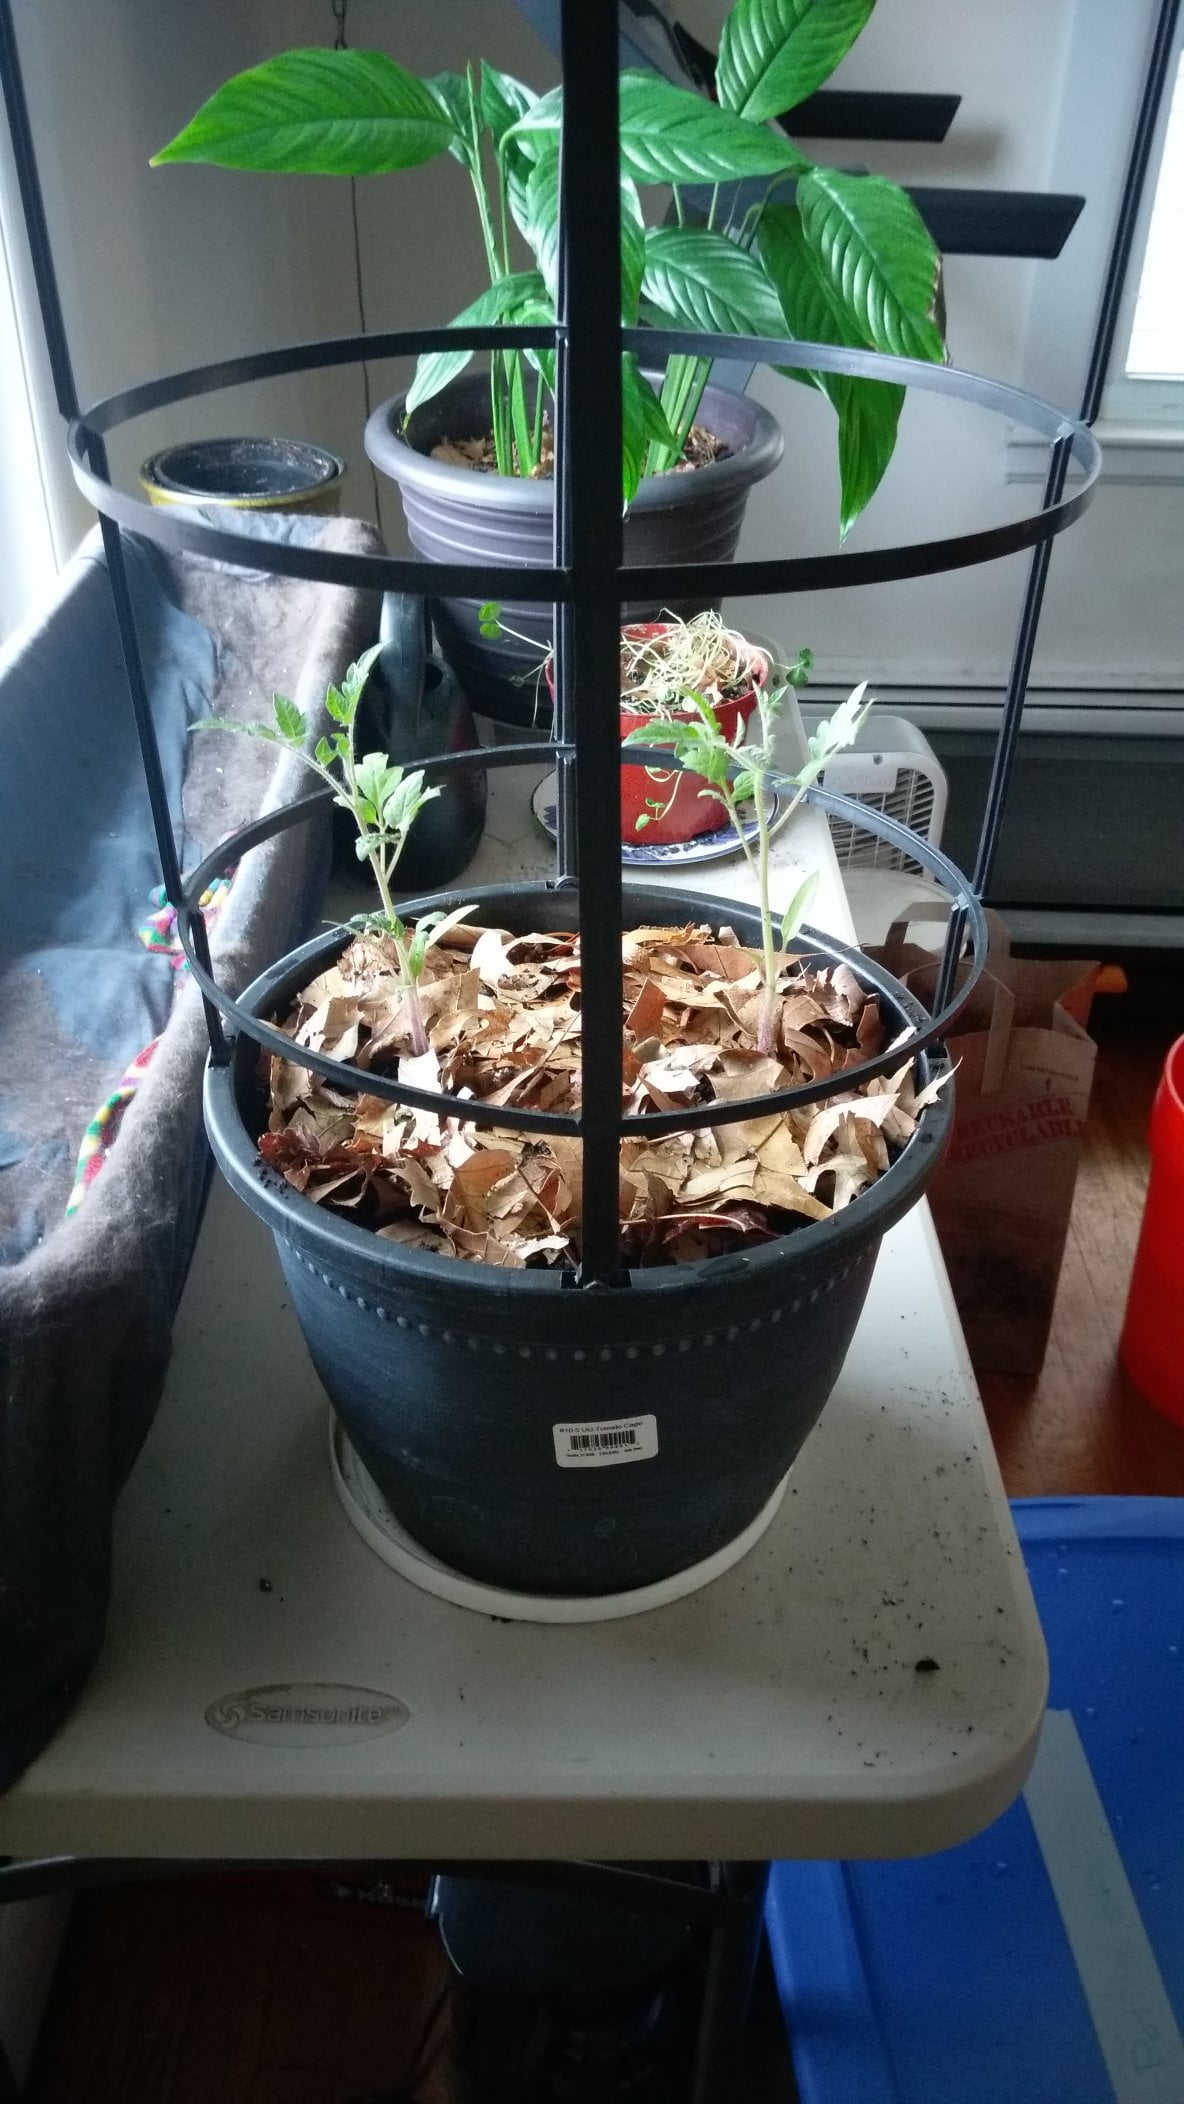
- When 4-12 inches tall – This is the ideal window to get cages in place before extensive growth begins.
- After hardening off – If you started plants indoors, cage immediately after moving outside.
- Before flower buds appear – Growth accelerates after flowering, so cage just prior.
- After early pruning and training – Right after pinching suckers and establishing a main stem.
The sweet spot is typically when plants are 6-12 inches tall. Install too soon and you may have to remove or reposition cages. Wait too long and branches will tangle and protest being contained. Use these timing guidelines for your region and variety.
Installing Tomato Cages Properly
Once you’ve determined the right moment to deploy cages, follow these steps:
- Push cage 1-2 inches into the ground around plant for stability.
- Orient hinged cages door-side facing out for easy access.
- Arrange the bottom ring around the plant, not on top of branches.
- Fill cages with vines carefully to avoid damage – use clips to secure.
- For larger varieties weave vines through openings rather than forcing in.
- Stake very large or extra-tall cages to keep them upright in wind.
- Cage cherry tomato varieties by tying cages vertically to supports.
Position cages purposefully to allow just enough room between the plant and enclosure for easy growth and maintenance. Resist overstuffing cages as this inhibits air circulation. With a little care and the right timing, cages provide the perfect happy home for your tomatoes!
Choosing Appropriate Tomato Cage Size and Type

To get the most out of your cages, select the proper size and style for your specific tomato variety. Considerations include:
- Plant size – dwarfs need small 18-24 inch cages, indeterminates need 5-7 foot enclosures.
- Vine size – slender vines fit smaller cages than thick vine types.
- Fruit size and weight – cherry tomatoes need less support than large slicing varieties.
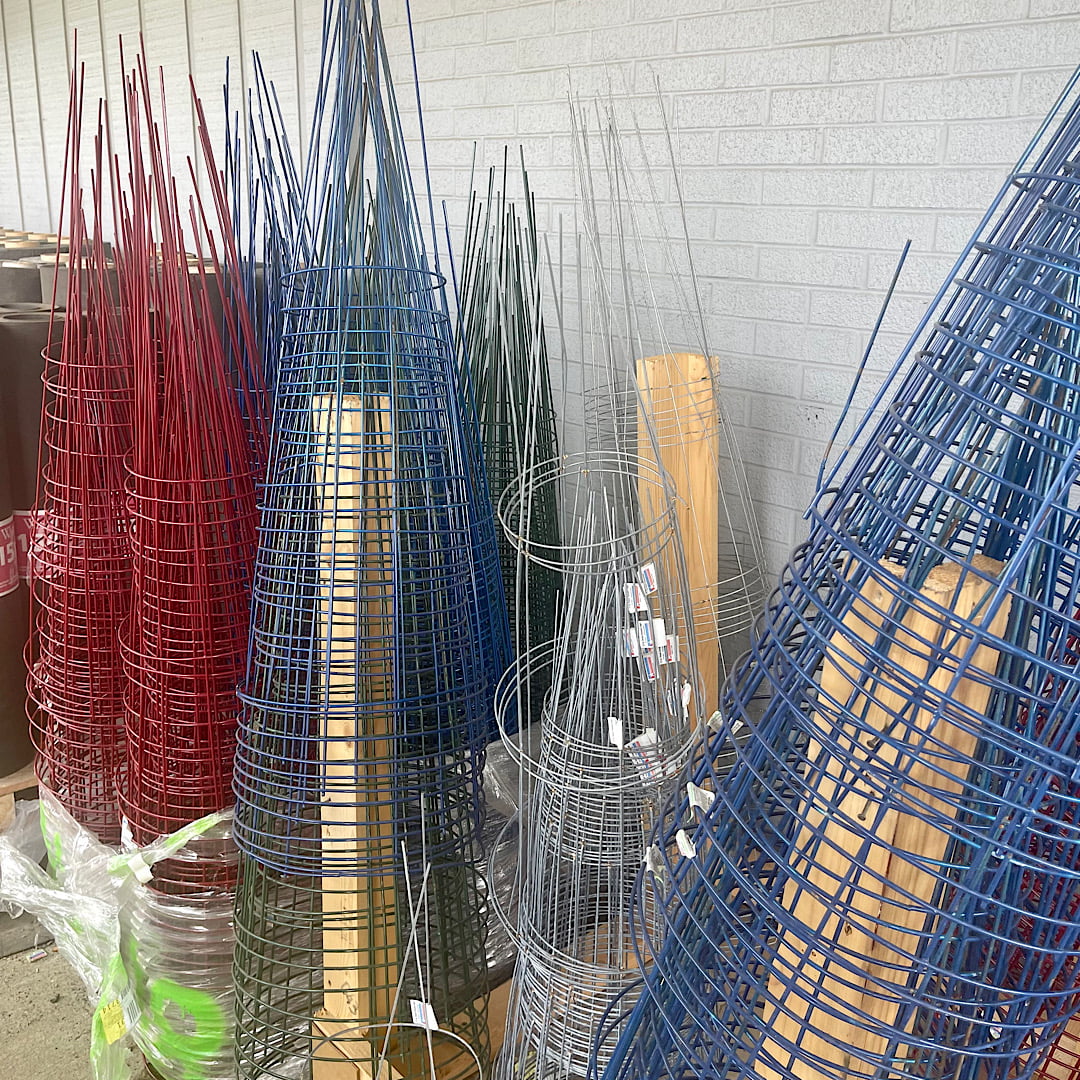
- Cage material – opt for sturdy steel, vinyl-coated metal, or wood vs thin wire.
- Cage style – open wire grid, ringed circular, or conical cages each have pros and cons.
Take stock of your tomato variety’s growth tendencies along with site factors like wind and soil moisture. This ensures you provide sufficient cage height, width, and durability once those cages go on at the appropriate time.
When to Use Alternative Support Options
While cages are effective for most standard tomato plants, alternatives like trellising might be better suited for certain situations:
- Very compact determinate varieties – small 12-18 inch cages or no cages.
- Dwarf cherry types – vertical cages secured to stakes work better than rings.
- Plants spaced very close together – a trellis system with mesh may be better.
- Later in the season as plants outgrow cages – add horizontal trellis supports.
- Very exposed sites with high winds – individual staking plus cages.
- Heavy fruiting hybrids – use extra-sturdy cages and/or trellising.
Even with cages, some plants benefit from a little extra stabilization. Know when to modify your caging strategy to match your tomatoes’ growth and environmental factors.
Getting the Most from Tomato Cages

To maximize the value cages add by keeping your tomatoes tidy and thriving, here are a few more tips:
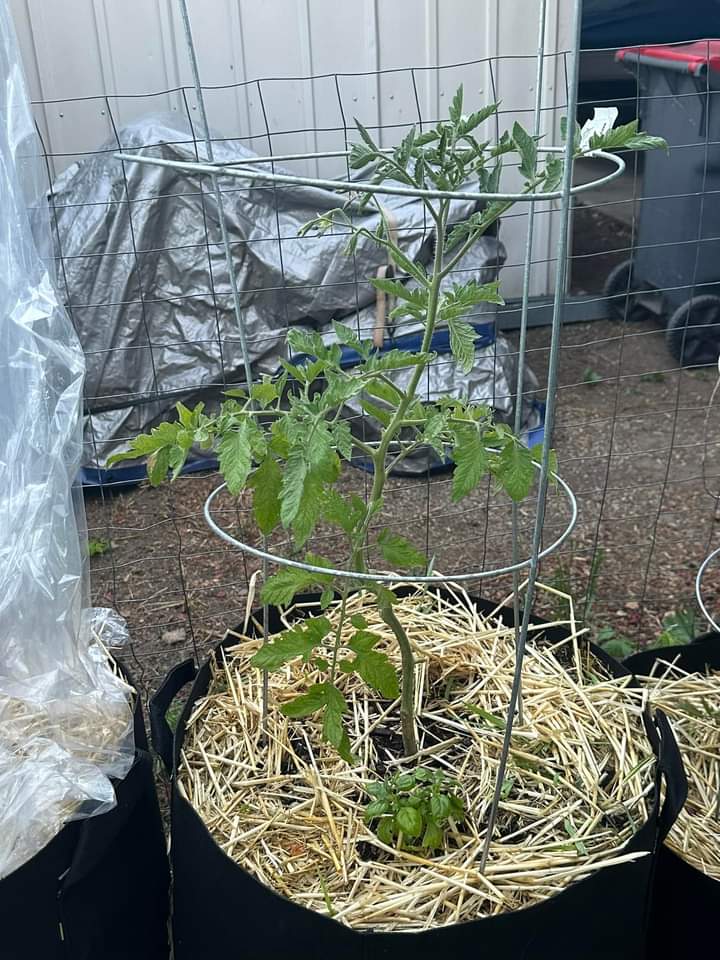
- Add an organic mulch inside cages to retain moisture and discourage weeds.
- Prune leaves and stems through cage openings to improve air circulation.
- Gently weave and pivot plants while installing cages to avoid damage.
- Increase cages’ wind stability by connecting them together with clips.
- Plan your watering approach ahead of time to work around cages.
- Let fruits rest right on cages as needed rather than bending branches
With the right setup and care, tomato cages fulfill their purpose – supporting strong, healthy, robust tomato plants! Follow this guidance on ideal timing, installation, and cultivar-specific factors for cage success
The Takeaway
Putting tomato cages on at just the right time prevents countless headaches later by maintaining order. Follow this guide on proper cage installation timing, setup, sizing, and use for sturdy plants and bumper harvests. With tomato cages deployed on schedule, you can sit back and simply enjoy the fruits of your labor – literally!
