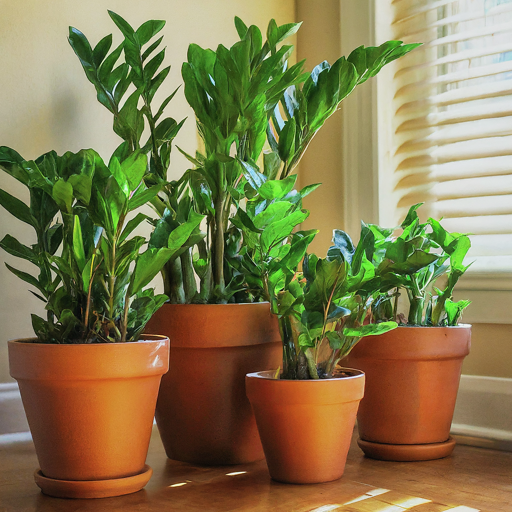
The ZZ plant (Zamioculcas zamiifolia) has earned its reputation as a nearly indestructible houseplant. It thrives in low light, tolerates infrequent watering, and shrugs off neglect with surprising grace. But what if you want to expand your urban jungle and create more of these handsome green sentinels? Fear not, plant parent! Propagating ZZ plants is surprisingly easy, and with a little know-how, you can soon have a whole squad of these architectural wonders gracing your shelves and corners.
This guide will unveil the secrets to ZZ plant propagation, exploring three simple methods that even the brownest-thumbed among us can master. So, grab your secateurs, dust off your favorite pot, and get ready to witness the magic of vegetative reproduction!
This post may have affiliate links. This means that sometimes when you click a link on our site and make a purchase on Amazon, we may earn a small commission at no additional cost to you. We only recommend products we truly believe in, and your support helps keep us running!
Understanding ZZ Plant Growth: A Foundation for Success
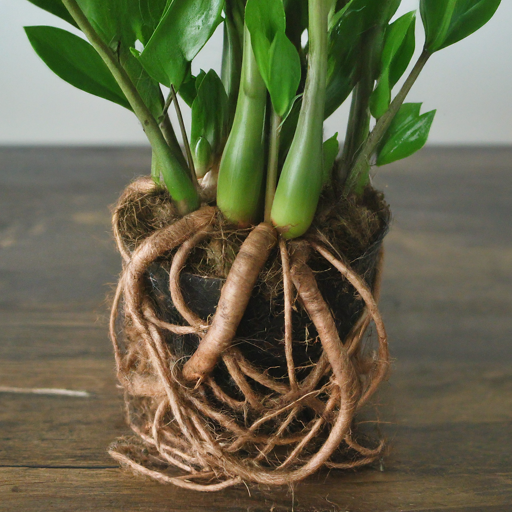
Let’s take a moment to understand how ZZ plants grow. Unlike many houseplants that reproduce readily through stem cuttings, ZZ plants multiply via rhizomes – underground stems that store water and nutrients. These rhizomes send up new shoots that eventually become the lush foliage we adore.
This unique growth pattern informs our propagation methods. We won’t be taking leafy stem cuttings, but rather dividing the existing root system to create new, independent plants. With this knowledge in hand, let’s explore the three methods you can use to propagate your ZZ plant.
Method 1: The Power of Division
This method is ideal for mature ZZ plants that have become pot-bound or boast multiple healthy shoots. Here’s how to get started:
- Prepare for the Process: Gently remove your ZZ plant from its current pot. Brush away any loose soil to get a clear view of the root system. You’ll also need a sharp, sterilized knife or pruners, a new pot with drainage holes slightly larger than the current one, and fresh potting mix suitable for well-draining conditions.
- Dividing the Rhizomes: Carefully examine the root system. You should see the main rhizome with smaller offshoots branching out. Identify natural separation points between the offshoots and the main plant. Using your sterilized knife, make clean cuts through the rhizomes, ensuring each division has a healthy portion of roots and at least one or two shoots (more is preferable for faster growth).
- Planting the New Divisions: Fill your new pot with fresh potting mix, ensuring good drainage. Create wells in the mix large enough to accommodate the divided rhizomes. Gently place each division in its designated well, ensuring the shoots are positioned upright. Backfill the pot with potting mix, firming it gently to secure the plants.
- Post-Planting Care: Water your newly divided ZZ plants moderately, allowing excess water to drain freely. Place them in a location with bright, indirect light and avoid overwatering. New growth should appear within a few weeks to a few months, depending on the size of the divisions.
Method 2: Leaf Propagation – An Experiment for the Adventurous
ZZ plants can also be propagated from single leaves. This method is ideal for those who want to try something new or perhaps only have a single leaf available. However, it’s important to manage expectations – success rates are lower compared to division, and it can take a significantly longer time to see results (up to a year or more).
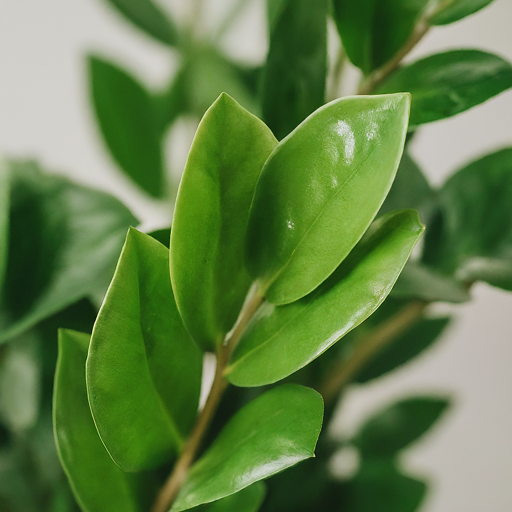
- Selecting the Right Leaf: Choose a healthy, mature leaf with a firm texture. Avoid any leaves with signs of damage or disease.
- Preparing the Leaf for Propagation: Using a sharp, sterilized knife, carefully cut the leaf away from the main stem at its base.
- Encouraging Root Growth: There are two main approaches here. The first involves placing the cut end of the leaf directly into a pot filled with moist, well-draining potting mix. The second involves creating a small slit in the petiole (leaf stem) near the base and propping the leaf upright in a pot filled with perlite or another well-aerated medium, keeping the slit portion buried.
- Patience is Key: Whichever method you choose, remember that this is a slow process. Consistently mist the leaf or perlite to maintain moisture, but avoid overwatering. Place the pot in a warm location with bright, indirect light. With time and proper care, a small bulb may form at the base of the leaf, eventually developing into a new shoot.
Method 3: Separating Pups – The Gift that Keeps on Giving
Some ZZ plants, particularly mature specimens, may surprise you with the occasional pup – a small shoot emerging directly from the base of the mother plant. These pups can be carefully separated to create new, independent plants.
- Identifying Pups: Look for small shoots sprouting from the base of the mother plant. These pups will have their own set of leaves and may even possess a small root system.
- Gently Does It: When the pup has reached a size where it can be handled comfortably (ideally with at least 2-3 sets of leaves), carefully loosen the soil around the base of the pup using a hand trowel or spoon.
- Separating with Care: Once enough soil is loosened, gently tug the pup away from the mother plant. If there’s any resistance, use a sterilized knife to carefully sever the pup’s connection to the mother plant’s root system.
- Planting the Pup: Choose a pot with drainage holes slightly larger than the pup’s root system. Fill it with fresh, well-draining potting mix. Create a well in the mix to accommodate the pup’s root ball. Gently place the pup in the pot, ensuring it sits upright, and backfill with potting mix, firming gently to secure it.
- Post-Planting Care: Water the newly potted pup moderately, allowing excess water to drain freely. Place it in a location with bright, indirect light and avoid overwatering. With proper care, your separated pup should continue to grow and thrive as an independent plant.
General Tips for ZZ Plant Propagation Success
- Sterilization is Key: Before making any cuts or divisions, ensure your knife or pruners are sterilized with rubbing alcohol or a bleach solution (one part bleach to ten parts water). This helps prevent the spread of bacteria and diseases.
- The Right Potting Mix Matters: Opt for a well-draining potting mix specifically formulated for houseplants. ZZ plants are susceptible to root rot in soggy conditions. Consider adding perlite or orchid bark to your mix to improve drainage.
- Light Matters: While ZZ plants are known for their tolerance of low light, providing them with bright, indirect light during propagation can encourage faster growth. Avoid harsh, direct sunlight, which can scorch the leaves.
- Watering Wisely: Resist the urge to overwater! ZZ plants store water in their rhizomes and can tolerate some dryness. Water only when the top inch of soil feels dry to the touch. Overwatering is a common cause of propagation failure.
- Patience is a Virtue: Don’t expect instant results. Propagating ZZ plants, particularly through leaf propagation, is a slow process. Be patient, maintain consistent care, and eventually, you’ll be rewarded with new ZZ plant growth.