If you’re a lettuce lover and want to enjoy fresh, homegrown greens throughout the year, growing lettuce from seeds indoors is a fantastic option. Not only does it save you money, but it also allows you to have complete control over the growing conditions, ensuring optimal health and flavor. In this article, we will guide you through five easy steps to successfully grow lettuce from seeds indoors, transforming your home into a thriving oasis of leafy goodness.
This post may have affiliate links. This means that sometimes when you click a link on our site and make a purchase on Amazon, we may earn a small commission at no additional cost to you. We only recommend products we truly believe in, and your support helps keep us running!
1. Finding Your Green Oasis: Choosing the Perfect Indoor Location
Light is the lifeblood of any plant, and your indoor lettuce is no exception. The first step is to identify a spot in your home that boasts ample sunshine. South-facing windows are ideal, offering several hours of direct sunlight each day. East or west-facing windows can work too, but keep in mind your lettuce might require supplemental lighting during the winter months.
Shining a Light on Success:
- Aim for at least 6 hours of direct sunlight daily.
- If natural light is limited, invest in grow lights. LED grow lights are energy-efficient and provide the specific spectrum of light lettuce needs for optimal growth.
- Rotate your planting trays regularly to ensure all sides of your lettuce receive even sunlight exposure. This will prevent your plants from becoming leggy and reaching for the light source.
2. Setting the Stage: Selecting Containers and Perfecting the Potting Mix
Now, let’s get down to the nitty-gritty of creating a comfortable home for your soon-to-be lettuce sprouts. Here’s what you’ll need:
- Containers: Opt for shallow planting trays or pots with drainage holes. Trays work well for starting seeds, while individual pots are ideal for transplanting seedlings.
- Potting Mix: Seedlings need a well-draining, lightweight growing medium. Look for a pre-mixed seed starting mix or create your own by combining equal parts sterilized potting soil, perlite, and vermiculite.
Pro Tip: Upcycle!
Don’t rush out and buy new containers. Repurpose yogurt cups, egg cartons, or even plastic soda bottles (with drainage holes poked) as starter pots. Just ensure they’re clean and free of harmful residues.
3. Sowing the Seeds of Success: Planting and Germination
It’s time to unleash the magic of life! Here’s how to properly plant your lettuce seeds:
- Moisten the potting mix: Fill your chosen containers with the potting mix and dampen it thoroughly with water. Aim for evenly moist, not soggy.
- Seeding Strategy: Lettuce seeds are tiny, so sprinkle them sparingly over the moistened potting mix. A good rule of thumb is to space seeds about an inch apart.
- Light Covering: Don’t bury the seeds! Instead, gently press them into the soil surface and sprinkle a thin layer of the potting mix over them.
- Moisture is Key: Keep the soil consistently moist during germination. Use a spray bottle to deliver gentle mists of water as needed.
- Create a Humid Oasis: Trap humidity around the seedlings by covering the containers with clear plastic wrap or a humidity dome.
Germination Watch:
Seeds typically germinate within 7-10 days when exposed to warm temperatures (around 70°F). Once you see tiny green sprouts peeking through the soil, remove the plastic wrap and place your seedlings under bright light.
4. Nurturing Your Tiny Greens: Light, Watering, and Thinning
Your lettuce seedlings are now officially basking in the sunshine! Here’s how to care for them during this crucial growth stage:
Light Up Their Lives:
- Provide your lettuce with at least 14-16 hours of light daily, either from natural sunlight or supplemented with grow lights.
- Adjust the height of your grow lights as your seedlings grow to maintain a distance of 2-3 inches above the plants.
Watering Wisdom:
- Water your lettuce seedlings regularly, but avoid overwatering. The soil should feel moist to the touch, but not soggy.
- Water deeply when needed, allowing excess water to drain out of the bottom holes of the containers.
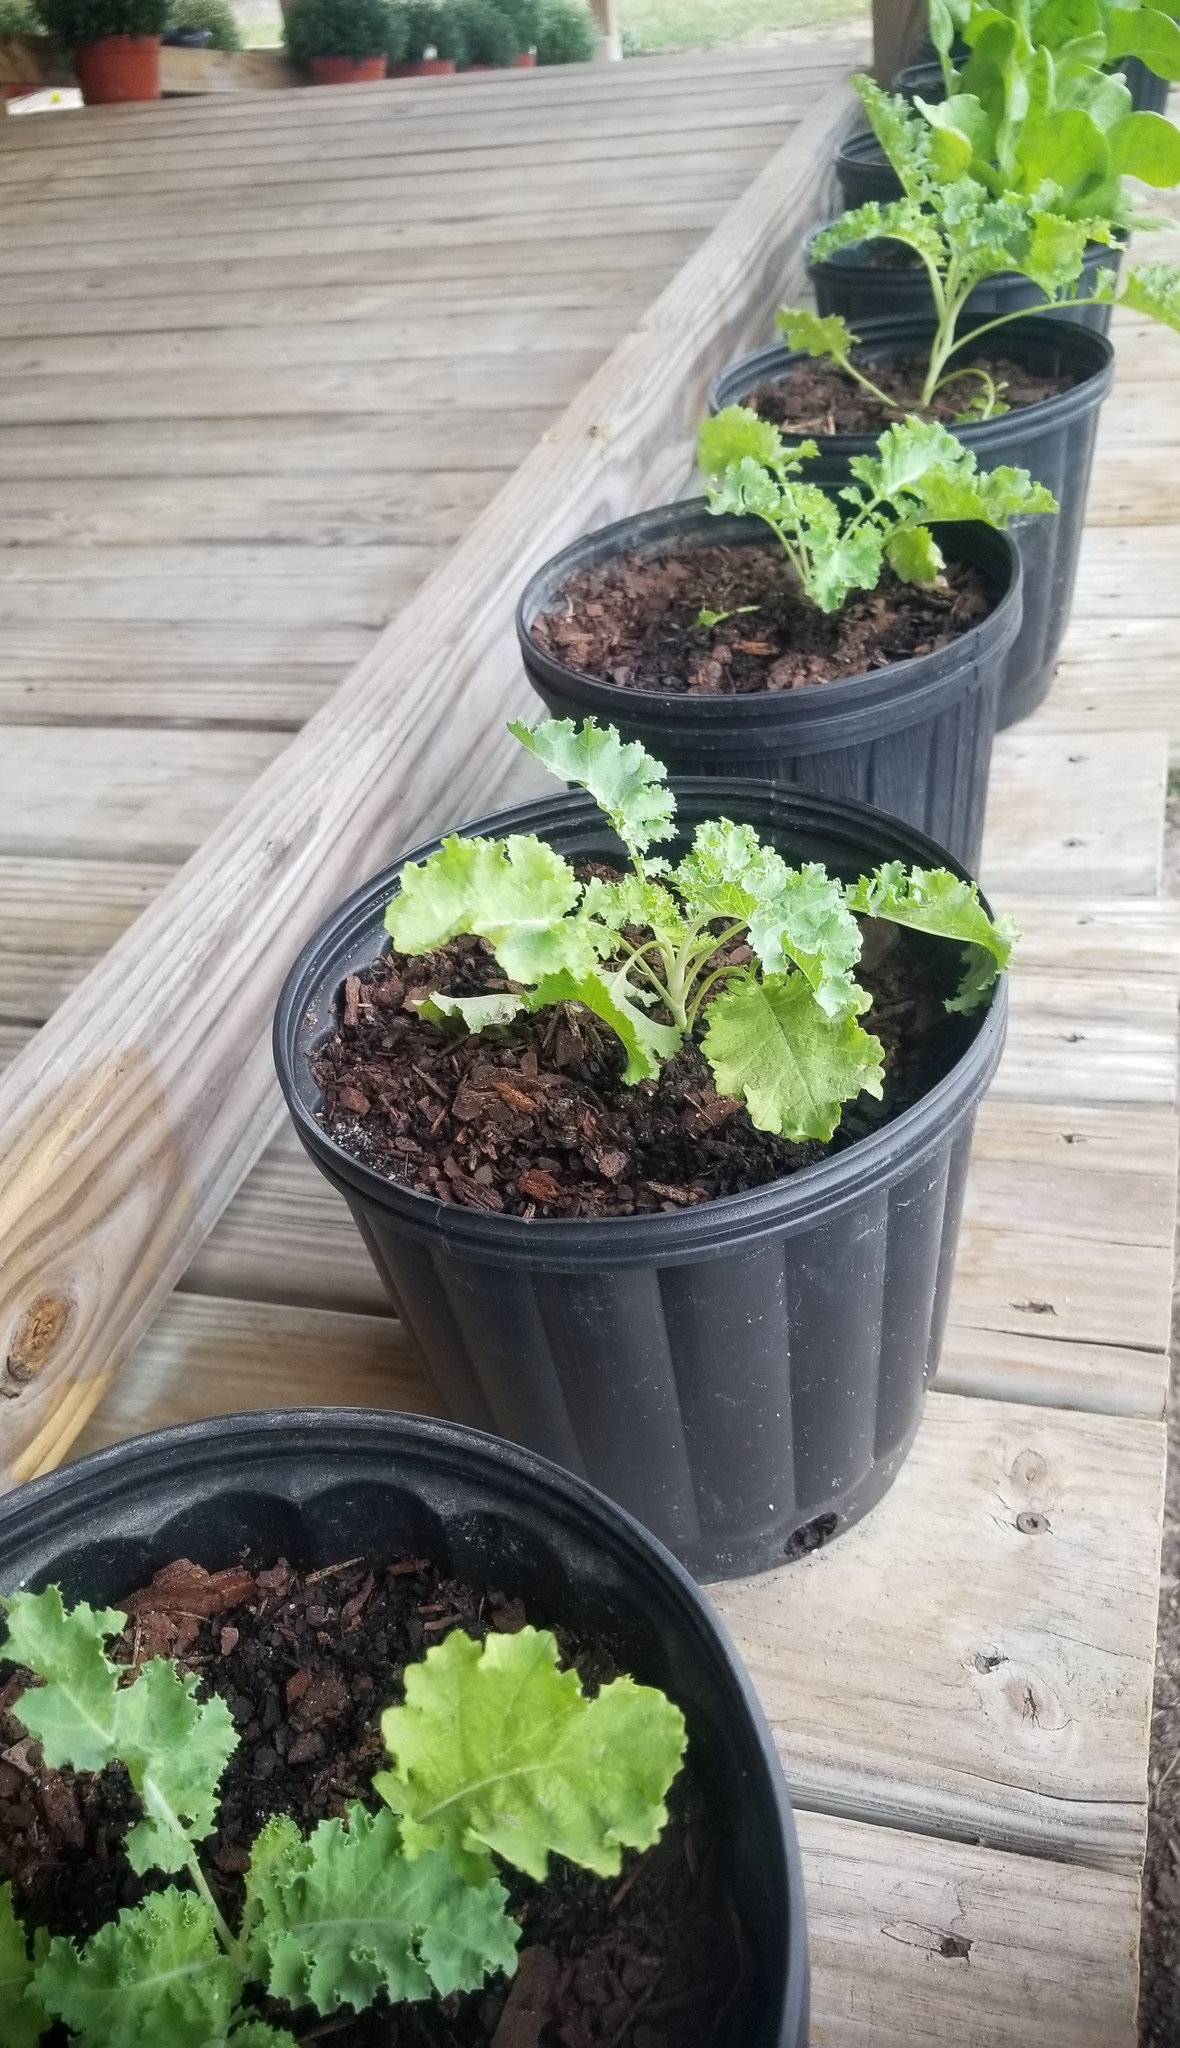
Thinning for Success:
Once your lettuce seedlings have developed their first set of true leaves (the leaves that appear after the initial seed leaves), it’s time for thinning. This ensures proper spacing for healthy growth.
- Use sharp scissors to carefully snip off weaker seedlings, leaving the strongest plants spaced about 3-4 inches apart.
Bonus Tip: Don’t discard the thinned seedlings! You can transplant them into separate pots and grow them as well, provided they have enough space.
5. Reap What You Sow: Harvesting and Enjoying Your Indoor Lettuce
The moment you’ve been waiting for has arrived! Your indoor lettuce is ready for harvesting. Here’s how to enjoy the fruits (or rather, leaves) of your labor:
Ready for the Chopping Board?
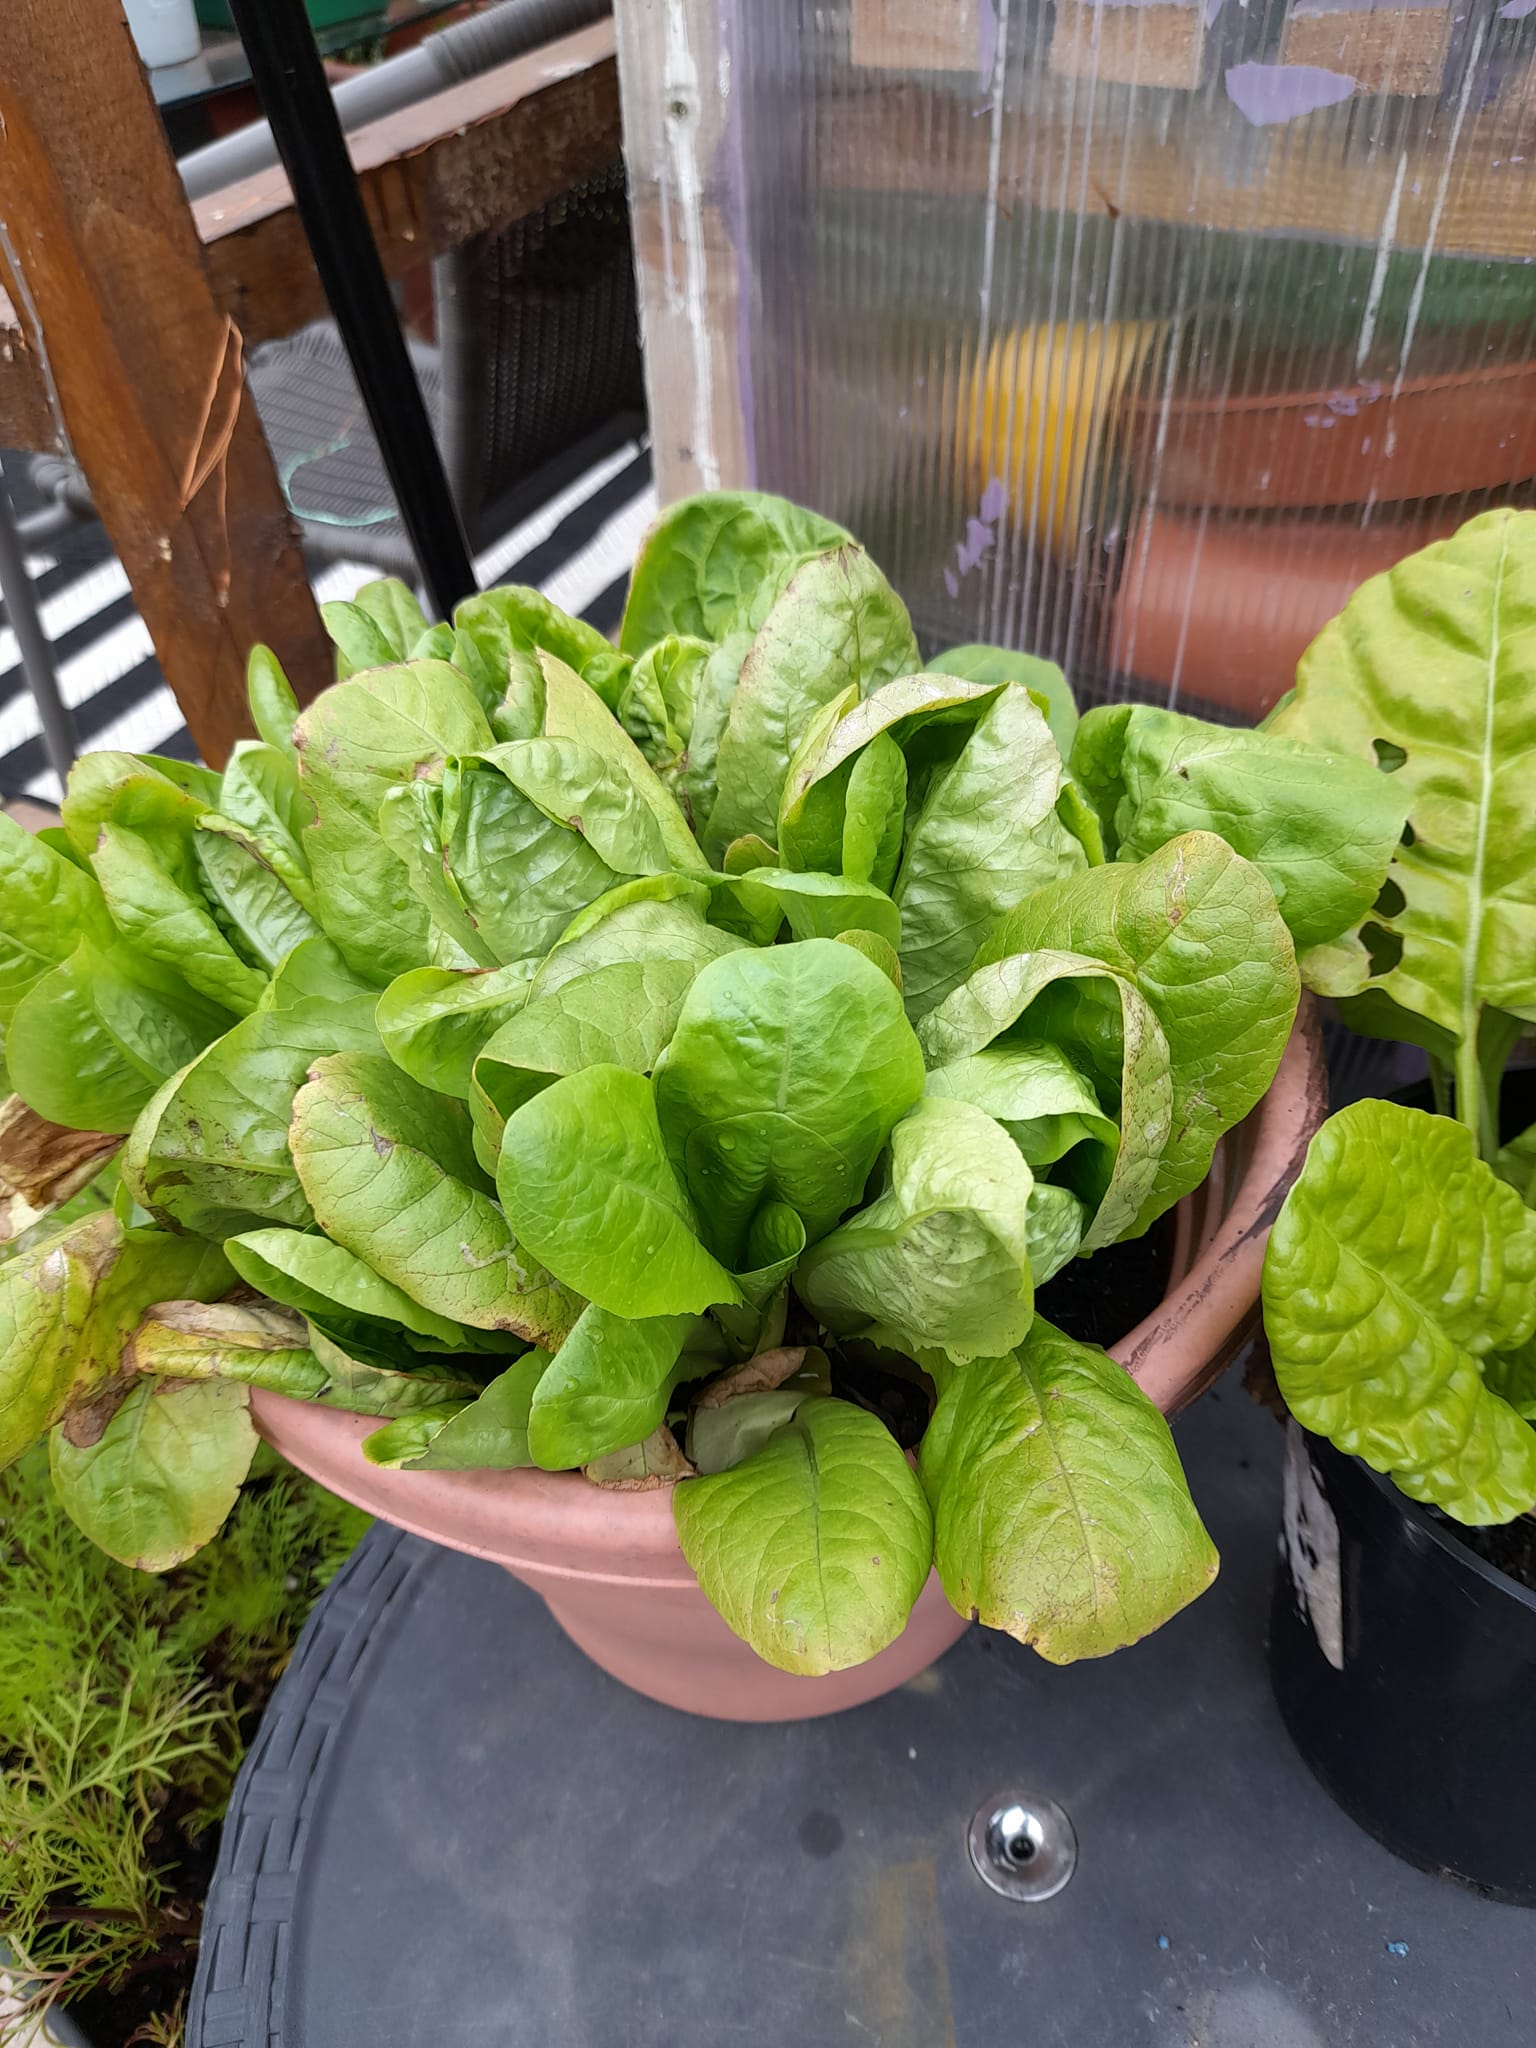
- Harvesting Technique: For loose-leaf varieties like romaine or butter lettuce, you can harvest individual leaves as needed throughout the growing cycle. Simply use sharp scissors or a knife to snip mature leaves just above the base of the plant.
- Cut and Come Again: The beauty of lettuce is its ability to regrow! After harvesting outer leaves, the plant will continue to produce new ones from the center. Enjoy this “cut and come again” approach for several weeks.
- Heads Up for Head Lettuce: For head varieties like iceberg or Bibb lettuce, wait until the head forms a firm, compact ball. Harvest the entire head by cutting it off at the base with a sharp knife.
Freshness on Demand:
There’s nothing quite like the taste of homegrown lettuce. Here are some tips for maximizing freshness:
- Harvest in the morning: Lettuce leaves tend to be more crisp and flavorful when harvested in the cooler morning hours.
- Store it right: Wash and dry your harvested lettuce thoroughly. Wrap it loosely in a damp paper towel and store it in the crisper drawer of your refrigerator. This will keep your lettuce fresh for up to a week.
- Get Creative in the Kitchen: Now comes the fun part! Use your homegrown lettuce to create a variety of delicious dishes. Add them to salads, sandwiches, wraps, or use them as a base for lettuce wraps.
Beyond the Basics: Expanding Your Indoor Lettuce Adventure
Congratulations! You’ve successfully cultivated a thriving indoor lettuce garden. But the journey doesn’t end here. Here are some tips to take your lettuce-growing prowess to the next level:
- Experiment with Different Varieties: There’s a whole world of lettuce varieties beyond the standard iceberg. Explore romaine, butter lettuce, arugula, or even try colorful salad mixes for a taste sensation.
- Succession Planting: To ensure a continuous supply of fresh lettuce, practice succession planting. Sow new seeds every few weeks, so you always have seedlings at different growth stages.
- Consider a Hydroponic System: For the adventurous gardener, hydroponics offers a fascinating way to grow lettuce indoors without soil. Research different hydroponic systems and see if this method piques your interest.