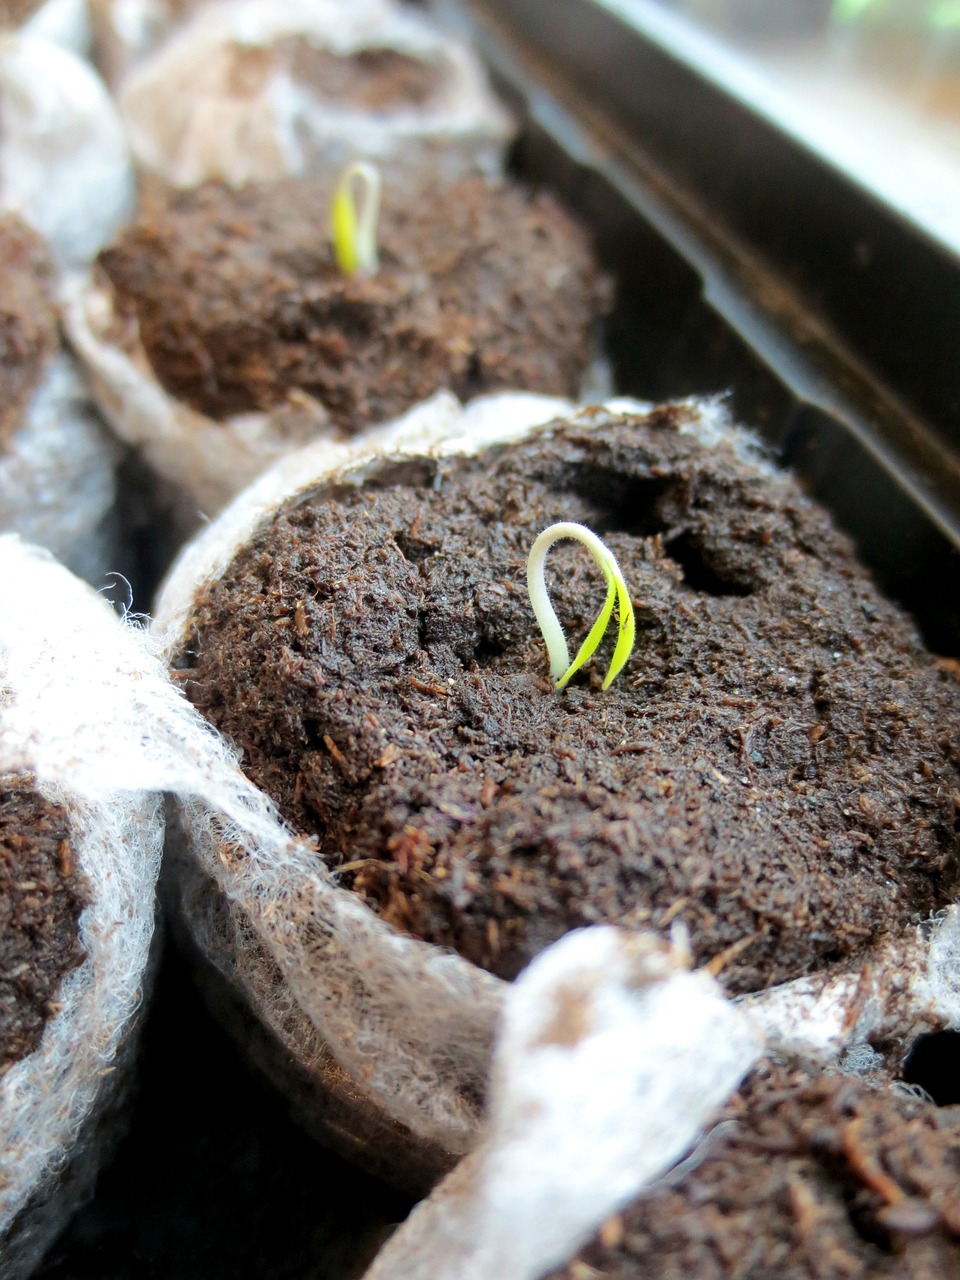
Starting your garden from seeds is a great way to save money and ensure that your plants are grown without harmful chemicals. However, your garden’s success depends largely on your soil’s quality. By making your seed-starting soil, you can control the ingredients and ensure your plants have the best possible start. This article will share 10 DIY hacks to perfect your homemade seed starting soil.
1: Choose the Right Container
The first step in creating the perfect seed-starting soil is to choose the right container. You can use anything from plastic cups to egg cartons to start your seeds. However, it’s important to make sure that your container has drainage holes to prevent water from accumulating and drowning your seeds.
Considerations for different containers:
- Type of container: Regardless of the material you choose (plastic cups, egg cartons, trays, etc.), ensure they have drainage holes or you can create them yourself.
- Number of holes: The number of holes depends on the container size. Generally, more holes are needed for larger containers.
- Placement of holes: Ideally, holes should be distributed evenly on the bottom of the container and large enough to allow water to drain freely.
Additional tips:
- To improve drainage further, consider adding a layer of gravel or perlite at the bottom of the container before filling it with soil.
- Avoid reusing containers that previously housed diseased plants, as pathogens can remain in the soil and harm your new seedlings.
2: Use High-Quality Ingredients
The quality of your seed-starting soil depends largely on the ingredients you use. It’s important to use high-quality ingredients that are free from contaminants and provide the nutrients your plants need to thrive. Some good options include peat moss, vermiculite, perlite, and compost.
3. Mix Your Ingredients Thoroughly
Once you have gathered your ingredients, it’s important to mix them thoroughly to ensure that they are evenly distributed. You can use a large bucket or wheelbarrow to mix your ingredients, or you can mix them in batches in a smaller container.
4. Add Nutrients
In addition to the basic ingredients, you may want to add some extra nutrients to your seed starting soil. Some good options include bone meal, blood meal, and fish emulsion. These ingredients provide essential nutrients like nitrogen, phosphorus, and potassium that your plants need to grow strong and healthy.
5. Sterilize Your Soil
To prevent the growth of harmful bacteria and fungi, it’s important to sterilize your seed starting soil before you use it. You can do this by baking your soil in the oven at 180 degrees Fahrenheit for 30 minutes, or by microwaving it on high for 90 seconds per pound.
6. Moisture Matters
The moisture level of your seed-starting soil is crucial for the success of your seeds. You want your soil to be moist, but not soaking wet. To achieve the right moisture level, you can mist your soil with a spray bottle or use a watering can with a fine nozzle.
7. Label Your Containers
To keep track of your seeds and ensure that you are giving them the right care, it’s important to label your containers. You can use popsicle sticks or plastic labels to mark each container with the name of the plant and the date you planted it.
8. Provide Adequate Light
Once your seeds have germinated, it’s important to provide them with adequate light. You can use a grow light or place your containers near a sunny window. Make sure to rotate your containers regularly to ensure that all sides of your plants receive equal light.
9. Transplant Carefully
When your seedlings are ready to be transplanted, it’s important to do so carefully to avoid damaging their delicate roots. You can use a spoon or a small trowel to carefully remove each seedling from its container and transplant it into a larger pot or directly into your garden.
