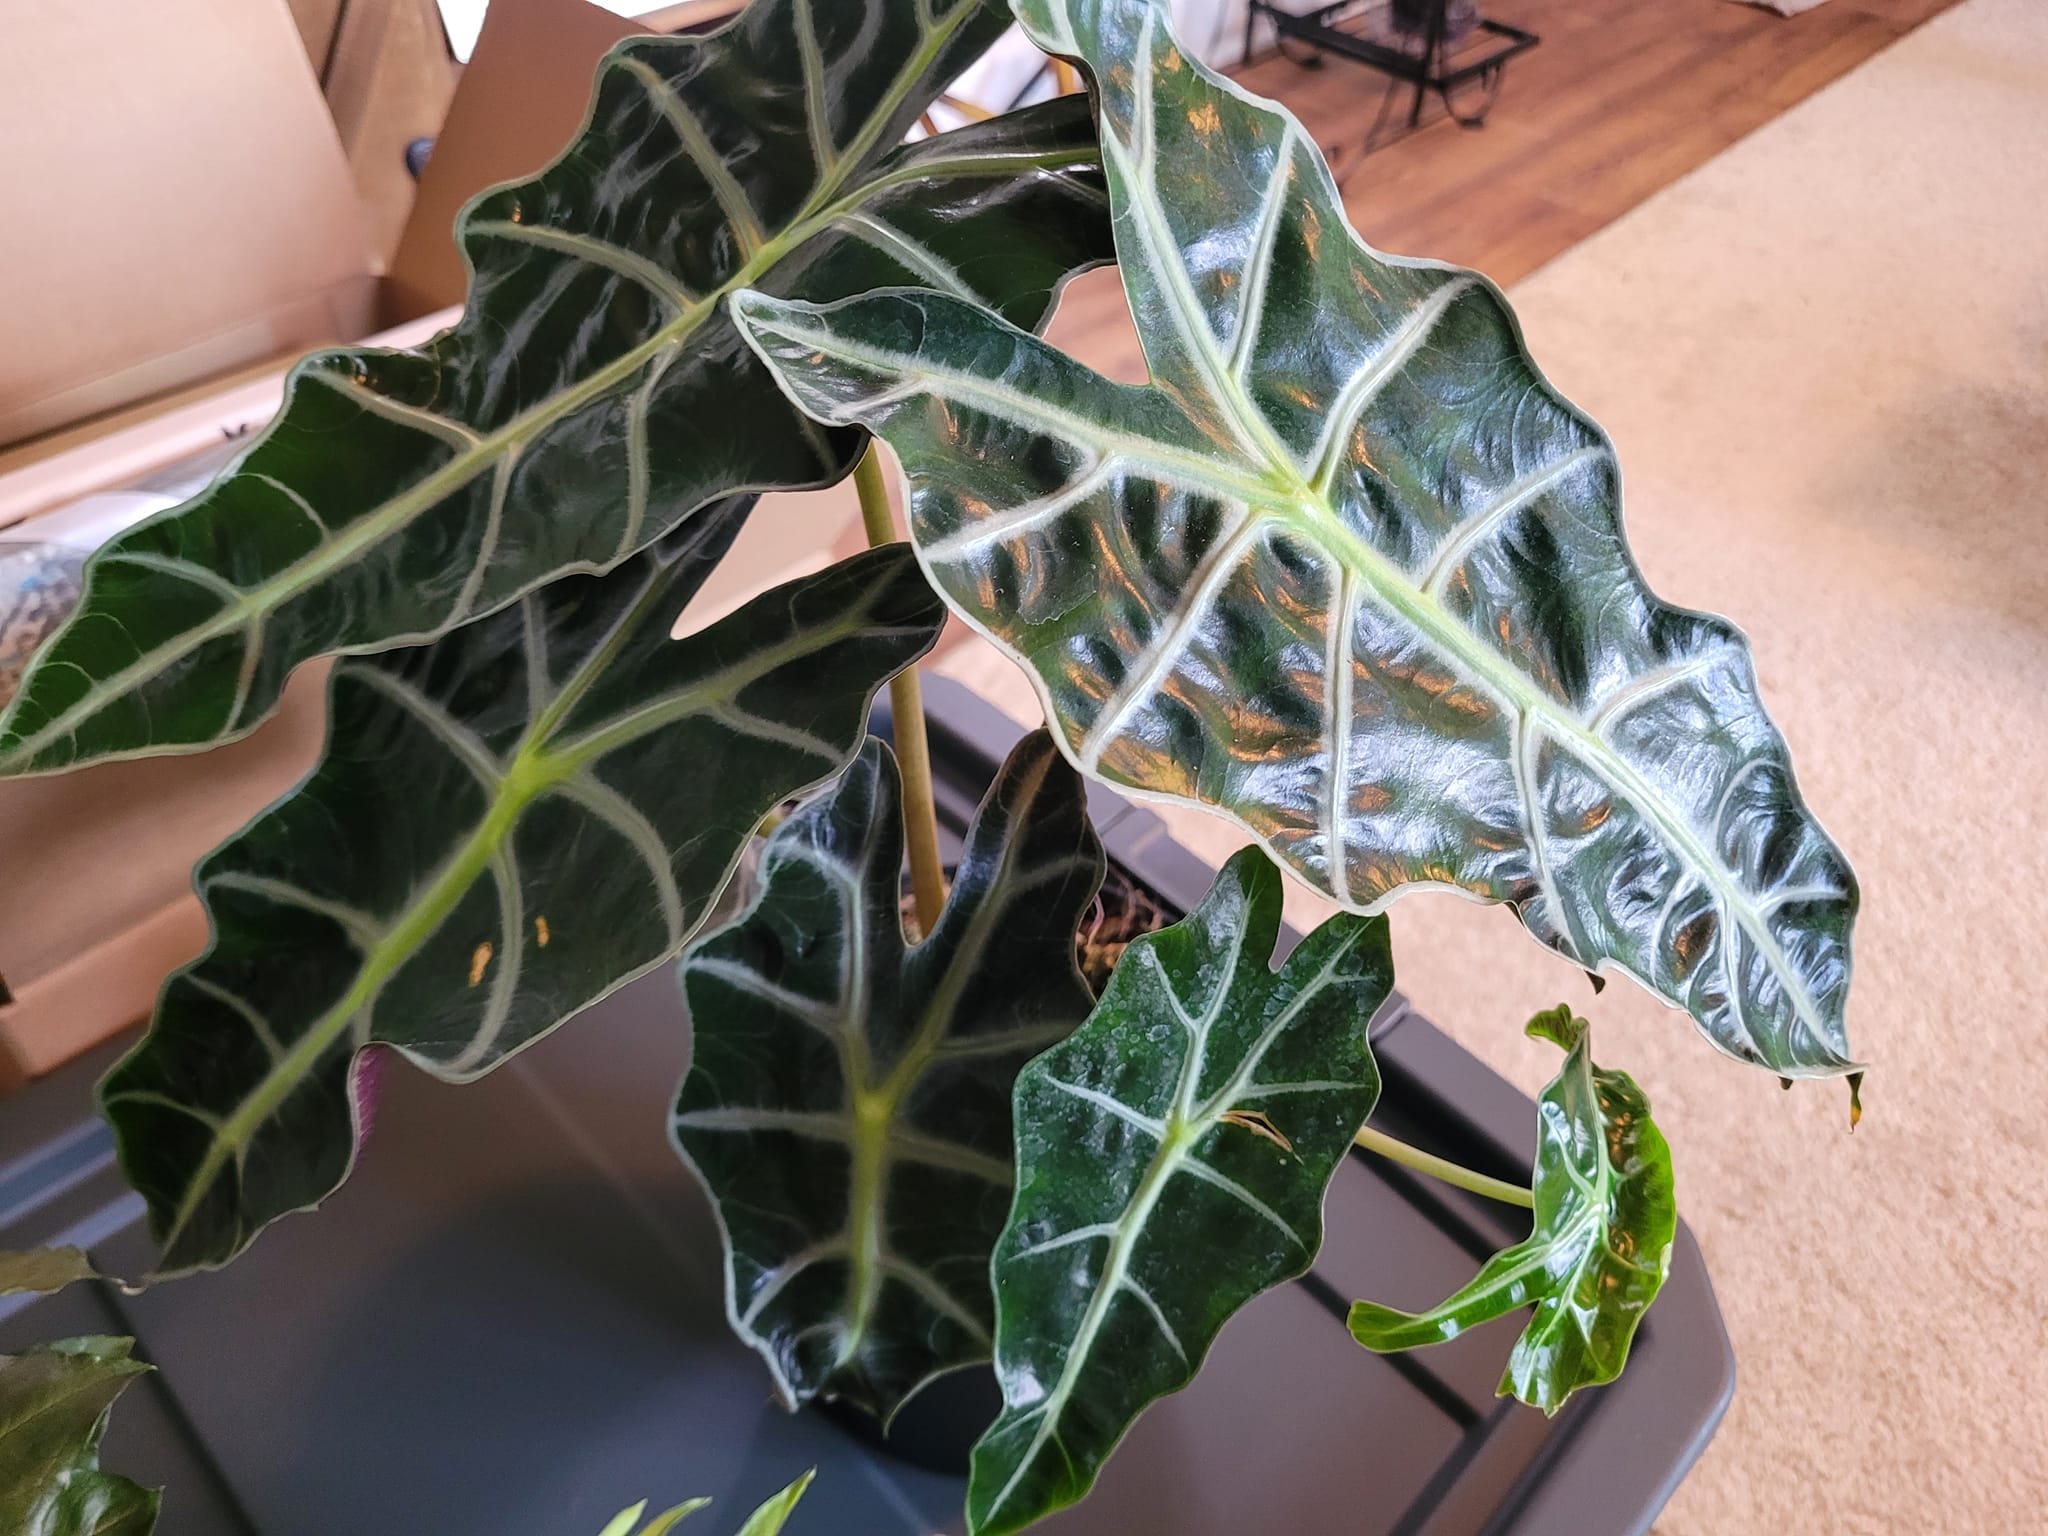
Alocasia, known for its striking foliage and exotic appeal, has become a popular choice for indoor gardening enthusiasts. The plant’s large, arrow-shaped leaves create a lush, tropical atmosphere, making it a centerpiece in any room.
But have you ever wondered how to propagate these beautiful plants to expand your indoor jungle?
Propagating Alocasia might seem intimidating at first, but with the right knowledge and a bit of patience, you can successfully propagate your Alocasia plant indoors. In this guide, we’ll walk you through the process step-by-step, ensuring you have all the tools and tips needed to grow new Alocasia plants from your existing ones.
What Makes Alocasia So Special?
Alocasia plants, often referred to as “Elephant Ears,” are part of the Araceae family. They are prized for their dramatic leaves, which can be a variety of shapes, sizes, and colors depending on the species. Whether you’re drawn to the deep, rich greens of Alocasia Amazonica or the silver-veined leaves of Alocasia Polly, these plants are sure to add a touch of the exotic to your home.
Why Propagate Alocasia?
Propagating Alocasia not only helps you expand your collection without spending money on new plants, but it also allows you to share these gorgeous plants with friends and family. Moreover, understanding how to propagate them can give you a deeper connection with your plants, as you witness the growth of new life from a single leaf or corm.
Preparing for Propagation
Choosing the Right Time
When is the best time to propagate Alocasia? Timing is crucial when it comes to propagation. The ideal time is during the growing season, which typically falls between late spring and early summer. During this period, your Alocasia is in its most vigorous growth phase, making it more likely to successfully produce new plants.
Gathering Your Tools
Before you start, ensure you have all the necessary tools on hand:
- A sharp, clean knife or pruning shears: To make clean cuts.
- Rooting hormone (optional): To encourage root development.
- Small pots with drainage holes: For planting the new divisions or corms.
- Well-draining potting mix: A mix that retains moisture but also allows excess water to escape.
- Watering can or spray bottle: To keep the soil moist without overwatering.
Methods of Propagation
1. Propagating Through Division

Division is one of the most common and straightforward methods of propagating Alocasia plants.
Step-by-Step Guide to Division
- Remove the Plant from Its Pot: Carefully remove your Alocasia from its pot. Gently shake off excess soil so you can see the root system clearly.
- Identify the Offshoots: Look for natural divisions in the plant’s root system. These are usually smaller clusters of leaves that have their own root structures.
- Separate the Offshoots: Using a clean knife or your hands, gently separate the offshoots from the main plant. Be sure each division has a good amount of roots attached.
- Prepare the New Pots: Fill your small pots with well-draining potting mix. Make a small hole in the center of each pot for planting.
- Plant the Divisions: Place each division into its pot, covering the roots with soil. Firm the soil around the base to ensure stability.
- Water the New Plants: Lightly water the newly potted plants, ensuring the soil is moist but not waterlogged.
- Provide Proper Care: Place the new plants in a location with indirect sunlight and maintain a warm, humid environment to encourage growth.
2. Propagating Through Corms
Another effective way to propagate Alocasia is by using corms, which are bulb-like structures found at the base of the plant.
Step-by-Step Guide to Corm Propagation
- Locate the Corms: After removing the Alocasia from its pot, search for small, round corms attached to the roots. These are usually brown or tan and can vary in size.
- Remove the Corms: Gently pull the corms away from the parent plant. Be careful not to damage them during this process.
- Prepare for Planting: Fill small pots with a well-draining potting mix. You can use a mix of perlite, peat, and standard potting soil.
- Plant the Corms: Place each corm in a pot, covering it lightly with soil. The corm should be just beneath the surface.
- Water and Wait: Water the soil to keep it moist but not soggy. Place the pots in a warm area with indirect light.
- Monitor Growth: Within a few weeks, you should see small shoots emerging from the soil, signaling that the corms are taking root and growing.
Caring for Your New Alocasia Plants
Providing the Right Environment
Alocasia plants thrive in warm, humid conditions with plenty of indirect sunlight. After propagating, it’s essential to provide the right environment for your new plants to ensure their success.
- Light: Place your plants in a spot that receives bright, indirect light. Direct sunlight can scorch the leaves, so be cautious.
- Temperature: Maintain a temperature range of 65-75°F (18-24°C). Avoid placing the plants near cold drafts or air conditioners.
- Humidity: Alocasia loves humidity. If your home is dry, consider using a humidity tray or a room humidifier to increase moisture levels around the plants.
Watering and Feeding
Proper watering and feeding are key to helping your newly propagated Alocasia plants grow strong and healthy.
- Watering: Keep the soil consistently moist, but not waterlogged. Overwatering can lead to root rot, so ensure that excess water can drain away easily.
- Feeding: Use a balanced liquid fertilizer diluted to half strength every 4-6 weeks during the growing season. Avoid fertilizing in winter when the plant’s growth slows down.
Troubleshooting Common Problems
Yellowing Leaves
If you notice yellowing leaves on your new Alocasia plants, it could be a sign of overwatering, inadequate light, or low humidity. Adjusting these conditions can often resolve the issue.
Slow Growth
Slow growth in your propagated Alocasia can be due to a variety of factors, including insufficient light, low temperatures, or poor soil quality. Ensure your plant is getting the right care, and be patient, as some varieties naturally grow slower than others.
Pest Control
Watch out for common pests like spider mites and aphids, which can be attracted to Alocasia plants. Regularly inspect your plants and treat any infestations promptly with insecticidal soap or neem oil.
Conclusion
Propagating Alocasia plants indoors is a rewarding experience that allows you to expand your indoor garden while deepening your connection with these stunning plants. Whether you choose to propagate through division or corms, the process is relatively simple with the right preparation and care. By providing the right environment, consistent watering, and attention to detail, you can successfully grow new Alocasia plants that will thrive and bring a touch of the tropics to your home. So, grab your gardening tools, and start propagating your Alocasia today!