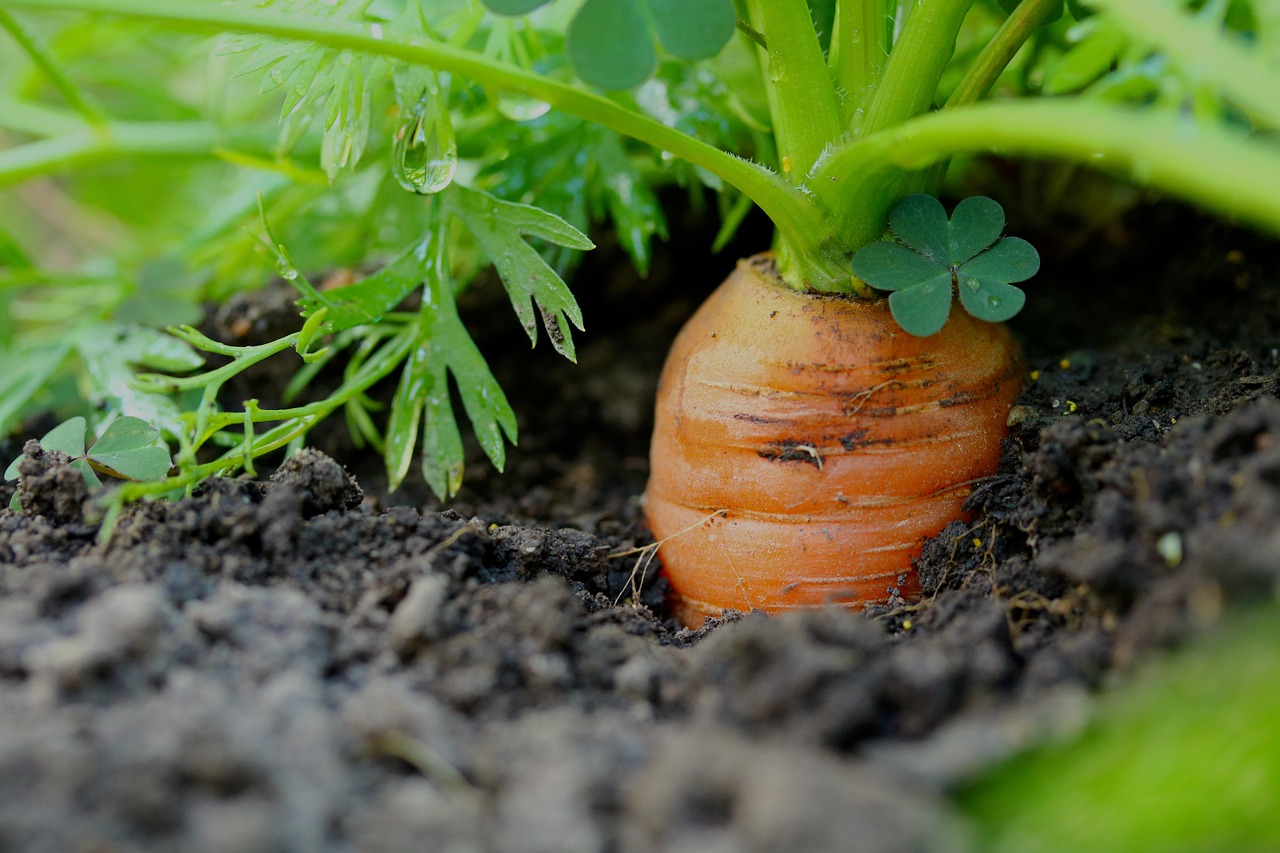
For the urban gardener with a penchant for homegrown goodness, few vegetables offer the satisfaction of a perfectly formed carrot. Raised beds, with their manageable size and fertile soil, provide the ideal environment to cultivate these colorful taproots. So, grab your gardening gloves and get ready to transform your raised bed into a haven for crunchy, delectable carrots!
This post may have affiliate links. This means that sometimes when you click a link on our site and make a purchase on Amazon, we may earn a small commission at no additional cost to you. We only recommend products we truly believe in, and your support helps keep us running!
Planning Your Carrot Patch
Before diving headfirst into seed-sowing, a little planning goes a long way in ensuring a bountiful harvest. Here’s what you’ll need to consider:
Choosing the Right Carrot Variety

Not all carrots are created equal! Opt for varieties suited to raised beds, such as the ‘Short ‘n’ Sweet’ or ‘Danvers Half-Long’. These compact cultivars mature quickly and thrive in limited space.
Sowing Time
Patience is key with carrots. They prefer cooler temperatures for germination, so aim to plant your seeds in early spring or fall, depending on your climate. In warmer regions, consider using shade cloth to regulate soil temperature during the germination stage.
Sunshine Savior
Carrots are sun-worshippers! Select a location in your raised bed that receives at least 6-8 hours of direct sunlight daily.
Building A Raised Bed for Your Carrots
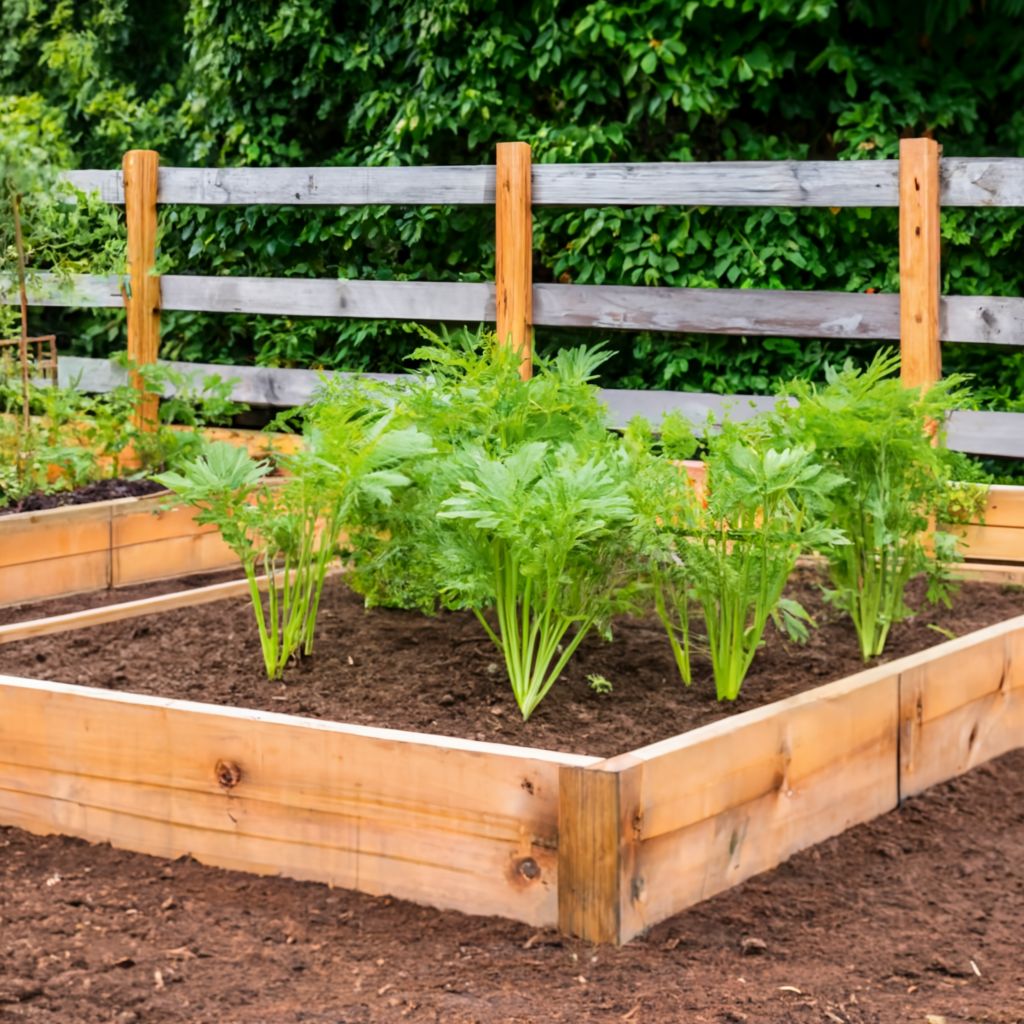
Now that you’ve got the planning out of the way, it’s time to prepare your raised bed for its starring role:
Soil Secrets
Happy carrots crave loose, well-draining soil. If your existing bed has seen a few seasons, enrich it with a couple of inches of aged compost or organic matter. Remember, avoid fresh manure, as it can encourage root splitting.
The Great Raised Bed Mix
For optimal drainage, consider mixing your existing soil with a portion of sand or perlite. Aim for a light and fluffy consistency that crumbles easily in your hand.
Banishing the Bumpy Road
Large clods of soil can hinder carrot growth. Use a rake or your hands to break up any clumps and ensure a smooth, even planting surface.
Planting Your Carrot Seeds In Raised Bed
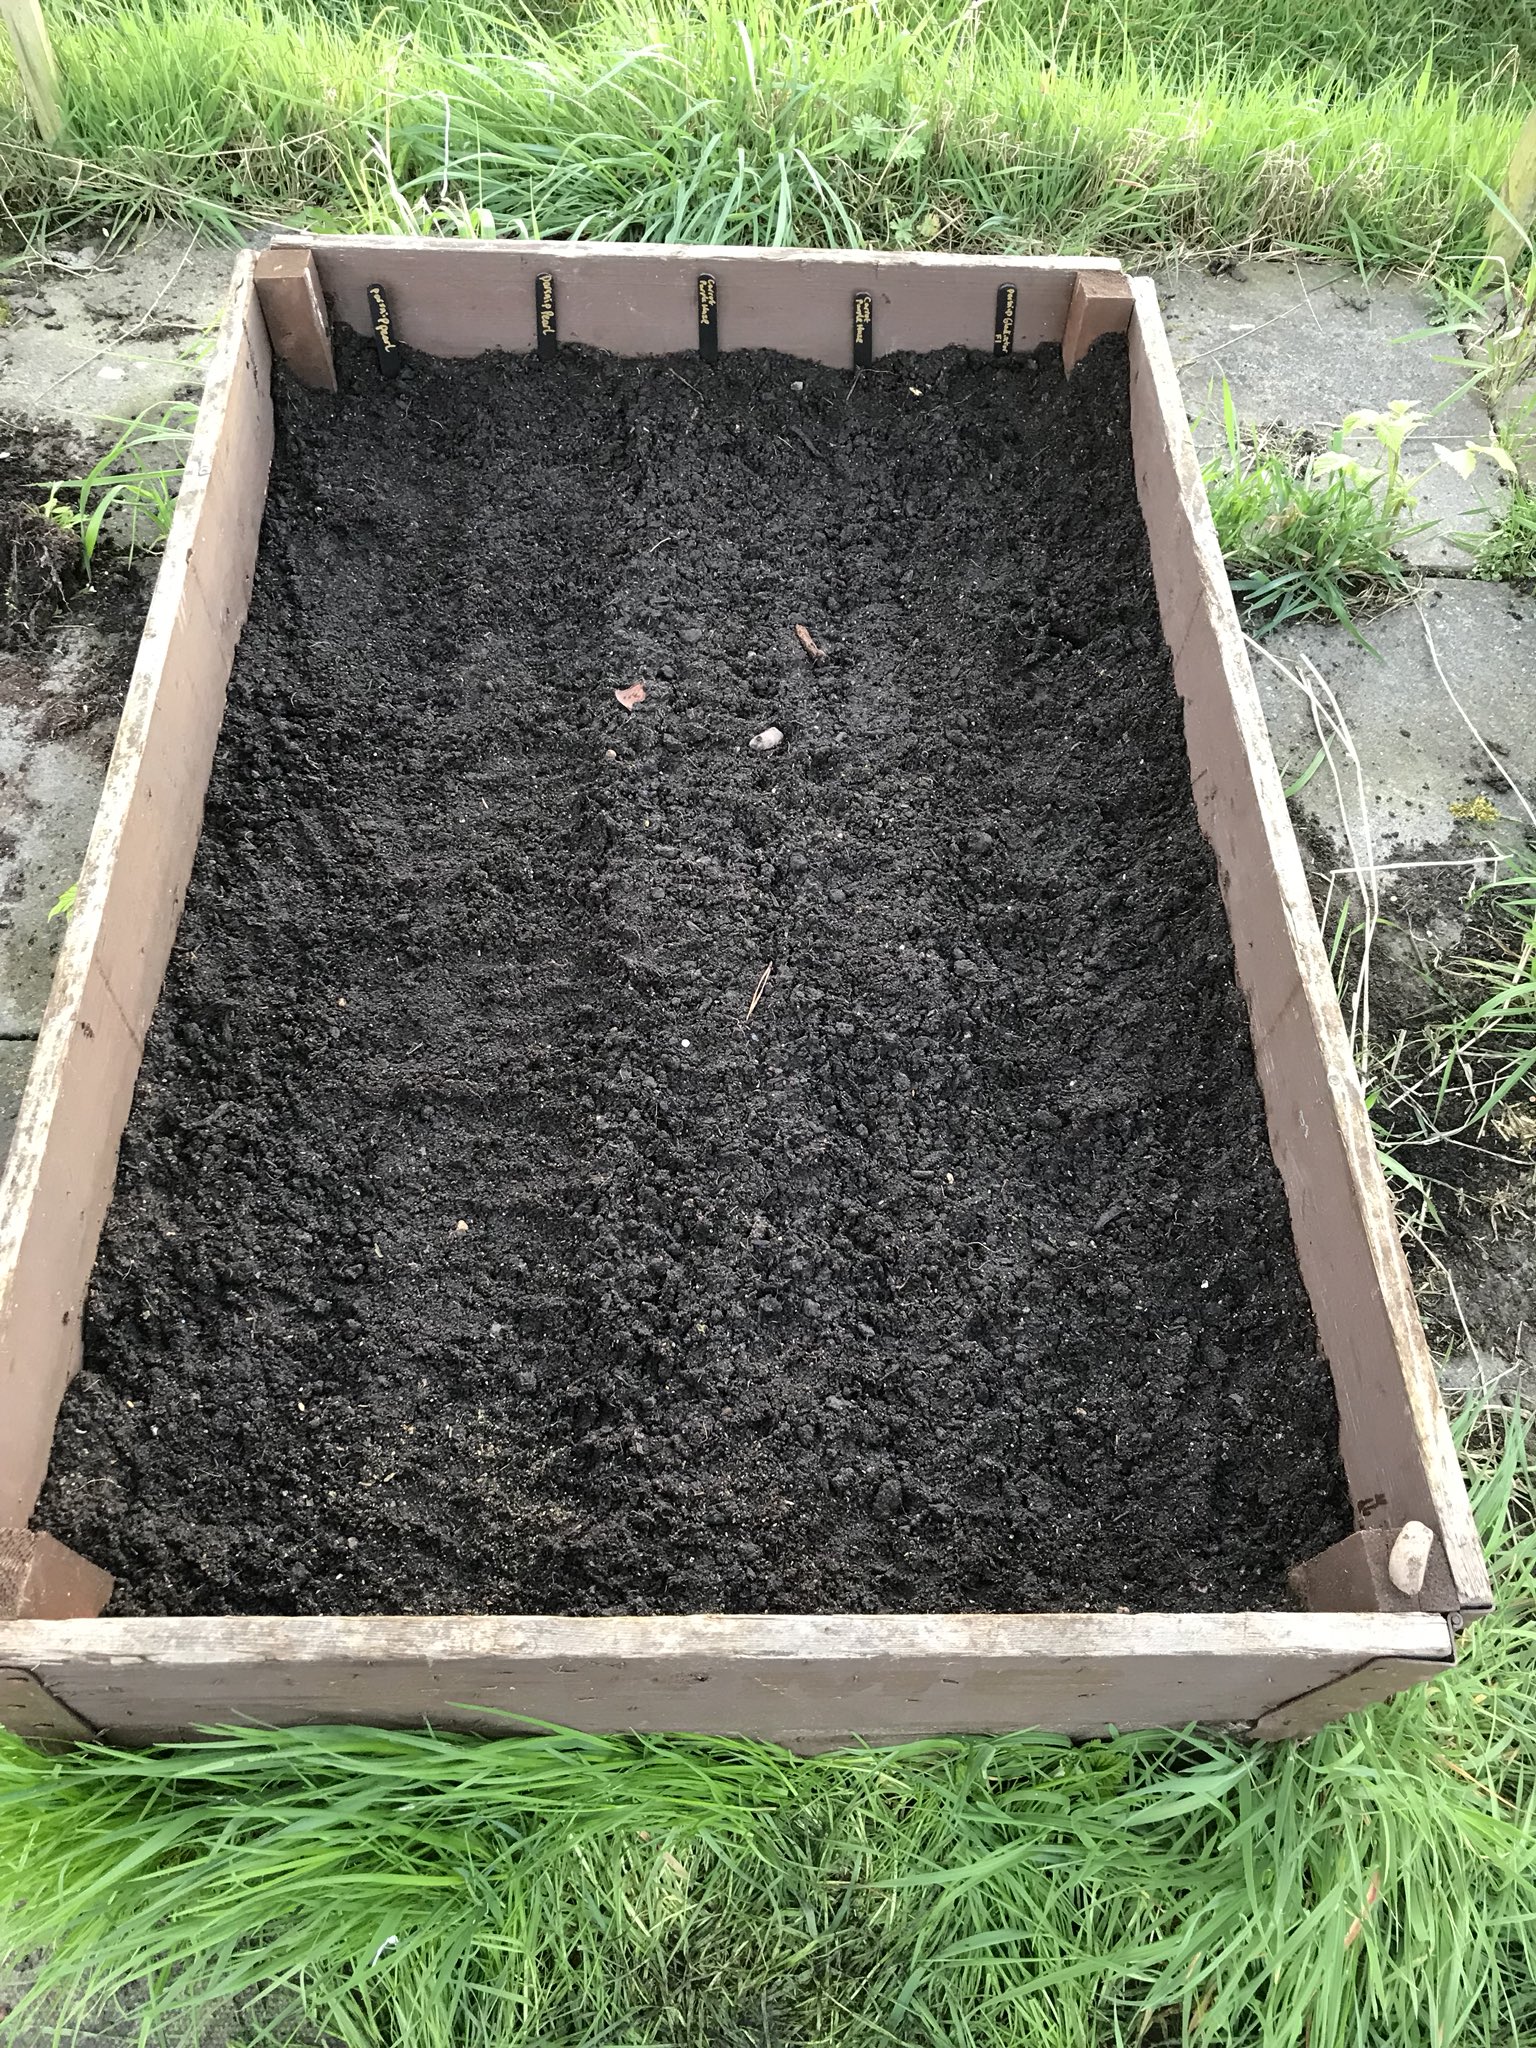
With your raised bed prepped, it’s time to usher in the next generation of carrots!
Seed Symphony
Carrot seeds are tiny. To avoid overcrowding, mix them with sand for easier distribution. Alternatively, you can sow them directly in shallow furrows (about ¼ inch deep) spaced 2-3 inches apart.
Seeding Serenade
Gently cover the seeds with a thin layer of soil and pat it down lightly.
Moisture Maestro
Use a gentle stream of water to moisten the soil. Avoid using a forceful spray that might dislodge the seeds.
Nurturing Your Nascent Nibblers
The next few weeks call for vigilance and gentle care:
- The Waiting Game: Germination can take up to three weeks. In the meantime, keep the soil consistently moist but not soggy. A thin layer of mulch can help retain moisture and suppress weeds.
- Weed Warriors: Emerging weeds can steal valuable nutrients and space from your developing carrots. Regularly hand-weed your raised bed to keep them at bay.
- The Art of Thinning: Once your carrot seedlings have reached about 2-3 inches tall, it’s time to thin them. This ensures proper air circulation and allows the remaining carrots room to grow. Use a pair of scissors to snip off weaker seedlings, leaving the strongest ones spaced 2-3 inches apart. Don’t discard the thinned seedlings! They make delicious additions to salads or stir-fries.
Sunshine, Water, and a sprinkle of TLC
As your carrots mature, consistent care is essential:
- Sun Salute: Continue to provide your carrots with at least 6-8 hours of direct sunlight daily.
- Watering Wisdom: Water your carrots regularly, especially during hot and dry spells. Aim to keep the soil evenly moist but avoid waterlogging.
- Feeding Frenzy: While carrots don’t require heavy feeding, a mid-season boost with a light application of organic fertilizer can enhance their growth. Opt for a balanced fertilizer formulated for vegetables.
The Grand Harvest

The moment you’ve been waiting for has arrived – harvest time! Here’s how to unearth your homegrown treasures:
Patience Pays Off : Most carrot varieties take 60-70 days to mature, though some quicker varieties can be ready in as early as 50 days. The best way to determine harvest time is by the size of the carrot tops. When the tops reach a mature size of 6-8 inches, it’s a good indication that the carrots themselves are ready for picking.
Unearthing Your Gems : Before harvesting, give the soil a good soak the day before. This loosens the soil and makes it easier to extract the carrots without damaging them. Use a garden fork to gently loosen the soil around the base of the carrots. Be careful not to snag or bruise them! Gently pull the carrots upwards by their tops.
Storing Your Harvest : Freshly harvested carrots can be stored for several weeks. Brush off any excess dirt and remove the tops, leaving about an inch of green foliage. Store them in a sealed plastic bag in the crisper drawer of your refrigerator.