Welcome, green thumbs and tomato enthusiasts, to the world of bountiful harvests! In this article, we’ll delve into the art of creating the Best Homemade Potting Soil for Tomatoes. As any seasoned gardener knows, the foundation of successful tomato cultivation lies in nutrient-rich, well-draining soil. By crafting your own potting soil, tailored to the specific needs of your tomato plants, you’re on the path to a flourishing garden and flavor-packed tomatoes that will leave your taste buds singing with delight.
Table of Contents
Best Homemade Potting Soil for Tomatoes – The Secret to Success
The Tomato Soil Basics: Nourishing Your Plants from the Ground Up

To create the Best Homemade Potting Soil for Tomatoes, let’s start with the essentials. Understanding the basic components and the role they play in supporting tomato growth will set the stage for a thriving garden.
The Power of Compost: Black Gold for Your Tomatoes

First and foremost, compost is a treasure trove of essential nutrients that your tomatoes crave. As it decomposes, it releases a smorgasbord of vital elements like nitrogen, phosphorus, and potassium – the holy trinity of plant nutrition. These nutrients act as a natural, slow-release fertilizer, nourishing your tomato plants throughout their growth stages. With compost at their roots, your tomatoes will be enriched with all the goodness they need to develop into healthy, robust, and productive plants.
Composting is not only beneficial for your tomato plants but also for the environment. By diverting kitchen and yard waste from landfills, you’re reducing methane emissions and contributing to a more sustainable lifestyle. Composting is a beautiful cycle of nature, where waste becomes nourishment, and nourishment becomes the life force of your garden.
The Need for Drainage: Lightening the Load with Perlite
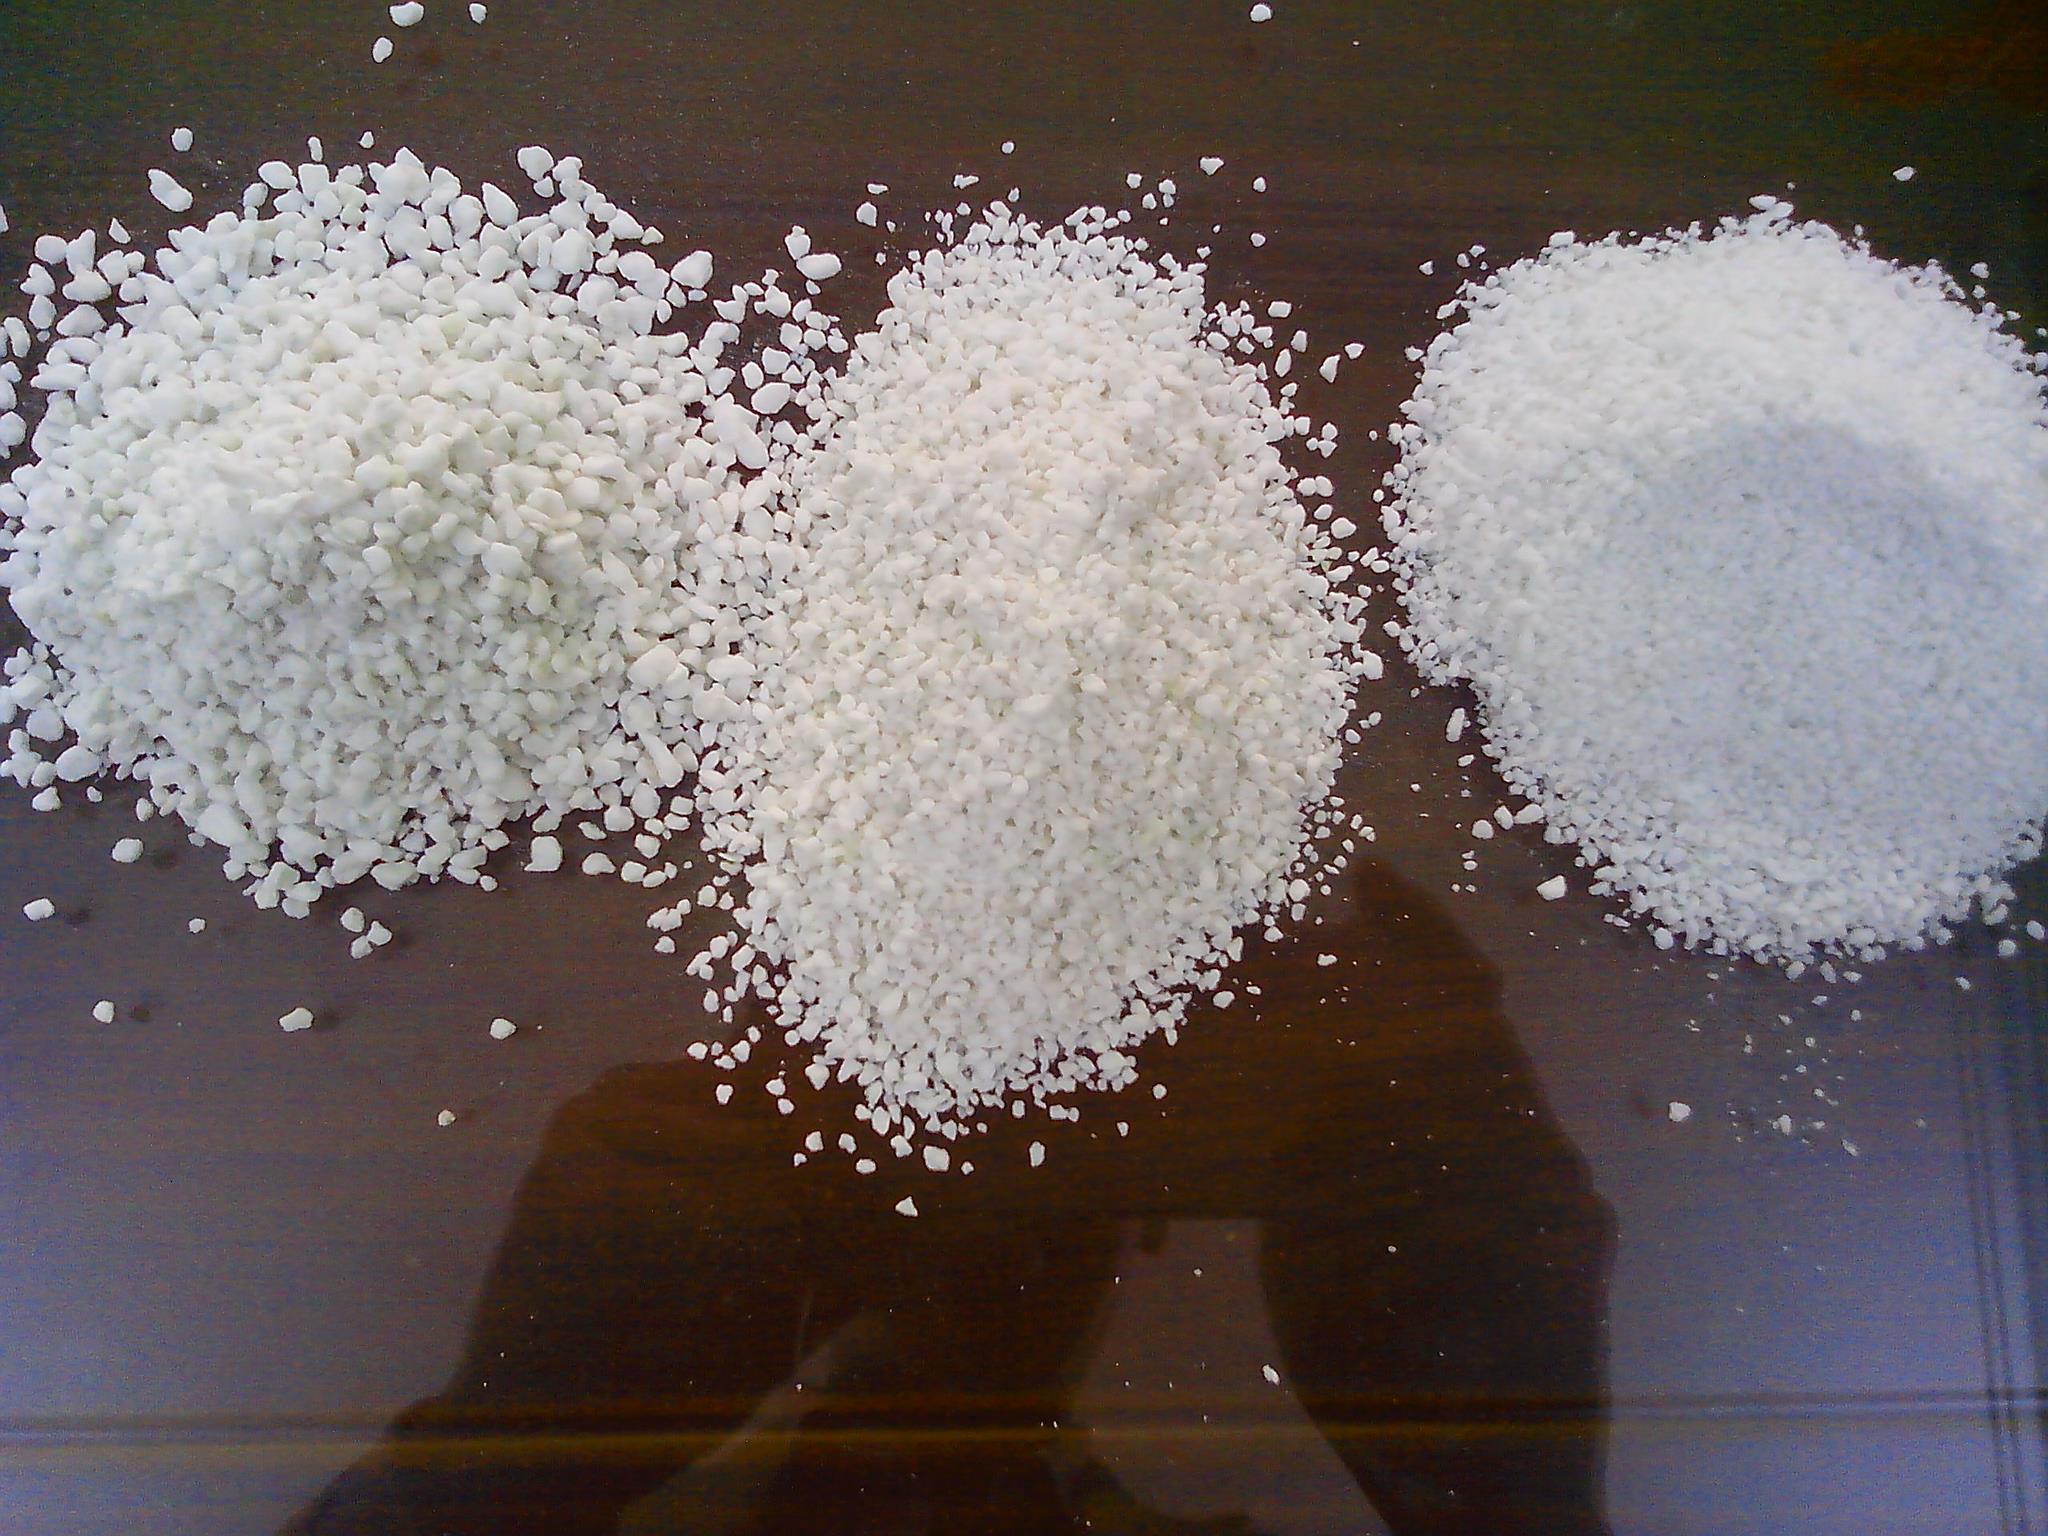
The need for proper drainage, a crucial aspect of successful gardening! Meet perlite, the lightweight and porous superhero that will save your plants from the woes of waterlogged roots and help them flourish with a healthy root system.
Picture this: heavy rains or overenthusiastic watering lead to soil saturation, suffocating the roots and causing them to drown. But fear not! Perlite comes to the rescue. This wonder material is made from volcanic glass, expanded through intense heat, resulting in tiny, air-filled particles. These airy pockets create the perfect escape route for excess water, ensuring it doesn’t linger around your plants’ roots.
Perlite’s lightness and porous structure work in tandem to create an optimal environment for your garden. When mixed into the soil, it lightens the load, preventing soil compaction, and allows air to circulate freely around the roots. Healthy roots require a good supply of oxygen, and perlite provides just that, promoting robust growth and nutrient uptake.
Besides drainage, perlite offers another unique benefit: temperature regulation. During scorching hot days, it shields the roots from extreme heat, acting as a protective blanket. Conversely, on chilly nights, it traps warmth in its airy crevices, offering a cozy refuge for the roots.
So, the next time you’re potting your plants or planning a garden bed, don’t forget the superhero called perlite. Its lightweight and porous nature ensure proper drainage and aeration, saving your plants from the perils of waterlogging. Your garden will thrive, and your plants will thank you for the gift of perlite, the ultimate water drainage and aeration champion!
Nurturing with Nutrients: Boosting Growth with Vermiculite
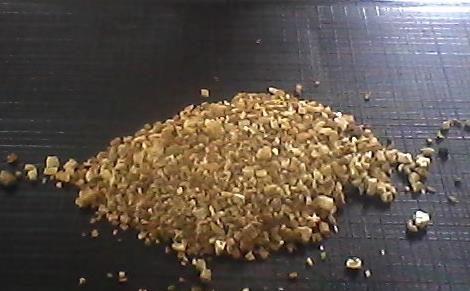
let’s talk about the magical mineral known as vermiculite, a nurturing powerhouse that boosts the growth of your tomato plants with its water-retaining prowess.
Imagine a material that can hold water like a sponge but still allows air to dance around the roots. That’s vermiculite for you! Its unique structure consists of countless tiny layers, like stacked sheets, creating airy spaces within its particles. When you mix vermiculite into your potting soil, it works wonders in maintaining just the right amount of moisture – neither too soggy nor bone dry.
Vermiculite plays a pivotal role in keeping your tomato plants happy and hydrated. During scorching summer days, it becomes their water reservoir, holding onto precious moisture and releasing it slowly as the soil dries out. This continuous hydration dance ensures your tomato plants never experience the dreaded wilting.
But that’s not all; vermiculite is also a nutrient wingman! As water moves through the soil, it carries essential nutrients along with it. With vermiculite’s help, these nutrients get evenly distributed to the thirsty roots, delivering the nourishment your tomato plants crave for healthy growth.
Moreover, vermiculite’s airy structure contributes to the ideal balance of water and air around the roots. While roots need water to survive, they also require oxygen to thrive. Vermiculite creates a well-aerated environment, preventing waterlogged soil and root suffocation.
Vermiculite’s nurturing powers extend beyond tomato plants; it’s beneficial for a variety of crops and flowers. Whether you’re growing herbs, peppers, or even delicate blooms, vermiculite will be there to strike the perfect balance between moisture retention and aeration.
So, if you’re looking for the ideal wingman to boost your tomato plants’ growth, look no further than vermiculite. With its water-retaining properties and aeration prowess, it ensures your tomatoes receive the perfect mix of moisture and nutrients. Your plants will thrive, and you’ll enjoy a bountiful harvest of flavorful, juicy tomatoes. Embrace the nurturing magic of vermiculite, and let your tomato garden flourish like never before!
Tomato Potting Mix: A DIY Recipe
It’s time to get your hands dirty and craft the perfect soil for your beloved tomato plants! With this DIY recipe, you’ll create the Best Homemade Potting Soil for Tomatoes, tailored to meet their specific needs. So, roll up your sleeves and let’s get started!
Ingredients You’ll Need:
- High-quality compost (2 parts): Compost is the heart and soul of your tomato soil. It’s the powerhouse of nutrients that will nourish your plants throughout their growth journey. You can make your own compost at home or purchase it from a trusted source.
- Perlite (1 part): Perlite is the secret ingredient for ensuring proper drainage and aeration in your soil. Its lightweight and porous nature prevent waterlogged roots and create an airy environment that your tomatoes will love.
- Vermiculite (1 part): Vermiculite is another key player in this soil recipe. With its water-retaining properties, it keeps the soil consistently moist, striking the perfect balance between hydration and aeration.
- Organic fertilizer or well-rotted manure (optional, for an extra boost): For those who want to take their tomato plants to the next level, organic fertilizer or well-rotted manure can provide that extra punch of nutrients. It’s like a vitamin boost for your tomatoes!
Step-by-Step Guide:
let’s dive deeper into the step-by-step guide for crafting your perfect tomato soil in a practical and hands-on way!
Step 1: Gather Your Materials
Before you begin, gather all the materials you’ll need for the DIY potting soil. Make sure you have high-quality compost, perlite, and vermiculite on hand. You can find these at your local garden center or order them online.
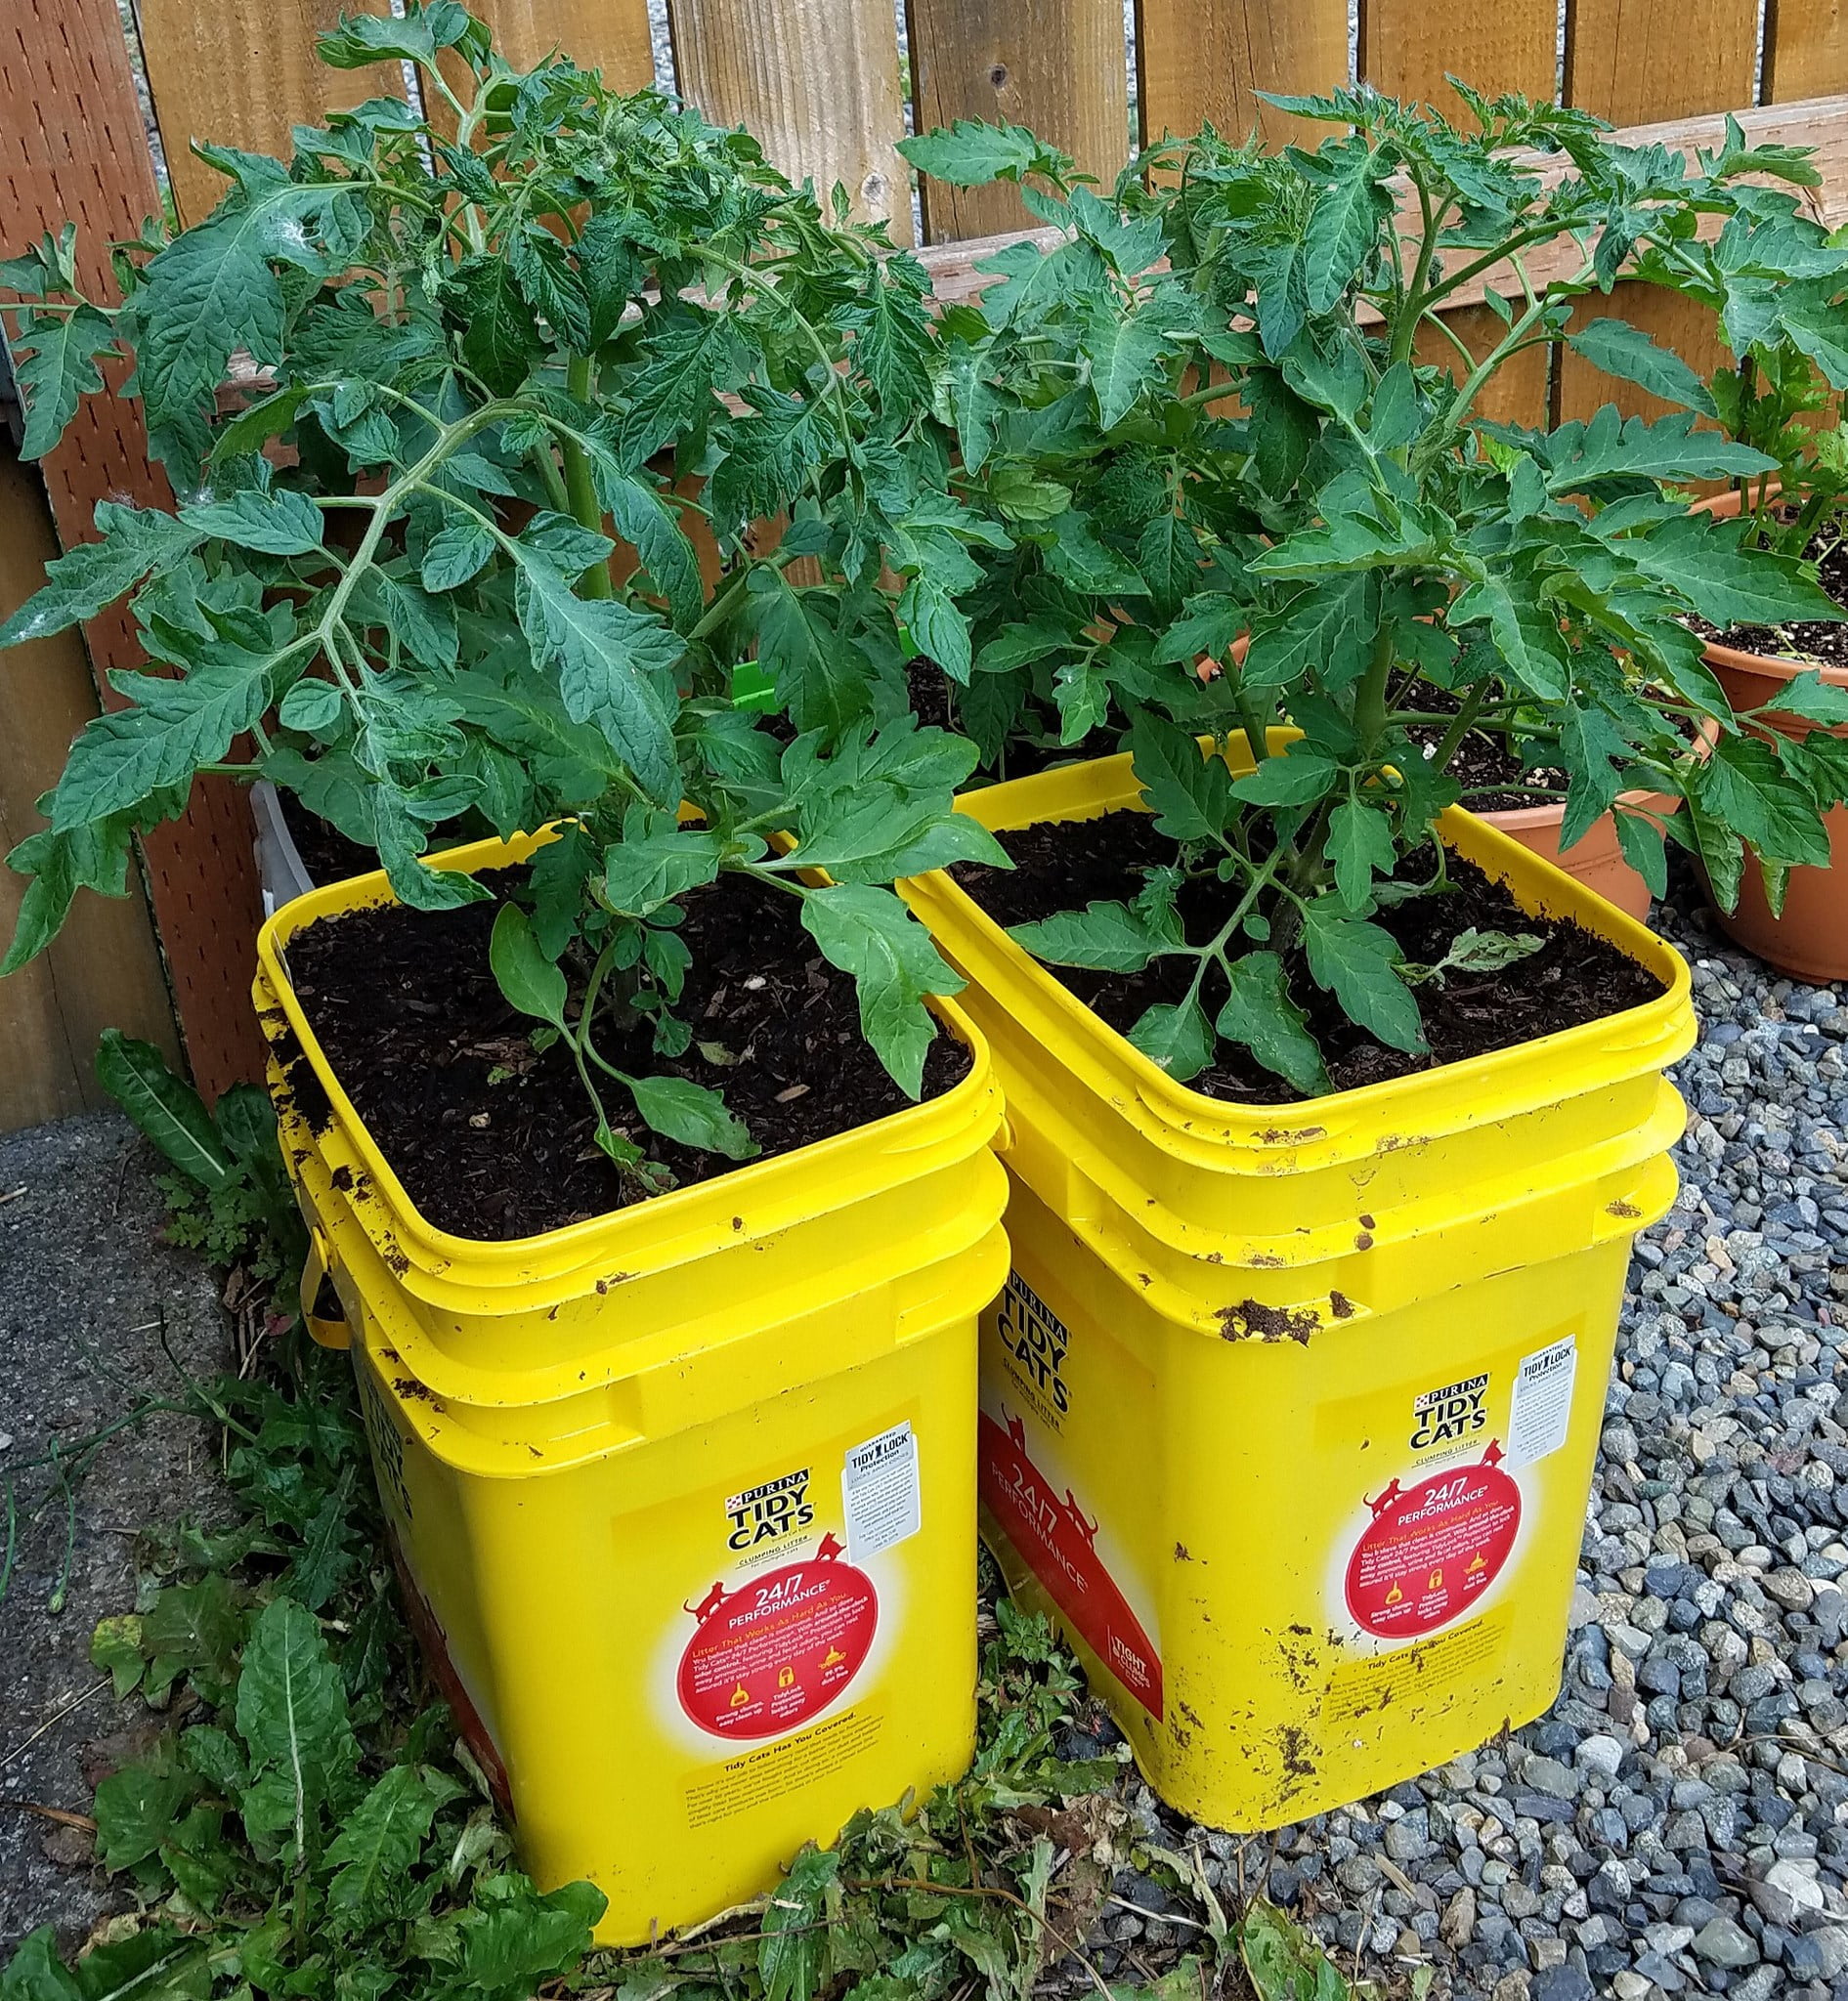
Step 2: Get the Right Container
Choose a large container to mix your ingredients. A sturdy bucket or a clean wheelbarrow works great for this purpose. Having enough space to maneuver and mix will make the process smoother.
Step 3: Measure the Ingredients
Now, it’s time to measure out the ingredients in the specified ratio. For a well-balanced soil mix, use 2 parts of high-quality compost, 1 part of perlite, and 1 part of vermiculite. For example, if you’re using a cup as your measurement unit, you’d use 2 cups of compost, 1 cup of perlite, and 1 cup of vermiculite.
Step 4: Mix Thoroughly
Using a shovel or a garden trowel, start mixing the ingredients in the container. Make sure to get to the bottom of the mix and ensure even distribution. Mixing thoroughly ensures that all the components blend together, creating a consistent and nutrient-rich soil blend.
Step 5: Optional: Add Organic Fertilizer or Manure
For an extra nutrient boost, you can incorporate organic fertilizer or well-rotted manure into the mix. This step is optional but highly recommended, as it provides your tomato plants with essential nutrients for healthy growth. Follow the recommended application rate for your chosen fertilizer or manure.
Step 6: Mix Some More!
After adding the organic fertilizer or manure, continue mixing until all the ingredients are well combined. You want a cohesive soil mix that’s ready to nurture your tomato plants. Take a moment to enjoy the earthy aroma and the satisfaction of creating something wonderful for your garden.
Step 7: Store and Label
Once your homemade potting soil is well-mixed, store it in a covered container or a sealed bag to retain its moisture and prevent any unwanted pests. Label the container with the date and the ingredients used, so you can keep track of your soil mixtures for future reference.
Storage and Care:
After putting your heart and soul into creating the Best Homemade Potting Soil for Tomatoes, it’s essential to store it properly to preserve its quality and ensure it’s ready to work its magic when the time comes. Proper storage and care will keep your soil blend in top-notch condition and protect it from potential contaminants.
Step 1: Choose the Right Container
Select a covered container or a sealed bag to store your homemade potting soil. A sturdy plastic or metal container with a tight-fitting lid is ideal. The container should be clean and free from any residues that could affect the soil’s purity.
Step 2: Ensure Moisture Retention
Moisture is crucial for the long-term viability of your potting soil. To retain its moisture, place a slightly damp cloth or paper towel at the bottom of the container before adding the soil mix. The moisture from the cloth will help create a microenvironment that prevents the soil from drying out.
Step 3: Label and Date
Label the container with the date of preparation and the ingredients used in the soil mix. This simple step will help you keep track of the freshness and composition of the soil, allowing you to use the oldest batches first and ensure your tomatoes receive the best care.
Step 4: Store in a Cool, Dry Place
Find a cool and dry spot to store your container of potting soil. Avoid exposing it to direct sunlight, as sunlight can accelerate the breakdown of organic matter in the mix. A garage, shed, or basement are excellent options for storage, as they typically offer stable temperatures and protection from the elements.
Step 5: Protect from Contamination
Keep your stored potting soil away from potential contaminants like pests, rodents, or chemicals. Make sure the storage area is clean and free from any potential sources of contamination that could compromise the quality of the soil.
Step 6: Regular Check-ups
As a responsible gardener, perform regular check-ups on your stored potting soil. Inspect for any signs of mold, unusual odors, or insect infestations. If you notice any issues, it’s best to discard the affected batch and prepare a fresh one.
By following these storage and care guidelines, you’ll ensure that your Best Homemade Potting Soil for Tomatoes remains in prime condition until it’s time to use it. When planting season arrives or you’re ready to transplant or repotting tomatoes, you can confidently rely on your well-preserved potting soil to provide the perfect environment for your plants to thrive.
Conclusion
Congratulations, dear gardeners, on unlocking the secret to cultivating the Best Homemade Potting Soil for Tomatoes! Armed with the knowledge of compost, perlite, and vermiculite, you can craft nutrient-rich soil tailor-made for your tomato plants’ needs. With love, care, and the right soil, you’re well on your way to a garden brimming with flavorful, juicy tomatoes. So, roll up your sleeves, dig your hands into the soil, and let the magic of homemade potting soil lead you to a harvest that will make your taste buds sing!