Repotting mature tomato plants is a crucial step in ensuring their overall health and maximizing their yield. It involves transferring the plants to larger containers or pots, providing them with ample space for root growth and nutrient uptake. This process offers numerous benefits that contribute to the plant’s vitality and productivity.
By repotting, the roots of mature tomato plants receive a fresh and spacious environment, promoting improved root health. This allows the roots to expand and develop more efficiently, leading to better nutrient absorption and water retention. As a result, the plant becomes more resilient, better able to withstand environmental stresses, and less susceptible to diseases.
In addition to enhancing root health, repotting also facilitates increased yield. With more room for root expansion, the plant can establish a stronger foundation, which directly translates into improved growth and productivity. The larger container accommodates a more extensive root system, enabling the plant to absorb nutrients and water more effectively. Consequently, the tomato plant thrives, producing a higher quantity of healthy fruits.
Throughout this comprehensive guide, we will explore the various aspects of repotting mature tomato plants. We will discuss the signs that indicate the need for repotting, the ideal timing, and container selection. We will delve into the step-by-step process of repotting, including preparation, root care, and plant positioning. Additionally, we will provide essential tips on caring for repotted tomato plants, overcoming challenges, and monitoring their progress.
By the end of this guide, you will have a deep understanding of the importance of repotting mature tomato plants and the numerous benefits it offers. Armed with practical knowledge and expert advice, you will be ready to embark on the journey of reviving your tomato plants and enjoying a bountiful harvest. Let’s dive in!
Table of Contents
I. Understanding the Need for Repotting Mature Tomato Plants
Mature tomato plants require repotting due to their natural growth and development. As the plants mature, their roots continue to grow and spread, necessitating a larger space for optimal growth. Repotting provides the necessary room for the expanding root system, allowing the plant to access more nutrients and water.
A. Signs that Indicate the Need for Repotting
- Root-bound plants: When the roots become tightly packed and start circling around the container, it indicates that the plant has outgrown its current pot. This restricts root growth and hampers nutrient absorption.
- Stunted growth: If the tomato plant’s growth has slowed down or become stagnant, despite appropriate care and maintenance, it may be a sign that the roots are congested and need more space to expand.
- Wilting leaves: When the leaves of the tomato plant wilt even after watering, it can be an indication that the roots are not able to absorb sufficient water due to overcrowding.
B. Repotting vs. Transplanting: Understanding the Difference
- Repotting: Repotting involves transferring the plant to a larger container while keeping the plant and its root system intact. It focuses on providing more space for root growth without disturbing the overall structure of the plant. Repotting is typically done when the plant is in its growth stage.
- Transplanting: Transplanting, on the other hand, involves moving the entire plant, including its root ball, to a new location or soil. It is often done when the plant is relatively young and has not yet established an extensive root system. Transplanting allows the plant to adapt to a new environment or improve its growing conditions.
C. Benefits of Repotting
- Improved root health: Repotting allows the roots to spread out and establish a stronger network. This promotes better nutrient absorption, water uptake, and overall root health. It prevents root congestion and enhances the plant’s ability to access essential resources.
- Increased yield: With more space for root growth, the tomato plant can develop a larger and more robust root system. This directly translates into increased nutrient uptake, leading to healthier and more productive plants. A stronger root system supports the plant’s overall growth and results in higher yields of flavorful tomatoes.
- Disease prevention: Repotting helps prevent the onset of diseases and pests associated with overcrowded root systems. By providing adequate space and airflow, repotting minimizes the risk of root rot, fungal infections, and other detrimental conditions. Healthy roots contribute to a stronger and more resilient plant that can resist diseases more effectively.
In the next section, we will explore the ideal timing for repotting tomato plants and the selection of the right container to ensure successful repotting.
II. Selecting the Right Time and Container

To ensure successful repotting of tomato plants, it’s crucial to consider the ideal timing and select the appropriate container that suits the plant’s needs. This section will guide you through these important factors.
A. Ideal Timing for Repotting
- Growth stage: The best time to repot tomato plants is when they are in the early to mid-growth stage. Avoid repotting during the flowering or fruiting stage, as it can cause stress to the plant and affect its productivity.
- Climate: In colder climates, it’s advisable to repot tomato plants indoors before the last frost date. This allows them to establish roots in a controlled environment before being transplanted outdoors. In warmer climates, repotting can be done directly outdoors, ensuring the plants are well-established before the heat intensifies.
B. Choosing the Appropriate Container
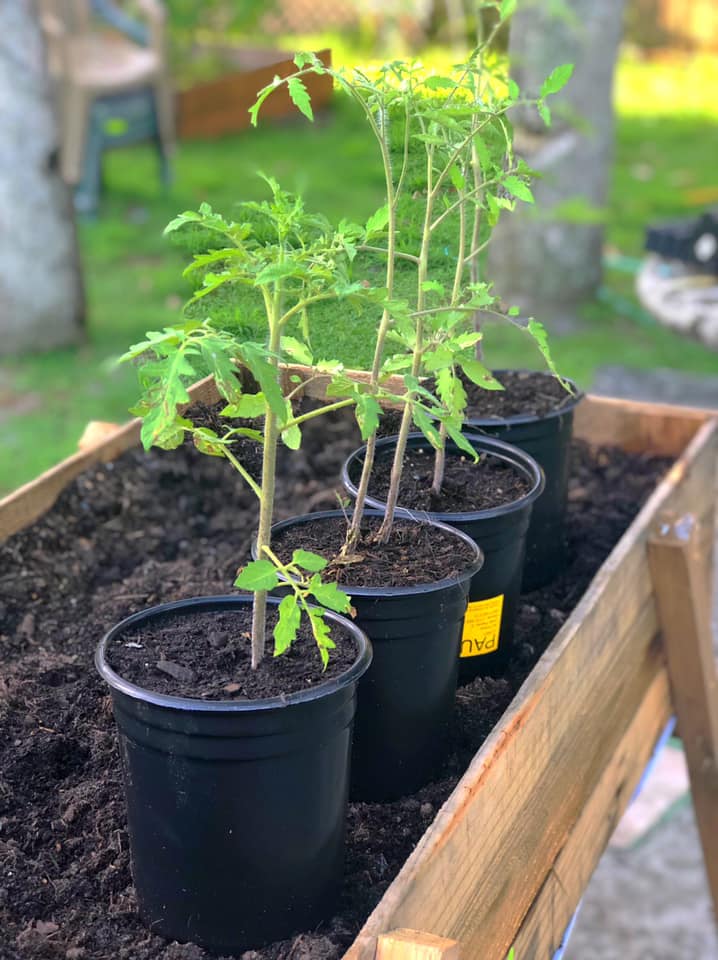
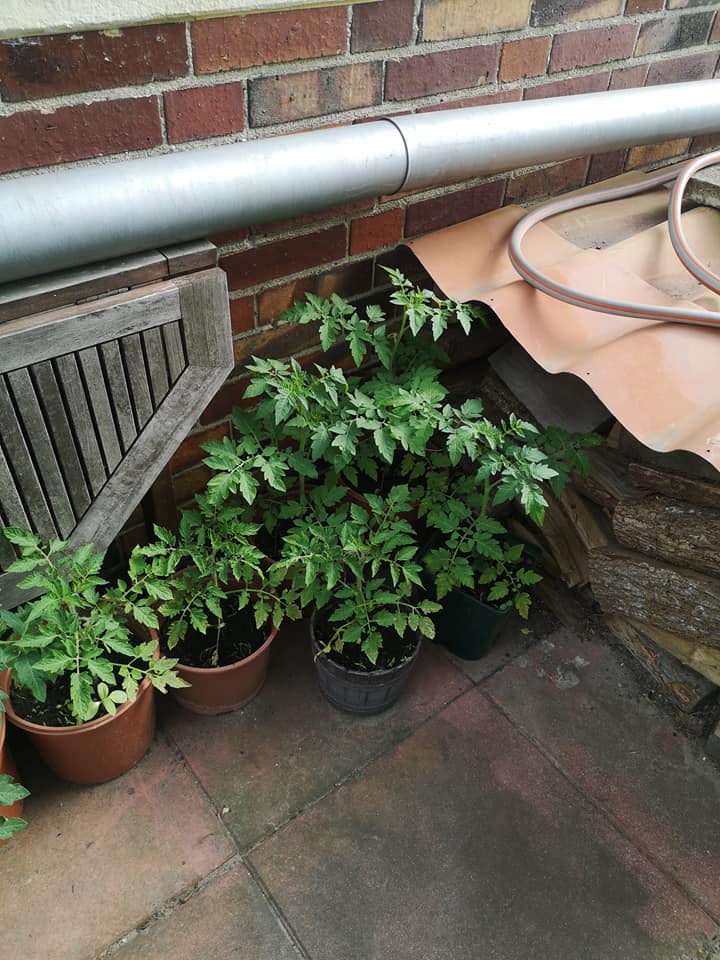
- Container size: Select a container that provides ample space for the tomato plant’s root system to grow. A general guideline is to choose a container with a depth and width of at least 12-18 inches (30-45 cm). This allows for proper root expansion and ensures stability for larger plants.
- Container type: Several options are available for repotting tomato plants, including pots, grow bags, or containers with self-watering systems. Consider factors such as portability, drainage, and durability when selecting the container type that best suits your needs.
C. Overview of Potting Mixes
- Soil-based mix: This type of potting mix includes garden soil blended with organic matter, such as compost or well-rotted manure. Soil-based mixes provide good structure, nutrient retention, and microbial activity. However, they can be heavy and may require additional amendments.
- Soilless mix: These mixes, commonly known as potting mixes or seed-starting mixes, are lightweight and provide excellent drainage. They are typically composed of materials like peat moss, vermiculite, perlite, and organic matter. Soilless mixes offer good aeration, moisture retention, and are less prone to diseases and pests.
- Customized mixes: Some gardeners prefer creating their own custom potting mixes by blending various components. These can include combinations of compost, coconut coir, perlite, vermiculite, or other organic amendments. Customized mixes allow for specific adjustments based on individual preferences and the needs of tomato plants.
- Considerations: Regardless of the potting mix chosen, ensure it is well-draining, loose, and fertile. It should provide adequate aeration and moisture retention while allowing excess water to drain. Additionally, using sterile or pasteurized mixes helps prevent the introduction of diseases and pests.
Selecting the right time for repotting, choosing an appropriate container, and using a suitable potting mix, you set the foundation for successful repotting. In the following section, we will explore the step-by-step process of preparing tomato plants for repotting.
III. Preparing for Repotting
Before repotting your mature tomato plants, it’s important to properly prepare them to ensure a smooth transition and minimize stress. This section provides a step-by-step guide on how to prepare tomato plants for repotting, including watering, pruning, and safely removing them from their current container.
A. Step-by-Step Guide for Preparing Tomato Plants
- Watering: Water the tomato plant thoroughly a day or two before repotting. This ensures that the soil is moist and the roots are adequately hydrated, making it easier to remove the plant from its current container without causing excessive root disturbance.
- Pruning: Trim any large or damaged leaves, as well as suckers (side shoots) that may divert energy from the main stem. This helps reduce stress during repotting and encourages the plant to allocate energy towards root growth and establishment.
- Loosening the soil: Gently loosen the soil around the edges of the current container using a hand trowel or fork. This will help break up any compacted soil and facilitate the removal of the plant without causing root damage.
- Preparing the new container: Ensure the new container is clean and has proper drainage holes. If it’s a larger container, partially fill it with fresh potting mix, leaving enough space for the root ball of the tomato plant to fit comfortably.
B. Proper Watering Techniques
- Adequate hydration: Water the tomato plant thoroughly the day before repotting, allowing the water to reach deep into the root zone. This helps ensure the roots are well-hydrated and prepared for the repotting process.
- Avoid overwatering: While it’s important to water the plant before repotting, avoid excessive watering that may result in waterlogged soil. Overly wet soil can make it difficult to remove the plant from its current container and can increase the risk of root damage.
C. Safely Removing the Tomato Plant from its Current Container
- Tapping and loosening: Gently tap the sides and bottom of the current container to loosen the root ball. This helps the plant slide out more easily without causing excessive damage to the roots.
- Supporting the stem: Hold the tomato plant near its base or stem while carefully tilting the container upside down. Support the root ball with your other hand to prevent it from falling apart or breaking.
- Tapping and teasing roots: If the roots appear to be tightly bound or circling around the root ball, gently tap and tease them apart with your fingers. This encourages root growth in a more outward direction and prevents future root-bound issues.
Kindly note to handle the tomato plant with care during the preparation stage to minimize any stress or damage. Once the tomato plant is successfully removed from its current container, it’s ready to be repotted into its new, spacious home. In the next section, we will guide you through the step-by-step process of repotting the tomato plant, ensuring a smooth transition for its roots.
IV. Repotting Process
Repotting tomato plants is a crucial step in ensuring their continued growth and vitality. This section provides detailed instructions on the repotting process, including loosening and trimming the roots, positioning the plant in the new container, and filling it with the appropriate potting mix.
A. Step-by-Step Guide to Repotting Tomato Plants
Loosening the root ball:
- Gently loosen the outer layer of the root ball using your fingers or a small tool. This helps stimulate new root growth and prevents the roots from becoming tightly bound.
- Carefully untangle any circling or twisted roots to encourage them to spread outwards.
Trimming the roots:
- If the roots are excessively long or damaged, consider trimming them slightly. Trim any broken or diseased roots using clean, sharp pruners or scissors.
- Make clean cuts to avoid damaging the healthy roots, and ensure the overall root structure remains intact.
Positioning the plant in the new container:
- Place the tomato plant in the center of the new container, ensuring it is positioned at the same depth as it was in the previous container. The crown of the plant, where the stem meets the roots, should be slightly above the soil level.
- Adjust the plant’s position, ensuring it is upright and well-supported. Avoid burying the stem too deeply, as it can lead to stem rot and other issues.
Filling the container with potting mix:
- Start filling the container with potting mix around the root ball, gently pressing it down to eliminate air pockets. Add the mix gradually, ensuring it reaches all the gaps between the roots.
- Fill the container up to a couple of inches below the rim to leave room for watering.
B. Choosing the Right Potting Mix
- Well-draining mix: Select a potting mix that provides good drainage, as waterlogged soil can lead to root rot. A mix with a combination of organic matter, such as compost or coconut coir, and materials like perlite or vermiculite ensures adequate drainage.
- Nutrient-rich mix: Use a potting mix that is enriched with nutrients to support the growth of tomato plants. Look for mixes that contain organic fertilizers or slow-release nutrients to provide a steady supply of essential elements.
- pH-balanced mix: Consider using a potting mix with a slightly acidic to neutral pH range (around 6.0-7.0) to meet the specific needs of tomato plants. This ensures optimal nutrient uptake and overall plant health.
C. Watering after Repotting
- Watering thoroughly: After repotting, water the plant thoroughly to help settle the potting mix and eliminate any air pockets. Water until it drains freely from the bottom of the container.
- Avoid overwatering: While it’s important to keep the soil moist, avoid overwatering, as it can lead to root diseases and stress. Allow the top inch or so of the potting mix to dry out slightly before watering again.
By following these step-by-step instructions, you can successfully repot your tomato plants, providing them with a conducive environment for growth and development. In the next section, we will discuss essential care tips to support your repotted tomato plants and ensure their ongoing health and productivity.
V. Caring for Repotted Tomato Plants
Once you have repotted your tomato plants, it’s essential to provide them with proper care to help them adjust to their new environment and thrive. This section focuses on important aspects of caring for repotted tomato plants, including watering guidelines, sunlight requirements, and fertilization for healthy growth.
A. Watering Guidelines and Frequency
- Initial watering: After repotting, thoroughly water the tomato plant to settle the potting mix and ensure good root-to-soil contact. Ensure water is poured into the container until the point where water starts to drain from its base.
- Monitoring soil moisture: Regularly check the moisture level of the potting mix. Place your finger approximately one inch into the soil. If you perceive dryness at that depth, it indicates the need to provide water to the plant.
- Watering frequency: Water the tomato plant deeply whenever the top inch of the potting mix feels dry. Avoid letting the plant experience long periods of dryness.
- Drainage: Ensure that the container has proper drainage holes to prevent waterlogging. Excess water should be able to freely drain out of the container.
B. Sunlight Requirements and Acclimation
- Sunlight exposure: Tomato plants require ample sunlight to grow and produce fruit. Place the repotted tomato plant in a location that receives at least 6-8 hours of direct sunlight per day. South-facing windowsills or outdoor spots with full sun exposure are ideal.
- Acclimation period: If you are moving the tomato plant from indoors to outdoors or changing its sun exposure significantly, introduce it gradually to avoid sunburn or shock. Begin by positioning it in an area with partial shade, and gradually expose it to full sunlight over a span of several days.
- Protection from extreme heat: During scorching hot days, provide some shade to protect the tomato plant from excessive heat. You can use shade cloth, row covers, or strategically position the plant to receive partial shade during the hottest parts of the day.
C. Fertilization and Nutrient Supplementation
- Organic matter: Prior to repotting, enrich the potting mix with organic matter such as compost or well-rotted manure. This provides a slow-release source of nutrients for the tomato plant.
- Fertilizer application: Once the plant starts showing signs of new growth, typically a few weeks after repotting, begin regular fertilization. Use a balanced, water-soluble fertilizer formulated specifically for tomato plants. Follow the instructions on the product for proper application and frequency.
- Nutrient deficiencies: Monitor the tomato plant for any signs of nutrient deficiencies, such as yellowing leaves or stunted growth. If deficiencies occur, consider supplementing with targeted nutrients, such as a calcium or magnesium supplement, to address the specific deficiency.
- Avoid over-fertilization: Be cautious not to over-fertilize the tomato plant, as excessive nutrients can lead to imbalances, leaf burn, or negatively affect fruit production. Follow the recommended dosage and frequency on the fertilizer packaging.
VI. Overcoming Common Challenges
Repotting mature tomato plants can sometimes pose challenges that need to be addressed for successful plant establishment. This section focuses on overcoming common challenges associated with repotting, including transplant shock, root damage, and the prevention and treatment of pests and diseases.
A. Addressing Transplant Shock and Minimizing Stress
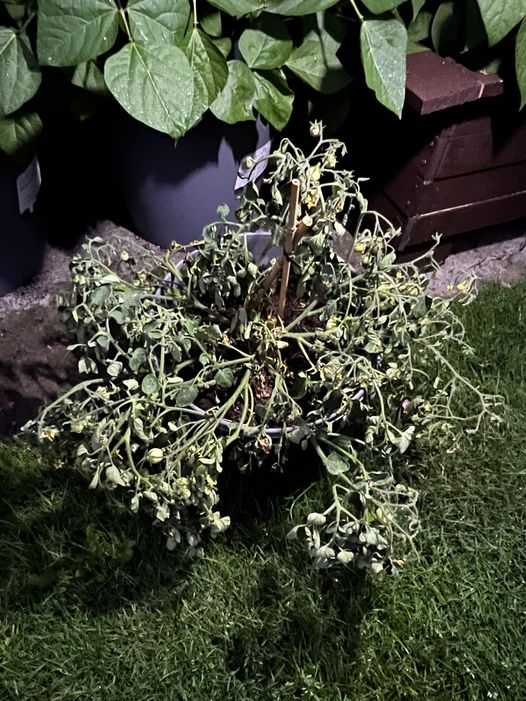
Transplant shock: Transplant shock is a common challenge that tomato plants may experience after repotting. It can manifest as wilting, leaf drop, or stunted growth. To minimize transplant shock:
- Exercise caution when handling the plant while repotting to prevent any harm to its roots.
- Ensure the plant is adequately watered before and after repotting.
- Provide a shaded area or partial sun exposure for a few days after repotting to reduce stress.
Gradual acclimation: Introduce the repotted tomato plant gradually to its new environment by slowly increasing its exposure to direct sunlight or outdoor conditions over a few days. This helps the plant adjust and reduces the risk of shock.
B. Dealing with Root Damage and Promoting Regeneration
Preventing root damage: Take care to avoid excessive root damage during the repotting process. Be gentle when loosening the root ball and untangling roots to prevent unnecessary trauma.
Promoting root regeneration:
- Provide adequate watering and moisture for the plant to support root regeneration.
- Use a root-stimulating fertilizer or transplant solution to encourage root growth and development.
- Avoid overwatering, as it can lead to root rot and hinder root regeneration.
C. Identifying and Treating Pests and Diseases
Pest prevention:
- Regularly inspect the repotted tomato plant for common pests such as aphids, spider mites, or whiteflies.
- Implement preventive measures such as using insecticidal soap, neem oil, or introducing beneficial insects like ladybugs or lacewings to control pest populations.
Disease prevention:
- Ensure good air circulation around the repotted tomato plant to prevent fungal diseases.
- Refrain from watering from above, as it can facilitate the transmission of diseases.
- Practice proper sanitation, including cleaning tools and removing any diseased plant material.
Early detection and treatment:
- Monitor the plant for any signs of pests or diseases, including yellowing leaves, spots, or wilting.
- If a problem is detected, identify the specific pest or disease and apply appropriate treatments, such as organic or chemical insecticides or fungicides.
VII. Pruning and Training Techniques
Pruning and training are crucial practices for repotted tomato plants. This section highlights the significance of pruning, methods for training the plant, and determining the ideal time for staking or trellising.
A. The Significance of Pruning for Repotted Tomato Plants
- Enhanced airflow and sunlight exposure: Pruning promotes better airflow around the plant, reducing the risk of fungal diseases. It also allows sunlight to reach all parts of the plant, facilitating photosynthesis and overall plant health.
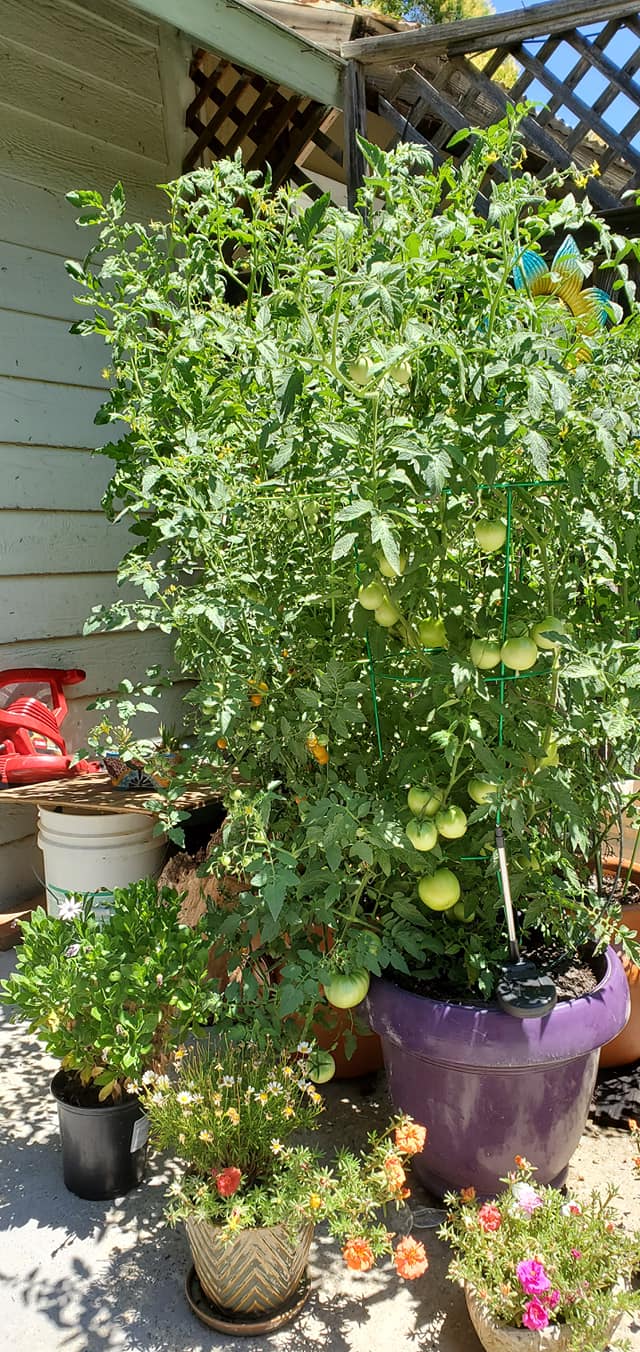
- Increased fruit production: Removing excessive foliage and side shoots directs the plant’s energy towards fruit development, resulting in larger, healthier tomatoes.
- Disease prevention and easy maintenance: Pruning eliminates dense foliage, reducing the likelihood of pest infestations and diseases. It also simplifies maintenance tasks such as watering, inspecting, and harvesting.
B. Training the Tomato Plant for Optimal Growth and Support
- Determinate vs. indeterminate varieties: Understand the growth habit of your tomato plant. Determinate varieties grow to a predetermined size and require minimal pruning and support, while indeterminate varieties continue to grow and benefit from more extensive training.
- Supporting the main stem: Secure the main stem to a stake or trellis as the plant grows. Use soft ties or twine to gently fasten the stem, providing support and preventing breakage.
- Removing side shoots: Regularly prune side shoots, also known as suckers, that emerge from the leaf axils. Pinch or cut them off when they are small to maintain a single main stem or desired branching structure.
- Selective pruning: Trim any damaged, diseased, or non-productive branches to maintain plant health and improve airflow. Focus on removing lower branches to minimize contact with the soil and reduce the risk of soil-borne diseases.
C. Determining the Right Time to Stake or Trellis the Plant
- Timing considerations: Stake or trellis the tomato plant once it has established a strong root system and developed a few sets of true leaves. This is typically when the plant reaches a height of 6 to 12 inches, depending on the variety.
- Trellising methods: Install a trellis system or use a tomato cage designed to support the plant. Guide the branches through the trellis or cage openings as the plant grows, ensuring they are properly supported and trained.
- Staking techniques: Insert a stake into the ground near the base of the plant and gently tie the main stem to the stake using plant ties or soft twine. Adjust the tie as the plant grows, providing continuous support.
Proper pruning and training of repotted tomato plants facilitate better growth, increase productivity, and ensure efficient use of garden space.
VIII. Repotting Specific Tomato Varieties
When it comes to repotting tomato plants, different varieties may have specific considerations and unique needs. This section focuses on repotting determinate and indeterminate tomato plants, addressing the requirements of heirloom and hybrid varieties, and providing special care tips for popular tomato types like cherry tomatoes and beefsteak tomatoes.
A. Repotting Determinate vs. Indeterminate Tomato Plants
Determinate tomato plants:
- Repotting considerations: Determinate varieties have a compact growth habit and typically reach a predetermined size. They require less pruning and support compared to indeterminate varieties.
- Container size: Choose an appropriate container size that accommodates the root system and provides sufficient space for growth without excessive room.
- Staking or trellising: While determinate tomatoes may not require extensive support, you can still use a short stake or small cage to provide some stability.
Indeterminate tomato plants:
- Repotting considerations: Indeterminate varieties continue to grow throughout the season, producing an abundance of fruit. They benefit from regular pruning and strong support.
- Container size: Select a larger container to accommodate the vigorous growth and extensive root system of indeterminate plants.
- Staking or trellising: Use a sturdy stake or trellis system to support the vertical growth of indeterminate tomatoes. Regularly tie or weave the branches to maintain an upright structure.
B. Heirloom and Hybrid Tomato Varieties
Heirloom tomatoes:
- Repotting considerations: Heirloom varieties are open-pollinated and known for their unique flavors and characteristics. They may require slightly different care compared to hybrid varieties.
- Soil and nutrients: Provide well-draining soil rich in organic matter to support the nutrient requirements of heirloom tomatoes.
- Disease resistance: Some heirloom varieties may be more susceptible to diseases. Take preventive measures such as proper spacing, good airflow, and disease-resistant companion plants.
Hybrid tomatoes:
- Repotting considerations: Hybrid varieties are bred for specific traits, such as disease resistance, high yield, or uniformity. They may have similar repotting requirements to other tomato varieties.
- Genetic traits: Hybrid tomatoes often possess enhanced disease resistance or other desirable characteristics. Follow recommended care guidelines to maintain their genetic traits.
C. Special Care Tips for Popular Tomato Varieties
Cherry tomatoes:
- Container selection: Choose a larger container to accommodate the vigorous growth habit of cherry tomato plants.
- Pruning and support: Prune selectively to maintain airflow and remove excessive foliage. Use stakes or small cages to support the branches laden with cherry tomatoes.
Beefsteak tomatoes:
- Container size: Opt for a large, deep container to provide ample space for the extensive root system of beefsteak tomato plants.
- Heavy fruit support: Due to their large fruit size, beefsteak tomatoes may require additional support, such as using heavy-duty cages or tying individual fruit-bearing branches to the trellis or stake.
Remember to research specific care requirements for the tomato varieties you are repotting. Understanding the needs of determinate and indeterminate plants, considering heirloom and hybrid characteristics, and providing specialized care for popular tomato types will contribute to successful repotting and a bountiful harvest.
FAQs (Frequently Asked Questions)
How often should I repot my mature tomato plants?
The frequency of repotting mature tomato plants depends on the variety, but as a general guideline, determinate plants may need repotting once during the season, while indeterminate plants may require repotting every 4-6 weeks.
Can I repot tomato plants during their fruiting stage?
It is generally not recommended to repot tomato plants during their fruiting stage as it can cause stress and potentially disrupt fruit production.
Is it better to repot in a larger container or gradually increase the pot size?
It is generally better to repot tomato plants into a larger container rather than gradually increasing the pot size, as it allows for better root development and prevents the plant from becoming root-bound.
Can I reuse the same potting mix for multiple repottings?
Reusing the same potting mix for multiple repottings is possible but may require amending the mix with fresh compost or fertilizer to replenish nutrients and improve its quality.
What should I do if my tomato plant experiences transplant shock?
If your tomato plant experiences transplant shock, provide it with adequate water, protect it from direct sunlight, and avoid over-fertilizing. Give it some time to recover and continue to care for it with proper watering and maintenance.
What is the best way to support tomato plants after repotting?
The best way to support tomato plants after repotting is by using stakes, cages, or trellises to provide stability and prevent sprawling growth.
How long does it take for repotted tomato plants to adjust and show signs of growth?
The adjustment period for repotted tomato plants can vary, but typically it takes around 1-2 weeks for them to acclimate to their new environment and show signs of growth, such as new leaf development and increased vigor.