Container gardening is a fantastic way to bring life and beauty to any space, no matter how limited it may be. Whether you have a small balcony, a tiny backyard, or even just a sunny windowsill, you can create a stunning garden filled with vibrant plants. In this article, we’ll explore 10 expert container gardening tips and tricks that will help you achieve stunning results. Get ready to transform your space into a lush oasis bursting with color and greenery!
Table of Contents
10 Expert Container Gardening Tips and Tricks For Stunning Results
Tip 1: Choose the Right Containers
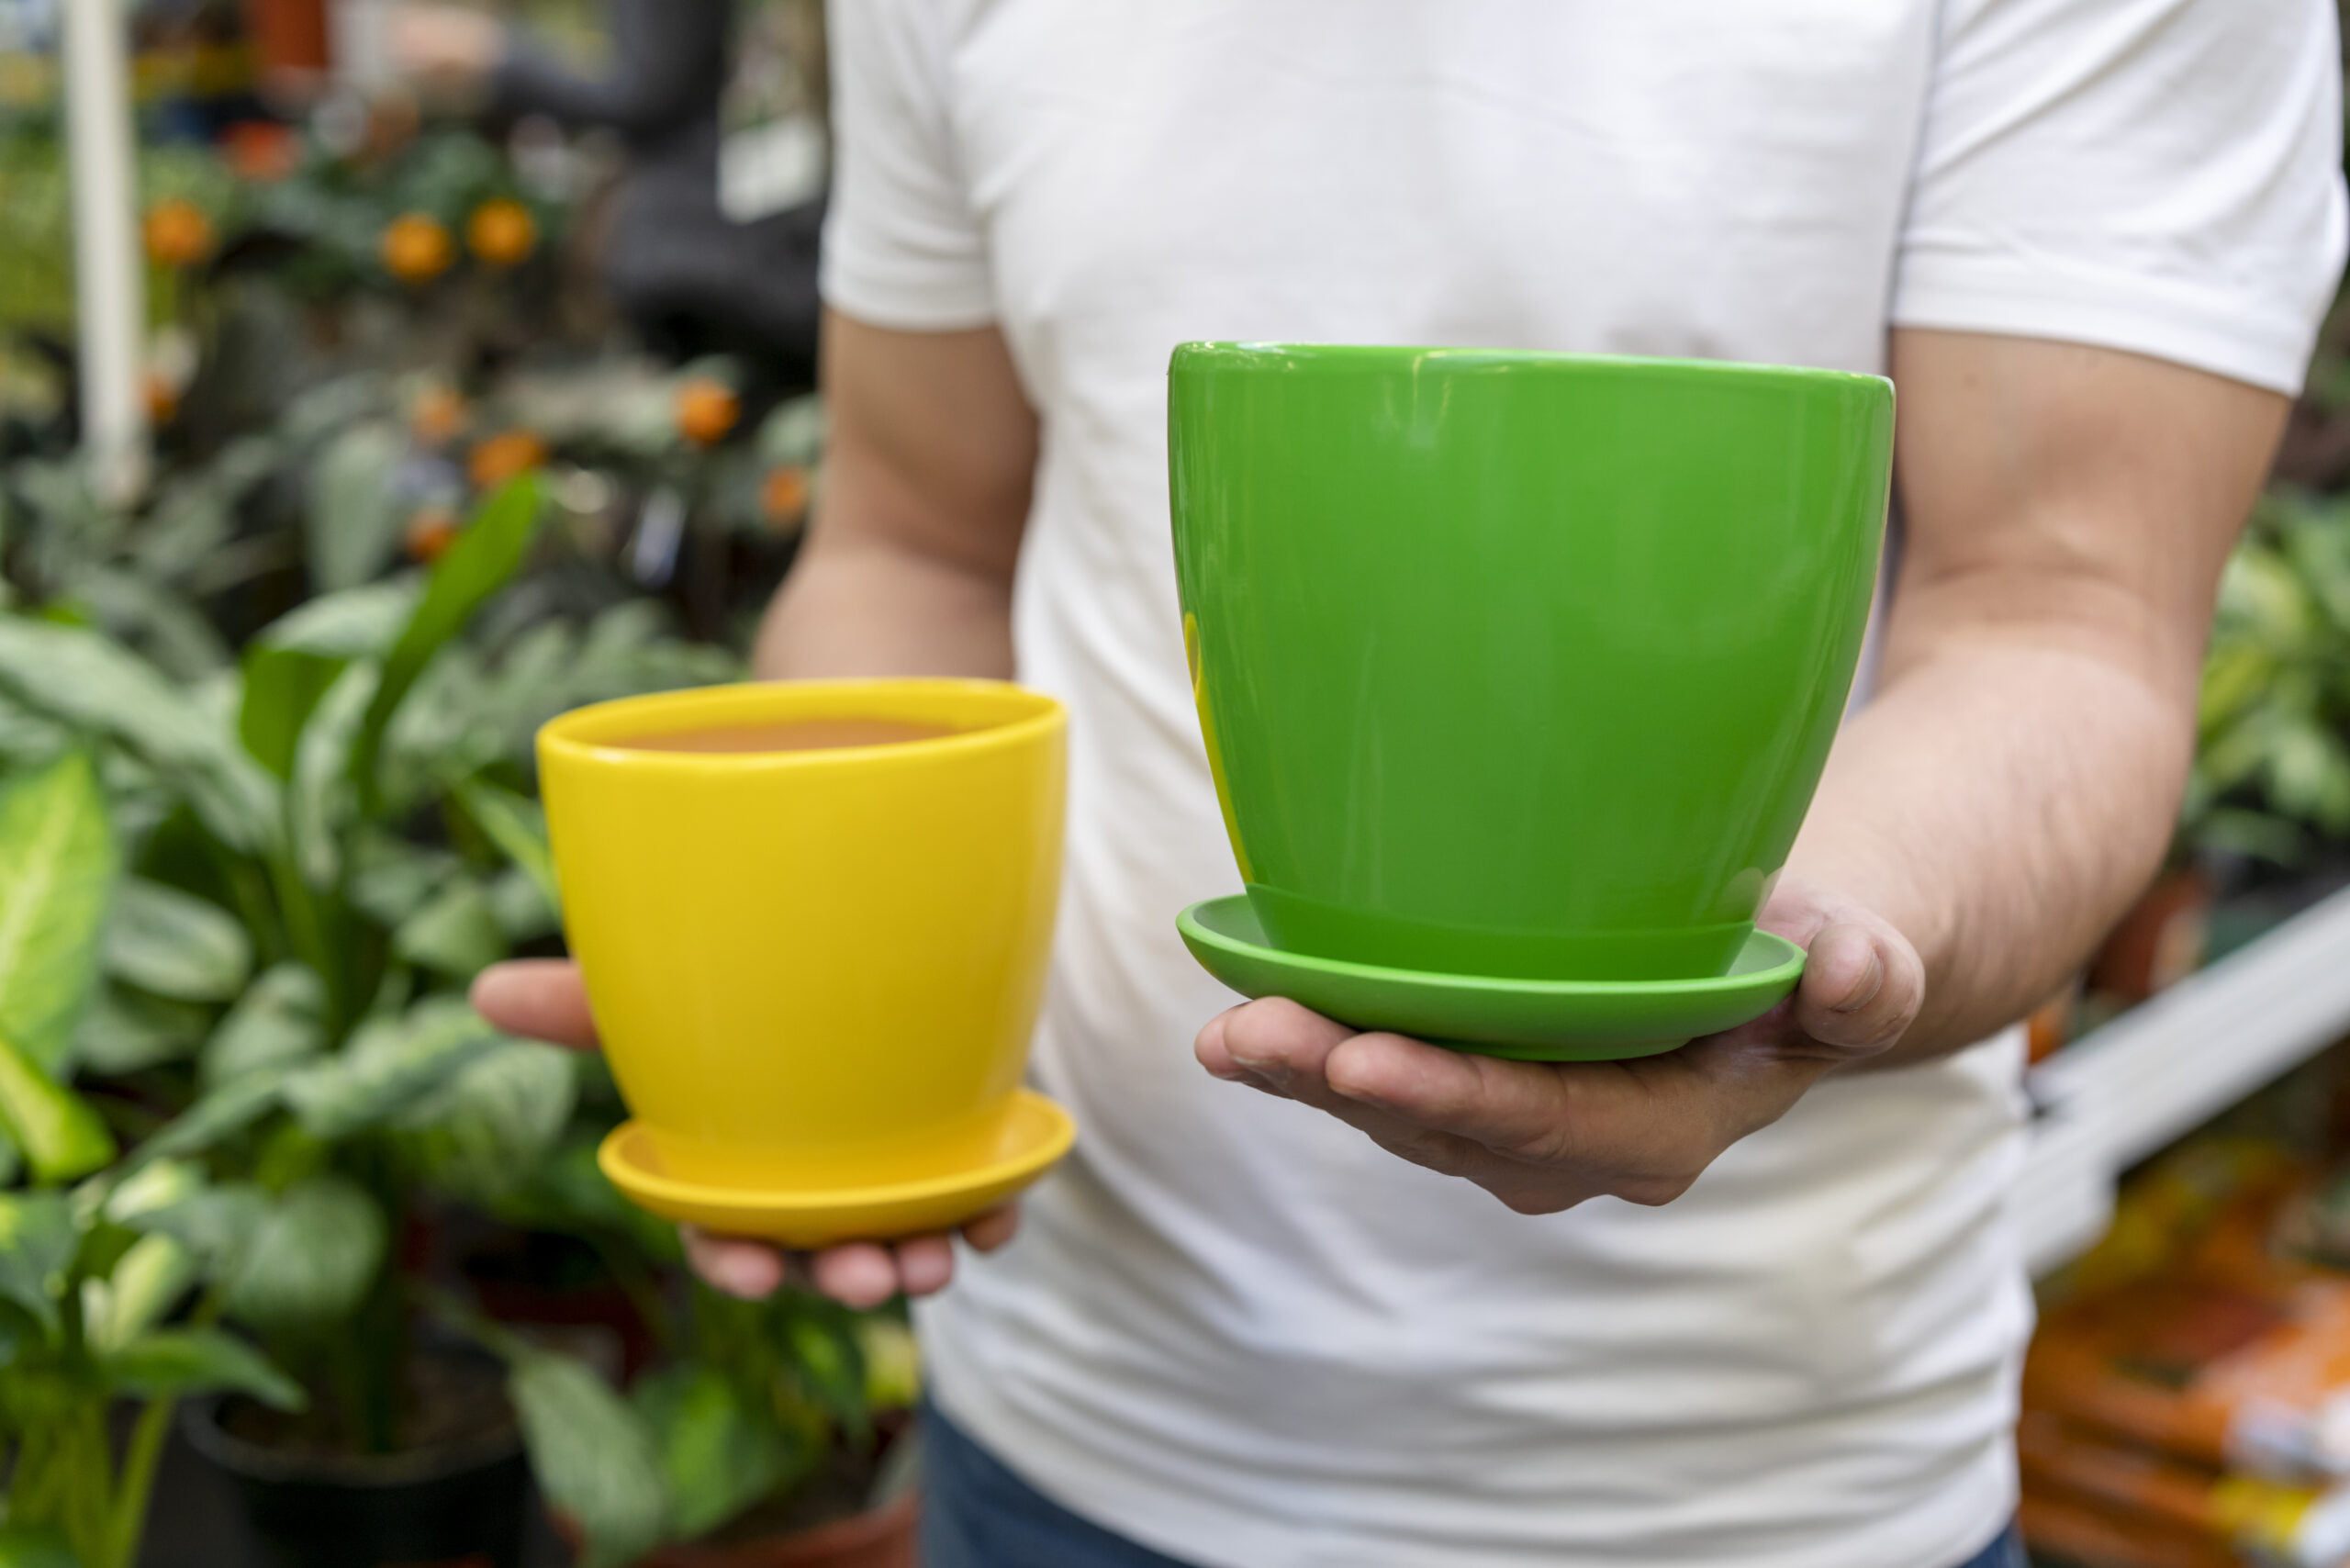
Choosing the right containers for your container garden is crucial for the overall health and success of your plants. Consider the following factors when selecting containers: size, material, and style. Each of these factors plays a role in providing an optimal environment for your plants’ root systems and growth habits.
- Size:
Take into account the mature size of the plants you intend to grow. Some plants require more space for their root systems to spread out, while others can thrive in smaller containers. Larger containers offer more soil volume and moisture retention, which can benefit plants that have a higher water requirement or those that need extra stability. Smaller containers are suitable for compact plants or those that prefer a more confined root space.
2. Material:
Containers are available in various materials, each with its own advantages and considerations.
Here are some commonly used materials:
- Plastic: Plastic containers are lightweight, affordable, and come in a wide range of sizes and styles. They are durable and resistant to cracking, which makes them a popular choice for beginners. However, plastic containers may not be as visually appealing as other materials, and they can degrade over time with exposure to sunlight.
- Clay or Terracotta: Clay containers are known for their natural and rustic look. They provide good breathability, allowing air to reach the roots and excess moisture to evaporate. However, clay pots are relatively heavy and can break easily if mishandled. They also tend to dry out more quickly, requiring more frequent watering.
- Ceramic: Ceramic containers offer a wide range of styles and designs, making them a popular choice for decorative purposes. They retain moisture better than clay pots and are less prone to cracking. However, ceramic containers can be heavier and more expensive than other options.
- Wood: Wooden containers, such as cedar or redwood, provide excellent insulation for plant roots. They help regulate soil temperature and moisture levels, creating a favorable growing environment. However, wood containers may deteriorate over time due to exposure to moisture and weather conditions. To extend their lifespan, consider using liners or treating the wood with a protective sealant.
3.Style:
Consider the overall aesthetic of your container garden and choose containers that complement your personal style and outdoor space. From sleek and modern designs to traditional and rustic looks, there is a wide variety of container styles available to suit different preferences.
By carefully selecting the right containers based on size, material, and style, you can provide your plants with an optimal growing environment that promotes healthy root development and overall plant growth. You also need to keep in mind to prioritize the specific needs of your plants when making container choices, and ensure proper drainage to prevent waterlogged soil.
Ensuring Proper Drainage
Proper drainage is essential for the health and vitality of your container plants. Without adequate drainage, excess water can accumulate in the soil, leading to waterlogged conditions and potentially causing root rot. Here are some tips to ensure proper drainage in your containers:
- Drainage Holes: Containers should have drainage holes at the bottom to allow excess water to escape. These holes prevent water from pooling at the bottom of the container, which can suffocate the roots and lead to root rot. Ensure that each container has enough drainage holes, depending on its size, to facilitate the efficient flow of water.
- Potting Mixes: Choose potting mixes that provide good drainage. Avoid using heavy garden soil or topsoil in containers, as they tend to retain water and hinder drainage. Instead, opt for a high-quality potting mix specifically formulated for container gardening. These mixes are lightweight, well-draining, and contain ingredients like perlite, vermiculite, or coarse sand to promote water flow.
Tip 2: Use Quality Potting Mixes
Understanding Potting Mix Components
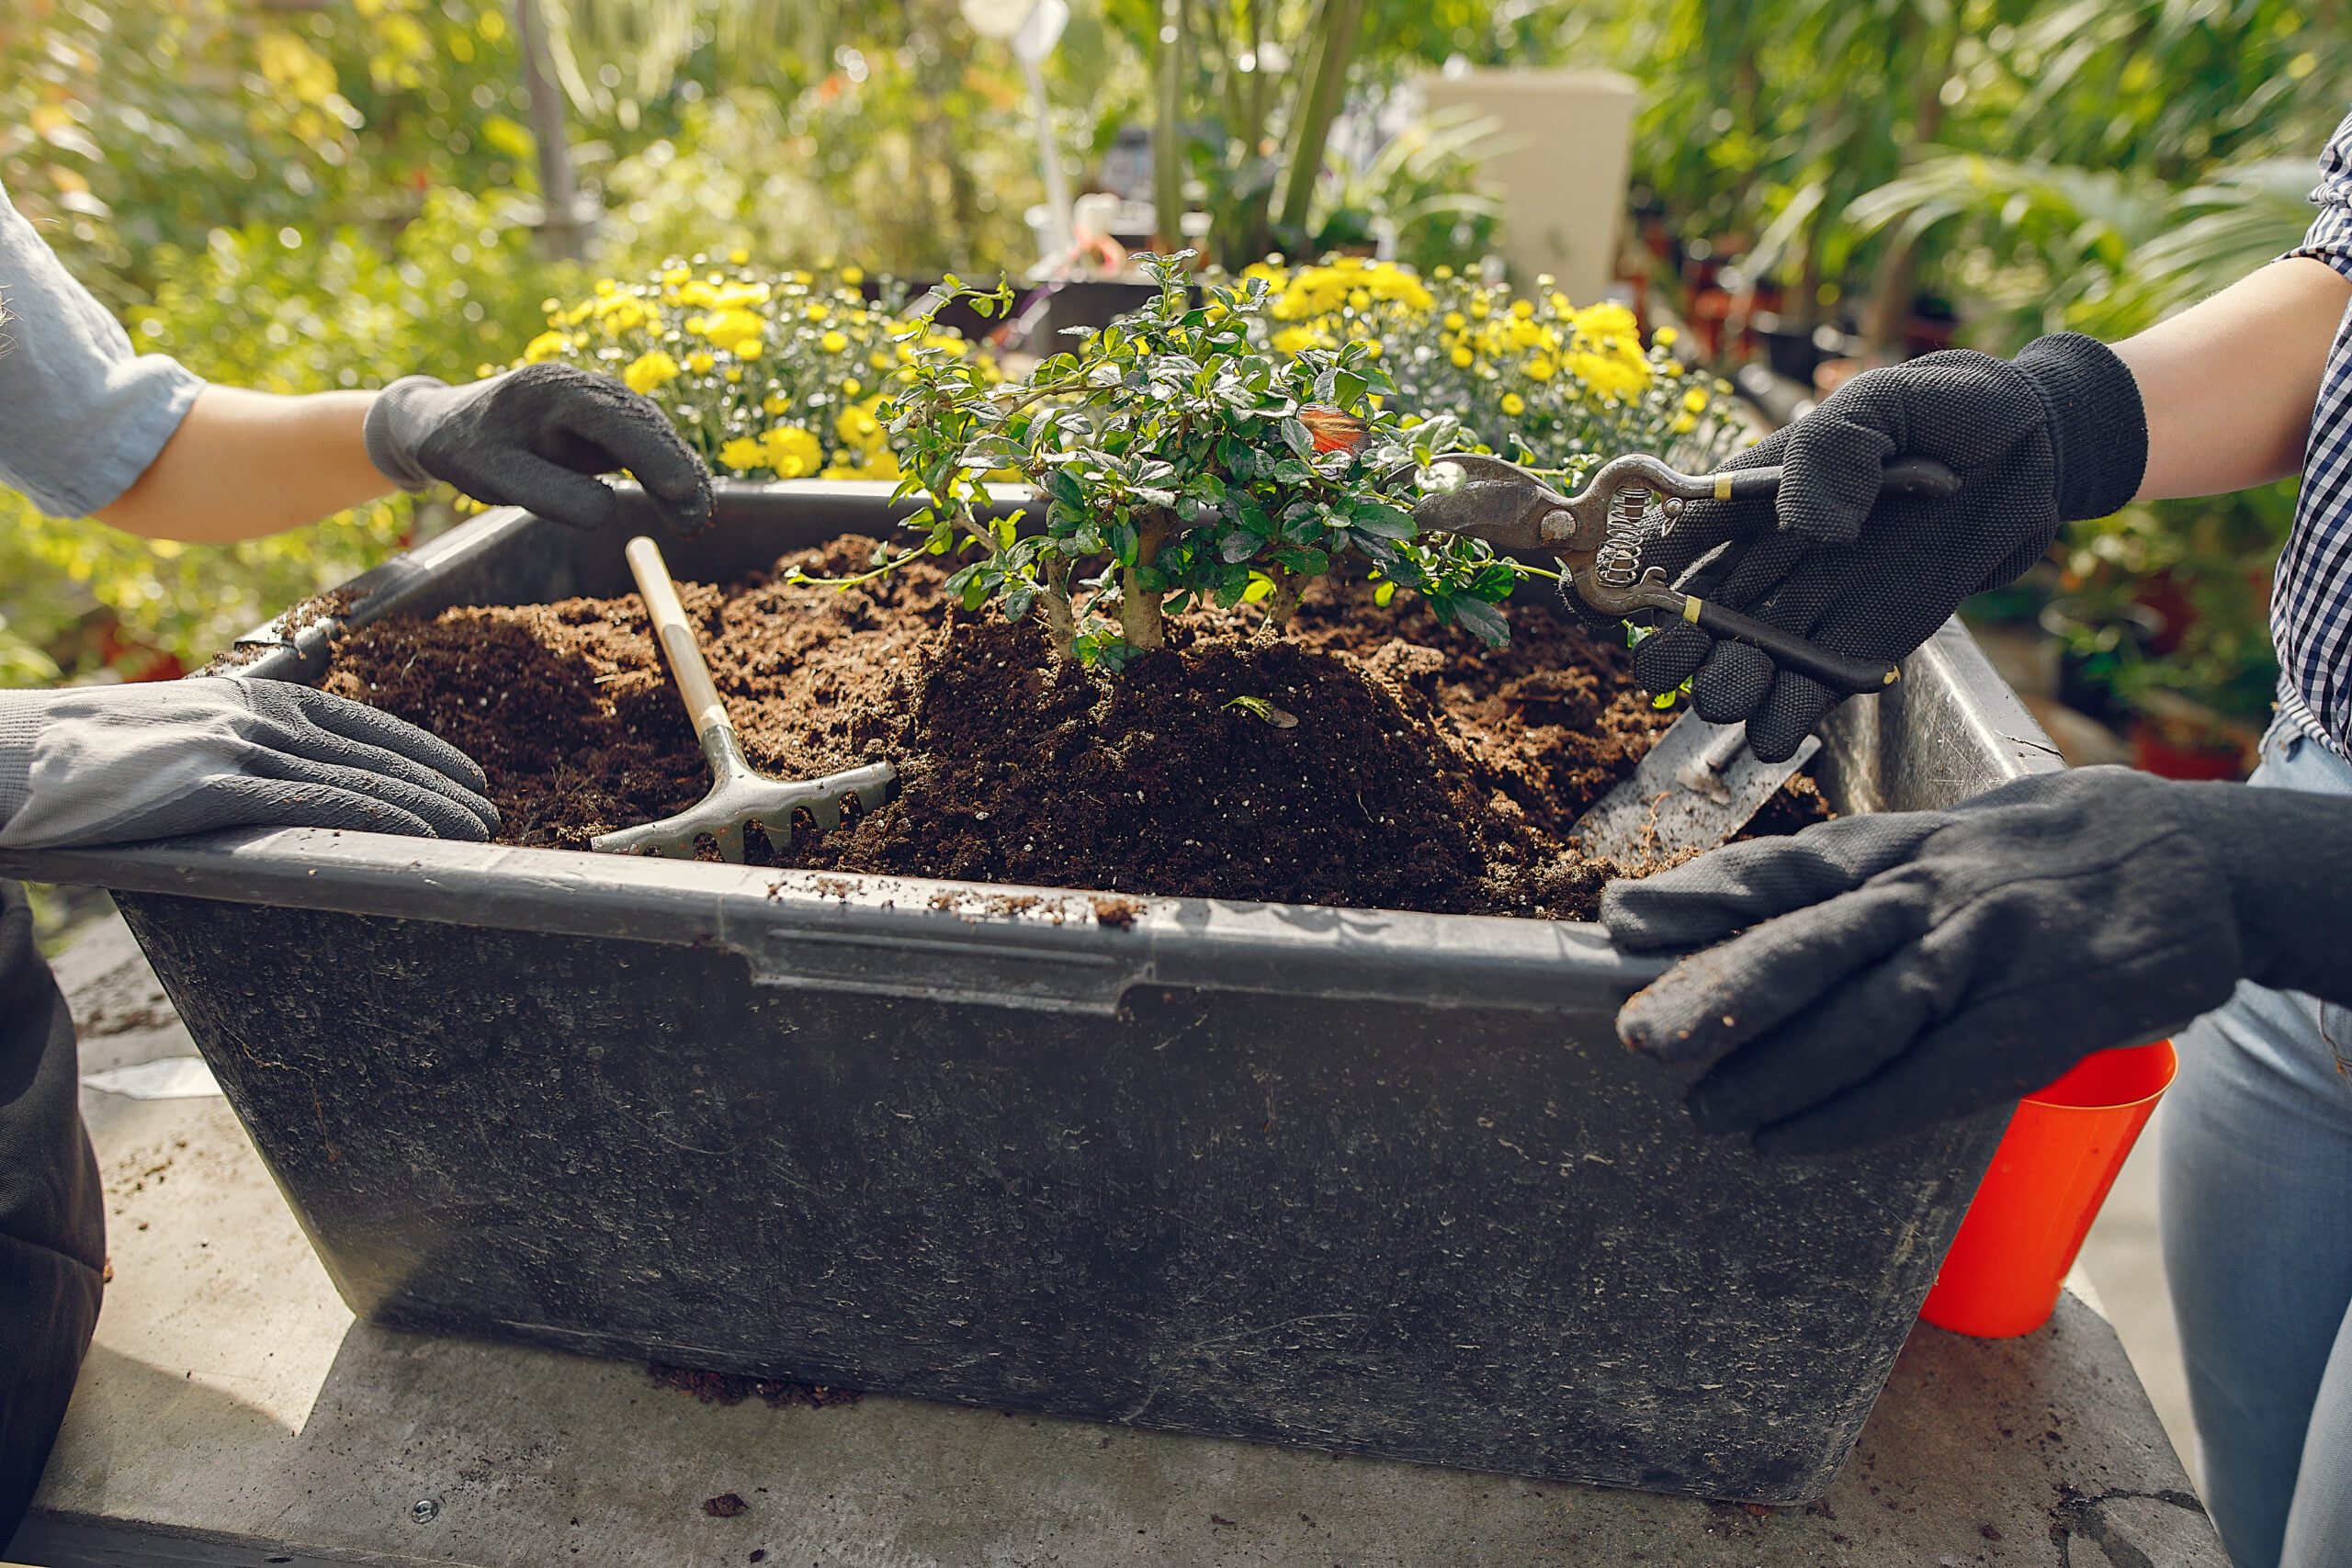
Potting mixes play a vital role in providing the necessary support, nutrients, and optimal growing conditions for plants in containers. It’s essential to understand the components commonly found in potting mixes and their respective roles in promoting healthy root growth, moisture retention, and nutrient availability. Here are some key components:
- Peat Moss: Peat moss is a widely used organic material in potting mixes. It has excellent moisture retention properties, allowing it to hold water and nutrients near the roots. Peat moss also provides a light and fluffy texture to the mix, promoting aeration and preventing compaction. However, it is important to consider the environmental impact of peat moss extraction and explore sustainable alternatives like coir or composted bark.
- Vermiculite: Vermiculite is a mineral that undergoes a heating process to expand into lightweight, porous granules. It helps improve moisture retention and aeration in the potting mix. Vermiculite retains water and releases it slowly to the plant roots, preventing excessive drying. It also helps retain nutrients and stimulates the growth of roots
- Perlite: Perlite is a volcanic glass that undergoes heating to expand into lightweight, white granules. It serves as a valuable component in potting mixes due to its excellent drainage properties. Perlite prevents waterlogging and allows excess water to drain freely, preventing root rot. It also contributes to aeration by creating air pockets within the mix, ensuring oxygen reaches the roots.
- Compost: Compost, also known as organic matter, is a valuable addition to potting mixes. It improves soil structure, provides essential nutrients, and enhances moisture retention. Compost helps create a fertile environment for beneficial soil microorganisms, which contribute to nutrient availability and plant health. It also adds organic matter, which aids in moisture retention and promotes overall soil health.
When selecting a potting mix, consider the specific needs of your plants. Different plants have varying moisture requirements, so you can adjust the ratio of components accordingly. Some plants may benefit from a mix with more moisture-retentive components like peat moss, while others may thrive in a well-draining mix with higher proportions of perlite or vermiculite.
Avoiding Garden Soil and Amending Potting Mixes
Using garden soil directly in containers is not recommended for several reasons. Garden soil tends to be heavy, compact, and lacking in proper drainage, which can lead to waterlogged conditions and hinder root growth in containers. It may also contain weed seeds, pests, and diseases that can negatively impact the health of your plants. Instead, it is advisable to use high-quality potting mixes specifically formulated for container gardening.
However, even with the use of potting mixes, you can further enhance their performance by amending them with organic matter or slow-release fertilizers. Here are some suggestions to improve the nutrient content and water-holding capacity of your potting mix:
- Organic Matter: Adding organic matter to the potting mix helps improve its structure, moisture retention, and nutrient content. You can incorporate well-rotted compost, leaf mold, or aged manure into the potting mix. Organic matter enhances the soil’s ability to retain moisture, promotes beneficial microbial activity, and gradually releases nutrients to the plants. It also improves overall soil fertility and supports healthy root development.
- Slow-Release Fertilizers: Slow-release fertilizers are granular fertilizers that release nutrients gradually over an extended period. They provide a steady supply of essential nutrients to the plants, reducing the need for frequent fertilization. Follow the manufacturer’s instructions for the appropriate application rate and mix the slow-release fertilizer into the potting mix before planting. This helps ensure a consistent supply of nutrients for your container plants throughout their growing season.
- Additional Amendments: Depending on the specific needs of your plants, you can consider other amendments such as lime, sulfur, or pH adjusters to create the ideal growing environment. These amendments help balance the pH level of the potting mix, which is crucial for nutrient availability to the plants. Conduct a soil test or consult gardening resources to determine the appropriate amendments for your specific plant requirements.
Not using garden soil and amending potting mixes with organic matter and slow-release fertilizers, you can create a customized growing medium that meets the specific needs of your container plants. This approach ensures optimal nutrient availability, moisture retention, and root development, leading to thriving and vibrant plants in your container garden.
Tip 3: Pick the Perfect Plants for Your Containers
Thrillers, Spillers, and Fillers: Creating Visual Appeal
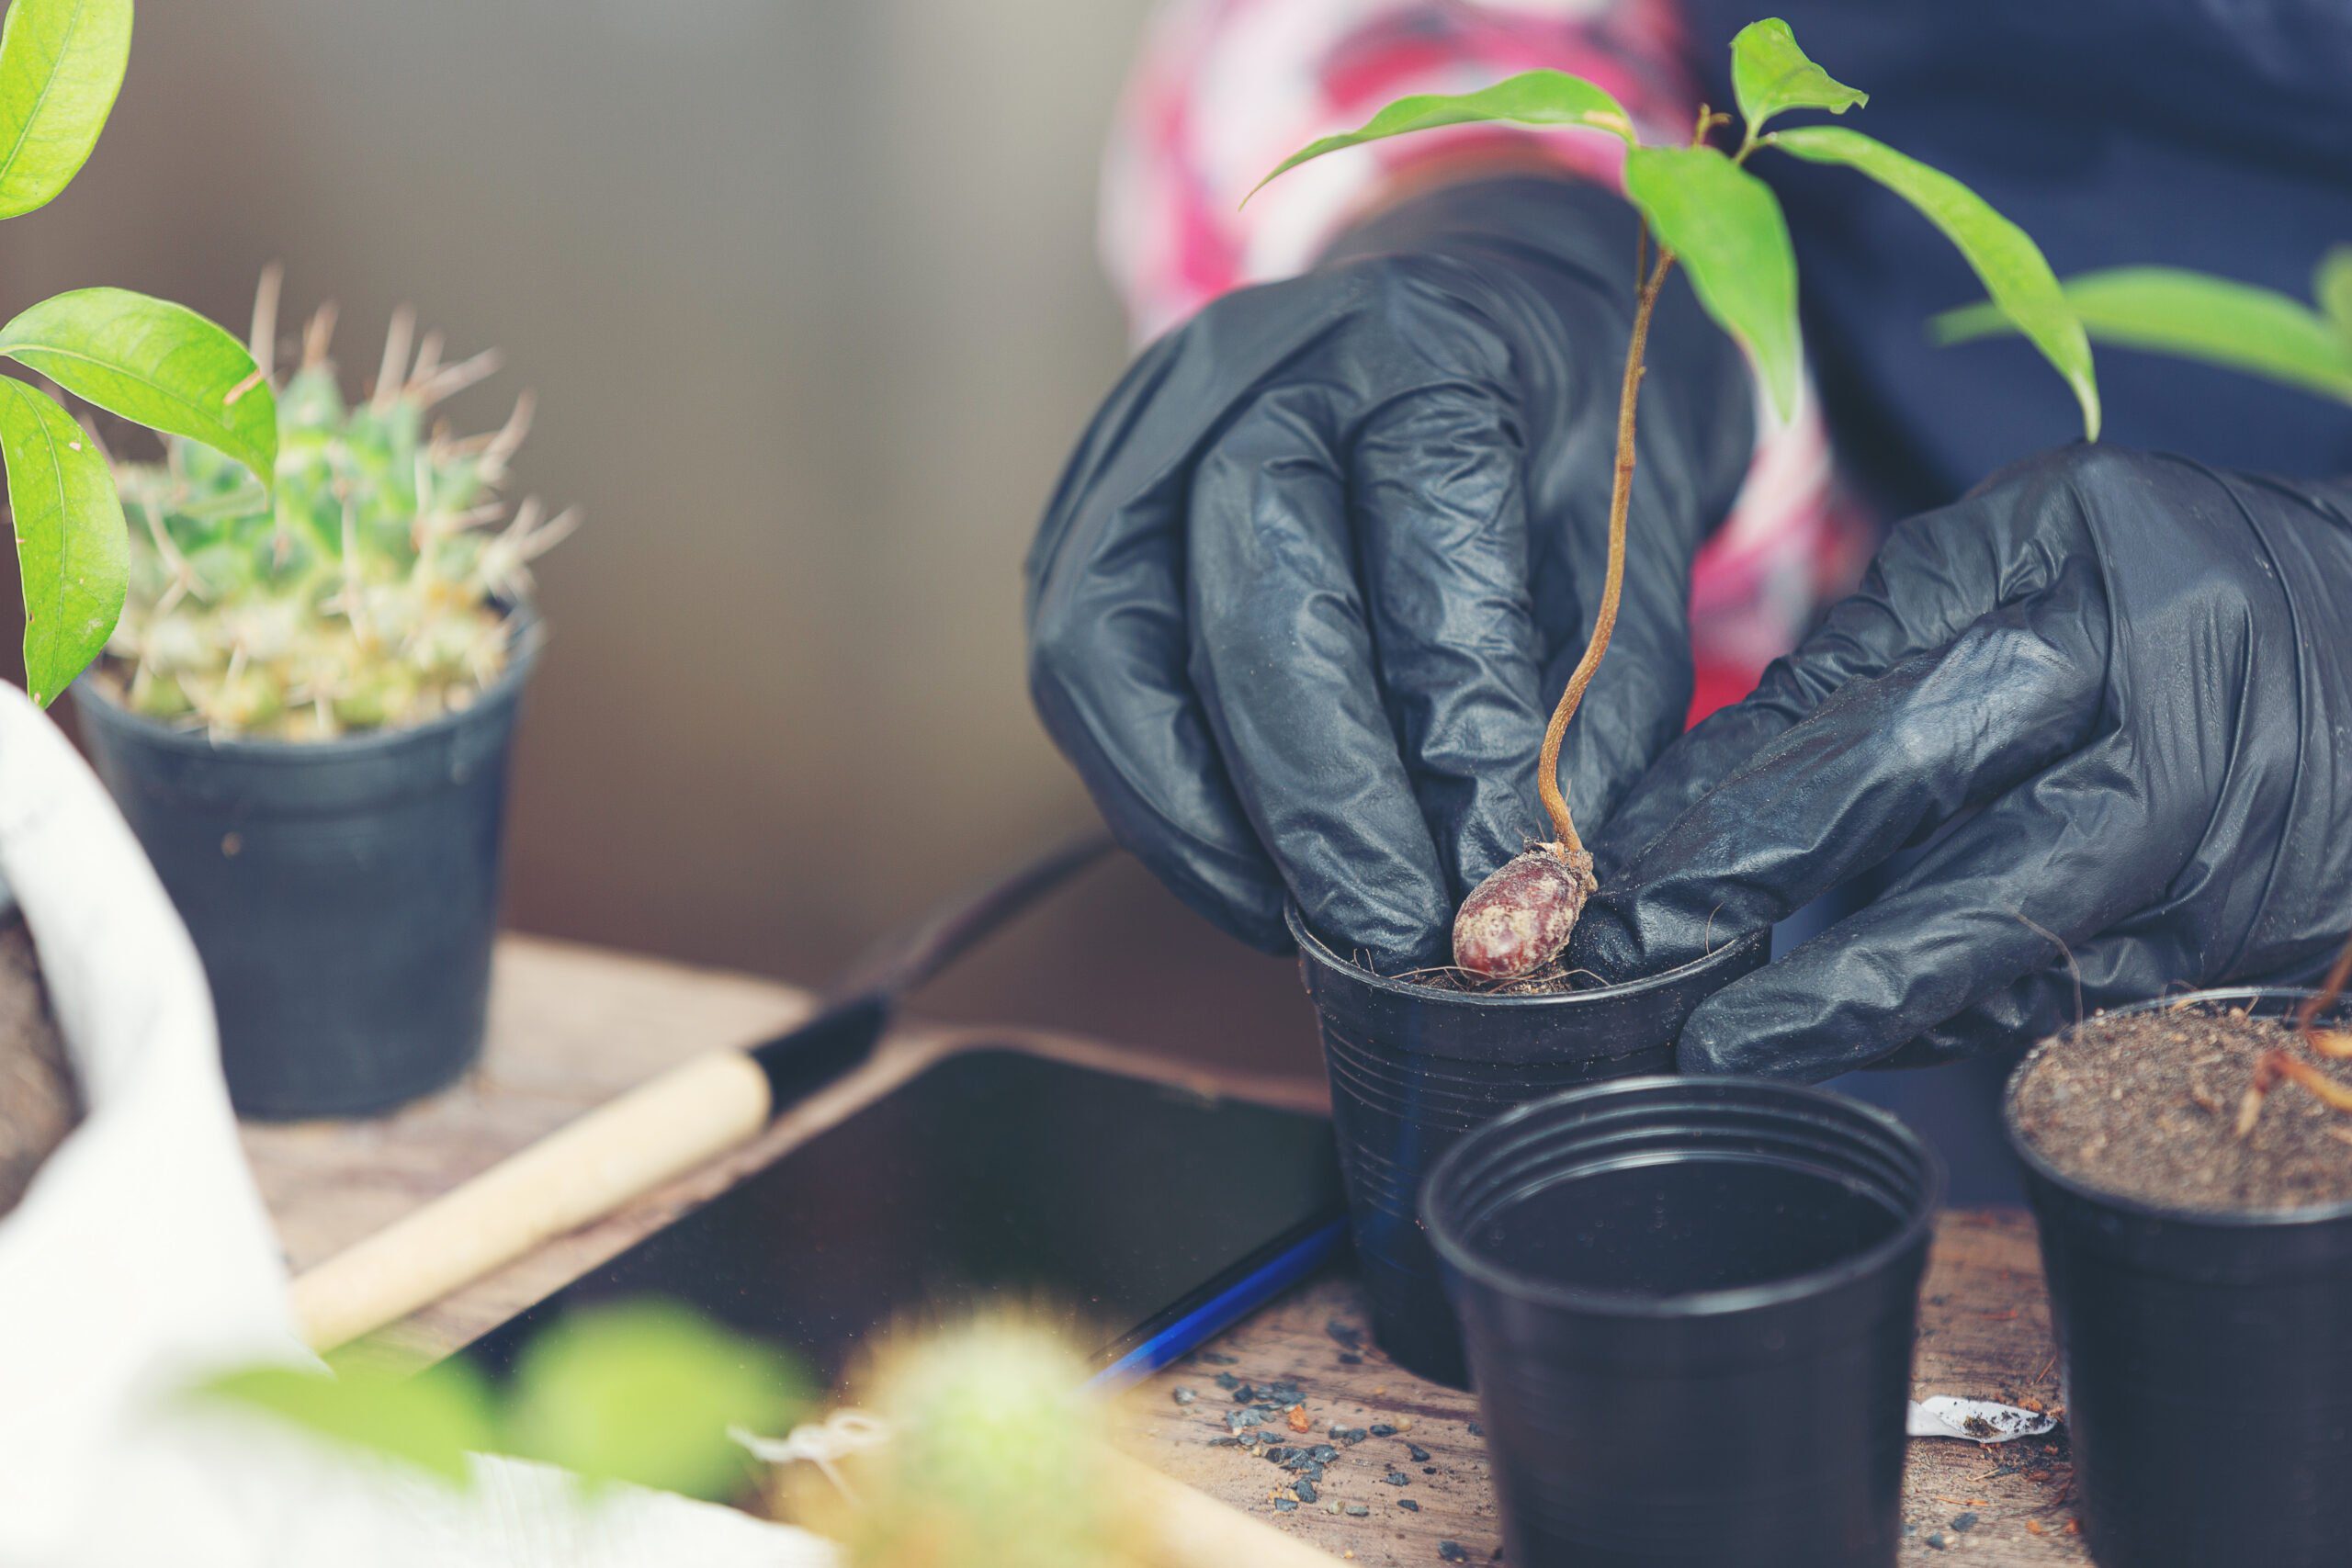
To create a visually appealing container garden, it’s important to select plants that offer a mix of thrillers, spillers, and fillers. Each category plays a specific role in adding interest, texture, and balance to your containers. Here’s a breakdown of these plant types and some recommendations for each:
- Thrillers: Thrillers are tall, eye-catching plants that serve as the centerpiece or focal point of your container. They add height and drama to the arrangement. Some common thriller plants suitable for containers include:
- Ornamental Grasses: Varieties like Fountain Grass (Pennisetum spp.), Maiden Grass (Miscanthus spp.), or Switchgrass (Panicum virgatum) provide elegant vertical interest.
- Cannas (Canna spp.): These tropical plants feature vibrant foliage and showy flowers, making them excellent thrillers.
- Cordyline (Cordyline spp.): With their spiky leaves in various colors, cordylines add a striking vertical element.
- Dracaena (Dracaena spp.): These plants offer tall, architectural foliage in different patterns and colors.
- Choose tall and eye-catching vegetables or herbs as the thrillers. Options include varieties of tomatoes, peppers, or upright-growing herbs like rosemary or lemongrass.
Some factors to consider when picking thrillers are their growth habit, size, and compatibility with the container size and the other plants you plan to include.
2. Spillers: Spillers are trailing or cascading plants that soften the edges of the container, creating a graceful and flowing appearance. They add a sense of movement and help to visually connect the container to its surroundings. Here are some popular spillers for containers:
- Ivy (Hedera spp.): Ivy varieties such as English Ivy (Hedera helix) or Algerian Ivy (Hedera canariensis) have cascading stems and lush foliage.
- Trailing Petunias (Petunia spp.): These annual flowers produce an abundance of colorful blooms that spill over the edges of the container.
- Creeping Jenny (Lysimachia nummularia): With its trailing habit and bright chartreuse leaves, Creeping Jenny is an excellent spiller.
- Bacopa (Sutera cordata): This low-growing plant produces delicate flowers and trails beautifully over the container’s edges.
- Select trailing or cascading vegetables or herbs that can spill over the edges of the container. Examples include trailing cherry tomatoes, cascading herbs like cascading thyme or creeping thyme, or vining herbs like trailing nasturtiums.
Pick spillers that complement the color scheme of your container garden and have a growth habit that suits the container’s size and shape.
3. Fillers
Fillers are medium-sized plants that help fill in the gaps and provide a lush and balanced composition. They add volume, texture, and harmony to the container. Consider these filler plant options:
- Geraniums (Pelargonium spp.): Geraniums come in various colors and produce clusters of flowers, making them ideal fillers.
- Coleus (Solenostemon scutellarioides): These foliage plants offer a wide range of vibrant colors and patterns, adding visual interest.
- Marigolds (Tagetes spp.): Marigolds produce abundant blooms and come in different heights, making them versatile fillers.
- Lobelia (Lobelia erinus): This compact annual flower produces masses of small flowers in vibrant shades of blue, purple, or white.
- Use compact or bushy vegetables or herbs as fillers to create a lush and balanced look. Consider planting compact varieties of lettuce, basil, parsley, or bushy herbs like sage or basil as fillers.
Choose fillers that complement the thriller and spiller selections, considering their growth habit, foliage texture, and compatibility with the light and water requirements of the other plants.
Using thrillers, spillers, and fillers in your container garden, you can achieve a visually captivating arrangement with a dynamic mix of heights, textures, and colors. Remember to choose plants that are suitable for container gardening, considering their growth habits, maintenance requirements, and compatibility with each other.
Matching Plant Needs with Container Size and Conditions
To ensure the health and growth of your container plants, it’s essential to match their specific requirements with the container size and conditions. Different plants have varying needs for light, water, and space, and meeting these requirements is crucial for their optimal growth. Here are some key factors to consider:
- Light Requirements: Plants have different light preferences, ranging from full sun to partial shade or full shade. It’s important to understand the light conditions in your garden or the area where the containers will be placed. Choose plants that are suitable for the available light levels. Sun-loving plants, such as tomatoes, peppers, or herbs, require at least six to eight hours of direct sunlight per day. These plants thrive in larger containers placed in sunny spots. On the other hand, shade-tolerant plants like ferns or certain leafy greens prefer lower light levels and can be grown in smaller containers placed in shady areas.
- Watering Needs: Each plant species has specific water requirements. Some plants prefer consistently moist soil, while others tolerate drier conditions. Consider the moisture retention capacity of your potting mix and the drainage capabilities of your containers. Plants in smaller containers or those with a higher water requirement may need more frequent watering, while plants in larger containers or those with lower water needs may require less frequent watering. It’s crucial to strike a balance between providing adequate moisture and avoiding overwatering, which can lead to root rot and other moisture-related issues.
- Space for Root Development: Plants have varying root systems, and providing enough space for their root development is essential. Choose containers that are appropriate for the mature size of your plants. Insufficient space can lead to root binding, restricted growth, and poor nutrient uptake. Larger plants or those with extensive root systems require larger containers to ensure optimal growth. Be mindful of the mature size of your plants and select containers that can accommodate their root requirements.
Meeting up plant needs with container size and conditions, you create an environment that supports their growth and development. Providing the right amount of light, water, and space allows plants to thrive and reach their full potential. Additionally, considering these factors helps prevent issues such as stunted growth, nutrient deficiencies, and plant stress.
Kindly make sure to research and understand the specific requirements of the plants you intend to grow in your containers. Refer to plant tags, gardening resources, or consult with local experts to gather information about the light, water, and space needs of your chosen plants. This knowledge will enable you to make informed decisions and create an ideal growing environment for your container plants.
Tip 4: Water Wisely for Optimal Growth
Monitoring Soil Moisture Levels
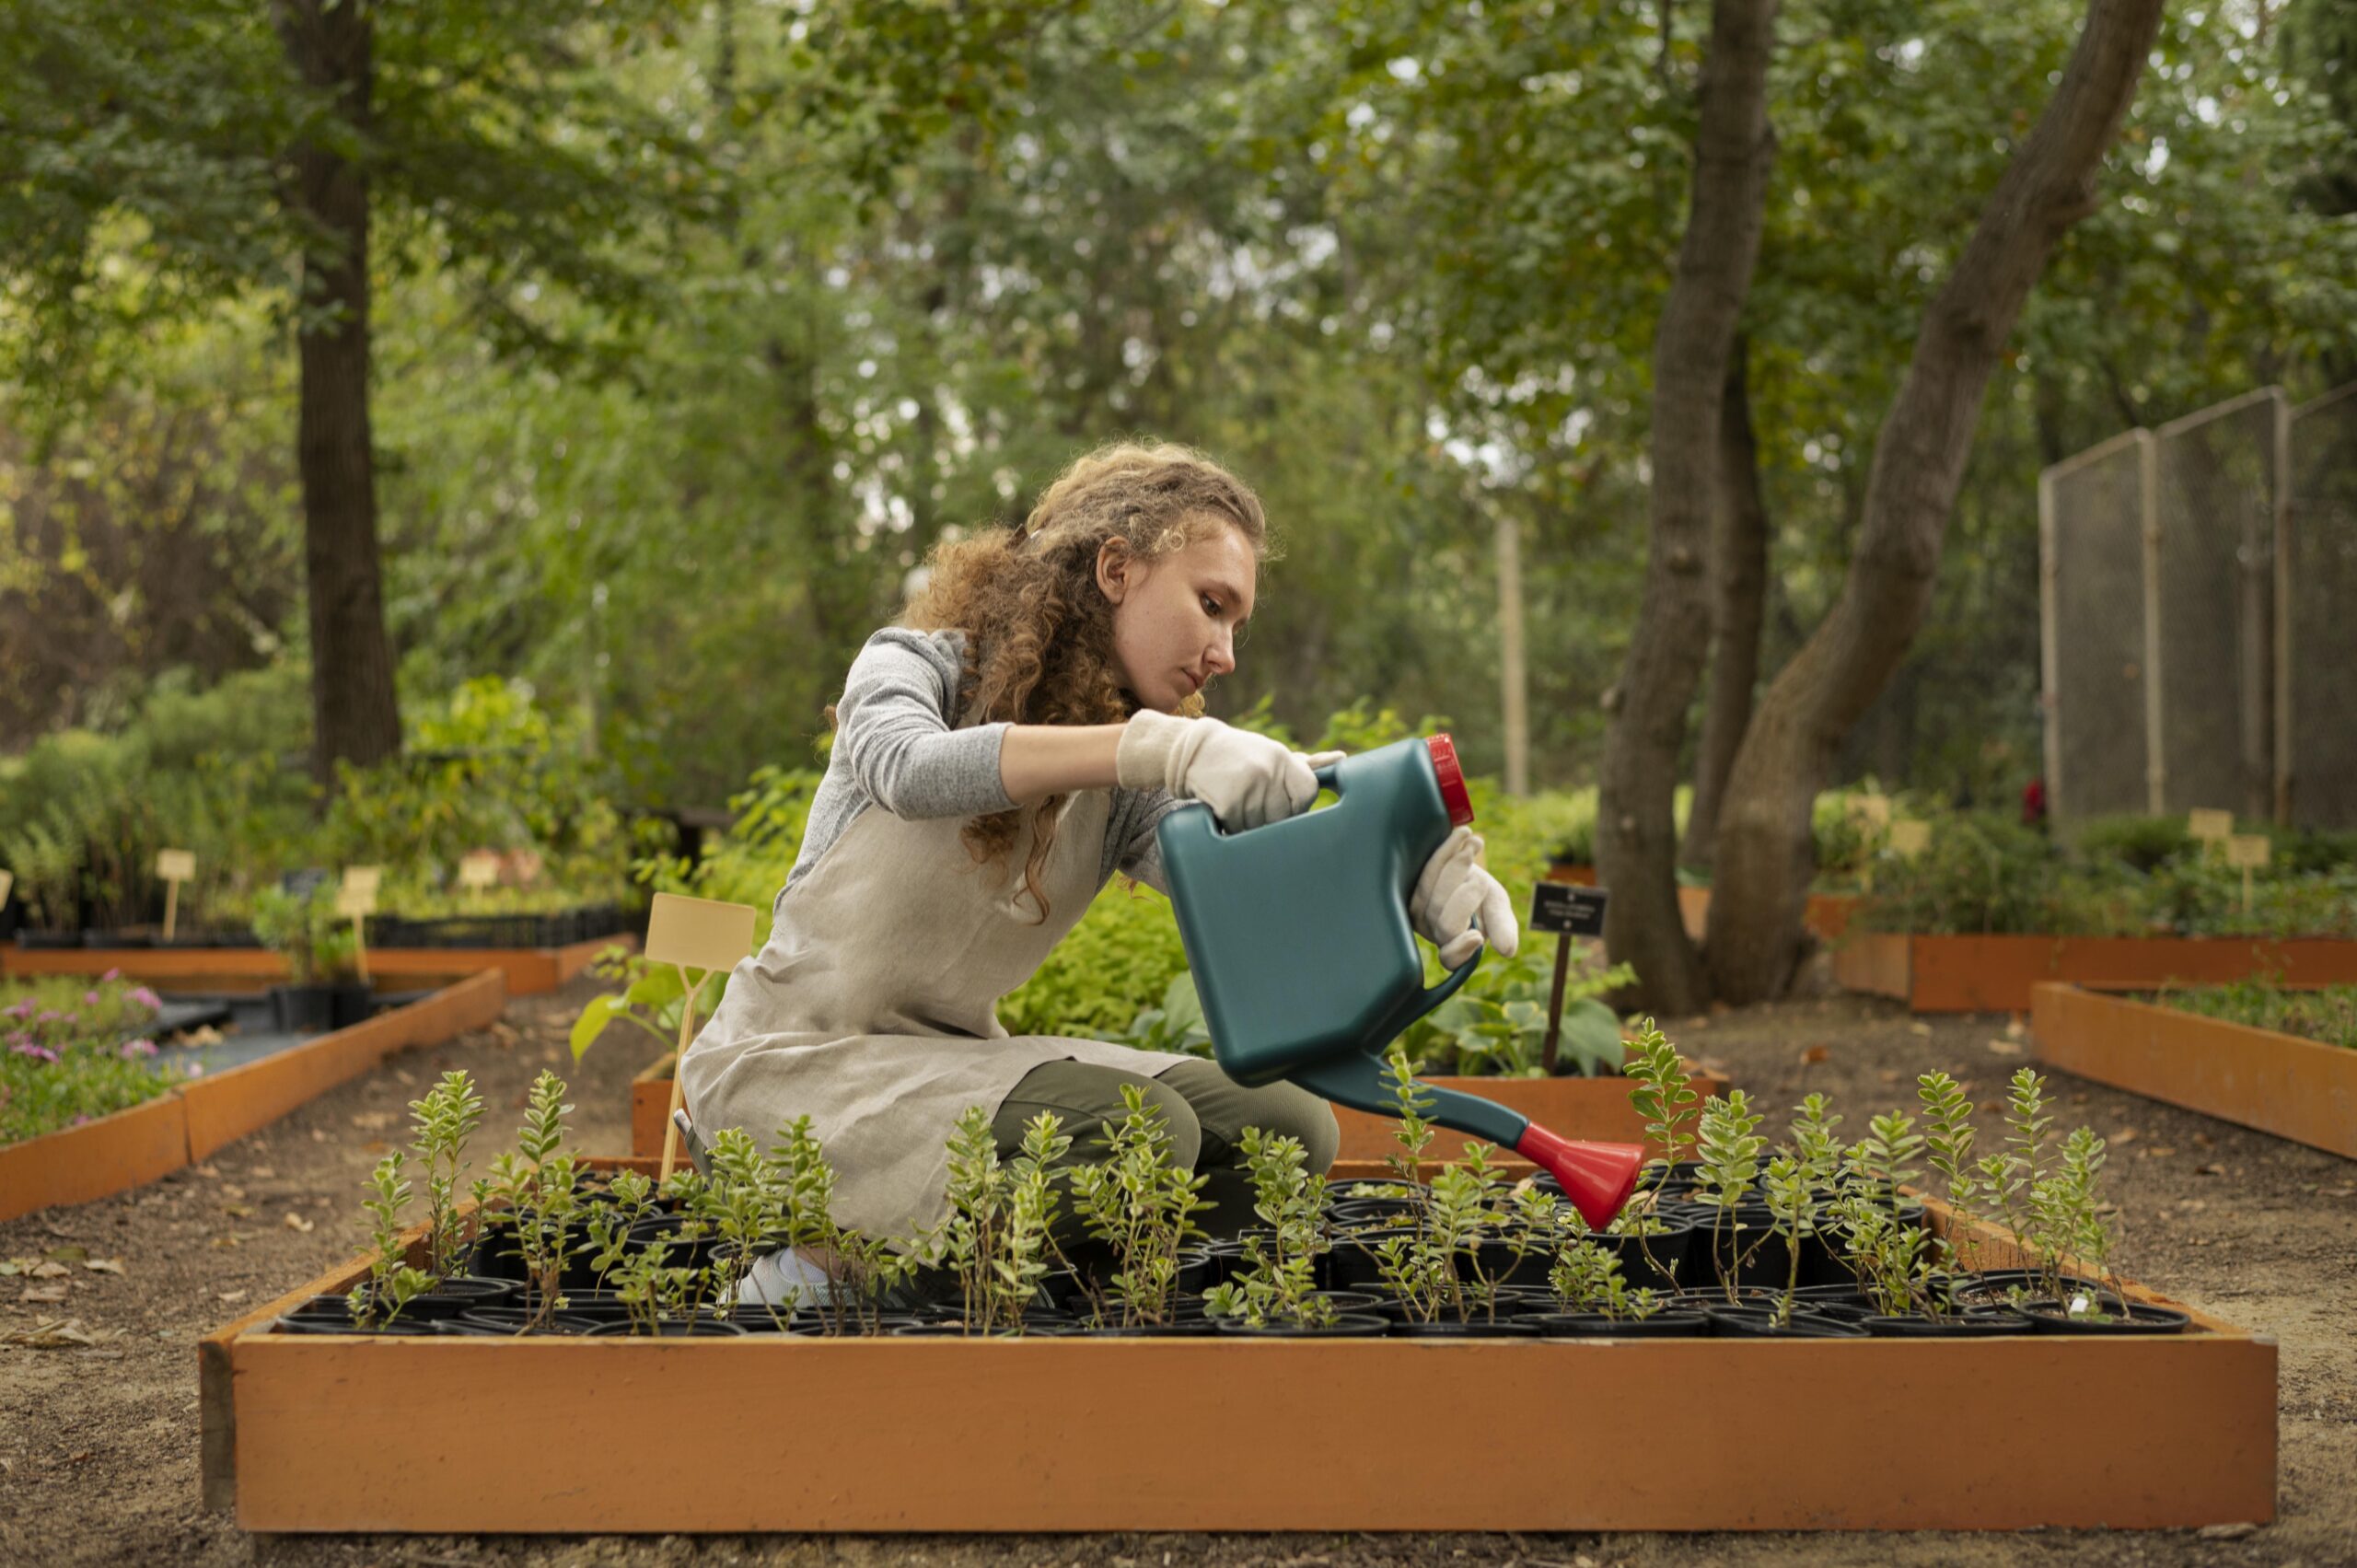
Watering your container plants properly is crucial for their optimal growth. By monitoring soil moisture levels, you can ensure that your plants receive adequate hydration without the risk of overwatering. Here are some guidelines for monitoring soil moisture:
- Check the Soil: Regularly assess the moisture level of the soil in your containers. Insert your finger into the soil until it reaches the second knuckle. If the soil feels dry at that depth, it’s an indication that your plants may need watering. However, if the soil feels moist, it’s best to hold off on watering and recheck after a day or two.
- Avoid Overwatering: Overwatering is a common mistake that can harm container plants. Excess water leads to waterlogged soil, depriving the roots of necessary oxygen and causing root rot. It’s important to strike a balance between providing enough moisture and allowing the soil to dry out slightly between watering sessions.
- Consistent Moisture: Consistency is key when it comes to watering container plants. Aim to provide a steady supply of moisture to support their growth. This means watering thoroughly until water begins to drain out of the drainage holes at the bottom of the container. By ensuring that the entire root ball is adequately hydrated, you encourage proper root development. Avoid shallow watering, as it encourages the growth of shallow roots.
- Consider Environmental Factors: Environmental conditions, such as temperature and humidity, can affect the moisture needs of your plants. Hotter and drier climates may require more frequent watering, while cooler and more humid environments may necessitate less frequent watering. Be mindful of the specific requirements of your plants and adapt your watering schedule accordingly.
- Watering Techniques: There are different methods you can use to water your container plants effectively. Pouring water directly onto the soil surface is a common approach. Alternatively, you can use a watering can with a narrow spout to target the soil around the base of the plants. Another option is bottom watering, where you place the container in a tray filled with water and allow the plants to absorb moisture from the bottom. Choose a method that works best for your plants and ensures thorough hydration.
Deep and Thorough Watering Technique
To promote a healthy root system and overall plant growth, it’s important to employ a deep and thorough watering technique for your container plants. Below are steps you can take to ensure your plants receive the proper amount of water:
- Watering Depth: When watering, aim to saturate the entire root ball of your plants. Water until you see water starting to flow out of the drainage holes at the bottom of the container. This ensures that water reaches the deeper roots, encouraging their development and preventing the plant from becoming root-bound.
- Watering Can: Using a watering can with a narrow spout is an effective tool for precise and controlled watering. Direct the spout towards the soil surface around the base of the plants. This allows the water to penetrate directly into the root zone, avoiding wastage and ensuring efficient hydration.
- Drip Irrigation Systems: Another efficient method for container watering is utilizing drip irrigation systems. These systems deliver water directly to the plants’ root zones, minimizing water loss through evaporation or runoff. Drip irrigation systems provide a consistent and controlled supply of water, ensuring that each plant receives the necessary hydration without excess.
- Watering Frequency: The frequency of deep watering will depend on various factors, such as the plant species, container size, and environmental conditions. As a general guideline, it’s better to water deeply and less frequently rather than providing shallow, frequent watering. Deep watering encourages the roots to grow deeper, making the plants more resilient and less susceptible to drought.
- Avoid Water Splashing: When watering, try to avoid splashing water onto the foliage of your plants, especially during the hot sunlit hours. Wet leaves can promote the growth of fungal diseases, so it’s best to focus on delivering water directly to the root zone.
Using a deep and thorough watering technique, you can ensure that your container plants receive the right amount of water for their optimal growth. Whether using a watering can or drip irrigation system, the goal is to provide targeted hydration to the root zone. Adjust the watering frequency based on your plants’ specific needs and environmental conditions, keeping in mind the importance of maintaining consistent moisture without overwatering.
Mulching for Moisture Retention
Mulching is a beneficial practice that aids in moisture retention in container plants by reducing evaporation and regulating soil temperature. Here’s how you can effectively apply mulch to your container garden:
- Benefits of Mulching: Mulching offers several advantages for your plants and soil. Firstly, it helps retain moisture by acting as a barrier, preventing water from evaporating quickly from the soil surface. Ensuring this becomes particularly crucial during periods of high heat and drought. Secondly, mulch helps suppress weed growth by blocking sunlight and inhibiting weed germination. By reducing weed competition, your container plants can access more nutrients and water. Lastly, mulch acts as an insulating layer, moderating soil temperature fluctuations and protecting plant roots from extreme heat or cold.
- Selecting Mulch: Choose organic mulch materials that are suitable for container gardening, such as wood chips, straw, shredded leaves, or compost. These materials gradually break down over time, contributing to soil fertility. Avoid using thick layers of dense mulch, such as bark chips, which can impede water penetration.
- Applying Mulch: Apply a layer of mulch approximately 1 to 2 inches thick on the soil surface around your container plants. Ensure that the mulch is spread evenly, leaving a small gap around the base of the plant to prevent moisture accumulation against the stem. Avoid piling mulch directly against the plant, as this can create a favorable environment for pests and diseases.
- Mulching Maintenance: Regularly monitor the mulch layer to ensure it remains intact and hasn’t become compacted. If you notice any signs of mold or fungal growth, gently remove and replace the affected mulch. Moreover, it is essential to replenish the mulch layer whenever necessary in order to uphold the desired thickness and efficacy.
When you provide a protective layer like mulching your garden, it helps conserve moisture, suppresses weeds, and moderates soil temperature. Organic mulch materials contribute to soil health and fertility as they break down over time. Remember to choose appropriate mulch materials, apply them correctly, and monitor the mulch layer for maintenance. With proper mulching, you can create an optimal growing environment for your container plants and promote their overall health and vigor.
Tip 5: Provide Adequate Sunlight
Understanding Sunlight Requirements
To ensure the healthy growth of your container plants, it’s essential to understand their sunlight requirements. These are things that can determine the optimal placement for your plants based on their sunlight needs:
- Assessing Sunlight Requirements: Different plants have varying sunlight preferences, ranging from full sun to partial shade. Full sun plants typically require a minimum of six hours of direct sunlight per day, while partial shade plants thrive with a few hours of direct sunlight or bright, indirect light. Consult plant labels, gardening resources, or online databases to determine the specific sunlight requirements of the plants you’re growing.
- Observing Sunlight Patterns: Monitor the sunlight patterns in your garden throughout the day to identify areas that receive different levels of sunlight. Note the duration and intensity of direct sunlight, as well as any areas of shade created by buildings, trees, or other structures. This observation will help you identify suitable locations for your container plants.
- Placing Containers: Based on the sunlight requirements of your plants and your garden’s sunlight patterns, position your containers accordingly. For full sun plants, place containers in areas that receive the most direct sunlight, such as south-facing locations. Partial shade plants can be positioned in areas that receive a mix of direct sunlight and shade, such as east- or west-facing spots with some shade protection during the hottest parts of the day.
- Adjusting Container Positioning: As the seasons change, the angle and intensity of sunlight may vary. Throughout the year, regularly assess the sunlight patterns in your garden and adjust the positioning of your containers as needed. This may involve moving containers to sunnier or shadier spots to accommodate the changing sunlight conditions.
- Supplementing Sunlight: In cases where your garden doesn’t receive sufficient sunlight for the plants you wish to grow, consider supplemental lighting options. LED grow lights can be used indoors or in shaded areas to provide the necessary light intensity and duration for plant growth. Consult lighting guides or seek advice from gardening experts for appropriate light placement and duration.
Having the basic knowledge of the sunlight requirements of your container plants and observing the sunlight patterns in your garden, you can provide optimal sunlight conditions for their growth. Placing containers in suitable locations and adjusting their positions as needed will help your plants receive the right amount of light throughout the day. If necessary, supplementing sunlight with artificial lighting can ensure that your plants thrive even in areas with limited natural sunlight.
Tip 6: Feed Your Plants with Proper Nutrition
Importance of Balanced Fertilization
Proper nutrition is essential for the healthy growth and development of container plants. Here’s why balanced fertilization is important and how you can provide your plants with the necessary nutrients:
- Essential Nutrients: Plants require a range of essential nutrients for optimal growth. The three primary nutrients are nitrogen (N), phosphorus (P), and potassium (K), also known as NPK.
- Nitrogen (N): Nitrogen is responsible for promoting leafy growth and overall plant vigor. It plays a crucial role in the development of chlorophyll, which is essential for photosynthesis.
- Phosphorus (P): Phosphorus is vital for root development, flower formation, and fruit production. It contributes to energy transfer within the plant and promotes strong root systems.
- Potassium (K): Potassium is involved in various plant functions, including water uptake, disease resistance, and overall plant health. It helps regulate important processes like nutrient uptake and enzyme activation.
2. Balanced Fertilization: Providing a balanced fertilizer ensures that your plants receive adequate amounts of each essential nutrient. Imbalances in nutrient levels can lead to deficiencies or excessive growth in certain plant parts, affecting overall plant health. Look for fertilizers with an NPK ratio appropriate for the specific needs of your plants.
3. Choosing the Right Fertilizer Formulation: Fertilizers come in different formulations, such as granular, liquid, or slow-release. Select a fertilizer formulation suitable for container plants, considering factors like plant type, growth stage, and nutrient requirements. Water-soluble fertilizers are often preferred for container gardening as they can be easily absorbed by the plants.
4. Application Techniques: When applying fertilizers to your container plants, follow these guidelines:
- Dosage: Read the fertilizer label for recommended dosage instructions. Over-fertilization can harm plants, so it’s crucial to follow the specified amounts.
- Frequency: Fertilizer application frequency varies depending on the type of fertilizer and the specific plant’s needs. Some fertilizers may require weekly or monthly applications, while others may be applied every few months. Follow the instructions on the fertilizer packaging or consult gardening resources for specific recommendations.
- Dilution Ratios for Liquid Fertilizers: If using liquid fertilizers, dilute them according to the instructions provided. Mixing a concentrated liquid fertilizer with water helps prevent nutrient burn and allows for even distribution.
5. Additional Nutrients: Apart from the primary nutrients (NPK), plants also benefit from secondary nutrients like calcium, magnesium, and sulfur, as well as micronutrients like iron, manganese, and zinc. Some fertilizers contain these additional nutrients, while others may require supplementation through specific fertilizers or amendments.
Always monitor your plants’ growth and observe any signs of nutrient deficiencies or excesses. Adjust the fertilization regimen accordingly to maintain a balanced nutrient supply. When you give your container plants with proper nutrition, you can promote vigorous growth, vibrant blooms, and healthy yields.
Organic Options for Eco-Friendly Gardening
If you prefer an eco-friendly approach to fertilizing your container plants, organic fertilizers are excellent alternatives to synthetic options. These are why organic fertilizers are beneficial and how you can incorporate them into your container gardening practices:
- Slow-Release Nutrients: Organic fertilizers provide slow-release nutrients, gradually releasing them into the soil over time. This ensures a steady supply of nutrients to your plants, promoting steady growth and reducing the risk of nutrient imbalances or burn.
- Soil Enrichment: Organic fertilizers improve soil health and fertility. They enhance the soil structure, moisture retention, and nutrient-holding capacity. Over time, organic fertilizers help build a thriving ecosystem of beneficial microorganisms in the soil, which further contributes to plant health.
- Natural Sources of Nutrients: Organic fertilizers are derived from natural sources, such as compost, worm castings, manure, or organic plant-based materials. These materials are rich in essential nutrients and provide a range of micronutrients and trace elements that support plant growth.
- Compost: Compost is a nutrient-rich organic material created through the decomposition of organic matter, such as kitchen scraps, yard waste, and plant trimmings. Incorporating compost into your potting mix or using it as a top dressing helps enrich the soil with organic matter and beneficial microorganisms.
- Worm Castings: Worm castings, also known as vermicompost, are the nutrient-rich waste produced by earthworms. They serve as a valuable source of organic matter, beneficial microorganisms, and essential nutrients for plants. Mixing worm castings into the potting mix or applying them as a top dressing provides a slow-release fertilizer for your plants.
- Fish Emulsion: Fish emulsion is a liquid organic fertilizer derived from fish byproducts. It contains abundant nitrogen, phosphorus, and trace minerals, making it a nutrient-rich option for plant nourishment. Dilute fish emulsion according to the package instructions and use it as a foliar spray or root drench to provide a nutrient boost to your container plants.
Incorporating Organic Fertilizers: These are some ways to incorporate organic fertilizers into your container gardening practices:
- Mixing: Blend organic fertilizers, such as compost or worm castings, into the potting mix before planting. This ensures a nutrient-rich growing medium from the start.
- Top Dressing: Apply a layer of compost or worm castings on the soil surface around your plants. Gently work the organic material into the top layer of soil without disturbing the plant roots. This provides a slow-release nutrient supply throughout the growing season.
- Liquid Application: Dilute fish emulsion or other liquid organic fertilizers according to the instructions provided. Apply them as a liquid fertilizer by pouring it onto the soil around the plants or as a foliar spray on the leaves.
Considerations: Organic fertilizers generally have lower nutrient concentrations compared to synthetic fertilizers. Consequently, they may require more frequent applications to meet the plants’ nutrient needs. Additionally, organic fertilizers may have a milder smell compared to synthetic options.
By mixing organic fertilizers into your container gardening routine, you can nourish your plants while promoting a sustainable and eco-friendly approach to gardening.
Tip 7: Prune and Maintain Your Container Garden
Regular Pruning for Plant Health
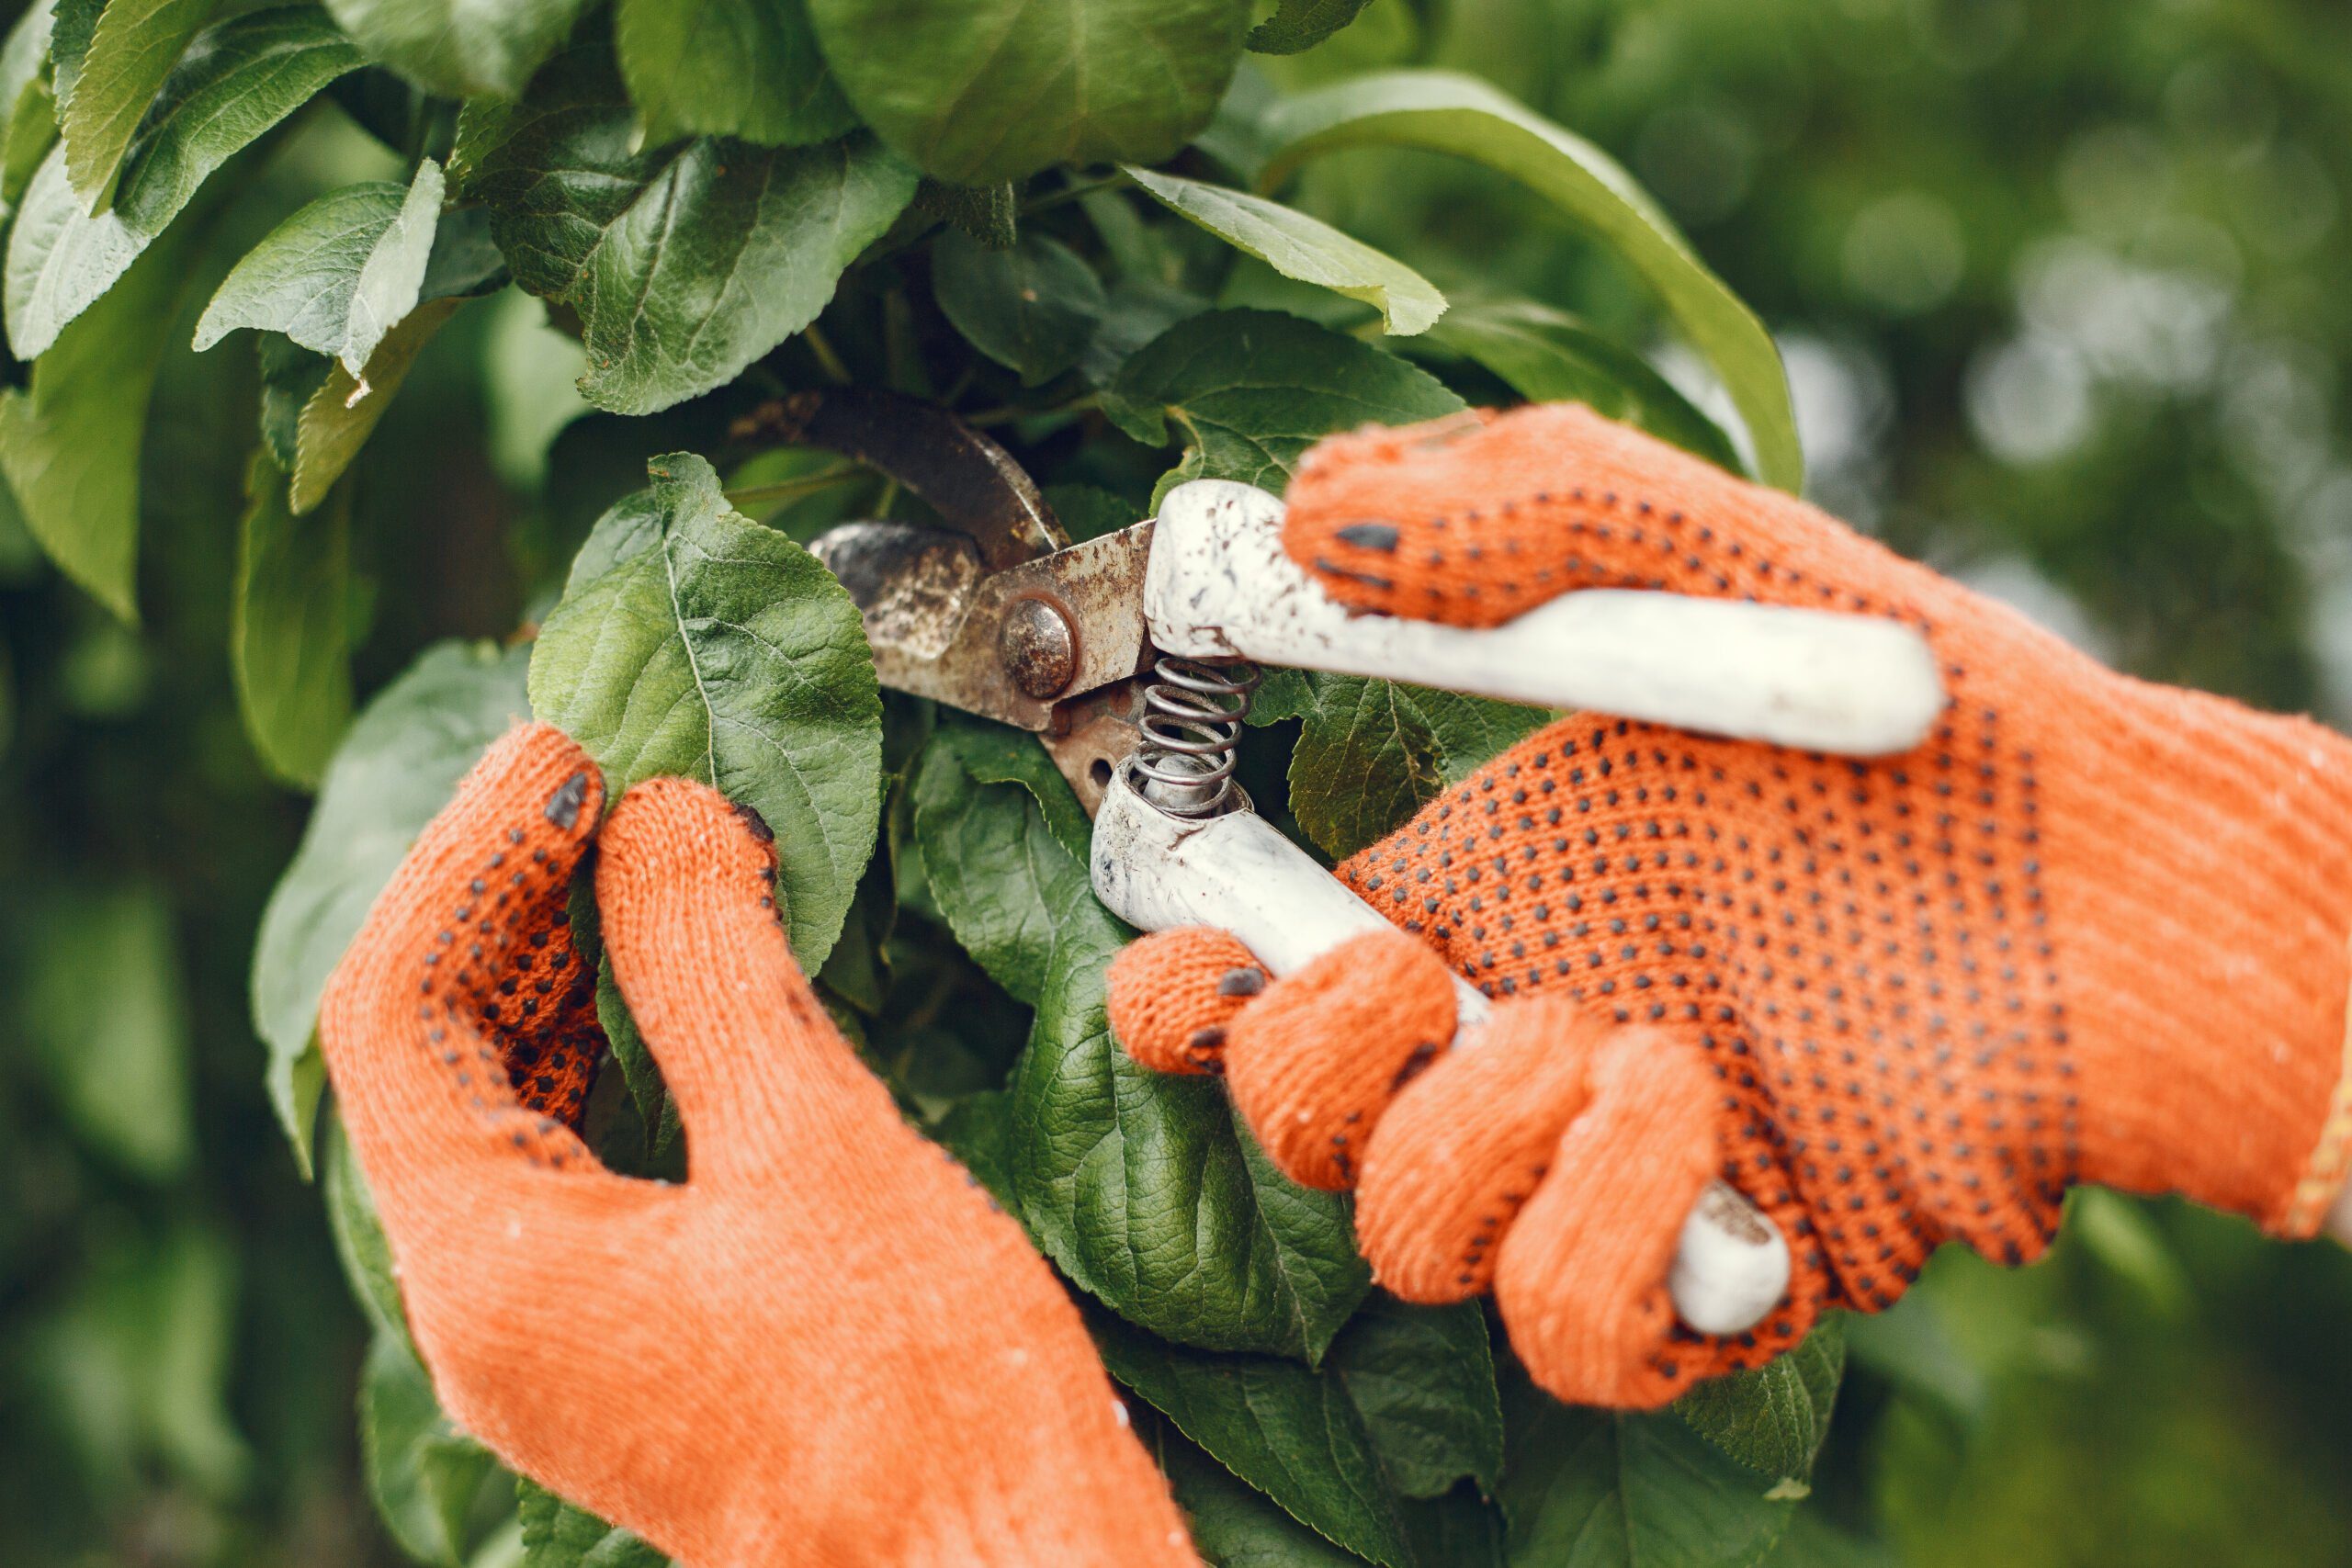
Regular pruning is crucial for maintaining the health and appearance of your container plants. Here are the benefits of pruning and instructions on proper pruning techniques to ensure optimal plant growth:
- Promoting Bushier Growth: Pruning stimulates new growth and helps plants maintain a compact and bushy form. By selectively removing the tips of branches or stems, you encourage branching lower down the plant, resulting in a fuller and more attractive appearance.
- Removing Diseased or Damaged Parts: Pruning allows you to identify and remove any diseased, dead, or damaged parts of the plant. These include yellowing leaves, discolored stems, or areas affected by pests or diseases. By promptly removing such parts, you prevent the spread of diseases and maintain plant health.
- Shaping the Plant’s Form: Pruning enables you to control the overall shape and size of your container plants. You can shape them into desired forms, such as rounded, cascading, or trellised. Regularly pruning the plants helps maintain their intended shape and prevents them from becoming leggy or unruly.
Proper Pruning Techniques:
- Use Clean and Sharp Pruning Tools: Before you start pruning, ensure that your pruning tools, such as pruning shears or scissors, are clean and sharp. Dirty or dull tools can introduce infections or cause damage to the plant. Clean the tools with rubbing alcohol or a diluted bleach solution, and sharpen the blades if necessary.
- Make Precise Cuts: When pruning, make clean and precise cuts to minimize damage to the plant. Use bypass pruners for small branches and stems and loppers or pruning saws for larger branches. Position the blades of the pruners or saws just outside the branch collar (swollen area at the base of the branch) and make a smooth cut. Avoid leaving stubs or cutting too close to the main stem.
- Prune at the Right Time: The timing of pruning depends on the specific plant and its growth habits. In general, it’s best to prune container plants during their dormant or resting period, which is typically in late winter or early spring. However, some plants may require specific pruning times based on their flowering or fruiting cycles. Research and understand the specific pruning requirements of each plant in your container garden.
- Observe the Plant’s Response: After pruning, observe how the plant responds to the pruning cuts. Look for signs of new growth, branching, and overall health. Adjust your pruning techniques and frequency based on the plant’s response to ensure healthy and balanced growth.
Regular pruning not only maintains the health and appearance of your container plants but also promotes their overall vitality. Applying proper pruning techniques and being attentive to the specific needs of your plants, you can ensure their long-term success in your container garden.
Deadheading for Continuous Blooms
Deadheading is a simple and effective technique for prolonging the blooming period of your flowering plants and promoting new flower production.
What is Deadheading?
Deadheading involves removing spent blooms or seed heads from your plants. These are the flowers that have faded, wilted, or started producing seeds. By removing them, you prevent the plant from channeling its energy into seed production and instead redirect that energy towards new growth and the production of more flowers.
How to Deadhead:
- Identify spent blooms: Regularly inspect your flowering plants and identify flowers that have started to fade or wilt.
- Locate the right spot: Look for the junction where the flower stem meets the main stem or branch. This is where you will make the cut.
- Make clean cuts: Using clean and sharp pruning shears or scissors, make a clean cut just above the junction. Ensure you don’t damage any emerging buds or new growth while doing so.
- Dispose of the removed blooms: Collect the removed flowers and dispose of them in compost or trash, depending on your gardening practices.
Benefits of Deadheading:
- Encourages new flower production: By removing spent blooms, you stimulate the plant to produce new flower buds, promoting continuous blooming throughout the growing season.
- Redirects energy: Deadheading prevents the plant from using its energy to produce seeds. Instead, the energy is directed towards growth, including the development of more flowers, stronger stems, and healthier foliage.
- Enhances aesthetic appeal: Removing faded or wilted flowers improves the overall appearance of your container garden. It keeps the plants looking fresh and tidy, enhancing the visual appeal.
Deadheading Techniques for Different Plants:
- Pinching or snapping off spent blooms: This method is suitable for plants with soft stems, such as petunias, marigolds, or zinnias. Gently pinch or snap off the faded flower heads between your thumb and forefinger.
- Cutting with pruners or scissors: For plants with tougher stems, like roses or daisies, use clean and sharp pruners or scissors to make the cuts just above the junction.
- Shearing or mowing: Some plants benefit from shearing or mowing to remove spent blooms over a larger area. This technique is commonly used for flowering herbs like lavender or basil.
Regular deadheading throughout the blooming season keeps your container plants looking vibrant and encourages continuous flower production.
Tip 8: Pest and Disease Management
Identifying Common Pests and Diseases
Container plants are susceptible to various pests and diseases that can hinder their growth and overall health. It’s crucial to be able to identify these issues early on to take prompt action. Some common pests and diseases to watch out for in your container garden are:
- Aphids: These small, soft-bodied insects feed on plant sap and can be found on new growth, undersides of leaves, or in clusters. They come in various colors, including green, black, or brown. Signs of aphid infestation include distorted leaves, sticky residue (honeydew), or the presence of ants.
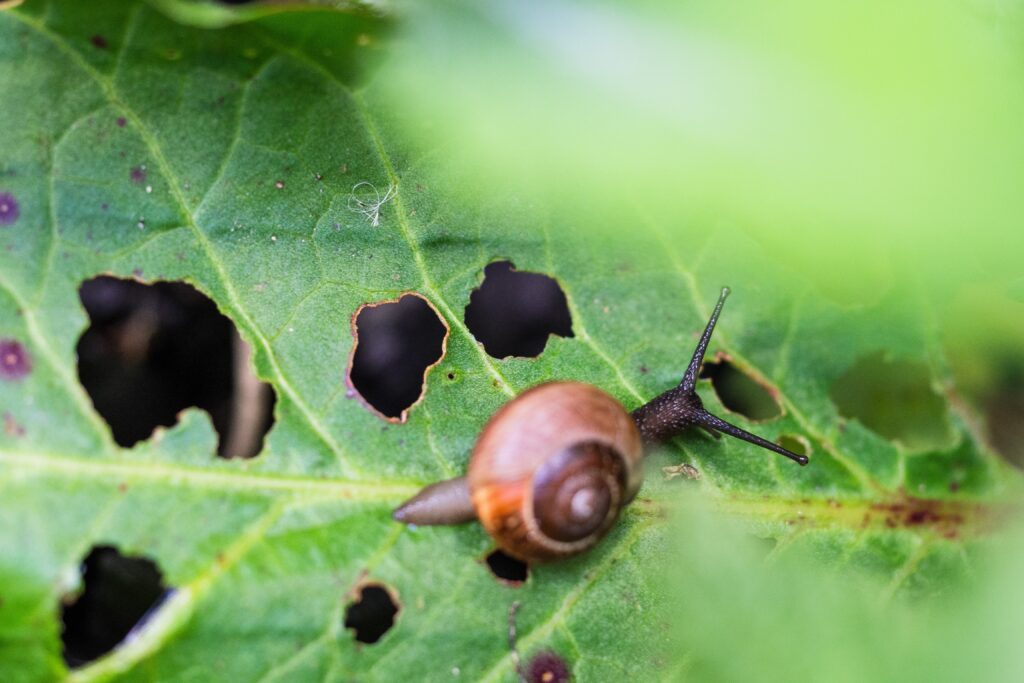
- Snails and Slugs: These mollusks are notorious for munching on leaves, stems, and flowers. They leave behind irregular holes and slimy trails. Look for them during damp weather or in shady areas of your garden.
- Fungal Diseases: Fungal diseases like powdery mildew, leaf spot, or root rot are common in container gardens. Powdery mildew appears as a white powdery coating on leaves, while leaf spot causes dark spots or lesions. Root rot may manifest as wilting, yellowing leaves or a foul odor.
- Spider Mites: Although challenging to detect without magnification, these minuscule arachnids can inflict substantial harm. Look for signs of webbing, stippling on leaves, or leaf discoloration. Spider mites thrive in dry conditions.
- Whiteflies: These small, white insects with wings congregate on the undersides of leaves. They fly up when the plant is disturbed. Whiteflies suck sap from plants, leading to weakened growth and the development of sticky honeydew
When identifying pests and diseases, it’s important to regularly inspect your plants, paying close attention to the leaves, stems, and undersides of leaves. Use magnifying glasses if necessary or take clear photos to seek advice from local gardening experts or online forums.
Prompt and appropriate action is essential to manage these issues effectively. Use the methods below to handle it:
- Organic insecticidal soap or neem oil: These products help control common pests like aphids, spider mites, and whiteflies. Adhere to the instructions provided on the product label to ensure accurate application.
- Handpicking: For larger pests like snails or slugs, physically remove them from your plants and create barriers, such as copper tape or diatomaceous earth, to prevent them from crawling back.
- Proper watering and ventilation: Avoid overwatering to prevent the development of fungal diseases. To discourage fungal growth, it is important to maintain adequate air circulation around the plants.
- Pruning affected parts: Remove and dispose of heavily infested or diseased plant parts to prevent the spread of pests and diseases.
Regularly inspect your plants, maintain proper hygiene, and practice good cultural practices such as proper watering, adequate spacing, and appropriate plant nutrition.
Natural and Chemical Control Methods
When it comes to pest and disease management in your container garden, you have the option to choose between natural and chemical control methods. Below are a few strategies you can contemplate:
Natural Control Methods:
- Companion Planting: Certain plants repel pests or attract beneficial insects that help control pests. For example, planting marigolds can deter aphids, while attracting ladybugs and lacewings, which feed on pests.
- Beneficial Insects: Introduce beneficial insects like ladybugs, praying mantises, or predatory mites to your garden. They can help control pests naturally by feeding on them.
- Homemade Insecticidal Soaps: Make your own insecticidal soap by mixing mild liquid soap with water. This solution can be sprayed directly on pests like aphids, whiteflies, or spider mites, suffocating them.
- Neem Oil: Derived from the neem tree, neem oil is an organic insecticide and fungicide. It disrupts pests’ feeding and reproductive patterns and can also control fungal diseases.
Chemical Control Methods Include:
- Insecticides: There are chemical insecticides available for controlling pests in container gardens. These products contain specific active ingredients that target particular pests. Follow the instructions on the product label carefully and apply them as directed.
- Fungicides: When fungal diseases become severe and natural methods are not sufficient, chemical fungicides may be necessary. Choose a fungicide formulated for the specific disease you are dealing with and apply it according to the instructions.
Kindly note that while chemical control methods can be effective, they should be used as a last resort and with caution. Use these guidelines when you want to use chemical methods to tackle pests:
- Read and follow the instructions: Always read and understand the instructions provided with any chemical control product. Follow the recommended dosage, application methods, and safety precautions.
- Targeted applications: Apply chemical interventions only when necessary and specifically target the affected plants or areas. Minimize spraying on beneficial insects, flowers, or edible parts.
- Integrated Pest Management (IPM): Practice an integrated approach by combining various control methods. Start with natural methods and resort to chemical options only when all other methods have been unsuccessful or when the severity of the infestation calls for it.
- Safety considerations: Wear appropriate protective gear, such as gloves and goggles, when handling and applying chemical control products. For safety purposes, it is important to prevent children and pets from accessing treated areas.
Your goal is to achieve a balance between pest control and maintaining a healthy environment. Whenever possible, prioritize natural and organic methods for pest and disease management, as they are generally safer for beneficial insects, the environment, and yourself.
Tip 9: Regular Maintenance and Care
Monitoring and Adjusting Watering
Regular monitoring and adjusting of watering practices are essential for the health and vitality of your container plants. You can effectively manage watering for your plants with these tips:
- Observe Plant Signs: Pay attention to your plants and look for signs that indicate their watering needs. Wilting or drooping leaves are often an indication that your plants need water. However, keep in mind that some plants, like succulents, may naturally have leaves that appear slightly wilted even when adequately hydrated. On the other hand, yellowing or discolored leaves can be a sign of overwatering.
- Check Soil Moisture: Regularly check the moisture level of the soil in your containers. Insert your finger about an inch into the soil or use a moisture meter to assess When the soil appears dry, it indicates the need for watering. If it’s still moist, hold off on watering to avoid overwatering.
- Adjust Watering Frequency: The watering frequency may vary depending on factors such as plant type, container size, environmental conditions, and season. During hot and dry periods, plants generally require more frequent watering. In contrast, cooler seasons may necessitate less frequent watering. Adjust your watering schedule accordingly.
- Watering Techniques: When watering, apply water at the base of the plant, avoiding foliage if possible. This helps prevent diseases and allows the water to reach the plant’s roots effectively. Water until you see it coming out of the drainage holes, ensuring thorough hydration. Discard any excess water that collects in the saucer or tray to prevent waterlogging.
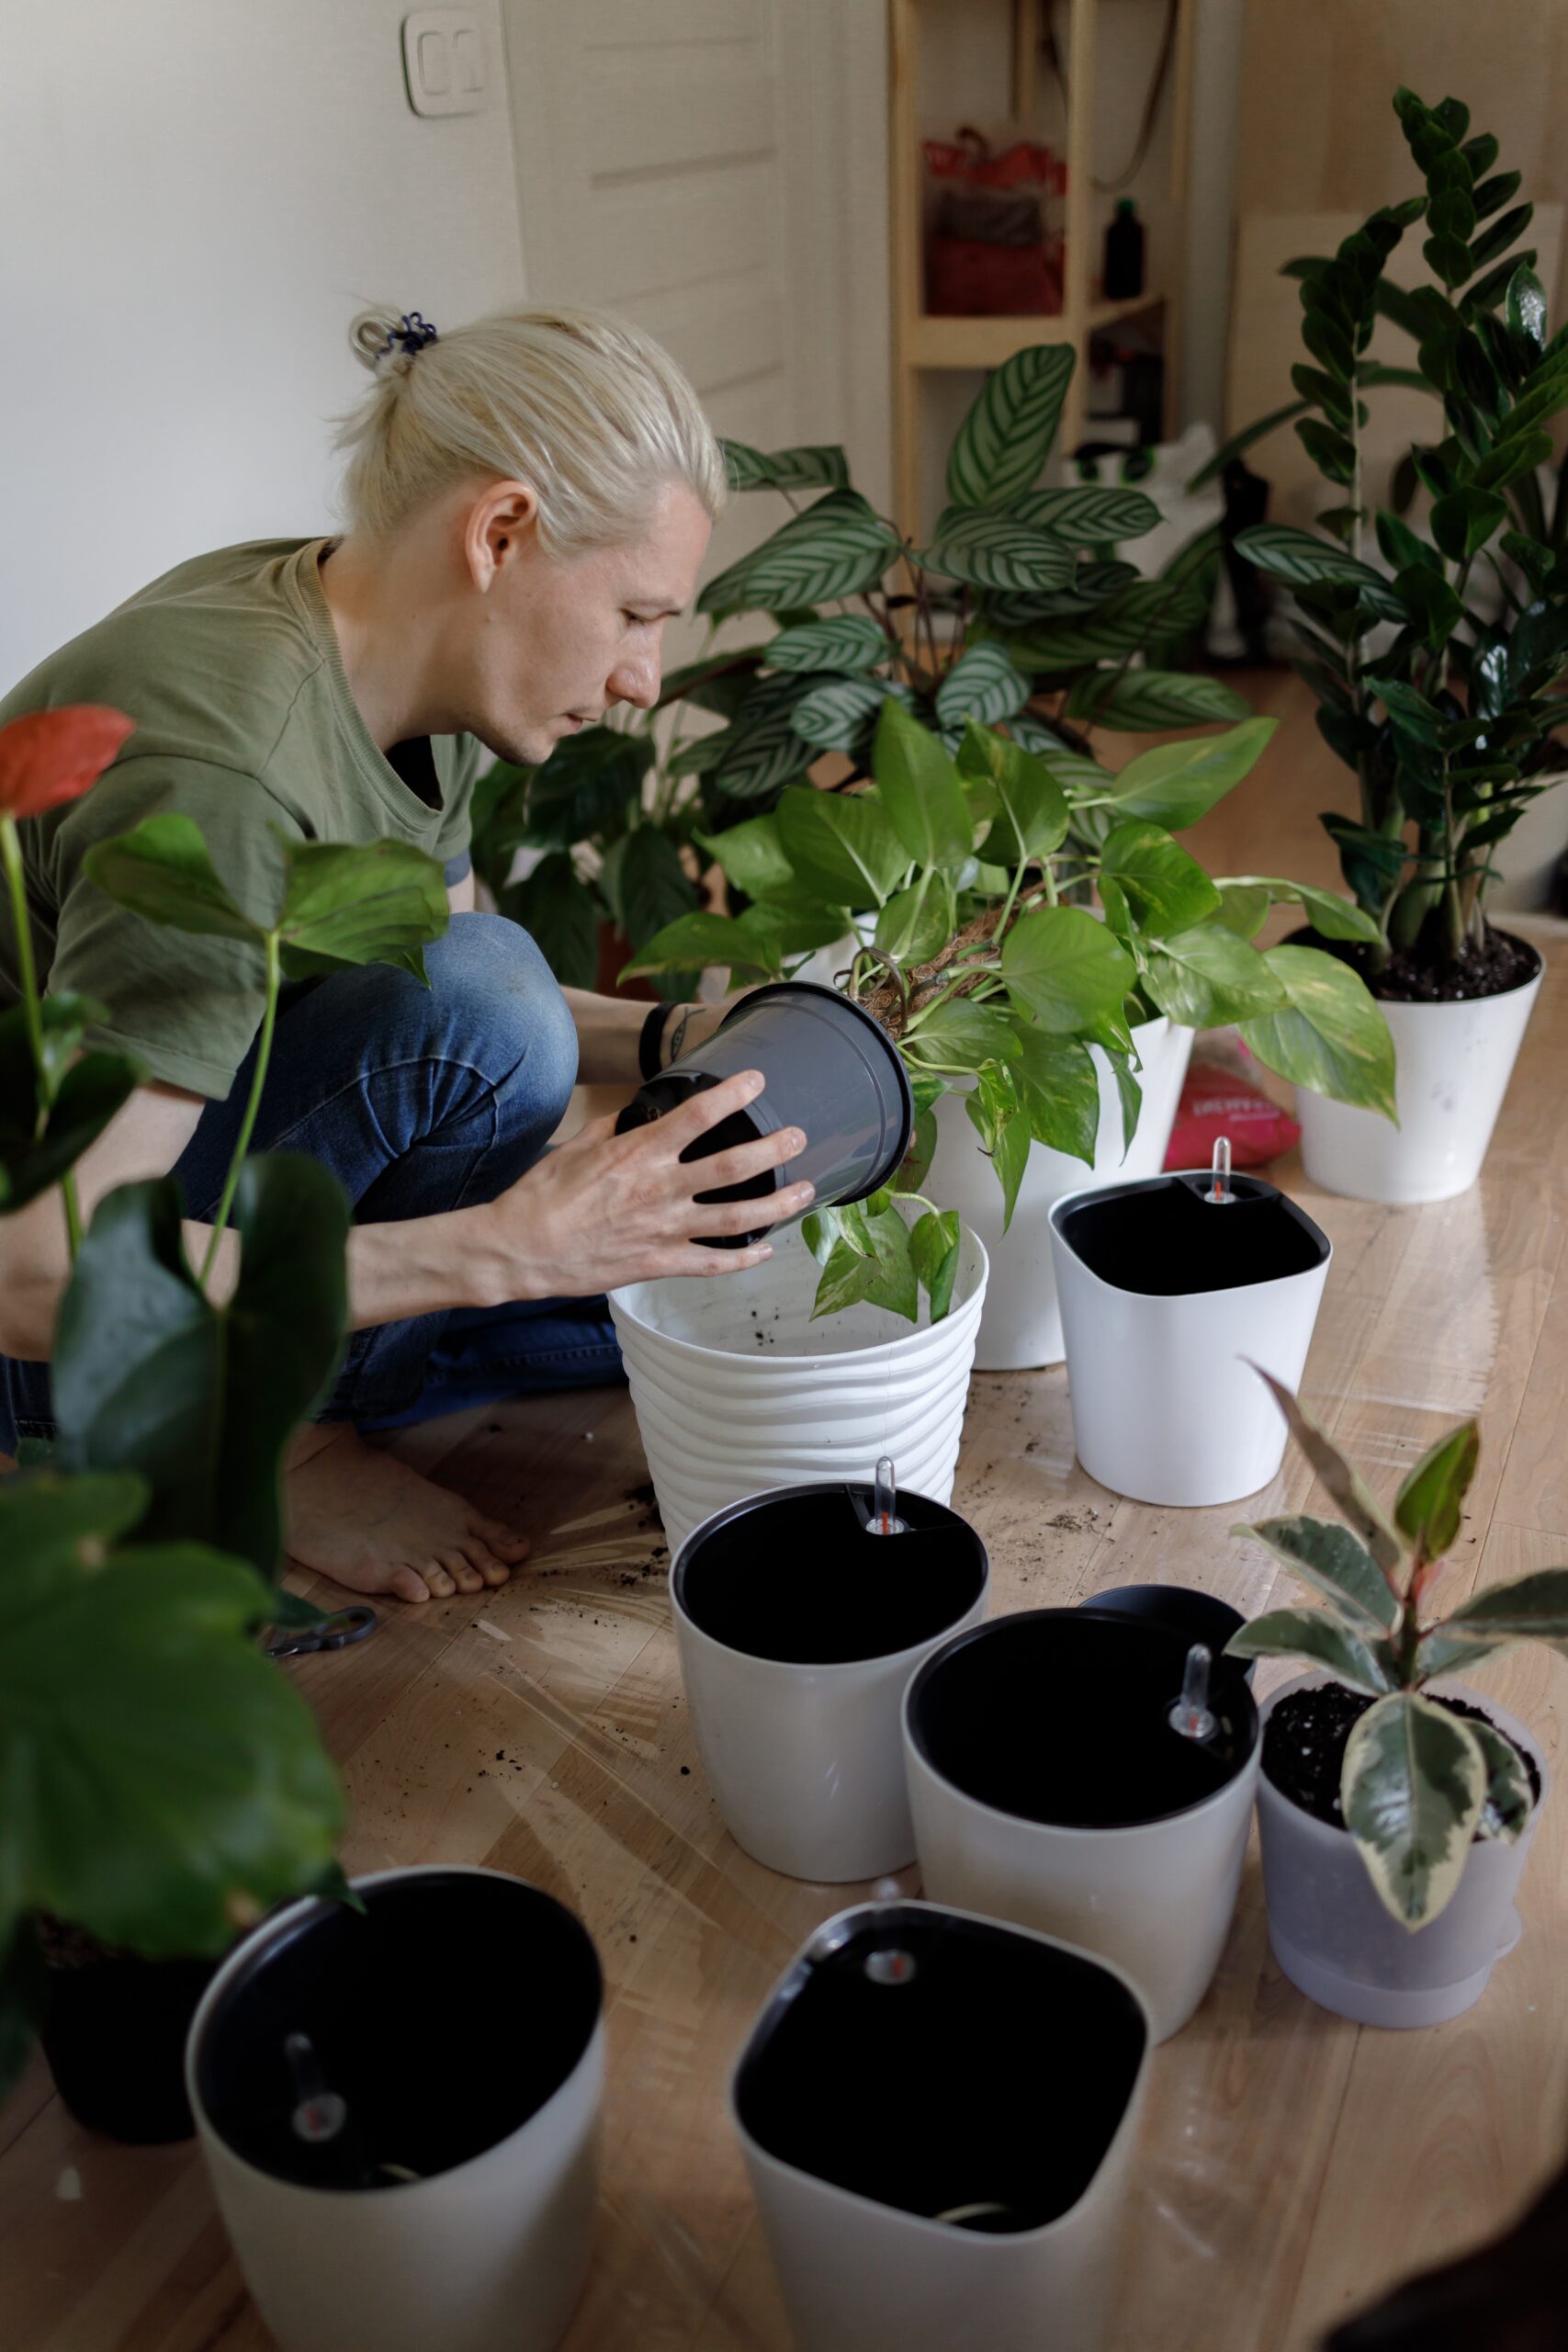
- Self-Watering Systems: Consider using self-watering systems, such as water reservoirs or wicking systems, for containers. These systems provide a consistent water supply to the plants, reducing the risk of under- or overwatering. Follow the manufacturer’s instructions for proper setup and maintenance.
- Mulching: Place an organic mulch layer around the base of your plants for beneficial effects. Mulch helps regulate soil moisture by reducing evaporation. It acts as a protective barrier, preventing excessive drying of the soil and maintaining a more consistent moisture level.
Watering requirements may vary between different plant species, so it’s important to research the specific needs of each plant in your container garden. Pay attention to your plants by adjusting watering practices accordingly, and providing consistent moisture without waterlogging, you can ensure optimal growth and health for your container plants.
Cleaning and Sanitizing Containers
Proper cleaning and sanitizing of containers are crucial for maintaining a healthy container garden. Follow these steps to effectively clean and sanitize your containers:
- Importance of Cleaning: Cleaning containers between planting seasons or when switching plants is essential for several reasons. It helps remove any lingering debris, old plant material, or soil residue that can harbor pests, diseases, or nutrient imbalances. Cleaning also prevents the accumulation of harmful pathogens that can affect the health of your new plants.
- Removing Debris: Start by emptying the container and removing any plant debris or soil remnants. Gently tap or brush off excess soil, and discard any diseased or infested plant material. Removing debris minimizes the risk of pests and diseases being transferred to new plants.
- Scrubbing the Container: Fill a bucket or basin with a mild bleach solution, using one part household bleach to nine parts water. Use a scrub brush or sponge to thoroughly scrub the container, both inside and outside. Pay close attention to any stubborn dirt or stains. The bleach solution helps kill any remaining pathogens or pests present on the container surface.
- Rinsing: After scrubbing, rinse the container thoroughly with clean water to remove any traces of bleach or residue. Ensure that all bleach has been rinsed off to prevent any negative impact on your new plants.
- Drying and Storage: Allow the containers to air-dry completely before storing or reusing them. Make sure the containers are completely dry to prevent the growth of mold or bacteria. Store containers in a clean and dry area to maintain their cleanliness until the next planting season.
- Alternative Cleaning Methods: If you prefer not to use bleach, you can opt for environmentally friendly alternatives. Vinegar or hydrogen peroxide diluted with water can be effective for cleaning containers. Ensure that you follow proper dilution ratios and rinse containers thoroughly after cleaning.
Regularly cleaning and sanitizing your containers, you minimize the risk of introducing pests, diseases, or nutrient imbalances to your plants. This practice promotes a healthy growing environment, allowing your new plants to thrive and reach their full potential in the container garden.
Tip 10: Experiment and Have Fun!
Embrace Trial and Error
Container gardening is an opportunity to explore, learn, and have fun with your plants. Embracing the trial-and-error process can be an exciting and rewarding part of the journey. These are why you should embrace experimentation and learn from both successes and failures:
- Unique Garden Experiences: Each container garden is unique, influenced by factors such as climate, sunlight, and personal preferences. It’s important to recognize that what proves effective for one gardener may not yield the same results for another. By embracing trial and error, you can discover what thrives in your specific environment and create a garden that is truly your own.
- Learning and Growth: Experimenting with different plant combinations, container styles, and gardening techniques allows you to expand your knowledge and skills. It provides an opportunity to learn about the specific needs and characteristics of different plants, and how they interact with their environment. Through observation and experience, you can become a more knowledgeable and confident gardener.
- Adaptation and Problem-Solving: Container gardening is dynamic, and challenges may arise along the way. By approaching gardening as an experiment, you develop problem-solving skills and adaptability. When faced with setbacks or unexpected outcomes, you can analyze the situation, make adjustments, and find creative solutions to overcome obstacles.
- Joy and Personal Expression: Gardening should bring joy and fulfillment. By embracing experimentation, you can tap into your creativity and personal preferences. Try out new plant combinations, explore different container styles and arrangements, and express your unique gardening style. Enjoy the process of discovering what brings you the most delight in your container garden.
- Connecting with Nature: Container gardening is a wonderful way to connect with nature, even in limited spaces. It allows you to observe the growth and development of plants up close and witness the beauty of nature firsthand. By experimenting and learning from your garden, you deepen your connection with the natural world.
It is very important to know not every experiment will be a resounding success, and that’s perfectly okay. Embrace the learning process, be open to new ideas, and celebrate the victories, no matter how small. Container gardening is a journey of exploration and discovery, and the joy lies in the experience itself. So, go ahead, get your hands dirty, and have fun with your container garden!
Enjoy the Journey
Container gardening is not just about the end result; it’s about the entire journey and the experiences along the way. Below are some reasons why you should take the time to appreciate and enjoy every moment of your container gardening adventure:
- Mindful Connection with Nature: Container gardening provides an opportunity to slow down, connect with nature, and appreciate the beauty around you. Take a moment to observe the delicate unfolding of leaves, the vibrant colors of blooms, and the intricate details of each plant. Engage your senses and let the sights, smells, and textures of your garden bring you joy and tranquility.
- Therapeutic and Stress-Relieving: Gardening has been known to have therapeutic benefits, reducing stress and promoting mental well-being. Whether it’s tending to your plants, getting your hands in the soil, or simply enjoying the peacefulness of your garden, take the time to immerse yourself in the present moment and find solace in the therapeutic nature of container gardening.
- Celebrate Small Achievements: Container gardening is a journey of small victories and milestones. Celebrate each step along the way, from the first sprout breaking through the soil to the first harvest or bloom. Acknowledge the effort you put into nurturing your plants and appreciate the rewards that come with it. These small achievements are a testament to your dedication and love for gardening.
- Inspiration and Creativity: Container gardening is an opportunity to express your creativity and explore your unique sense of aesthetics. Experiment with different plant combinations, colors, and textures to create visually captivating displays. Allow your garden to be a source of inspiration and a reflection of your personal style. Take joy in the process of creating something beautiful and unique.
- Learning and Growth: Your container garden is a living laboratory where you can continuously learn and grow as a gardener. Every season presents new challenges and opportunities for learning. Embrace the lessons that your garden teaches you, whether it’s about plant care, problem-solving, or cultivating patience. Embrace the process of broadening your knowledge and honing your skills, and relish the journey along the way.
- Share and Connect: Container gardening can be a shared experience that brings people together. Engage in sharing your gardening experiences with friends, family, or other passionate gardening enthusiasts. Celebrate the joy of gardening as a community and connect with like-minded individuals who share your passion.
Container gardening is not just about the end result—it’s about immersing yourself in the process, connecting with nature, and finding fulfillment in every step of the journey.
Conclusion:
With these 10 expert container gardening tips and tricks, you have the knowledge and tools to create a stunning container garden. From selecting the right containers and plants to providing proper care and maintenance, your efforts will yield beautiful results. So go ahead, unleash your creativity, and enjoy the vibrant and lush oasis you’ve created with your own two hands. Happy container gardening!
