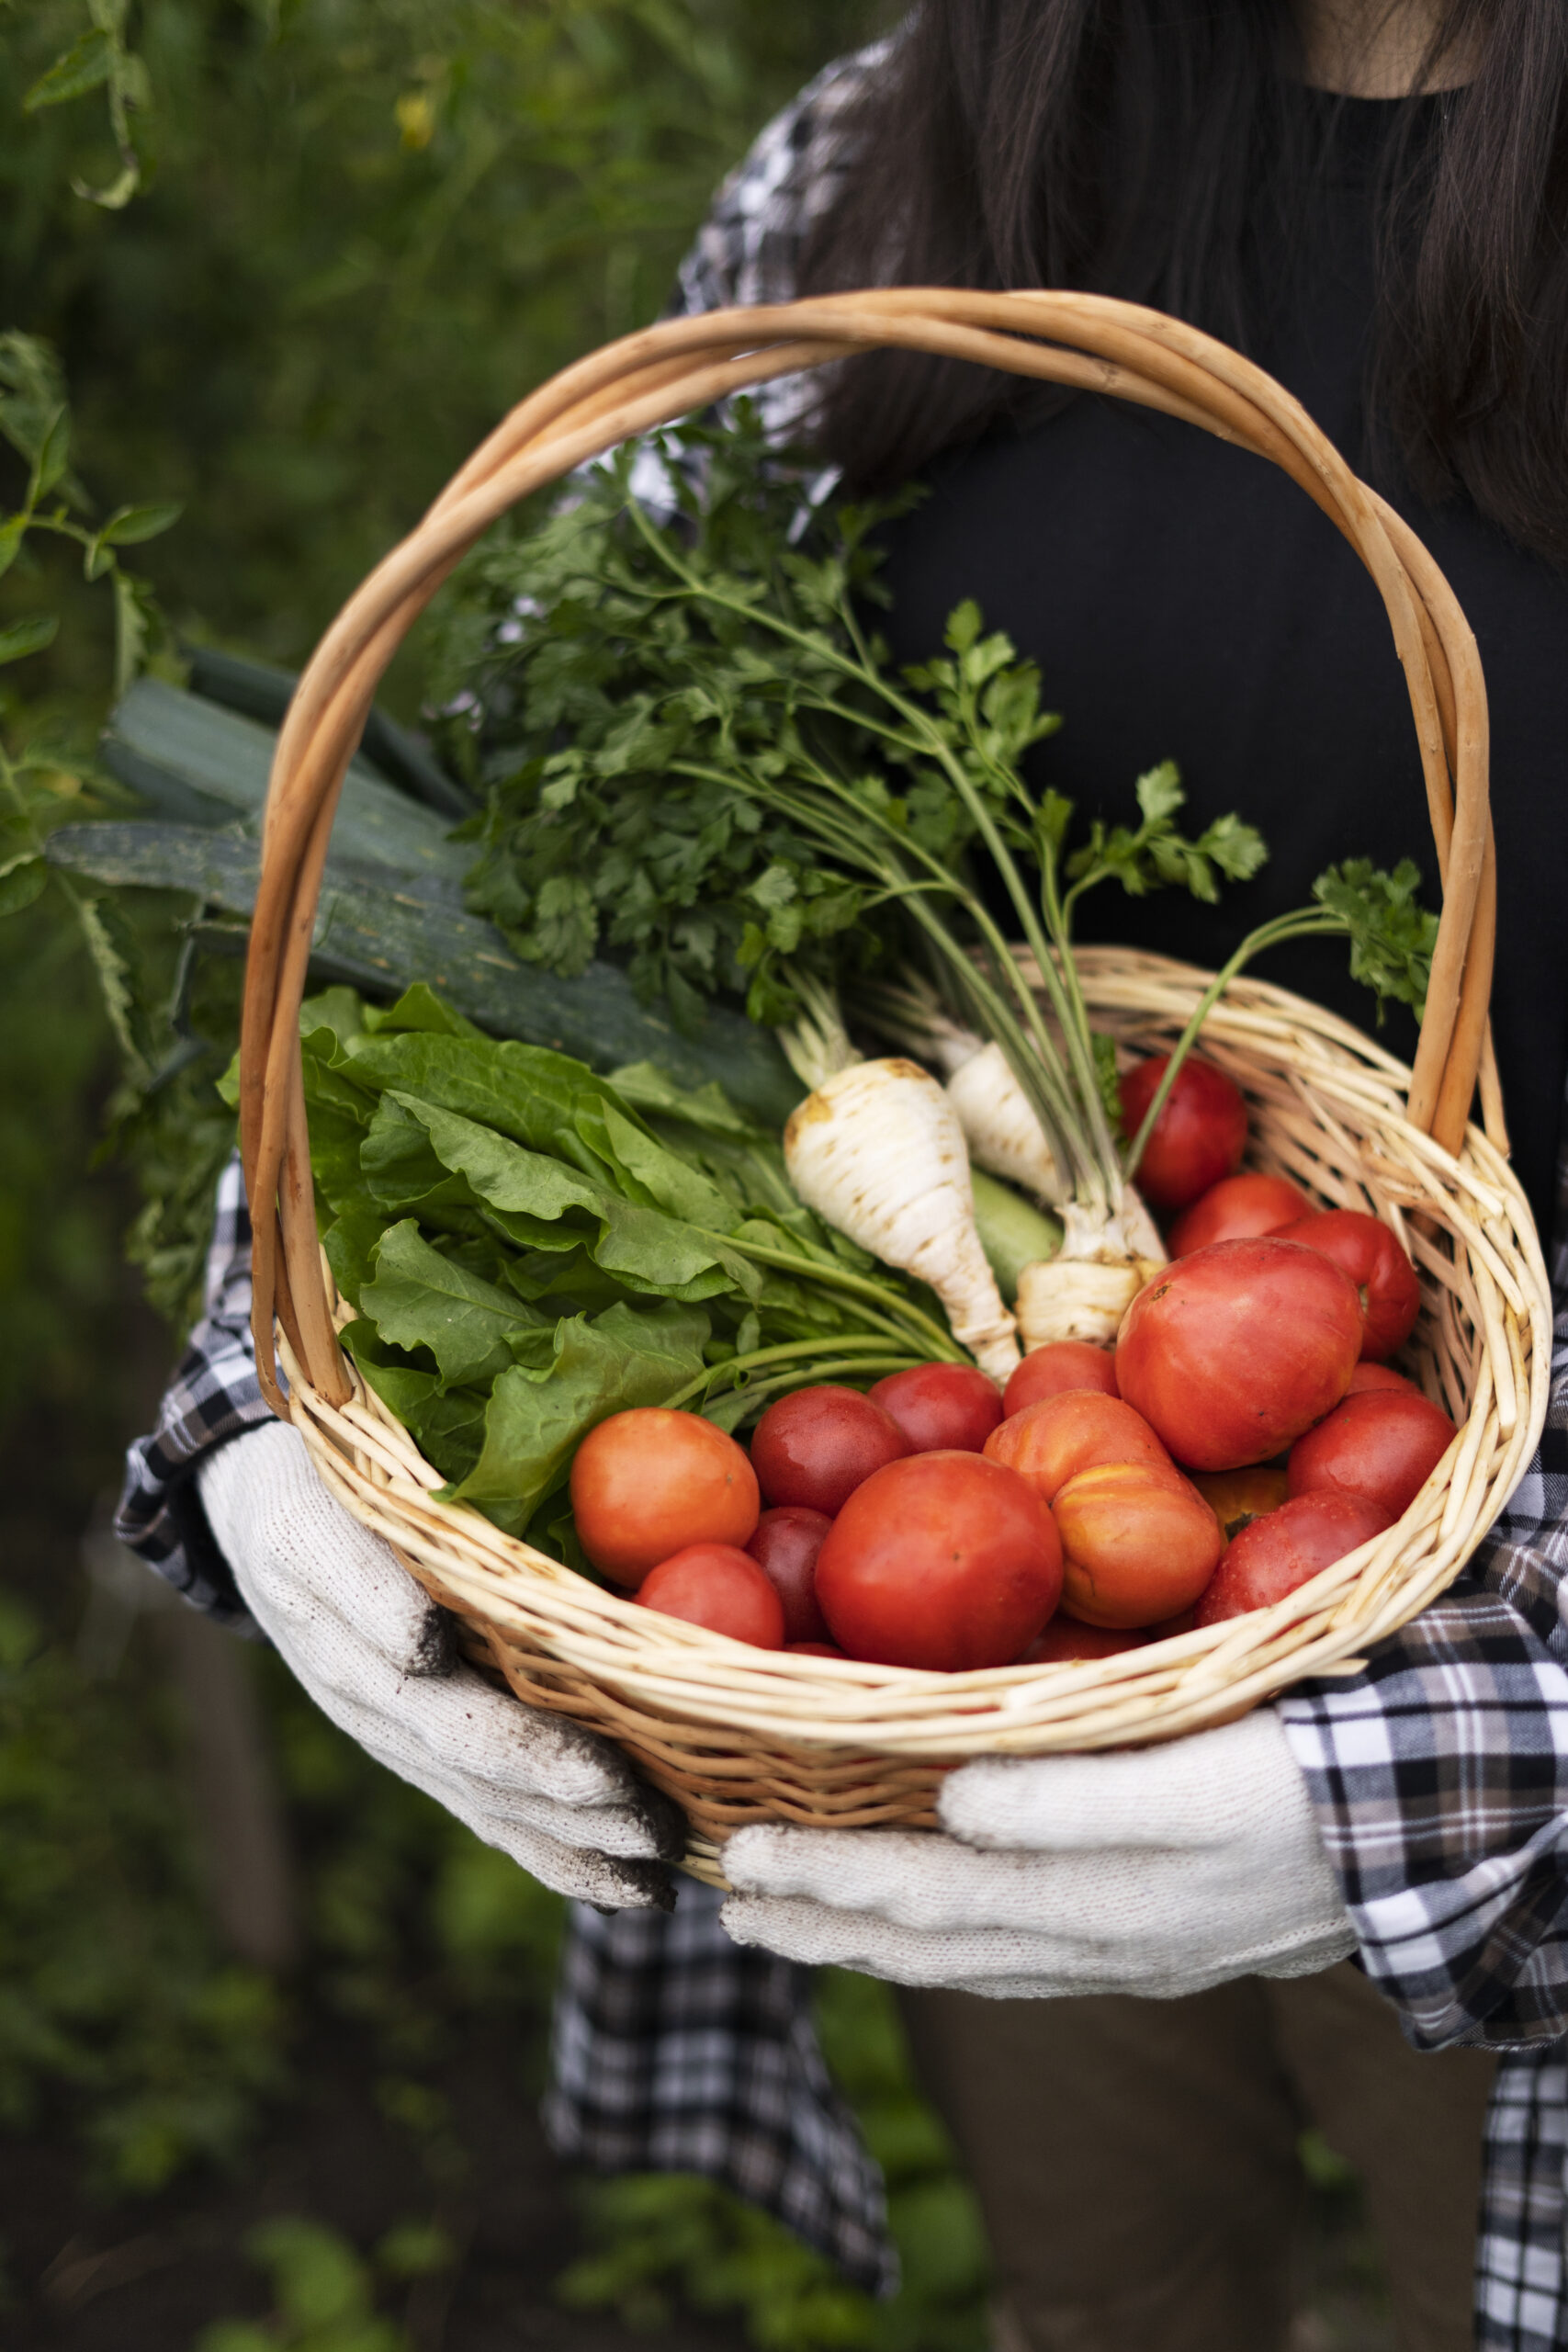
Craving fresh, homegrown food but short on space? Look no further than your balcony or patio! With just a few containers and these 10 easy steps, you can cultivate a vibrant container food garden bursting with bounty all season long. Get ready to green up your surroundings – and plate up!
1. Choosing Pots And Plants
Picking the Right Pots:
- Material Matters: Opt for containers with drainage holes! Terracotta, glazed ceramic, plastic, and even repurposed buckets all work, but consider factors like weight (plastic is lighter), insulation (terracotta warms soil faster), and aesthetics.
- Size Matters: Match the pot size to your chosen plant’s mature size. Dwarf tomatoes thrive in 5-gallon buckets, while herbs can rock in smaller pots. Remember, bigger isn’t always better – roots need room to breathe, but oversizing can lead to waterlogging.
- Drainage is Key: Those drainage holes are your plant’s best friends! Ensure they’re free of obstructions and consider adding gravel or mesh at the pot’s bottom to aid drainage further.
2. Enrich the Soil (The Secret Sauce of a Thriving Container Garden)
Healthy soil = happy plants: Ditch the heavy garden soil and opt for a light, airy potting mix made for container gardens. Look for key ingredients like peat moss, compost, and perlite to ensure good drainage and aeration.
Boost the mix: Give your soil a spa treatment with compost tea, organic fertilizers, and worm castings for extra nutrients and happy microbes.
Maintain soil health: Mulch to retain moisture, rotate crops to prevent depletion, and test your soil regularly to keep everything in balance.
Get creative: Upcycle old containers and drill drainage holes for unique planters.
With these soil secrets, your mini farm will be blooming in no time!
3. Lay the Foundation
Now, let’s get to the fun part! Here’s how to fill your containers with the perfect potting mix:
- Start with drainage: Ensure your containers have drainage holes. If not, add some yourself. This is crucial to prevent waterlogging and root rot.
- Fill 3/4 full: Avoid filling your containers all the way to the top. Leave about 1-2 inches of space at the rim to allow for watering and prevent soil from spilling over.
- Tamp as you go: As you fill the container, gently tamp down the soil with your hands or a tool to remove air pockets and create a stable base for your plants.
Consider the size of your plants when filling the containers. Deeper-rooted plants, like tomatoes, need more soil than shallow-rooted herbs.
4. Add Structure
While your container plants settle into their new soil haven, it’s the perfect time to introduce some architecture! Adding stakes and trellises at this early stage sets the foundation for elegant, organized growth, especially for your vining superstars like peas, beans, and cucumbers. Trust me, a little guidance now translates to orderly ease and bountiful harvests later.
Choosing the Right Support:
The type of structure you choose depends on your plant and container setup. Here are some options:
- Stakes: Simple bamboo or metal rods work well for single pea or bean plants. Secure the stake next to the plant and gently tie the stem as it grows.
- Trellises: These can be freestanding, leaning, or even attached to your balcony railing. Perfect for multiple climbing plants, they offer more support and allow for creative vine patterns.
- Tomato cages: These circular cages are ideal for supporting tomato plants as they grow tall and heavy.
Positioning is Key:
Place your structures close to the base of your vining plants, making sure they’re firmly anchored in the soil. As the stems grow, gently guide them onto the supports and tie them loosely with soft twine or gardening tape. Avoid overtightening, as this can restrict growth.
5. Use Sun Successfully
Sunshine is the lifeblood of any garden, and your balcony oasis is no exception. But capturing and utilizing that precious sunlight in a limited space can be tricky. Fear not, sun-seeking gardeners! Here’s how to turn your balcony into a solar-powered paradise:
Know Your Light Levels:
First things first, understand your balcony’s sun exposure. Observe throughout the day to identify areas that receive at least 6 hours of direct sunlight. Most veggies crave this golden nectar for optimal growth and fruiting.
Follow the Sun’s Symphony:
Don’t be a static sunbather! Move your containers throughout the day to track the sun’s path and maximize their light intake. Think of it as a miniature choreographed ballet between your plants and the sun.
Light-Hacking Tools:
Need a little extra sunshine boost? Deploy some strategic light-hacking tools:
- Reflective surfaces: Position mirrors or even aluminum foil strategically to bounce sunshine onto shady corners.
- Light panels: For balconies with limited natural light, consider using LED grow panels to supplement your plants’ sun intake.
Plant Placement with Precision:
Place your sun-loving stars like tomatoes, peppers, and herbs in the prime sunbathing spots. Shade-tolerant greens like lettuce and spinach can happily occupy the areas with dappled light.
Bonus Pro-Tips:
- Vertical gardening: Take advantage of wall space! Hanging baskets and vertical planters can maximize sun exposure even on small balconies.
- Window tricks: If your balcony is north-facing, consider placing reflective surfaces near south-facing windows to redirect light onto your plants.
- Embrace mobile planters: Invest in lightweight planters you can easily move around to follow the sun.
6. Plant with Purpose
Forget the jungle! In container food gardening, space is precious. That’s why planting with purpose is key. Here’s how to give your leafy and fruity friends the room they need to flourish:
Planting by the Numbers:
Don’t wing it! Every seed packet and seedling tag specifies an ideal spacing recommendation. This isn’t just decorative gibberish – it’s crucial for root space, air circulation, and ultimately, successful harvests. Cramped plants compete for resources, leading to stunted growth, weak stems, and even disease.
Seed Sowing Strategies:
For tiny seeds like lettuce or herbs, sow thinly in neat rows or sprinkle evenly. Remember, you can always thin seedlings later to ensure proper spacing.
Seedling Placement:
Gently nestle your pre-grown seedlings into individual pots, following the recommended spacing on the tag. Make sure the root ball fits comfortably without squishing.
Think Up, Not Out:
Vertical is your friend! Utilize trellises, hanging baskets, and wall planters to maximize space and allow air and light to reach all sides of your plants..
7. Water Responsively
Container food gardening offers the joy of fresh produce close at hand, but it also introduces a new challenge: mastering the art of watering. In confined pots, soil dries out faster, and keeping your plants optimally hydrated is key to their success. Fear not, green-thumbed friends! Here’s how to water responsibly and ensure your balcony oasis thrives:
Know Your Soil:
Different potting mixes and plants have different moisture needs. Peat moss dries quickly, while clay-based mixes retain moisture longer. Observe your soil: if it feels dry down below when you poke your finger in, it’s watering time!
Ditch the Daily Soak:
Resist the urge to water on a rigid schedule. Container soil dries at varying rates depending on factors like sun exposure, wind, and plant type. Check your soil daily and water only when the surface feels dry to the touch.
Deeply Does It:
When you do water, give it a good soak! Aim for water to run freely out the drainage holes. This ensures the entire root zone is hydrated, not just the surface. Shallow dribbles barely quench your plant’s thirst and can encourage shallow root growth.
8. Give Natural Nourishment
Even the richest potting mix eventually needs a top-up. In container gardens, where plants rely on a limited soil volume, supplying natural nourishment is crucial for robust growth and bountiful harvests. Forget harsh chemicals – organic fertilizers and compost are your secret weapons for healthy, flavorful yields.
The Power of Organics:
Organic fertilizers and compost feed the soil, not just the plant. They’re packed with beneficial microbes, nutrients, and organic matter that improve soil structure, aeration, and water retention. Think of it as creating a thriving mini-ecosystem where your plants can truly flourish.
Side-Dressing Secrets:
Instead of burying fertilizer deep, “side-dress” your containers. Gently sprinkle the recommended amount of organic fertilizer or compost around the base of the plant, staying away from the stem. Water it in to activate the goodness.
Monthly Munchies:
Don’t overdo it! Apply organic fertilizers or compost once a month during the growing season, following the instructions on the packaging. Overfeeding can actually burn your plants or disrupt the soil balance.
Compost Tea Time:
Brew your own compost tea! Steep a handful of compost in water for a few days to create a liquid nutrient concentrate. Use this tea to water your plants for an extra boost of beneficial microbes and nutrients.
9. Pinch and Prune Strategically
In food container gardens, where every inch counts, a little strategic pruning goes a long way towards maximizing your harvest. Think of it as sculpting your plants for success, directing their energy towards producing delicious goodness instead of fighting for space and sunlight.
Pinching Suckers:
Those leafy shoots sprouting between the main stem and branches – those are suckers! Gently pinch them off early on to prevent them from stealing valuable energy from your precious fruits and vegetables. This focused power boost translates to more blooms, more fruits, and more happy taste buds come harvest time.
Thinning the Leaf Crowd:
Too many leaves? No bueno! Overcrowding can block sunlight and airflow, creating a less-than-thriving environment for your plants. Periodically, remove any large, damaged, or yellowing leaves to improve air circulation and light penetration. Remember, a well-aired, sun-kissed plant is a happy, productive plant.
Bud Budding Up:
For some veggie superstars like tomatoes and cucumbers, judicious bud thinning can also work wonders. By carefully removing some excess flower buds early on, you’re directing the plant’s energy towards nurturing the remaining buds, resulting in larger, juicier fruits later. It’s all about strategic resource allocation for maximum flavor payoff!
With these simple steps, you’ll coax abundant edibles from even the smallest settings. Now get growing that container crop cuisine!