If you have limited space or want to try your hand at container gardening, growing potatoes in containers is an excellent option. In this comprehensive guide, we will explore the art of growing potatoes in containers, step by step. From choosing the right container to planting, care, and harvesting, we’ll cover all the essential techniques to help you grow a bountiful potato harvest right at home. So, let’s dig in and discover the joys of DIY potato gardening in containers!
Choosing Your Spudtacular Sprouts
The foundation of your potato-growing adventure lies in selecting the right seed potatoes. Unlike the supermarket offerings, seed potatoes are specifically cultivated for planting and come in various varieties, each boasting unique flavors and ripening times.
- Early varieties: These potatoes mature quickly, within 60-70 days, making them ideal for impatient growers or short growing seasons. Popular early varieties include ‘Red Norland,’ ‘Yukon Gold,’ and ‘French Fingerling.’
- Mid-season varieties: Offering a good balance between early and late varieties, mid-season potatoes take around 70-80 days to mature. Some popular choices include ‘Kennebec,’ ‘Carola,’ and ‘King Edward.’
- Late varieties: Renowned for their excellent storage potential, late-season potatoes take 80-100 days to mature. Popular options include ‘Russet Burbank,’ ‘Maris Piper,’ and ‘Desiree.’
When selecting your seed potatoes, look for firm, blemish-free tubers with visible “eyes” or sprouts. Avoid any potatoes that are wrinkled, shriveled, or have green patches (indicating exposure to sunlight, which can be toxic).
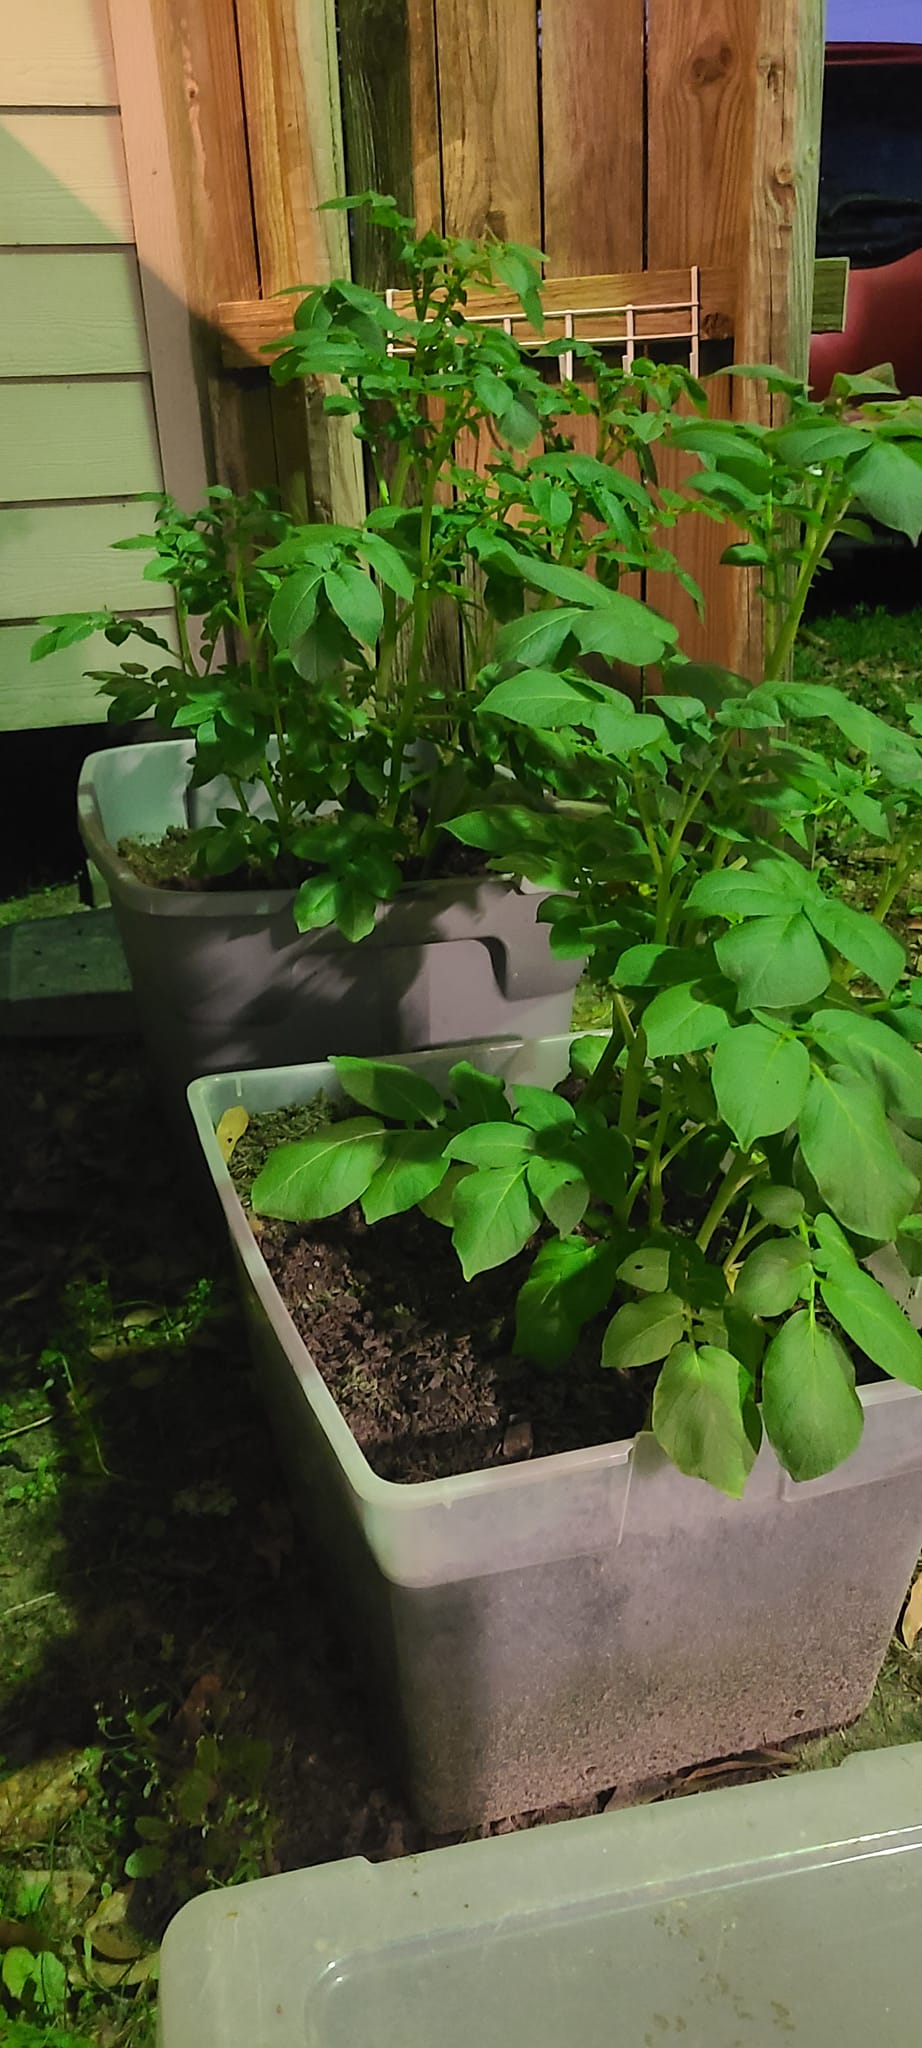
Crafting the Perfect Potato Palace
Now that you have your spuddy companions, it’s time to create their home: the container! While various options work, here are some key considerations:
- Size: Choose a container that’s at least 15-20 gallons in size for each potato plant. This allows ample space for root development and tuber formation. Opt for larger containers if planting multiple potatoes together.
- Drainage: Excellent drainage is crucial to prevent waterlogging, which can lead to root rot. Ensure your container has drainage holes at the bottom to allow excess water to escape. If using a container without drainage holes, create them yourself or add a layer of gravel or broken pottery shards at the base to promote drainage.
- Material: Plastic, wood, or fabric grow bags are all suitable options. Plastic containers are lightweight and affordable, while wooden ones offer a more aesthetically pleasing touch. Fabric grow bags, though less durable, provide good drainage and aeration.
Preparing the Spuddy Substrate
The next step is to create the ideal growing medium for your potato plants. Here’s what you’ll need:
- Potting mix: Opt for a high-quality, well-draining potting mix. Look for one specifically formulated for vegetables or containing slow-release fertilizer.
- Compost: Adding compost to the potting mix enriches the soil with essential nutrients and improves drainage. Aim for a 50/50 mix of potting mix and compost.
- Fertilizer: A balanced fertilizer formulated for potatoes can be used to supplement the nutrients in the potting mix. Follow the manufacturer’s instructions for application rates and frequency.
Fill your container with the prepared potting mix, leaving about 2-3 inches of space from the rim. This allows room for adding more soil as the plant grows.
Planting Your Spud Squad
With your container prepped, it’s time to introduce your seed potatoes to their new home! Here’s the process:
- Pre-sprouting (optional): For earlier harvests, pre-sprout your seed potatoes by placing them in a cool, well-lit location (not direct sunlight) for a few weeks before planting. The eyes will develop short, green shoots, indicating they’re ready for planting.
- Cutting (optional): If your seed potatoes are large, you can cut them into pieces, each containing at least 2-3 eyes. Ensure each piece has a sufficient portion of the potato flesh.
- Planting: Gently place the seed potatoes or pieces eye-side up onto the prepared soil surface. Space them evenly, leaving about 6-8 inches between each potato for proper growth.
- Covering: Cover the potatoes with 2-3 inches of potting mix, gently firming the soil around them. Water thoroughly to settle the soil and ensure good moisture levels.
Nurturing Your Spuddy Companions
- Sunlight: Potatoes require at least 6-8 hours of daily sunlight, so choose a location that receives ample sunshine throughout the day. If growing indoors, supplement with grow lights to ensure adequate light exposure.
- Watering: Water regularly, keeping the soil consistently moist but not waterlogged. Aim to water deeply, allowing the water to reach the developing tubers below the surface. As the plant grows and the weather gets warmer, you may need to water more frequently.
- Feeding: While the slow-release fertilizer and compost should provide some nutrients, you can supplement with a balanced potato fertilizer every 2-3 weeks during the growing season. Follow the recommended application rates on the fertilizer packaging to avoid over-fertilizing.
- Hilling: As your potato plants grow taller, “hilling” them encourages the formation of more tubers. Hilling involves gently pulling soil up around the base of the stems, burying the lower portion of the plant. Repeat this process every few weeks as the plant grows taller.
- Pest and disease control: While potatoes are generally low-maintenance, they can be susceptible to certain pests and diseases. Keep an eye out for common issues like potato beetles, aphids, and late blight. Use organic methods like neem oil or insecticidal soap to control pests, and ensure good air circulation and proper watering practices to prevent fungal diseases.
Harvesting Your Spudtacular Reward
The moment you’ve been waiting for! Here are some signs indicating your potatoes are ready to harvest:
- The foliage starts to die back and turn yellow.
- The tops of the plants begin to dry out and brown.
- The potato tubers have reached a desirable size, depending on the variety chosen.
To harvest, carefully dig up the soil around the base of the plant and gently remove the potatoes. Avoid damaging the tubers with sharp tools. Brush off any excess soil and allow the potatoes to dry in a cool, well-ventilated area for a few days before storing them.
Storing Your Spuddy Treasures
Properly storing your harvested potatoes ensures they stay fresh and delicious for longer. Here are some key points to remember:
- Choose a cool, dark, and well-ventilated location. A root cellar, basement, or garage are ideal options. Avoid storing them in direct sunlight, heat, or excessive moisture.
- Spread the potatoes out in a single layer on a breathable surface. This allows for good air circulation and prevents rot. Avoid storing them in plastic bags, as this can trap moisture and lead to spoilage.
- Inspect your potatoes regularly and remove any that show signs of spoilage or damage.