Imagine whipping up a summer salad, bursting with fresh flavors, and reaching for a plump, homegrown onion. The crisp bite and pungent aroma elevate the dish to a whole new level. But wait, don’t onions require sprawling fields and backbreaking labor? Not at all! With a little know-how, you can cultivate these culinary gems right on your balcony or windowsill.
This guide unveils the surprisingly easy way to grow onions from seeds in containers. We’ll break down the process into simple steps, from seed selection to harvest, empowering you to transform your containers into mini-onion patches.
This post may have affiliate links. This means that sometimes when you click a link on our site and make a purchase on Amazon, we may earn a small commission at no additional cost to you. We only recommend products we truly believe in, and your support helps keep us running!
Setting the Stage: Seeds, Soil, and Shelter
let’s gather the essentials to create the perfect environment for your onion seedlings.
- Seeds: Not all onions are created equal! There are two main types for growing from seed: short-day onions, like the familiar globe onions, and long-day onions, which prefer longer daylight hours. Choose a variety suited to your climate and desired harvest time.
- Potting Mix: Select a well-draining, lightweight potting mix. Opt for a commercial seed starting mix or create your own by combining equal parts sterilized potting soil, compost, and perlite.
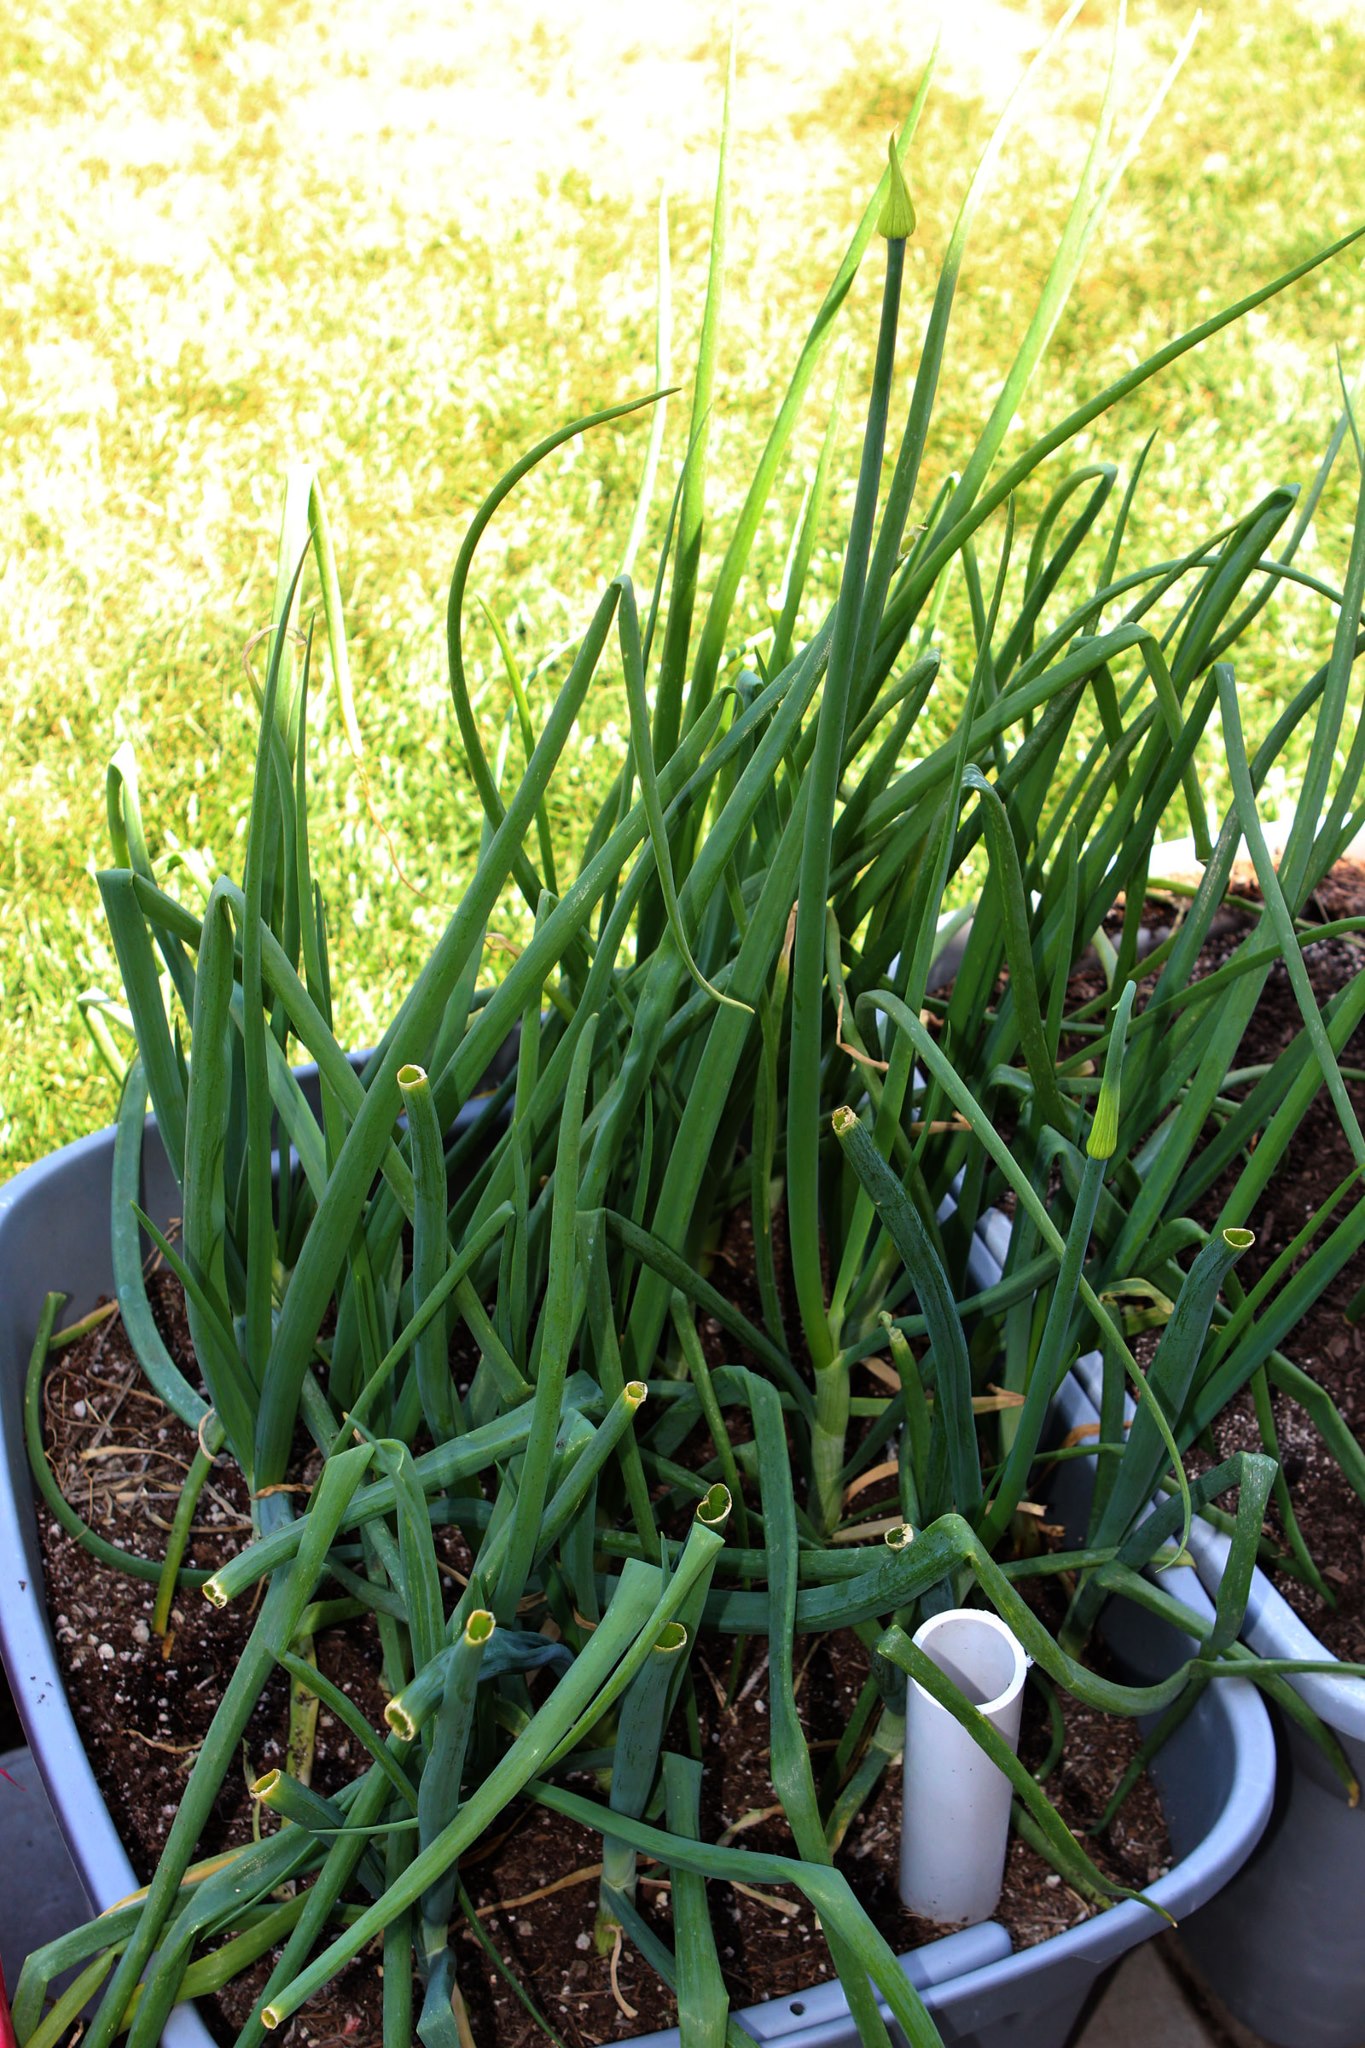
- The Perfect Pot: Choose a container with drainage holes. A pot 6 to 8 inches deep and at least 8 inches wide will comfortably house several onion plants.
Sowing the Seeds of Success
Now that you have your supplies, it’s time to get your hands dirty (in the best way possible!)
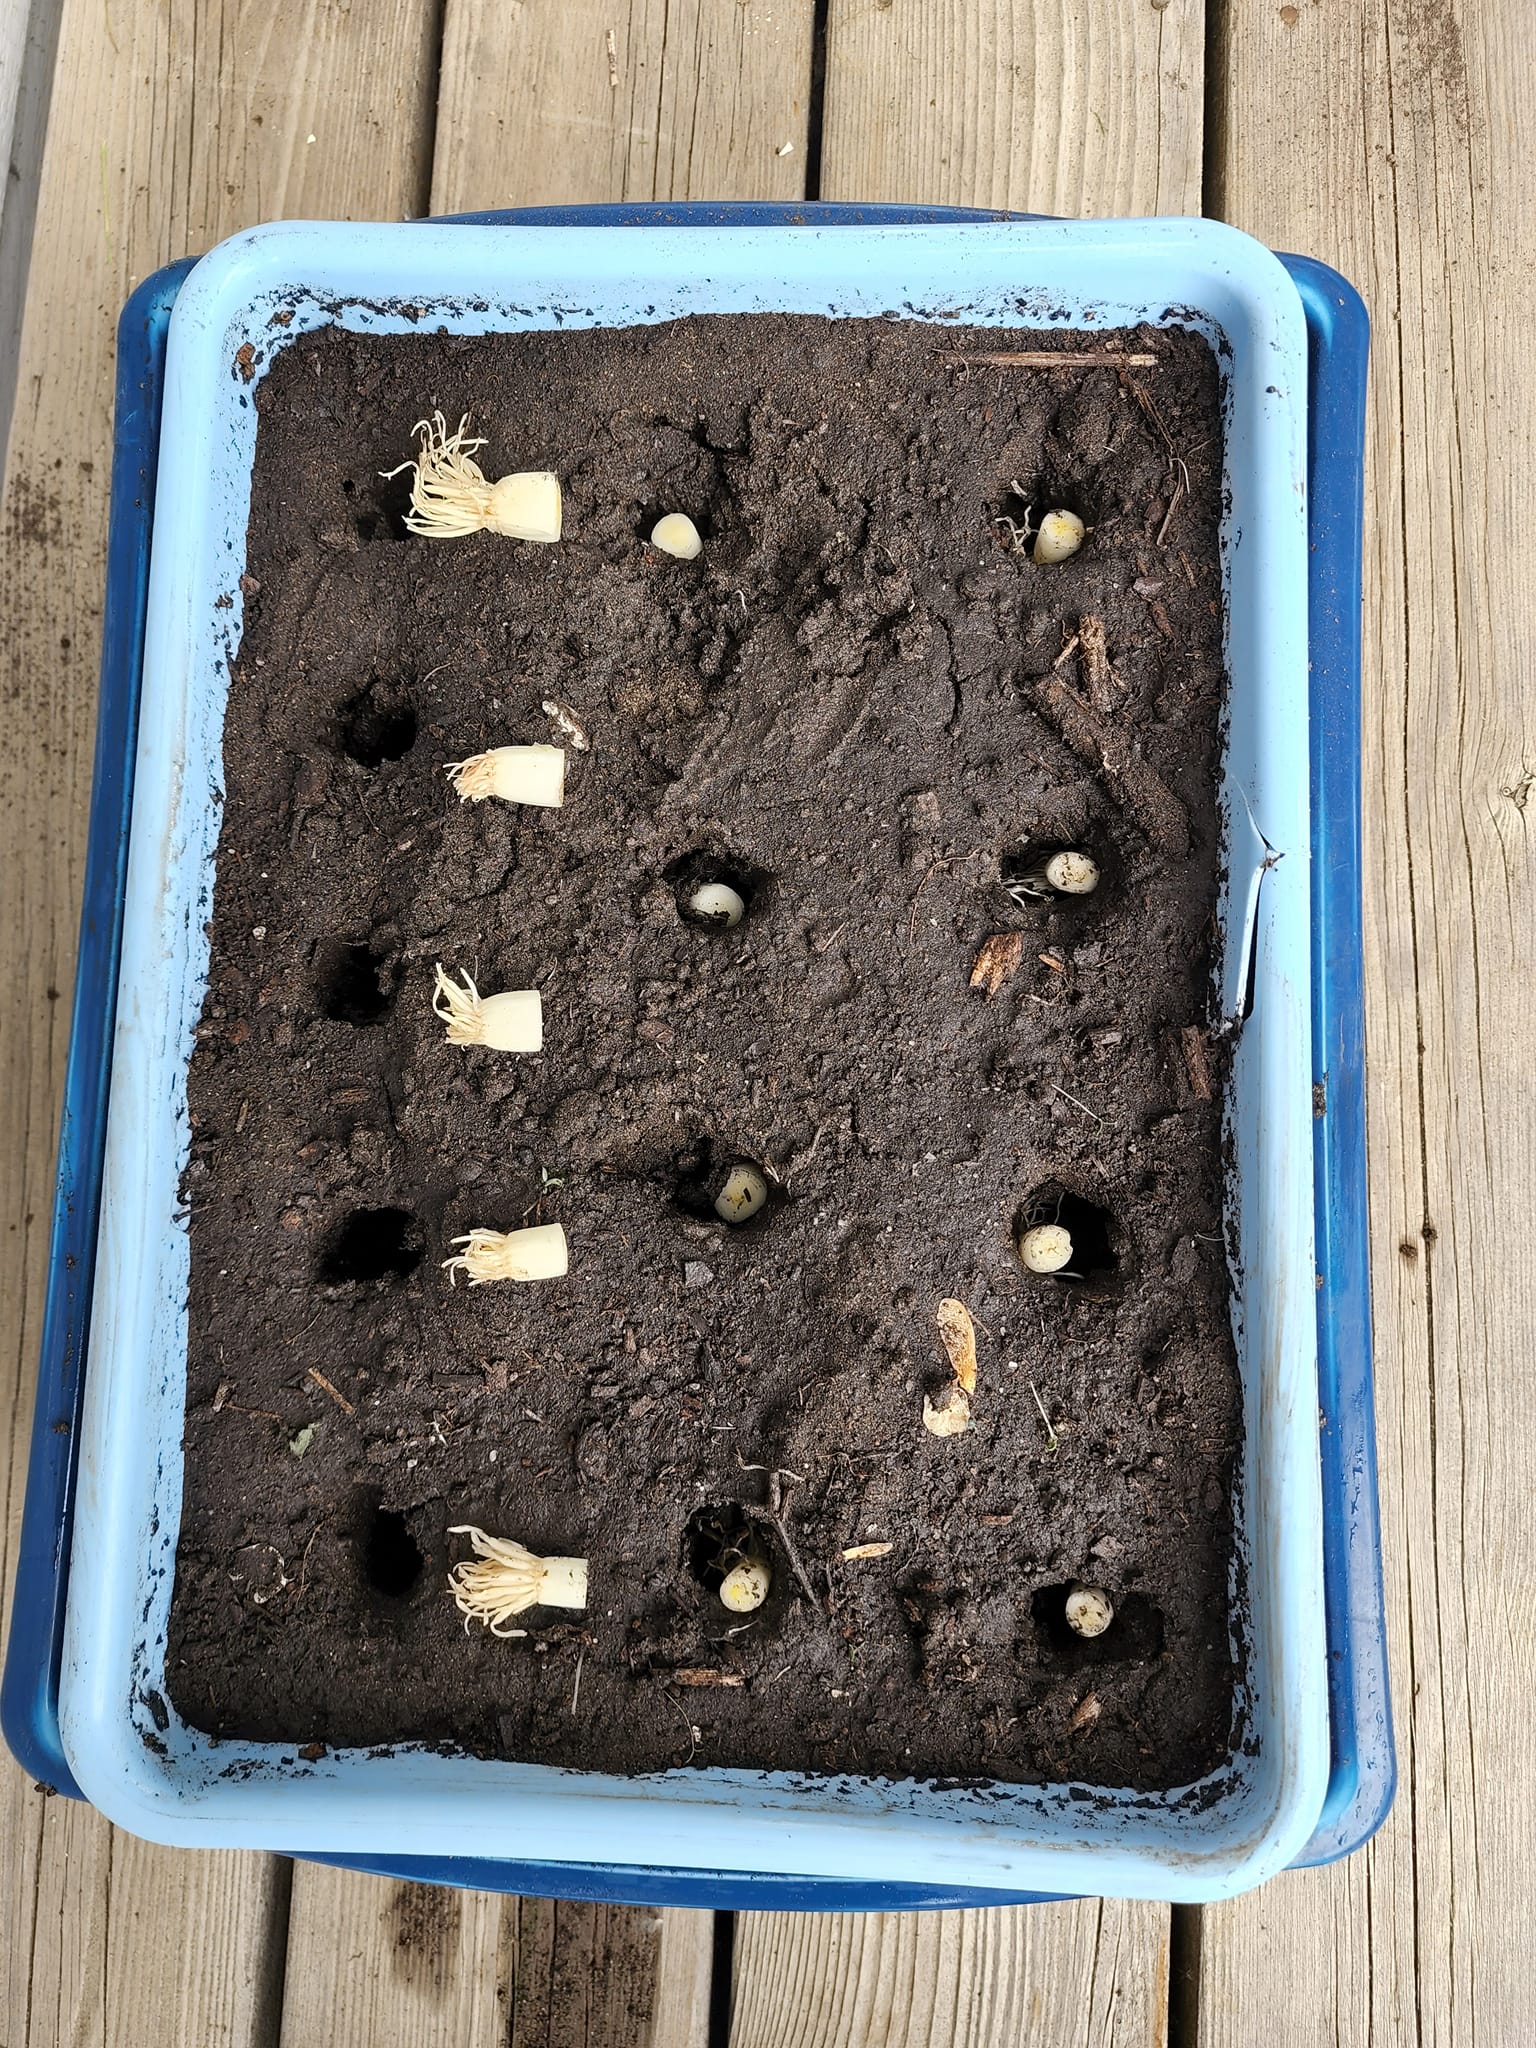
- Prep the Pot: Fill your container with the potting mix, leaving about an inch of space from the rim. Gently tamp down the surface to create a level planting area.
- Seeding Symphony: Don’t be shy! Onion seeds are tiny, so sprinkle them generously over the soil surface. Aim for even distribution, leaving a little space between each seed.
- A Light Blanket: Gently cover the seeds with a thin layer of potting mix, just enough to barely conceal them. Think of it as a light blanket to keep them cozy and moist.
- Moisture Matters: Using a spray bottle, gently mist the surface of the soil until it’s evenly moist, but not soggy.
Top Tip: Label your pot with the variety of onion and the planting date. This will help you keep track of your little green friends as they grow.
The Nurturing Dance: Light, Water, and Care
With the seeds sown, it’s time to provide the TLC your baby onions need to thrive.
- Light, Glorious Light: Place your pot in a sunny location that receives at least 6-8 hours of direct sunlight daily. A south-facing window is ideal.
- Hydration Highway: Keep the soil consistently moist, but not waterlogged. Check the soil daily and water when the top inch feels dry to the touch.
- Temperature Tango: Ideally, maintain a daytime temperature around 70°F (21°C) and cooler nights around 55°F (13°C).
Nature’s Helping Hand: Once your seedlings reach a few inches tall, you can give them a light fertilizing with a half-strength solution of liquid fertilizer every two weeks. Opt for a balanced fertilizer formulated for vegetables.
The Green Thumb Guide to Thinning
As your onion seedlings sprout and grow, they’ll start crowding each other. This is where thinning comes in, a crucial step to ensure healthy, bulb-forming plants.
- Patience is a Virtue: Wait until the seedlings have at least two or three true leaves (the broader leaves that appear after the initial sprout).
- Snip, Snip: Using sharp scissors, carefully snip off the weaker seedlings at the soil level. Aim for a spacing of 2-3 inches between the remaining plants.
- Repeat as Needed: You may need to thin again as the plants continue to grow.
Thinning Bonus: Don’t discard the thinned seedlings! You can pot them up individually in smaller containers to grow some bonus scallions.
The Big Move: Transplanting to Larger Quarters
(Optional, for growing larger onions)
If you dream of harvesting basketball-sized onions, transplanting your seedlings to a larger pot can maximize their growth potential. Here’s how:
- Prepare the New Home: Choose a container at least 12 inches deep and wide. Fill it with fresh potting mix, leaving a few inches from the rim.
- Gently Does It: Carefully dig up your onion seedlings, ensuring you get the full root ball.
- Finding their Footing: Make a hole in the potting mix in the new container, large enough to accommodate the root ball. Gently place the seedling in the hole, ensuring the base of the white bulb sits just above the soil surface.
- Settling In: Fill in the remaining space around the seedling with potting mix and gently firm it down. Water thoroughly to settle the soil.
Post-Transplant TLC: Continue providing your onions with consistent moisture, sunlight, and occasional fertilization. You can gradually increase the watering frequency as the plants establish themselves in the larger pot.
The Reward: Harvest Time!
The moment you’ve been waiting for! Here’s how to know when your homegrown onions are ready for harvest:
- Signs of Maturity: The tops of the onion plants will start to yellow and flop over. This indicates that the bulbs have finished developing.
- The Bulb Test: Gently dig around the base of the bulb with your fingers. If it feels firm and full, it’s harvest time!
Harvesting Tips:
- Loosen the soil around the base of the plant with a garden fork.
- Carefully lift the onion plant, brushing away any excess soil.
- Cut off the tops a few inches above the bulb.
Bonus Tip: Let the onions cure for a few weeks in a warm, well-ventilated area before storing them. Simply spread them out in a single layer on a mesh screen or breathable cloth, out of direct sunlight. Properly cured onions can last for months!