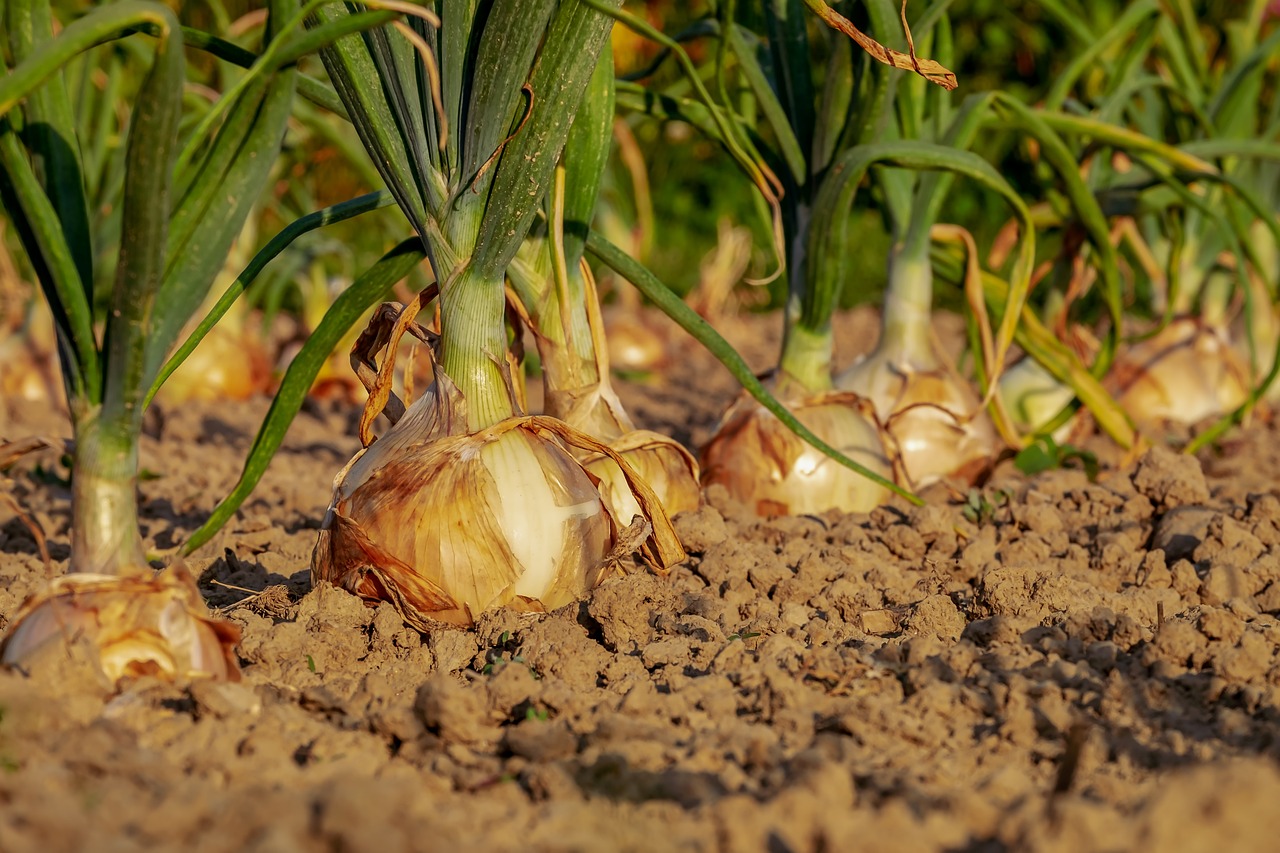
Ever wondered how supermarkets get those perfectly round, pungent onions? The truth is, you don’t need sprawling fields to cultivate these culinary powerhouses. Raised beds offer the perfect environment for growing thriving onions, rewarding you with a bountiful harvest bursting with flavor. This comprehensive guide will equip you with everything you need to know to transform your raised bed into an onion haven.
This post may have affiliate links. This means that sometimes when you click a link on our site and make a purchase on Amazon, we may earn a small commission at no additional cost to you. We only recommend products we truly believe in, and your support helps keep us running!
Planting Powerhouse: Choosing the Right Onions
Onions come in a delightful array, each boasting unique flavors and purposes. Here’s a breakdown to help you pick the perfect fit for your raised bed:
Sweet Onions
These mild-mannered marvels are perfect for salads and sandwiches. Popular varieties include Vidalia and Walla Walla.
Yellow Onions
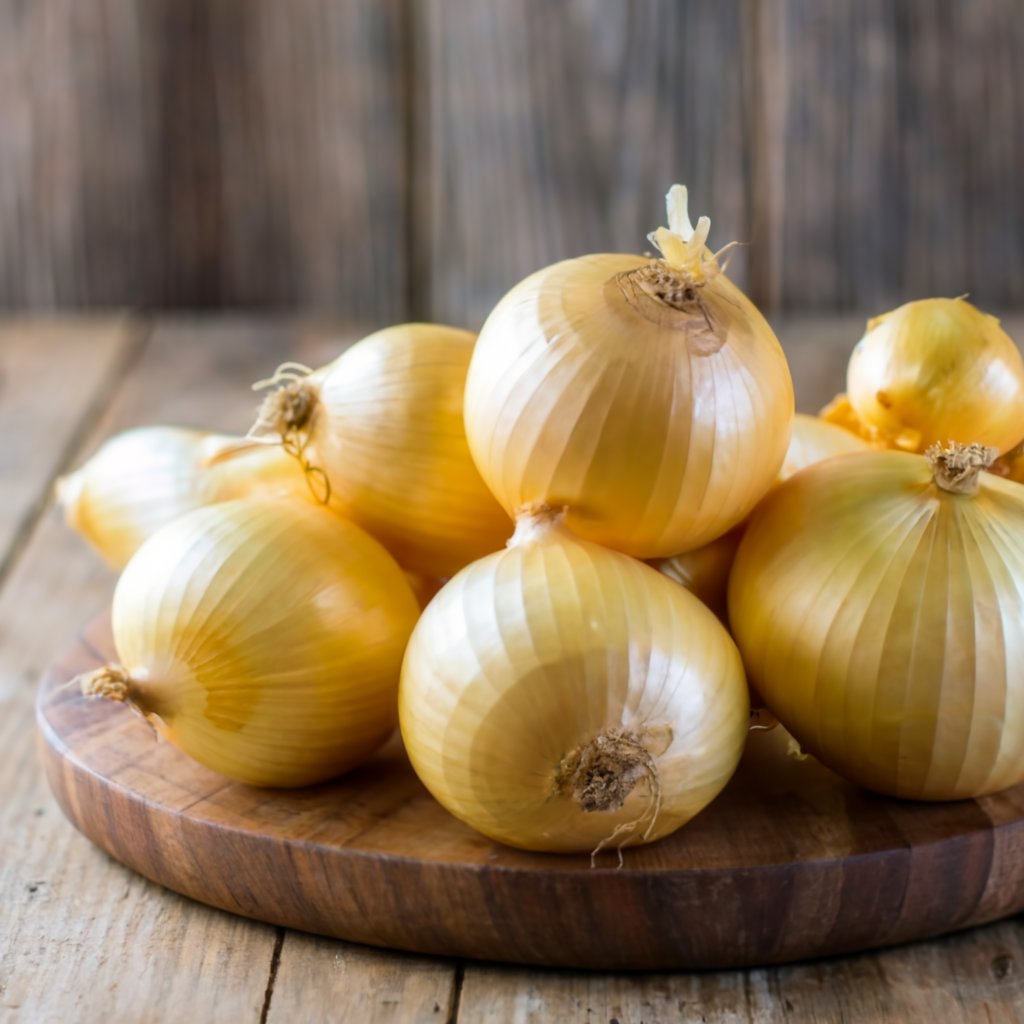
These kitchen workhorses are the all-rounders, ideal for sautéing and caramelizing. Try planting reliable choices like Grano or Copra.
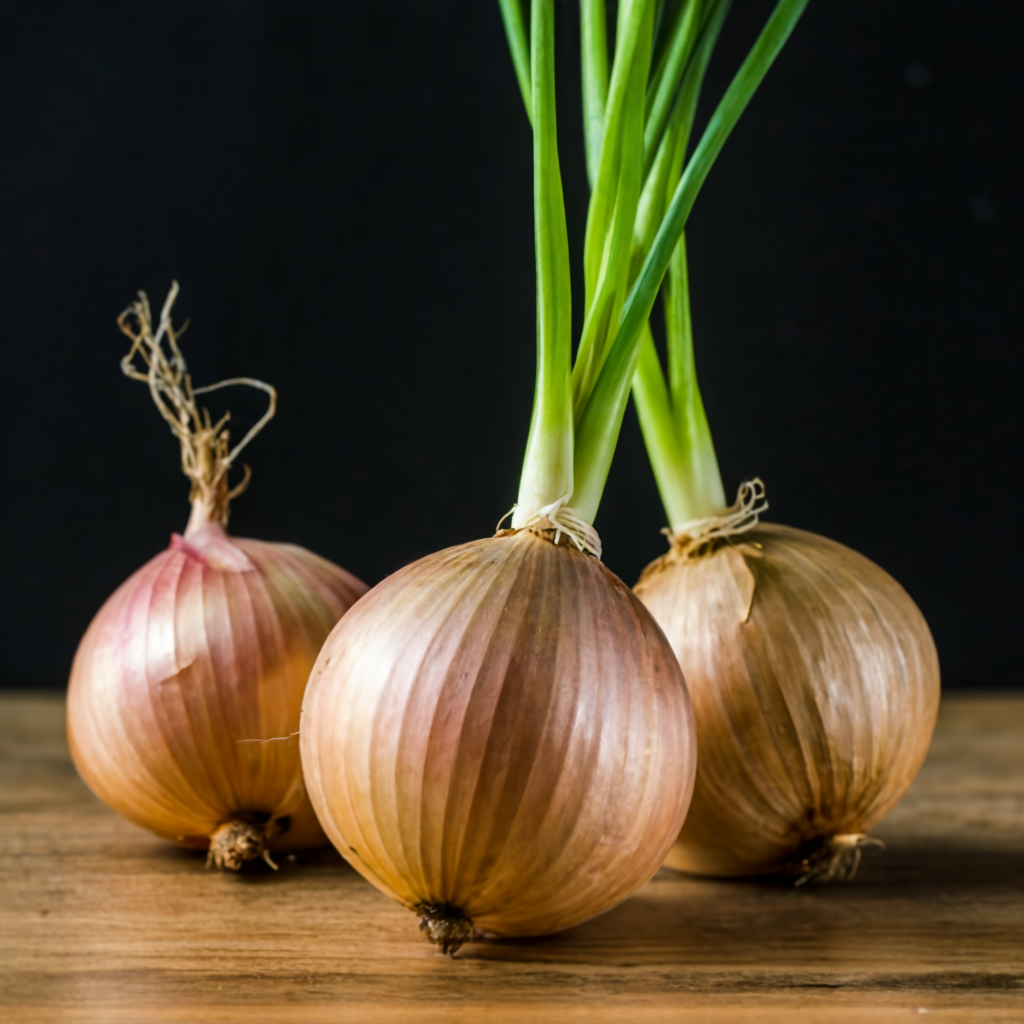
Red Onions
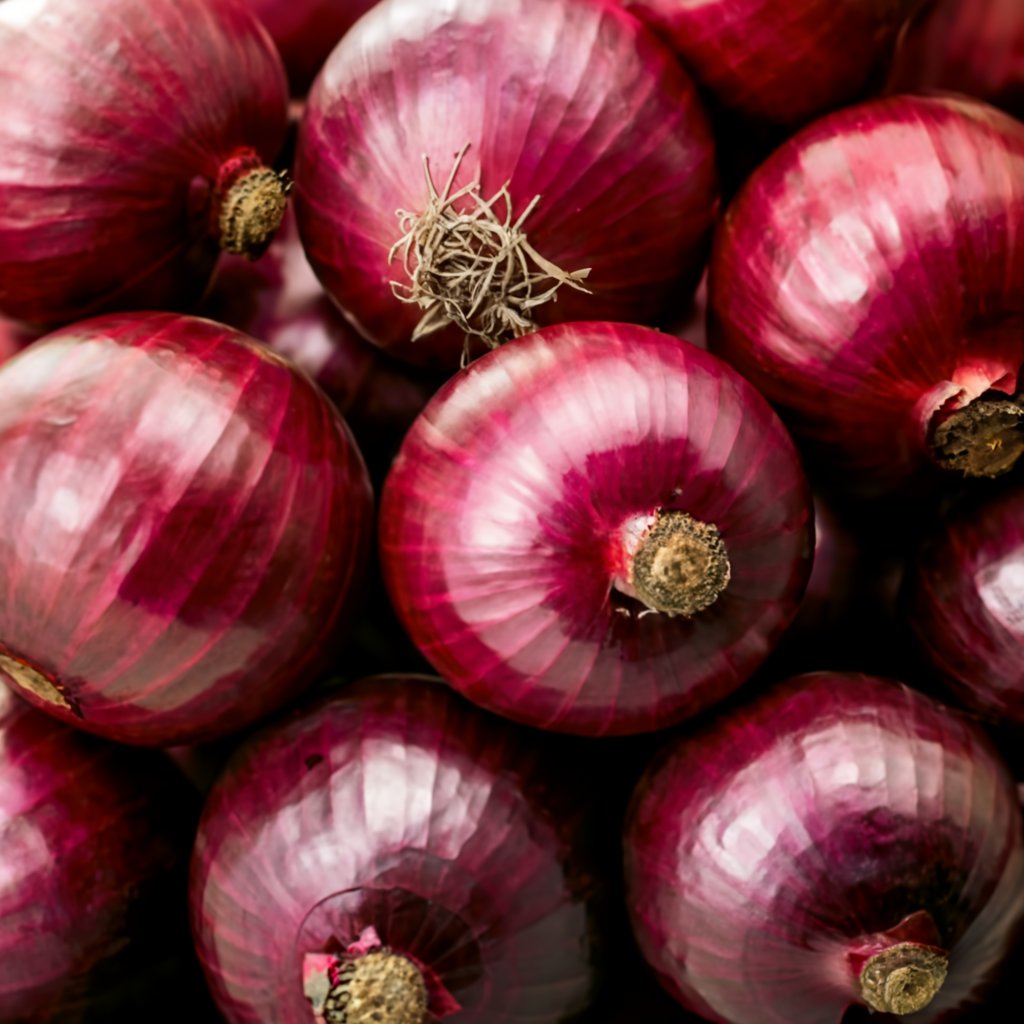
Adding a vibrant pop of color, red onions have a sharper bite, making them perfect for raw applications like salads and salsas. Look for Carmen or Red Baron varieties.
Pro Tip: Consider planting a mix of onion varieties for a flavor explosion and extended harvest!
Building the Perfect Onion Oasis: Preparing Your Raised Bed
Raised beds offer exceptional drainage and control over soil composition, leading to happier onions. Here’s how to create the ideal environment:
- Location, Location, Location: Select a spot receiving at least 6-8 hours of direct sunlight daily. Onions crave sunlight for optimal growth.
- Sizing Up Your Space: The size of your raised bed will determine how many onions you can plant. Generally, aim for a spacing of 4-6 inches between each onion.
- Soil Matters: Onions thrive in loose, well-draining soil. Amending your existing soil with a good quality compost or potting mix is recommended. Aim for a slightly acidic pH level between 6.0 and 6.8.
Top Tip: Raised beds are susceptible to drying out quicker than in-ground gardens. Ensure consistent watering, especially during hot and dry periods.
Sowing Success: Planting Your Onions
There are two main ways to cultivate onions in raised beds: planting from seeds or sets.
- Planting from Seeds: This method offers a wider variety selection and is generally more cost-effective. However, it takes longer to maturity compared to sets. Sow seeds ¼ inch deep indoors 6-8 weeks before the last frost. Harden off seedlings gradually before transplanting them outdoors.
- Planting from Sets: Onion sets are small, immature bulbs essentially pre-grown from seeds. This method offers a quicker path to harvest but may have fewer variety options. Plant sets root-side down, pushing them gently into the soil to about 1 inch deep.
Germination Guru: To encourage germination from seeds, keep the soil consistently moist but not soggy. A humidity dome can be helpful in the initial stages.
Nurturing Your Onion Oasis: Ongoing Care
Once your onions are established, providing proper care is key to maximizing yields and flavor.
- Watering Wisely: Onions require consistent moisture, particularly during bulb formation. Aim for deep watering every few days, allowing the top inch of soil to dry slightly between waterings.
- Weed Warrior: Weeds compete with your onions for nutrients and water. Regularly hand-weed around your plants to maintain a weed-free environment.
- Feeding Frenzy: While onions don’t require heavy feeding, a light application of a balanced fertilizer during the growing season can provide a boost. Opt for a slow-release fertilizer formulated for vegetables.
Companion Planting Power: Onions make excellent companion plants for many vegetables, deterring certain pests while benefiting from the presence of others. Consider planting carrots, lettuce, or beets alongside your onions.
Common Culprits: Watch Out for Onion Threats
Onions, like all plants, are susceptible to a few common threats. Here’s how to identify and combat them:
- Thrips: These tiny, sap-sucking insects can cause stunted growth and distorted leaves. Look for silvery markings on the leaves. Use insecticidal soap or neem oil spray to control them.
- Onion Flies: The larvae of these flies tunnel through the bulb, causing wilting and stunted growth. Row covers can help prevent adult flies from laying eggs near your plants.
- Fungal Diseases: Fungal diseases like downy mildew can cause yellowing leaves and stunted growth. Ensure good air circulation around your plants and avoid overhead watering to prevent fungal issues.
Early Intervention is Essential: Regularly monitor your onions for signs of pests or diseases. Early intervention is key to preventing them from causing significant damage.
Harvesting and Storing Your Onions
Onions are ready for harvest when their tops begin to flop over and turn brown. This typically occurs around 60-80 days after transplanting for sets and 100-120 days after sowing seeds. Here’s how to properly harvest and store your onion bounty:
- Harvesting Technique: Carefully loosen the soil around the base of the onion with a garden fork. Gently lift the bulb out, taking care not to damage it. Brush off any excess soil.
- Curing for Maximum Flavor: Don’t rush to store your onions just yet! Curing allows the outer skin to dry and harden, maximizing shelf life and flavor. Spread the onions in a single layer in a cool, well-ventilated area out of direct sunlight for 2-3 weeks.
Top Tip: If the weather is humid, you can speed up the curing process by braiding the dried tops of the onions together and hanging them in a cool, airy location.
Storing Your Onion Gems: Long-Term Preservation
Once properly cured, your onions are ready for long-term storage. Here are some key guidelines:
- Storage Environment: Choose a cool, dry, and well-ventilated location. A basement, garage, or pantry can be suitable options. Aim for temperatures between 40-50°F (4-10°C) with a humidity level around 60%.
- Storage Savvy: Separate onions from other vegetables like potatoes that give off ethylene gas, which can accelerate spoilage.
- Culling the Crew: Regularly inspect your stored onions and remove any that show signs of softening, sprouting, or mold.
With proper storage techniques, your homegrown onions can last for several months, providing a steady supply of this flavorful kitchen essential.