Carrots – those vibrant orange batons of deliciousness – seem like staples of the summer farmer’s market. But what if you craved that fresh, earthy flavor in the dead of winter? Believe it or not, with a little planning and some elbow grease, you can cultivate your own crop of carrots indoors, all year round. This guide will equip you with the knowledge to transform your windowsill into a miniature carrot patch, offering a taste of summer sunshine any time of year.
This post may have affiliate links. This means that sometimes when you click a link on our site and make a purchase on Amazon, we may earn a small commission at no additional cost to you. We only recommend products we truly believe in, and your support helps keep us running!
Setting the Stage for Success
Before going headfirst into seed selection and soil prep, there are a few crucial factors to consider:
- Light: Carrots are sun-worshippers, requiring at least 6-8 hours of bright, indirect sunlight daily. South-facing windows are ideal, but if that’s not an option, consider supplementing natural light with grow lights.
- Temperature: Aim for a consistent temperature range between 65-70°F (18-21°C). Drastic temperature fluctuations can stunt growth or lead to leggy, misshapen carrots.
- Container Selection: Unlike their sprawling brethren in the garden, container-grown carrots thrive in deep, narrow pots. Opt for containers at least 12 inches deep to accommodate the taproot’s growth. Wider containers (15-18 inches) can work for shorter carrot varieties, but ensure proper drainage.
Choosing the Perfect Carrot Crew

Not all carrots are created equal, especially when it comes to indoor cultivation. Here’s where choosing the right variety becomes paramount:
- Look for “shorter” or “stubby” varieties: These compact wonders, like ‘Thumbelina’ or ‘Little Finger,’ mature within 60-70 days and have a smaller top growth, making them ideal for shallower containers.
- Heirloom varieties can be a fun choice: Opt for colorful varieties like ‘Purple Dragon’ or ‘Atomic Red’ for a visual pop on your windowsill.
- Consider pelleted seeds: These tiny, coated seeds make sowing much easier, especially for those with less-than-steady hands.
Building Your Indoor Carrot Patch
Now that you’ve assembled your resources, it’s time to get your hands dirty:
- Pot Prep: Fill your chosen container with a high-quality, well-draining potting mix. Look for a mix specifically formulated for vegetables, or create your own by combining equal parts potting soil, perlite, and compost. Moisten the potting mix thoroughly before planting.
- Sowing the Seeds: Unlike some vegetables, carrots don’t transplant well. Sow your seeds directly into the container. For even spacing, make shallow furrows (about ¼ inch deep) 2-3 inches apart along the length of the pot. Scatter seeds thinly in the furrows, aiming for 2-3 seeds per inch. Gently cover with a thin layer of potting mix.
- Creating a Mini Greenhouse: To optimize germination, create a humid environment. Cover the pot with a clear plastic cloche or humidity dome. Place the pot in a warm location (around 70°F) with bright, indirect light.
Nurturing Your Tiny Forest
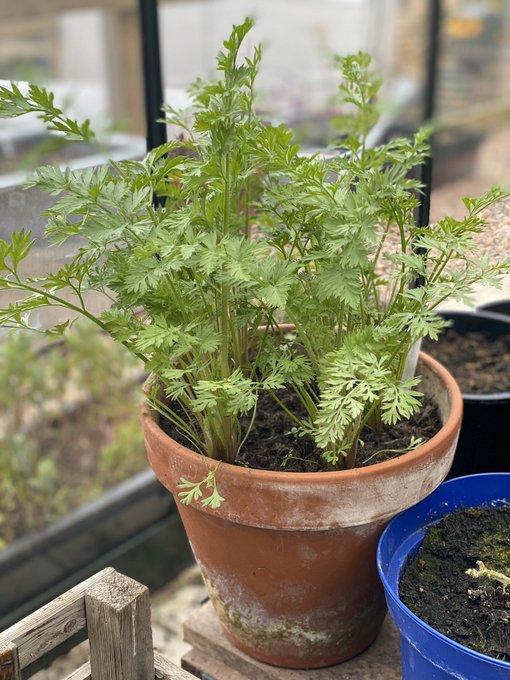
The next few weeks require patience and consistency:
- Germination: Expect to see tiny green sprouts within 10-14 days. Once the seedlings emerge, remove the cloche and provide plenty of light.
- Watering: Maintain consistent moisture in the soil, but avoid waterlogging. Water deeply when the top inch of soil feels dry to the touch.
- Thinning the Crowd: As your seedlings establish themselves, it’s time for thinning. The goal is to provide ample space for the remaining carrots to develop properly. Use a pair of sharp scissors to snip off the weaker seedlings, leaving only the strongest one in each spot. Aim for a final spacing of 1-2 inches between mature plants.
Feeding Your Indoor Harvest
Carrots are light feeders, but providing them with a balanced fertilizer can boost their growth and flavor:
- Opt for a liquid organic fertilizer: Dilute the fertilizer according to package instructions and feed your carrots once every two to three weeks during the growing season.
- Compost tea: A nutrient-rich compost tea can be a fantastic alternative to commercial fertilizers.
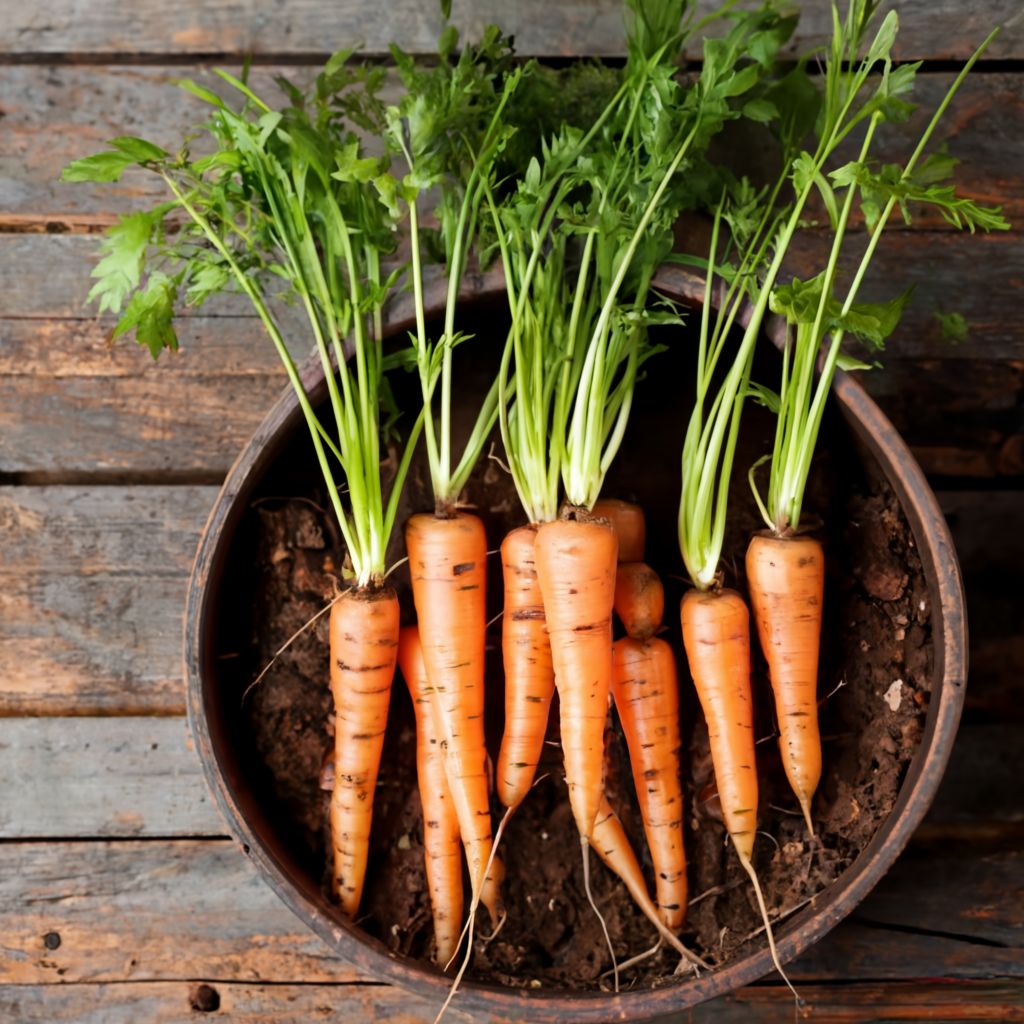
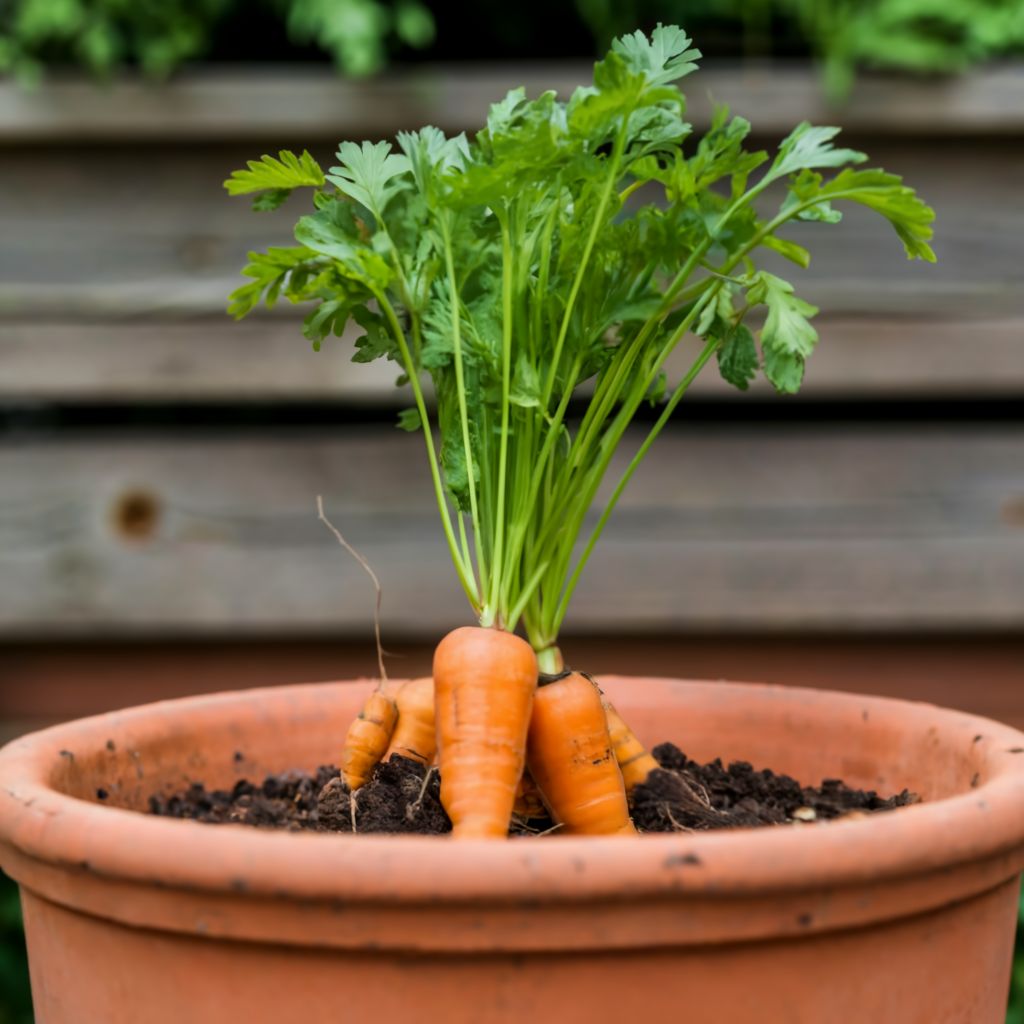
The Joy of Harvest

The moment you’ve been waiting for – harvest time! Here’s how to know when your carrots are ready:
- Maturity: Most carrot varieties take between 60-70 days to mature. Check the information on the seed packet for specific maturity timelines.
- Size: Gently feel the base of the carrot tops. If they feel firm and have reached a diameter of ¾ inch to 1 inch, they’re ready to harvest.
- Patience is key: Don’t get impatient and pull up the carrots prematurely. Doing so can damage the developing root and potentially harm the plant.
Harvesting Technique:
- Gently does it: Loosen the soil around the base of the carrot with a trowel or your fingers. Carefully pull the carrot upwards, taking care not to snap the delicate taproot.
- Successive sowings: The beauty of indoor carrot cultivation is the ability to enjoy a continuous harvest. Once you’ve harvested your first batch, sow new seeds in the vacated spots. Repeat this process every few weeks to ensure a steady supply of fresh carrots throughout the year.
Troubleshooting Tips
Even the most seasoned indoor gardener encounters occasional hiccups. Here’s how to address some common problems:
- Leggy growth: This is usually caused by insufficient light. Invest in grow lights to supplement natural light or relocate your carrots to a brighter window.
- Splitting carrots: This can occur due to rapid growth caused by fluctuating temperatures or inconsistent watering. Aim for consistent temperatures and maintain even moisture levels in the soil.
- Pests and diseases: Thankfully, carrots are relatively pest-resistant indoors. However, keep an eye out for fungus gnats, which can be dealt with by using neem oil spray or by sprinkling diatomaceous earth around the base of the plants.
Beyond the Basics: Taking Your Indoor Carrot Game to the Next Level
For the adventurous indoor gardener, here are a few ways to elevate your carrot cultivation:
- Container selection: Experiment with self-watering containers for low-maintenance carrot care.
- Vertical gardening: Maximize your limited space by utilizing vertical planters specifically designed for growing carrots.
- Microgreens: For a quick burst of carrot flavor, try growing carrot microgreens. Simply sow the seeds densely in a shallow container and harvest the tiny seedlings once they reach a few inches tall.