
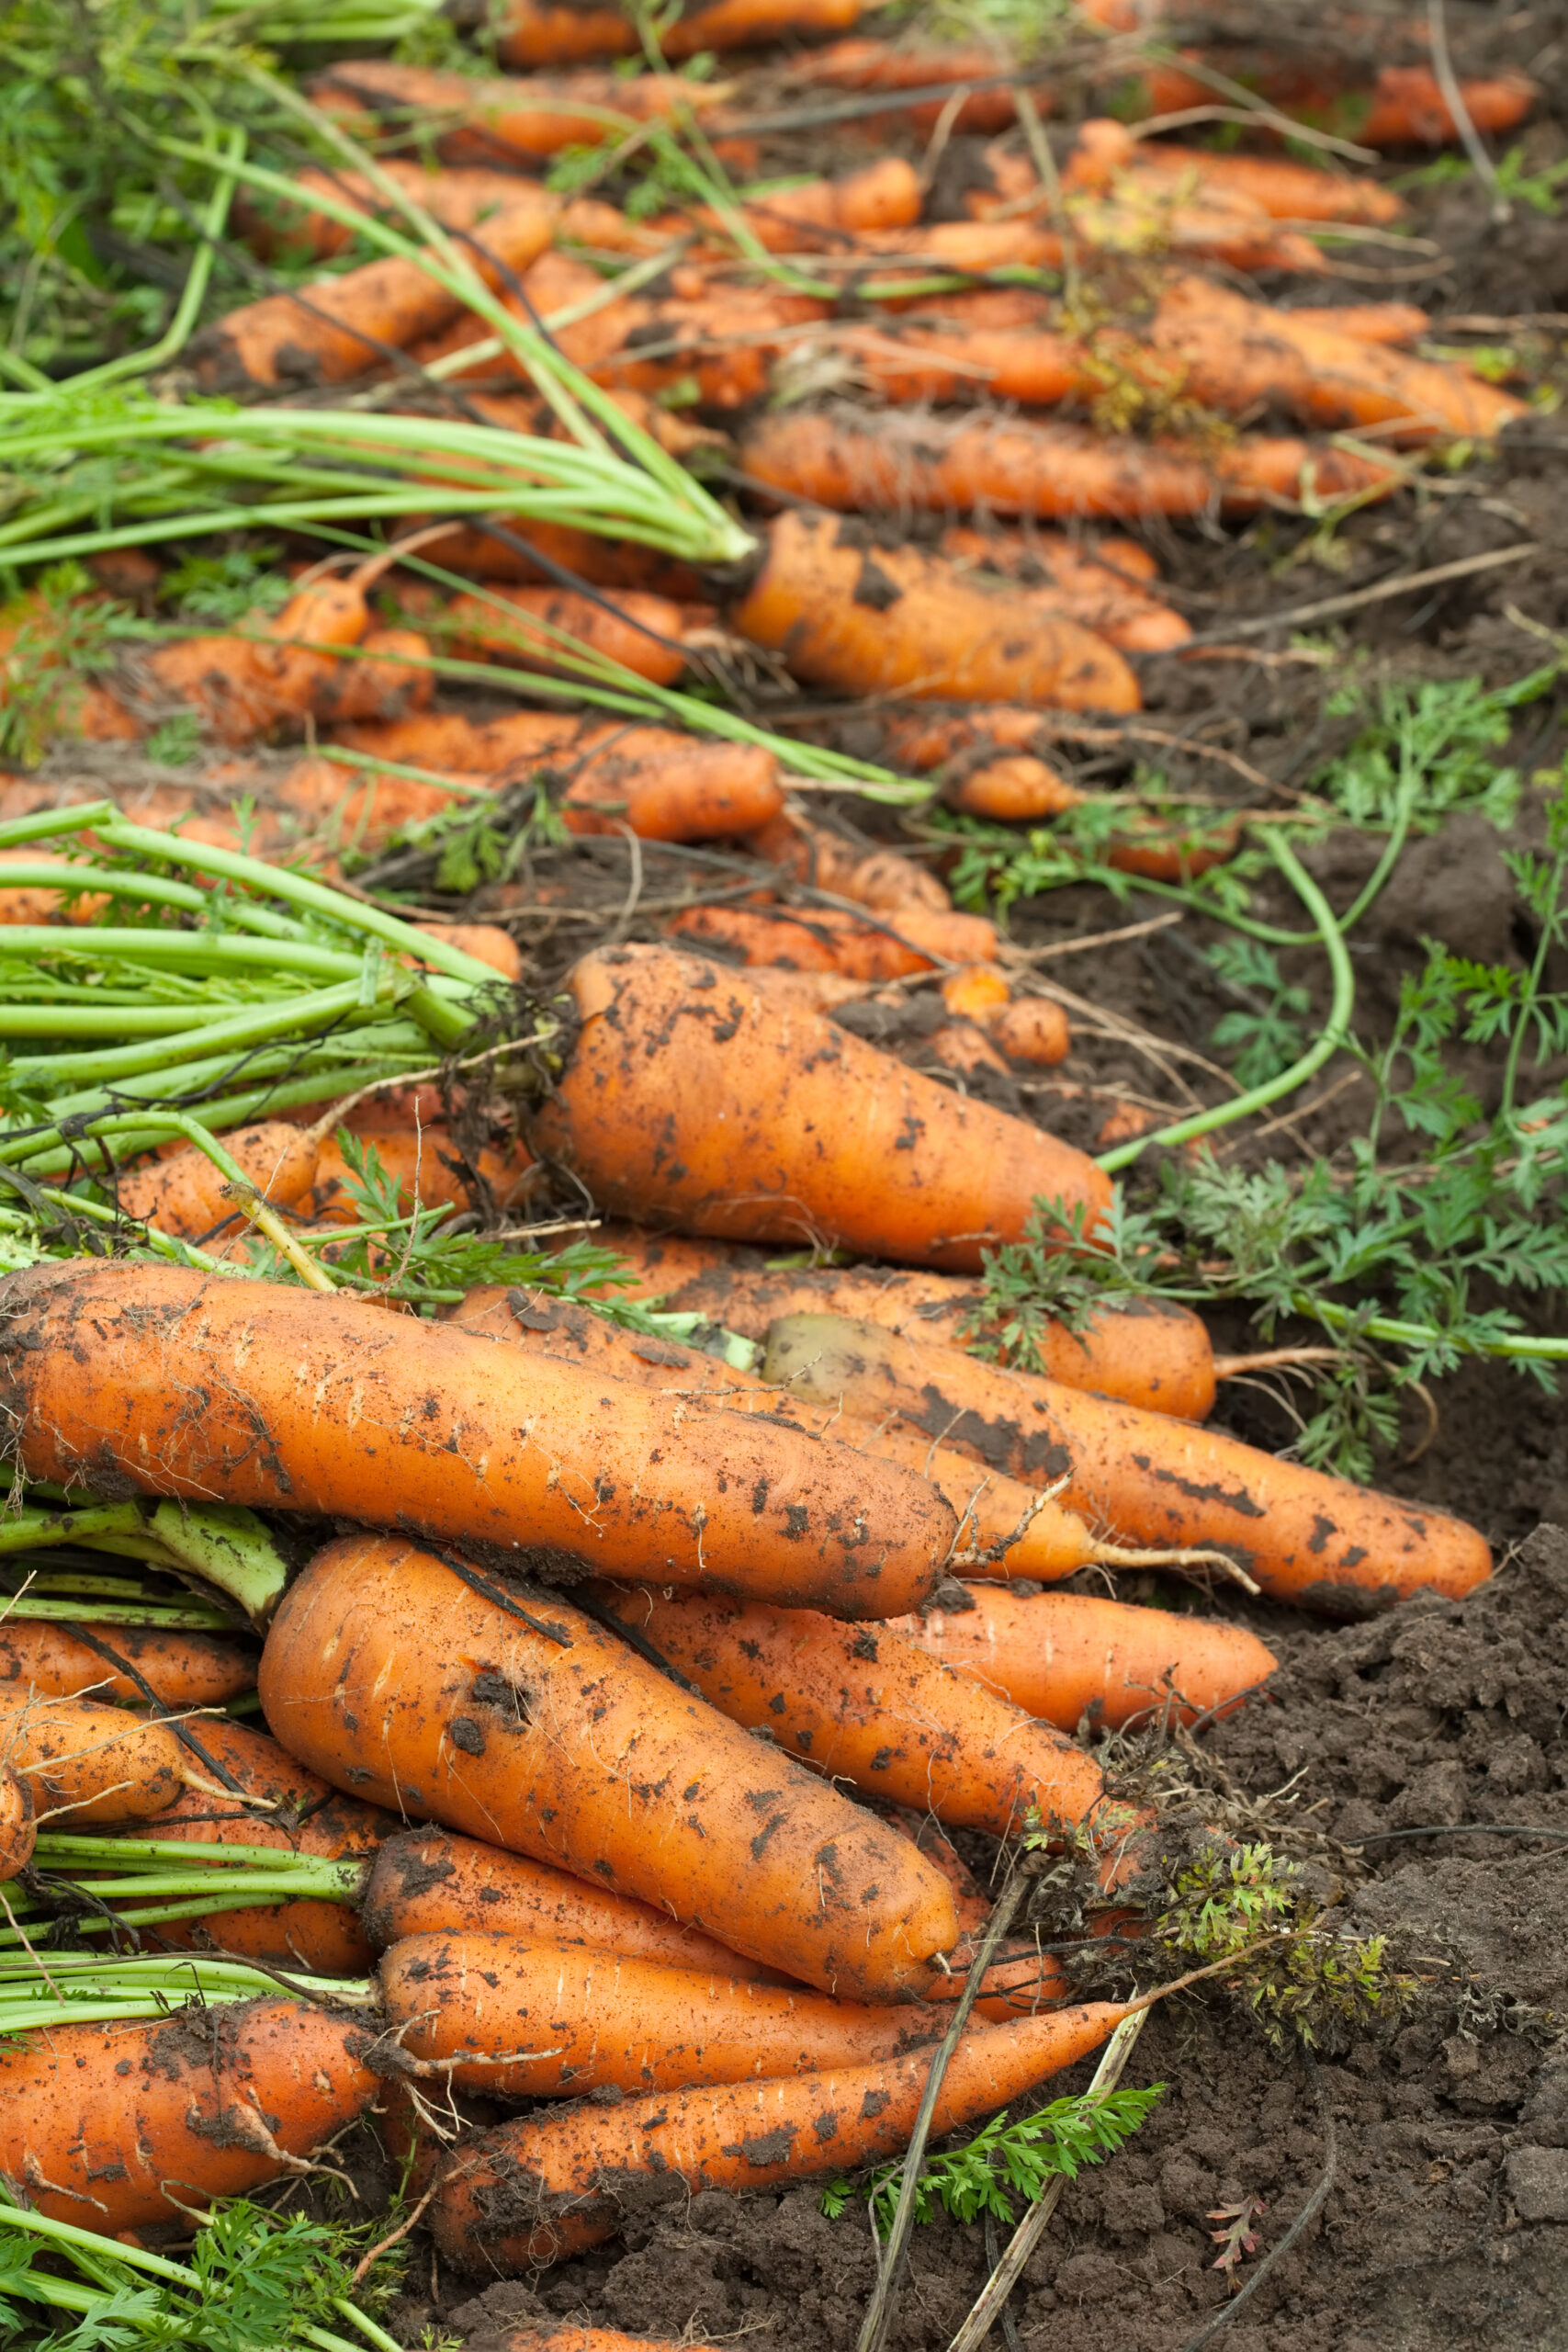
Ever dreamt of harvesting crisp, homegrown carrots without needing a sprawling vegetable patch? Well, ditch the preconceived notions of sprawling gardens, because with a little know-how, you can cultivate these delightful orange rockets right on your balcony, patio, or even a sunny windowsill – all thanks to the magic of container gardening!
This post may have affiliate links. This means that sometimes when you click a link on our site and make a purchase on Amazon, we may earn a small commission at no additional cost to you. We only recommend products we truly believe in, and your support helps keep us running!
Choosing Your Carrot Arsenal
Before we go into the nitty-gritty of planting, let’s pick the perfect carrot cultivar for your container adventure. Here’s why choosing the right variety is crucial:
- Space Considerations: Since we’re working with limited space, opting for shorter, rounder carrot varieties like ‘Thumbelina’, ‘Little Finger’, or ‘Parisian Perfect’ ensures they mature comfortably within the confines of the bucket.
- Maturity Time: If you’re impatient for a carrot fix, consider early maturing varieties like ‘Scarlet Nantes’ or ‘Miniature Danvers’ which are ready in just 60-70 days.
- Personal Preference: Do you crave the classic, juicy orange carrot? Or perhaps you’re intrigued by the vibrant hues of purple or yellow carrots? The choice is yours!
Tip: Look for seeds labelled “pelleted.” These tiny spheres are coated with a thin layer of nutrients, making them easier to handle and sow evenly, especially for beginners.
Gearing Up for Growth
Now that you’ve chosen your carrot champions, it’s time to gather the supplies needed to create the perfect environment for them to flourish.
- The Mighty 5-Gallon Bucket: Your trusty vessel! Ensure it has drainage holes at the bottom to prevent waterlogging, which can be detrimental to carrot growth.
- Soil Sensational: Opt for a high-quality, well-draining potting mix. Look for options labelled for vegetables or container gardening. Amending the mix with some compost or organic matter provides additional nutrients for your carrots.
- Seeding Soldiers: Your chosen carrot seeds, of course!
- Watering Warriors: A watering can with a gentle hose attachment to avoid disturbing the seeds and young seedlings.
- Sun Seekers: A location bathed in at least 6-8 hours of direct sunlight daily. This is non-negotiable for optimal carrot growth.
- Optional, But Helpful: Row markers (toothpicks or popsicle sticks work wonders), a small hand trowel for digging, and a net or mesh covering to deter pesky birds from snatching your seeds.
Building Your Carrot Kingdom
With your supplies assembled, let’s transform the bucket into a haven for your future carrot bounty!
- Drainage Matters: Ensure those drainage holes are clear! You can even add a layer of pebbles or broken pieces of terracotta pots at the bottom of the bucket to further improve drainage.
- Fill ‘Er Up: Fill the bucket with your chosen potting mix, leaving about an inch of space at the top.
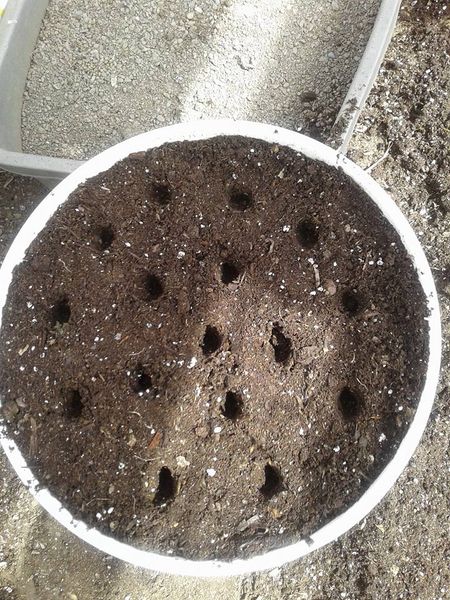
- Seeding Symphony: Here comes the fun part! If you’re using pelleted seeds, simply sprinkle them evenly over the soil surface. Aim for a spacing of about 1 inch between seeds. For non-pelleted seeds, make shallow furrows (about ¼ inch deep) in the soil using your finger or a pencil. Sow the seeds in the furrows, again maintaining a 1-inch gap.
- The Great Cover-Up (Optional): If you’re worried about birds or wind dislodging your seeds, you can drape a net or mesh cover loosely over the bucket.
- Hydration Hero: Give your seeds a gentle drink using the watering can with the rose attachment. The goal is to moisten the soil thoroughly without creating puddles.
- Welcome the Sunshine: Place your bucket in your chosen sun-drenched location. Patience is key – germination for carrots can take up to 2-3 weeks.
Nurturing Your Carrots In Buckets
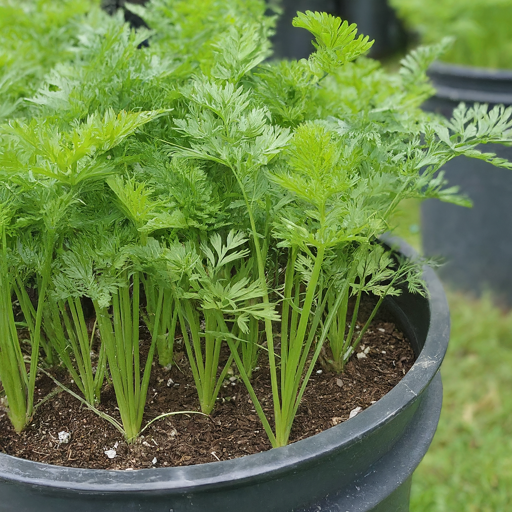
The seeds have sprouted, and your tiny carrot seedlings are basking in the sunlight! Here’s how to care for them throughout their growth journey:
- Watering Wisely: Carrot seedlings require consistent moisture, but avoid overwatering. Aim to keep the soil damp but not soggy. Check the soil daily, and water when the top inch feels dry to the touch.
- The Light Fantastic: Continue providing your carrots with at least 6-8 hours of direct sunlight daily. As your seedlings mature, you might need to rotate the bucket occasionally to ensure all sides receive equal sun exposure and prevent them from becoming leggy (stretching too tall due to insufficient light).
- Thinning the Ranks: Once your seedlings have reached about 2-3 inches tall, it’s time for thinning. This crucial step ensures there’s enough space for each carrot to develop properly. Use scissors to snip off the weaker seedlings, leaving only the strongest ones spaced about 2-3 inches apart. You can even use the thinned seedlings in a salad for a taste of your future harvest!
- Feeding Time: Around 4-6 weeks after planting, your carrots will benefit from a light feeding. Opt for a balanced liquid fertilizer specifically formulated for vegetables. Dilute it according to the package instructions and apply it every other week until harvest.
- Weed Warriors: Keep an eye out for weeds that might compete with your carrots for nutrients and moisture. Gently remove them by hand as soon as you spot them.
- The Waiting Game: Patience is a virtue, especially when it comes to carrot growth. Depending on the variety you chose, harvesting time can range from 60-70 days for early maturing types to 75-80 days for some heirloom varieties.
Beyond the Bucket: Extending Your Carrot Adventure
Succession Planting: Want a continuous supply of fresh carrots? Practice succession planting! Sow a new batch of seeds every few weeks throughout the growing season, ensuring a steady harvest.
Companion Planting: Carrots can benefit from having certain plant buddies in their bucket. Consider planting herbs like rosemary or thyme in the same container. These herbs can help deter pests and add a delightful fragrance to your miniature veggie haven.