Summer’s symphony isn’t complete without the sweet, juicy serenade of a perfectly ripe watermelon. But achieving that ideal melon – the one that bursts with flavor and makes your taste buds do a happy dance – can feel like a gamble, especially for new gardeners. Fear not, fellow melon enthusiasts! With the magic of raised beds, you can cultivate superstar watermelons every single season. This guide will be your personal maestro, guiding you through every step from prepping your raised bed to harvesting a watermelon masterpiece.
This post may have affiliate links. This means that sometimes when you click a link on our site and make a purchase on Amazon, we may earn a small commission at no additional cost to you. We only recommend products we truly believe in, and your support helps keep us running!
Building the Perfect Stage: Setting Up Your Raised Bed
Raised beds offer a treasure trove of benefits for watermelon growers. They allow for better control over soil quality, drainage, and temperature – all crucial factors for happy melons. Here’s how to create the ideal raised bed for your watermelon dreams:
Location, Location, Location!
Watermelons are sun worshippers. Choose a location in your yard that receives at least 8 hours of direct sunlight daily. South-facing beds are ideal for maximizing sun exposure.
Sizing Up Your Stage
While some watermelon varieties can thrive in smaller spaces, for optimal growth, aim for a raised bed that’s at least 3 feet wide, 6 feet long, and 12 to 18 inches deep. This provides ample room for the vines to sprawl and for the fruit to develop without being cramped.
The Soil Symphony: Creating the Perfect Blend
- Watermelons crave well-draining, fertile soil. Here’s the recipe for your raised bed’s soil mix:
- High-quality potting mix: This forms the base, providing a lightweight and airy foundation.
- Compost: Packed with nutrients, compost fuels healthy vine growth and fruit development.
- *Sand or perlite (optional): If your potting mix feels heavy, adding a bit of sand or perlite can further enhance drainage. Mix these ingredients in equal parts and fill your raised bed, leaving a few inches of space at the top.
Sowing the Seeds of Success: Planting Your Watermelon
Now that your raised bed is prepped, it’s time to introduce the stars of the show – your watermelon seeds! Here’s how to ensure a successful planting:
Choosing Your Cast: Seed Selection
With a dazzling array of watermelon varieties available, the choice can be overwhelming. Consider these factors when selecting your seeds:
* Days to maturity: Opt for varieties suited to your growing season. Shorter-season watermelons are ideal for cooler climates.
* Fruit size: Do you dream of a giant watermelon or prefer smaller, personal-sized melons? Choose a variety that aligns with your desires.
* Seedless vs. Seeded: This is a personal preference. Seedless melons offer convenience, while seeded varieties often boast a more intense flavor.
Planting Time: When to Welcome Your Melons
Patience is key! Wait until all danger of frost has passed and soil temperatures reach at least 70°F (21°C) before planting your watermelon seeds.
Planting Technique: The Art of Sowing
Create small hills in your raised bed, spaced about 3 feet apart.
Sow 3-4 seeds per hill, about ½ inch deep.
Once seedlings emerge, thin them to the strongest 1-2 plants per hill.
Nurturing Your Melons: The Journey to Watermelon Bliss
With your watermelon seedlings thriving, it’s time to provide the care they need to transform into juicy masterpieces.
- Watering Wisely: Keeping Your Melons Hydrated: Watermelons love consistent moisture, but soggy soil is a recipe for disaster. Aim for deep watering once or twice a week, allowing the top inch of soil to dry slightly between waterings.
- Feeding Frenzy: Keeping Your Melons Nourished: During the early stages of growth, a balanced fertilizer can give your watermelon plants a boost. Once flowering begins, switch to a fertilizer higher in phosphorus, which promotes fruit development.
Vine Support: Guiding Your Melons to Greatness

As your watermelon vines mature, they’ll sprawl outwards like eager green dancers. To prevent them from taking over your entire garden and ensure proper fruit development, consider providing support. Here are two options to help your melons reach their full potential:
1. Trellis System: A Towering Oasis
A sturdy trellis system allows the vines to climb vertically, maximizing space and promoting air circulation. This is ideal for smaller gardens or if you simply want to keep your watermelon patch organized. Here’s how to create a trellis for your watermelon adventure:
- Materials: Strong poles (wood, metal, or PVC), wire or twine, and zip ties (optional).
- Building Your Trellis:
- Install two poles at either end of your raised bed, ensuring they’re deep enough to provide sturdy support. Aim for a height of 6-8 feet.
- Run horizontal wires or twine between the poles at regular intervals (every 12-18 inches). You can use zip ties to secure the wires to the poles for added stability.
- Guiding Your Vines: Gently train the main vines of your watermelon plants to climb the trellis as they grow. Use soft fabric ties or twine to loosely secure the vines to the horizontal wires. Avoid wrapping the ties too tightly, as you don’t want to restrict the vine’s growth.
2. A-Frame Support: A Simple and Stable Solution
If a full-blown trellis seems daunting, an A-frame support system offers a simpler yet effective alternative. Here’s what you’ll need:
- Materials: Sturdy stakes (wood or metal) and twine or string.
- Building Your A-Frame:
- Cut two stakes of equal length (around 4-5 feet).
- Lean the stakes together at an angle to form an “A” shape. Secure the point of intersection with twine or string to create a stable structure.
- Place A-frames along the length of your raised bed, spacing them about 3-4 feet apart.
- Supporting the Vines: As your watermelon vines grow, gently guide them to climb the A-frame structure. Use soft fabric ties or twine to loosely secure the vines to the stakes, allowing for some movement.
Bonus Tip: Whichever support system you choose, remember to check on your vines regularly and adjust the ties as needed to ensure they’re receiving proper support throughout the growing season.
Mulch Magic: Retaining Moisture and Suppressing Weeds
Adding a layer of organic mulch around your watermelon plants offers a multitude of benefits:
- It helps retain moisture in the soil, reducing the frequency of watering needed.
- Mulch suppresses weed growth, saving you time and effort in the garden.
- Over time, as the mulch decomposes, it adds valuable nutrients to the soil.
Use organic materials like straw, wood chips, or shredded leaves for mulching. Apply a 2-3 inch layer around your watermelon plants, keeping the mulch a few inches away from the base of the stems to prevent rot.
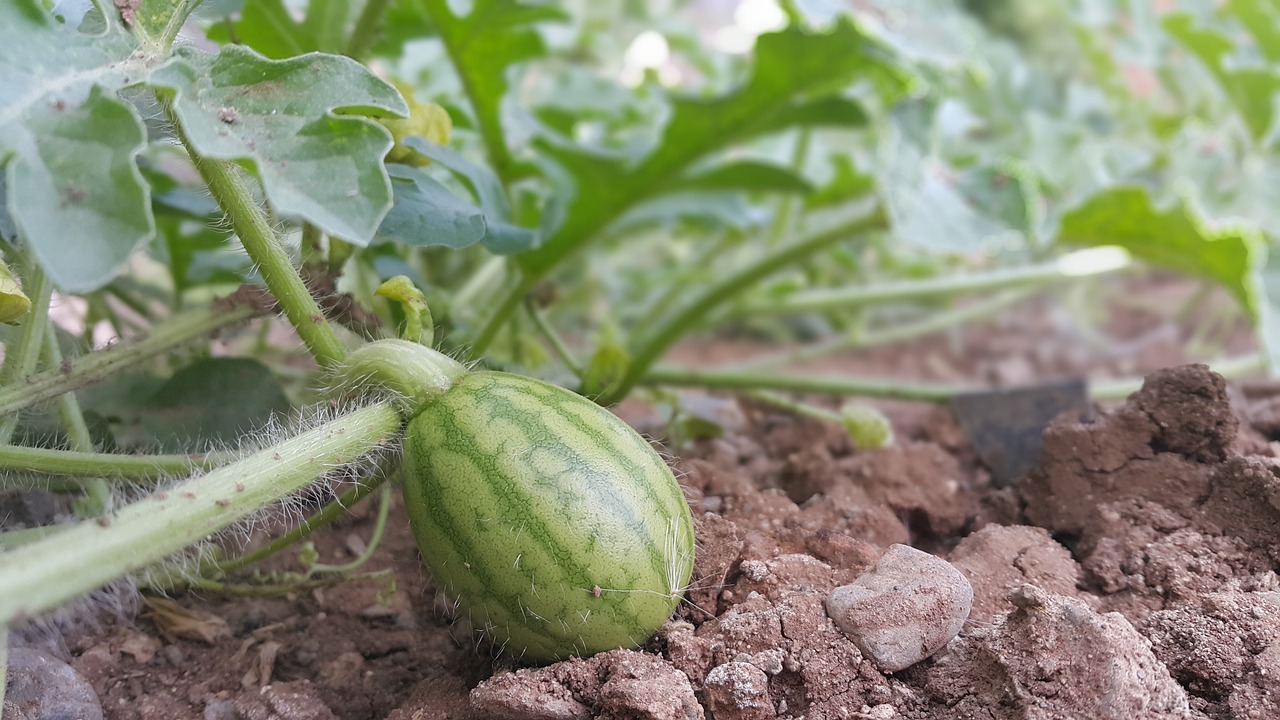
Pollination Powerhouse: Helping Your Melons Set Fruit
Watermelons have separate male and female flowers. While some varieties are self-pollinating, others require a helping hand. To encourage pollination, you can:
- Gently hand-pollinate the flowers by transferring pollen from the male flower (with a stamen) to the female flower (with a pistil) using a small paintbrush.
- Attract pollinators like bees to your garden by planting flowering herbs or companion flowers near your watermelon plants.
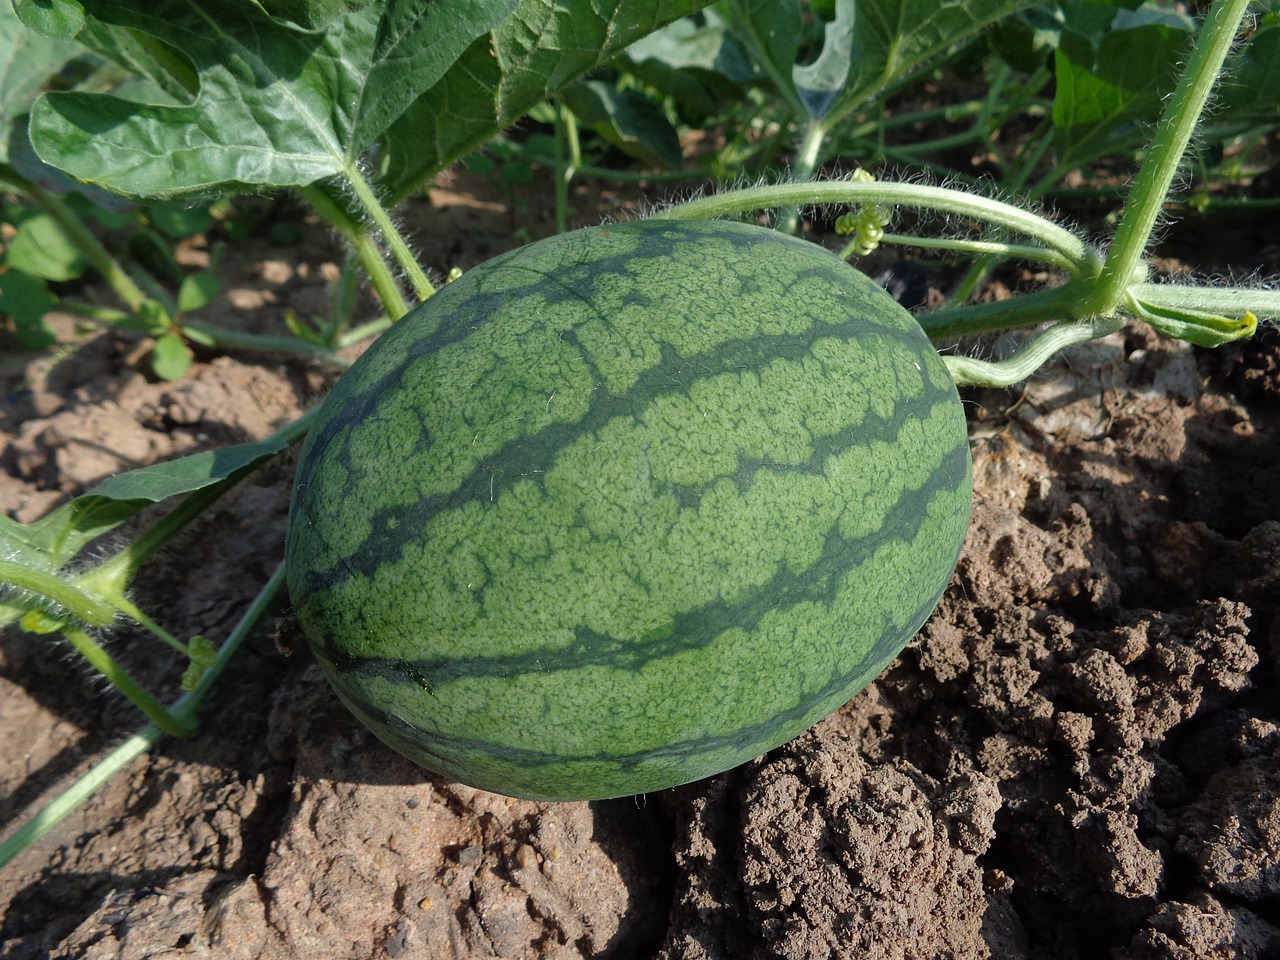
The Grand Finale: Picking the Perfect Watermelon
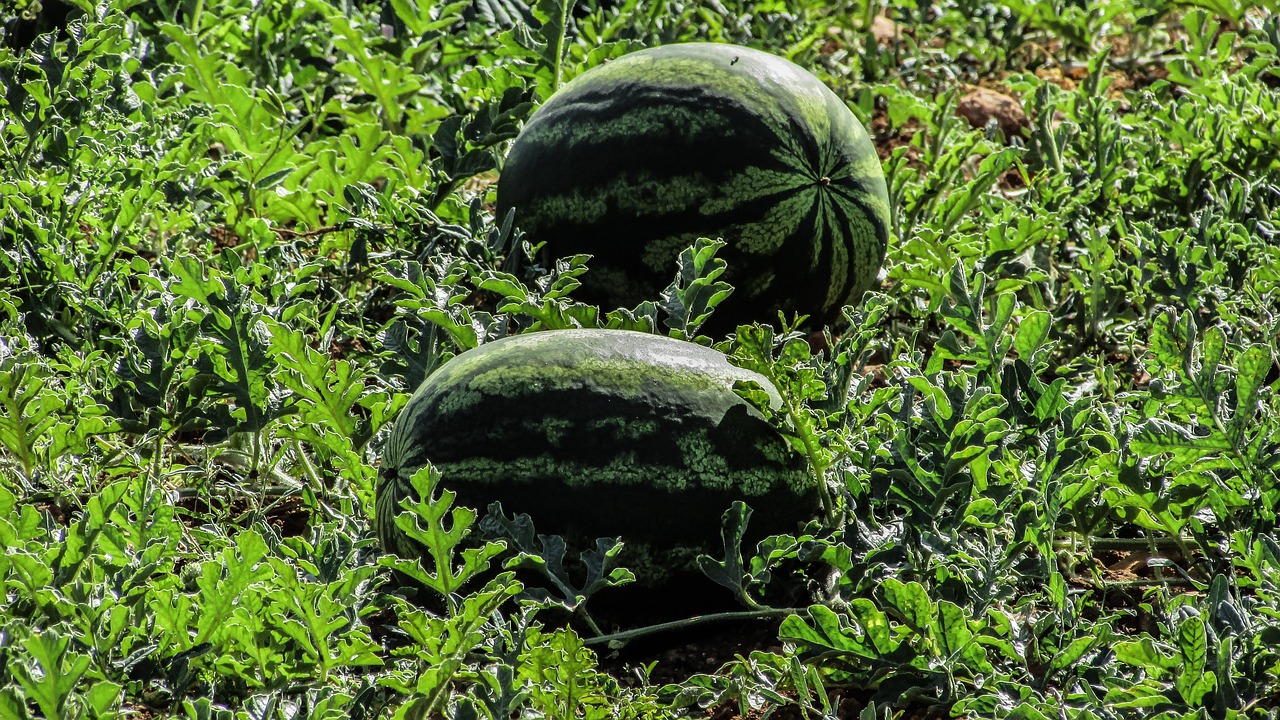
The moment you’ve been waiting for has arrived – harvest time! But how do you know when your watermelon is perfectly ripe and ready to be enjoyed? Here are the secrets to picking the perfect watermelon:
- The Thump Test: A Time-Tested Tradition: Gently tap the watermelon with your knuckle. A ripe watermelon will have a hollow sound, while an unripe one will sound dull.
- The Field Spot: Nature’s Ripeness Indicator: The underside of the watermelon that rests on the soil will develop a creamy yellow spot when ripe. A white or green spot indicates the melon needs more time.
- The Tendril Test: A Sign of Sweetness: The curly tendrils near the stem of the watermelon will turn brown and dry when the fruit is ripe.
By combining these techniques, you can confidently choose watermelons at peak ripeness, bursting with flavor and ready to be the star of your summer celebrations.
Beyond the Harvest: Keeping the Watermelon Magic Alive
Your raised bed watermelon adventure doesn’t end with the harvest. Here are some tips to extend the fun and ensure success next season:
- Composting Cleanup: Returning Nutrients to the Soil: Once you’ve harvested your watermelons, remove the vines and any remaining plant debris. Compost these materials to create nutrient-rich compost that you can add back to your raised bed in the future.
- Saving Seeds for Next Year’s Adventure: If you’re using an open-pollinated watermelon variety, you can save seeds for next year’s planting. Choose a healthy, fully ripe watermelon, scoop out the seeds, and allow them to dry completely on a paper towel in a warm, well-ventilated location. Store the dried seeds in an airtight container in a cool, dark place until planting time next season.
- Crop Rotation: Keeping Your Soil Healthy: To prevent disease and maintain soil health, practice crop rotation. Avoid planting watermelons in the same raised bed for consecutive years. Opt for planting legumes like beans or peas in your raised bed next season to fix nitrogen in the soil, which will benefit your future watermelon crop.
With a little planning and care, your raised bed can become a haven for growing perfect watermelons season after season. So, grab your seeds, get ready to witness the magic of watermelon growth unfold, and enjoy the sweet rewards of your summertime gardening efforts!