Nothing’s worse than seeing your prized potted tomato plants suffering from yellowing leaves and lackluster growth. But don’t despair – with some detective work and prompt care, you can nurse your container tomatoes back to good health. In this comprehensive guide, we’ll explore all the common causes potted tomato plant yellow leaves and provide organic solutions to rejuvenate your plants. With the right balance of sunlight, water, and nutrition, your tomato plants will be thriving again in no time!
This post may have affiliate links. This means that sometimes when you click a link on our site and make a purchase on Amazon, we may earn a small commission at no additional cost to you. We only recommend products we truly believe in, and your support helps keep us running!
Table of Contents
What’s Causing Potted Tomato Plant Yellow Leaves
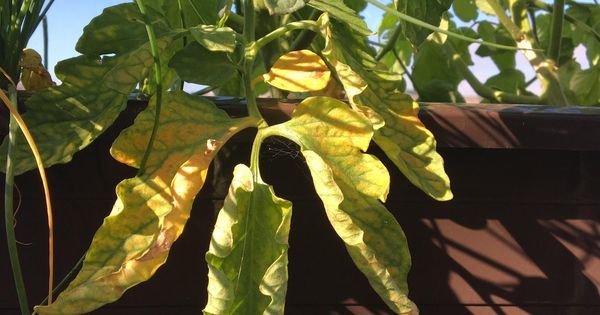
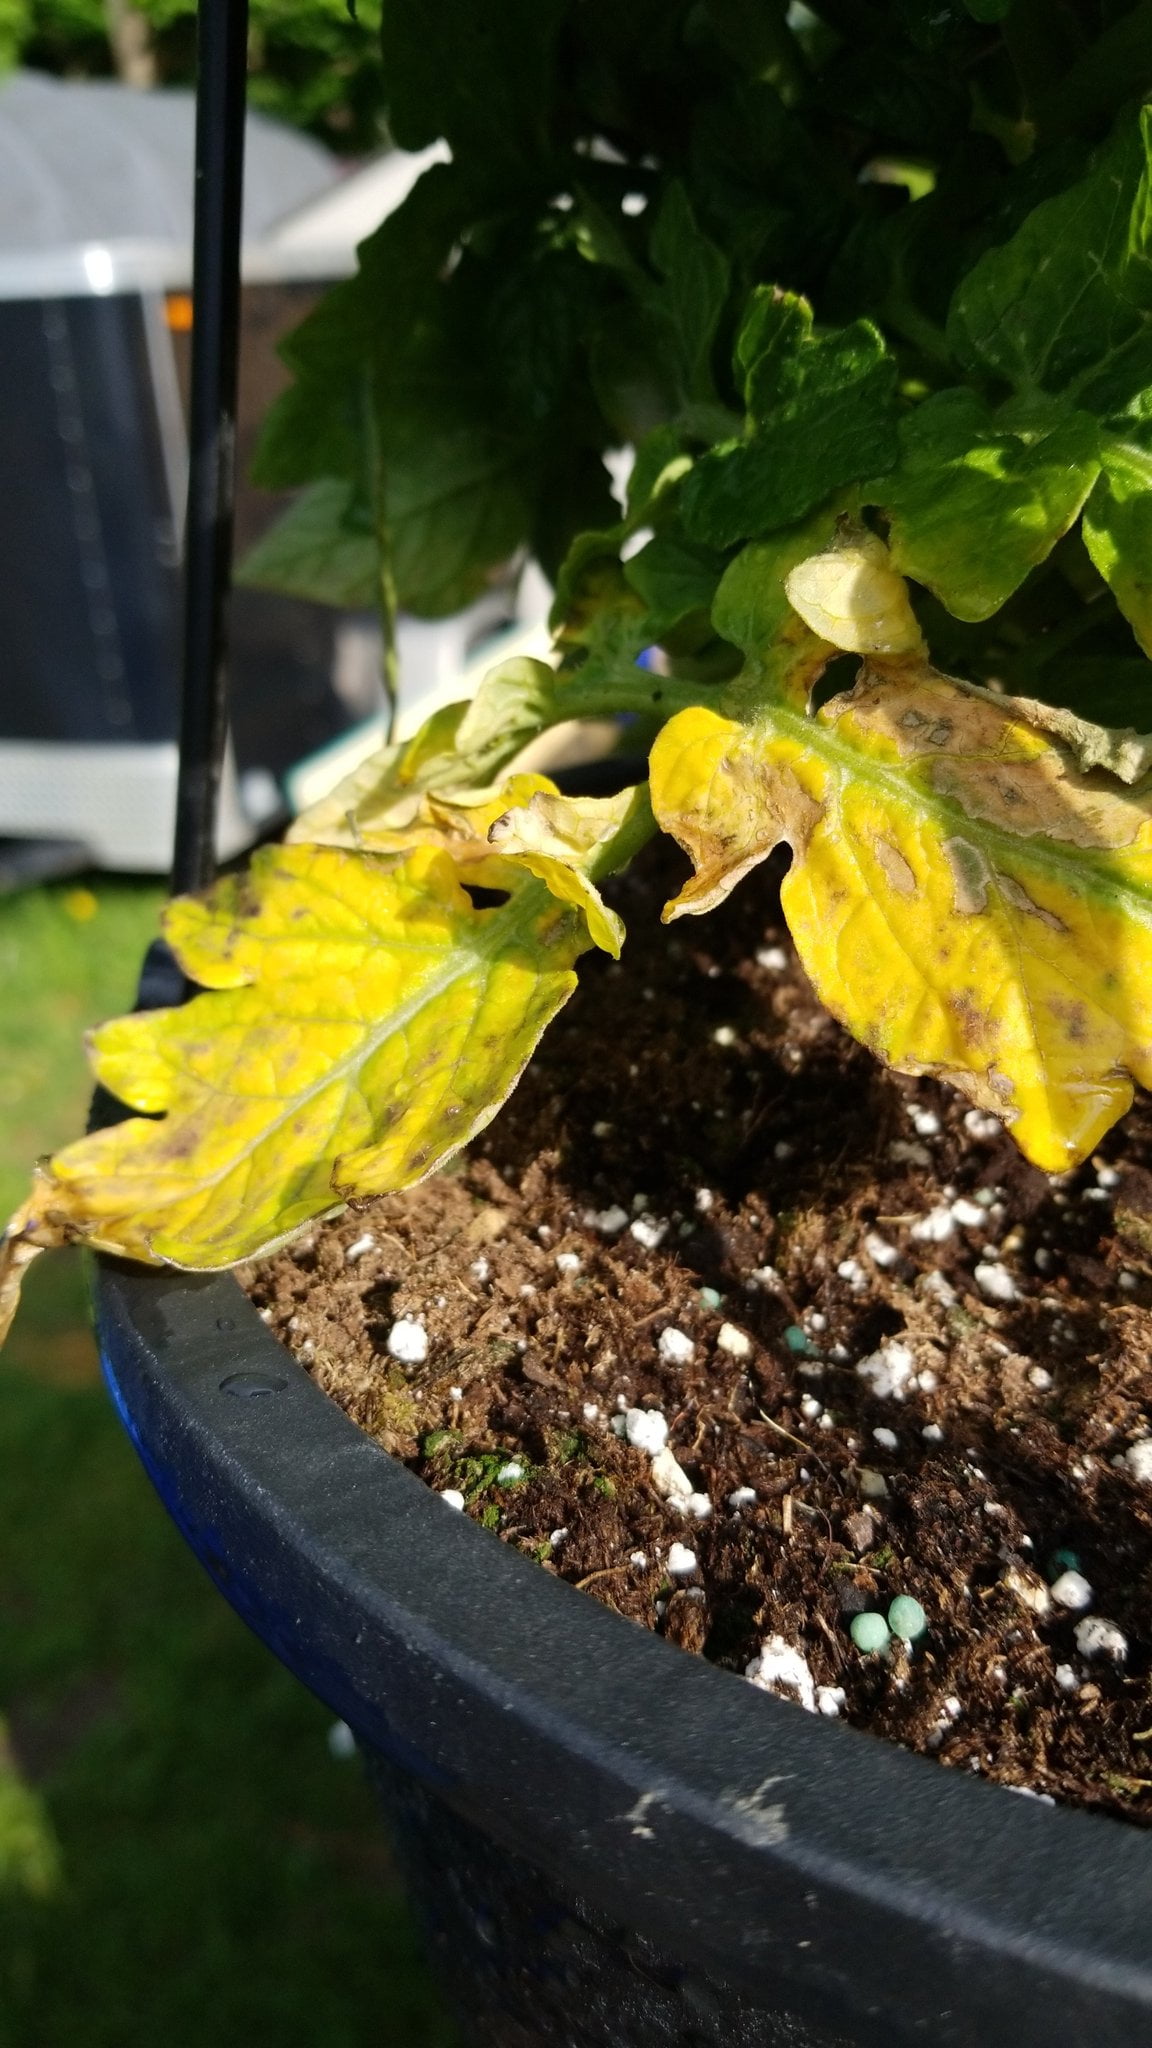
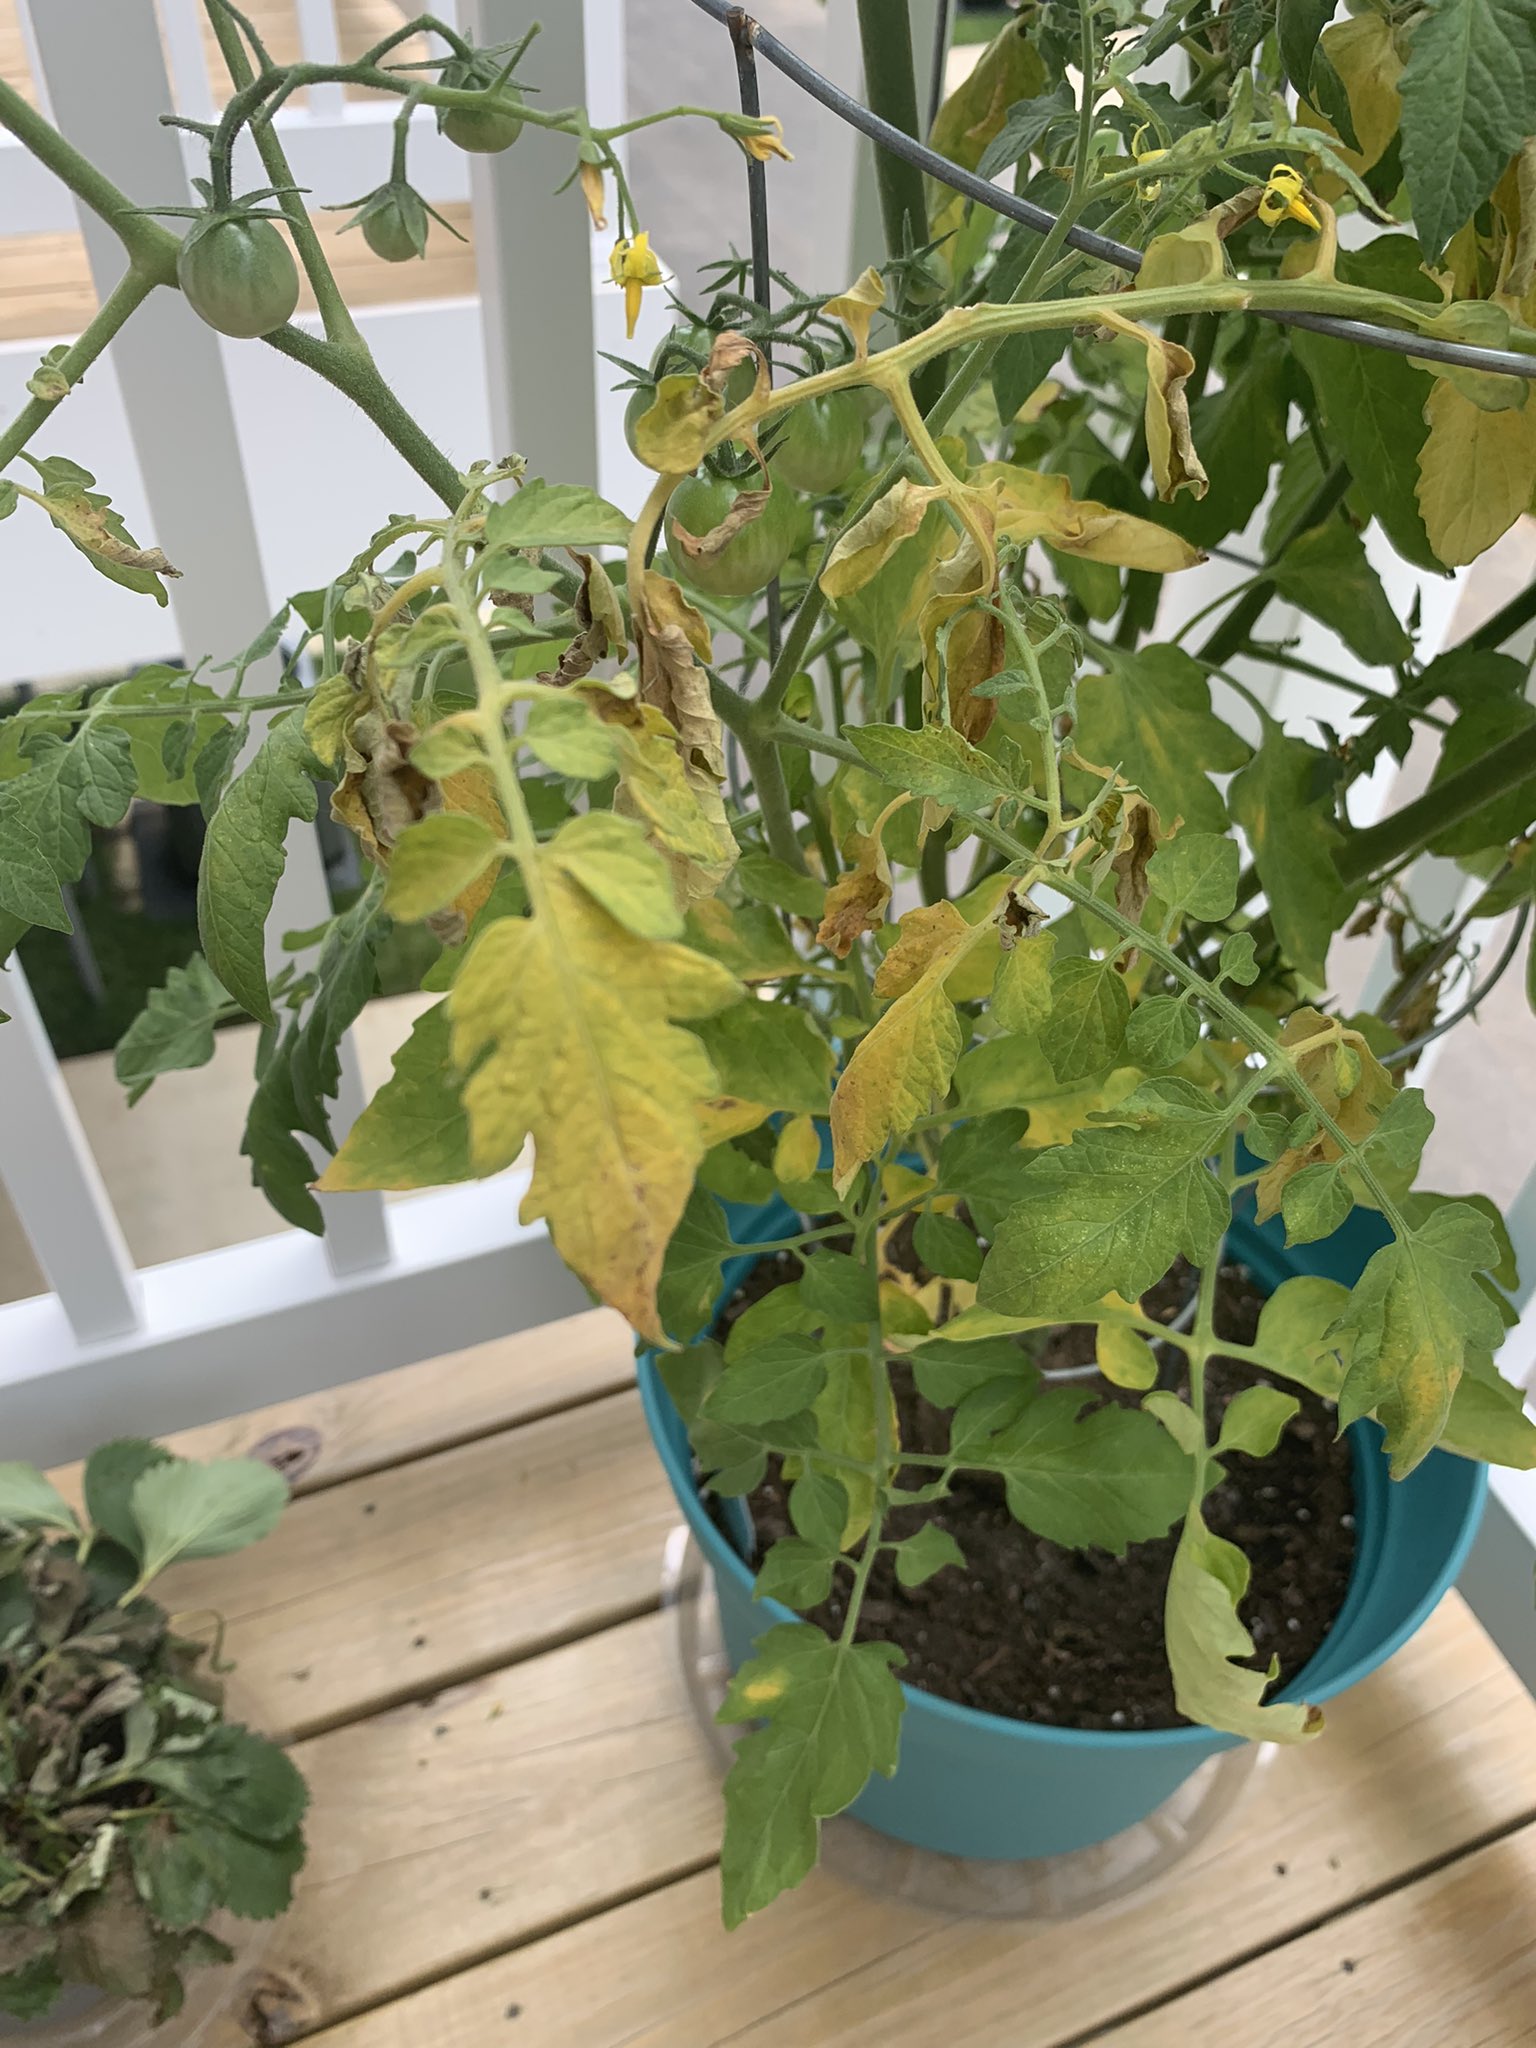
Yellowing leaves on container tomatoes can indicate a number of different underlying issues. Here are the most common causes to look for:
Underwatering
When tomato plants don’t receive enough water, their leaves may turn yellow and droop. The soil feels dry because there isn’t sufficient moisture for the roots to absorb. Tomatoes require deep weekly soakings to ensure the water reaches the root system effectively.
Overwatering
Overwatering tomato plants can lead to yellowing lower leaves and wet soil. When the soil remains excessively moist for extended periods, it can cause root damage and hinder oxygen availability to the roots. Allowing the soil to partly dry out between waterings helps prevent waterlogged conditions.
Lack of nutrients
Nitrogen deficiency is a common cause of yellowing leaves in plants, starting from the bottom and progressing upward. Nitrogen is an essential nutrient for foliage growth and overall plant health. Fertilizing the plants more frequently with a nitrogen-rich fertilizer can help address this issue.
Insufficient sunlight
Tomato plants require a minimum of 8 hours of direct sunlight each day to thrive. When they receive inadequate light, they may exhibit leggy growth with light green or yellowing leaves. Adjusting the plant’s location to a spot with sufficient sunlight can help alleviate this problem.
Root bound plants
When tomato plants outgrow their containers or have limited space for root expansion, their roots can become crowded and “root bound.” This can lead to yellowing leaves and stunted growth. Repotting the plant into a larger container or providing adequate space for root development can help resolve this issue.
Soil pH imbalance
Extreme soil pH levels, either too acidic or too alkaline, can interfere with nutrient uptake by the tomato plants. The ideal pH range for tomatoes is between 6.0 and 6.8. Testing the soil pH and amending it within this range can help ensure optimal nutrient availability to the plants.
Disease pathogens
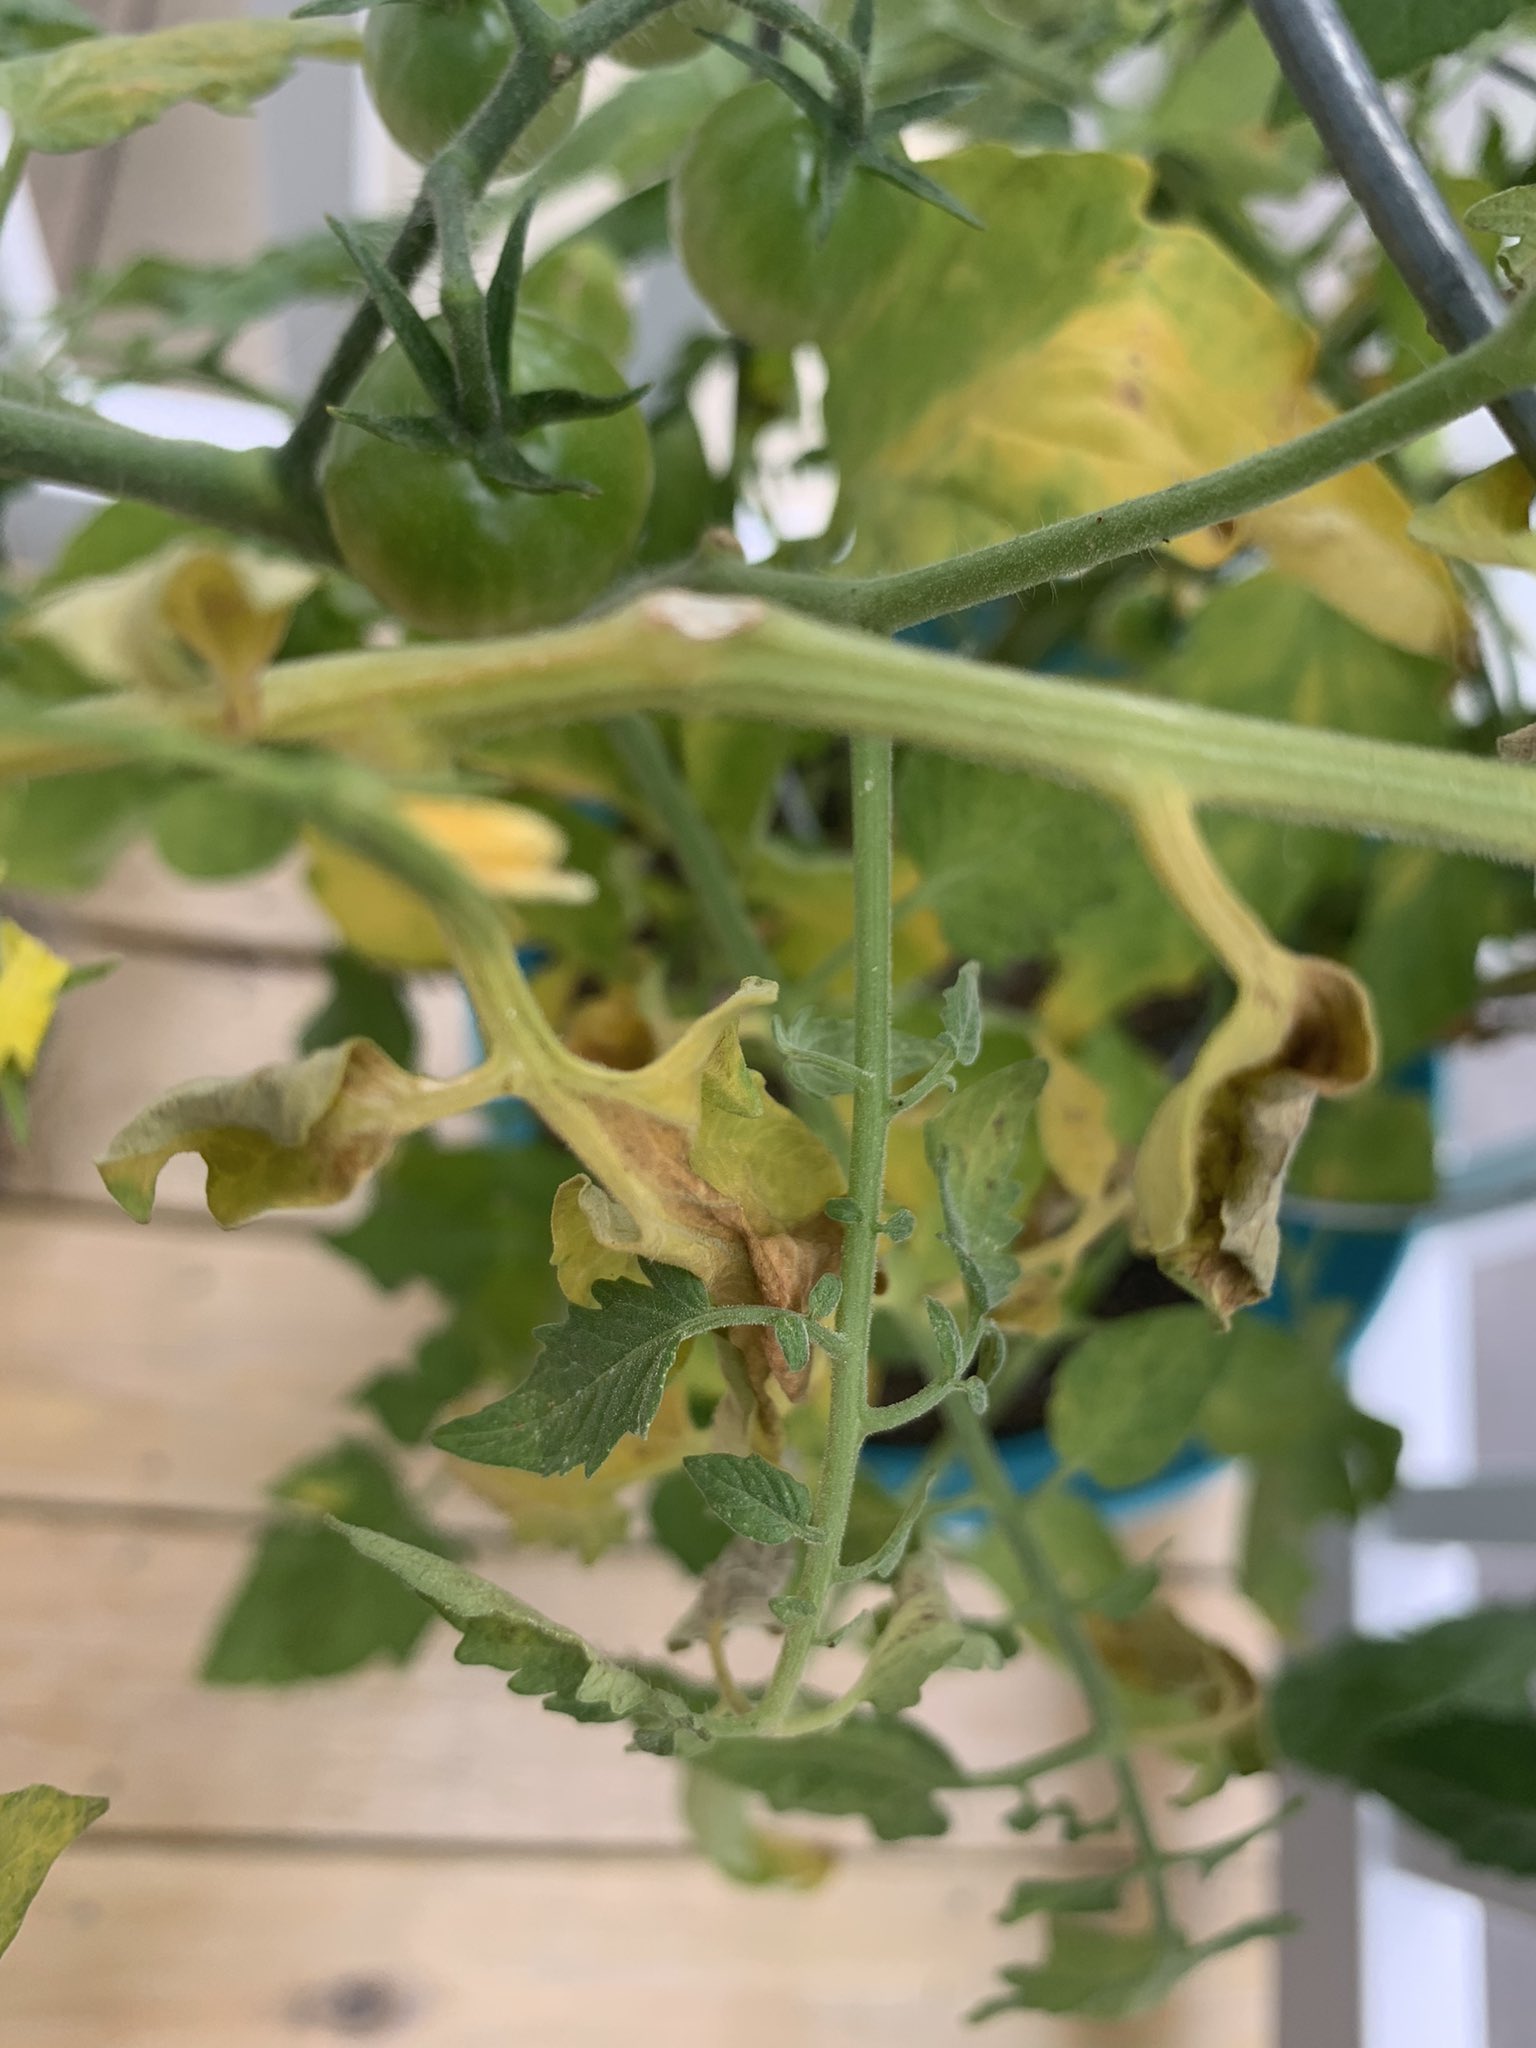
Certain fungal diseases, such as verticillium wilt or fusarium wilt, can cause yellowing of tomato leaves. These diseases often manifest as yellowing in stripes or spots, typically starting from the inner leaves. It’s important to isolate affected plants to prevent the spread of the disease and consider appropriate disease management strategies, such as using disease-resistant varieties or applying fungicides if necessary.
Closely observing where yellowing occurs on the plant along with other symptoms will help correctly diagnose the problem. Now let’s explore solutions!
Reviving Your Yellow Leaved Tomatoes
Reviving yellow-leaved tomatoes requires a systematic approach to identify the underlying cause and make the necessary adjustments. Here’s a step-by-step guide to help you revive your yellow-leaved tomato plants:
Providing Potted Tomatoes the Right Amount of Water
Irregular watering is one of the most common reasons for tomatoes yellowing. Container plants are especially vulnerable to drying out. Here are some tips for hydrating them just right:
- Water tomatoes at soil level to keep foliage dry and prevent disease.
- Deeply soak the entire root zone until water drains from bottom of container. Shallow watering encourages roots to grow upwards.
- Allow soil to partially dry out between waterings. Tomato roots need air!
- Add 2-3 inches of mulch to container soil to retain moisture longer.
- Lifting up containers occasionally can prevent roots from escaping and drying out.
- Group containers together to create a more stable microclimate.
- Use self-watering containers or drip irrigation lines for worry-free watering while gone.
Adequate moisture ensures your tomato roots stay consistently hydrated and healthy. Figuring out the right watering rhythm for your conditions is key.
Feeding Potted Tomato Plants for Maximum Nutrition
Tomatoes are heavy feeders, rapidly depleting soil nutrients. That’s why fertilizing container-grown tomatoes is so critical. Here are organic fertilizing tips:
- At planting, mix in slow-release organic tomato fertilizer to provide 2-3 months of nutrients.
- Every 2-3 weeks during growing season, feed plants with fish emulsion, compost tea, or all-purpose organic vegetable food.
- Alternate between water-soluble fertilizers for quick uptake and granular fertilizers that last longer.
- Spray kelp or seaweed extracts onto leaves for foliar uptake of micronutrients.
- Work worm castings or compost into topsoil monthly for an organic nutrient boost.
- Prevent blossom end rot with biweekly calcium sprays – like eggshell tea – onto fruits and leaves.
Proper fertilizing keeps your tomato plants lush and green. But don’t overdo it – excess nitrogen leads to leggy growth and fewer fruits.
Ensuring Tomato Containers Get Full Sun Exposure
As sun-loving plants, tomatoes need a minimum of 8 hours a day of direct sunlight. Anything less can cause gangly, weak growth with yellowing leaves. Some sunlight solutions:
- Choose the sunniest part of your patio, balcony or yard for tomato placement.
- Avoid tree shade which blocks sunlight – even if just part of the day.
- Rotate containers to optimize sun exposure on all sides of the plant.
- Prune back any encroaching branches or vegetation limiting sunlight.
- Add reflective mulch around containers to boost available light.
- Supplement natural sunlight with full spectrum LED grow lights. Use timers to ensure ample light duration.
- In very hot climates, provide afternoon shade if leaves are turning yellow or crispy.
With creative placement and supplemental lighting, you can maximize sun exposure for container grown tomatoes even in low light conditions.
Upping Pot Size for Root Bound Tomato Plants
If yellow lower leaves persist despite proper sunlight, water and fertilizer, the issue could be root bound plants. As tomato roots fill available container space, they choke each other’s growth and plants decline. Solve this by:
- Periodically lifting up containers to check for circling surface roots – a sign roots are crowded and ready for more space.
- Transplant plants into larger containers allowing for future root expansion – usually 5-10 gallon pots.
- Before re-potting, gently loosen the root ball and prune off any circled, matted roots.
- Partially bury stems lower, leaving just upper leaves and fruits above soil line when re-potting.
- Only transplant if necessary into appropriately sized containers. Over-potting causes more issues.
- As a rule of thumb, container width should be at least 1/3 the eventual height of the variety.
Relieving cramped roots through size upgrades or root pruning revives plants and growth takes off again.
Adjusting Soil pH Level for Best Tomato Nutrition
If fertilizing and ideal light exposure don’t cure yellowing leaves, the cause could be improper soil pH preventing nutrient uptake by roots. Test potting mix pH using a kit. Ideal tomato soil pH is between 6.0 – 6.8.
To lower pH if too alkaline:
- Incorporate elemental sulfur into potting soil before planting.
- Apply aluminum sulfate periodically according to product instructions.
- Use a diluted vinegar solution to lower container soil pH.
To raise pH if too acidic:
- Mix dolomitic lime into potting soil to raise pH levels.
- Water plants periodically with wood ash or crushed eggshell tea.
Getting soil pH into the optimal range allows tomato roots to properly absorb nutrients and restores plant health.
Combating Diseases Causing Leaf Yellowing
If tomato leaves are yellow in spots, stripes, or just on one side, the culprit could be a soil-borne disease like verticillium wilt or fusarium wilt. Treat fungus problems with these organic methods:
Improve drainage and reduce watering
Poor drainage can contribute to overwatering and waterlogged conditions, leading to yellowing leaves. To improve drainage in containers, ensure they have sufficient drainage holes at the bottom. You can also add a layer of small stones or broken pottery shards to the bottom of the container before adding the soil to enhance drainage. Additionally, allow the soil to fully dry between waterings to prevent overwatering and promote a healthier root environment.
Mix in compost
Adding compost to the soil mix can provide valuable nutrients and beneficial microbes that help fight disease organisms. Compost improves soil structure, water retention, and nutrient availability. Mix in a generous amount of compost when preparing the soil for planting or as a top dressing during the growing season to support the overall health of the plants.
Remove and destroy infected plants
If you notice severely infected plants with diseases such as verticillium wilt or fusarium wilt, it’s crucial to remove and destroy them to prevent the spread of the disease to other plants. Infected plants should not be composted, as some pathogens can survive the composting process. Instead, bag them and dispose of them in the trash or burn them if allowed in your area.
Disinfect containers with a 10% bleach solution
- Before replanting in containers, it’s a good practice to disinfect them to eliminate any potential disease-causing pathogens that may be lingering. Prepare a solution of 10% household bleach (1 part bleach to 9 parts water) and thoroughly clean the containers, including the inside surfaces and drainage holes. Rinse the containers well with water after disinfection to remove any residual bleach.
Rotate plantings to different containers each year
Tomato plants are susceptible to soil-borne diseases, and rotating their planting location can help break disease cycles. By not planting tomatoes in the same container year after year, you reduce the risk of disease buildup in the soil. Rotate your tomato plants to different containers or areas of the garden each growing season to minimize disease problems.
Choose wilt-resistant tomato varieties labeled VFN or VFNT
When selecting tomato varieties, look for those labeled as VFN or VFNT. These letters stand for resistance to specific diseases. “V” indicates resistance to Verticillium wilt, “F” indicates resistance to Fusarium wilt, “N” indicates resistance to nematodes, and “T” indicates resistance to tobacco mosaic virus. Choosing wilt-resistant varieties can help prevent or minimize disease-related yellowing and promote healthier plants.
With quick diagnosis and treatment, you can minimize losses from tomato-wilt fungal diseases. By improving drainage, incorporating compost, removing infected plants, disinfecting containers, rotating plantings, and selecting disease-resistant varieties, you can further enhance the health and vitality of your tomato plants. These additional steps contribute to a comprehensive approach in reviving yellow-leaved tomatoes and maintaining a productive garden.