
Feeling the urge to nurture something new but short on both space and budget? Worry not, plant parent wannabes! You don’t need a sprawling balcony or greenhouse to unleash your inner botanist. The magic of indoor seed starting allows you to cultivate a thriving mini-garden even in the coziest of corners. We’re talking “Tiny Triumphs” – watching tiny seeds transform into emerald warriors, filling your home with vibrant life and fresh flavor. With just five simple steps and a bit of creative spirit, you can turn your windowsill into a lush oasis. So, grab your gardening gloves, and let’s embark on this verdant adventure together
Step 1: Selecting the Perfect Spot for Your Small Indoor Seed Starting Setup
Choosing the right location for your Small Indoor Seed Starting Setup is paramount to the success of your seedlings. Consider these factors:
- Lighting Matters: Position your setup near a source of natural light. South-facing windows are ideal, but if that’s not feasible, invest in full-spectrum grow lights to mimic the sun’s rays.
- Temperature Control: Maintain a consistent temperature between 65-75°F (18-24°C) for optimal germination. Avoid drafty areas and sudden temperature fluctuations.
Step 2: Gather Your Materials for the Small Indoor Seed Starting Setup
Ensuring you have the right materials is key to fostering a nurturing environment for your seeds:
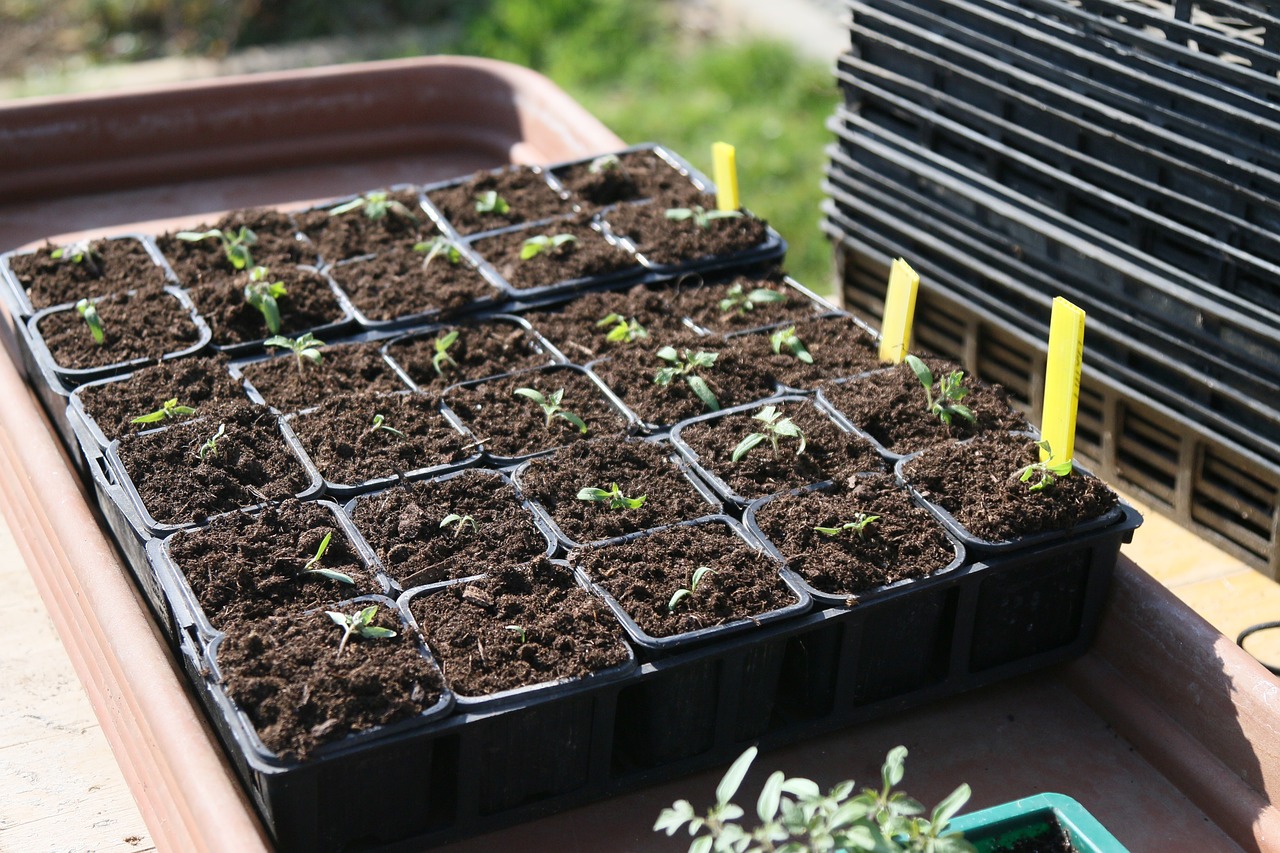
- Containers and Trays: Choose containers with good drainage to prevent waterlogging. Seedling trays with individual cells are excellent for organized and efficient seed starting.
- High-Quality Soil Mix: Opt for a well-balanced seed-starting mix that provides the right blend of nutrients, aeration, and moisture retention.
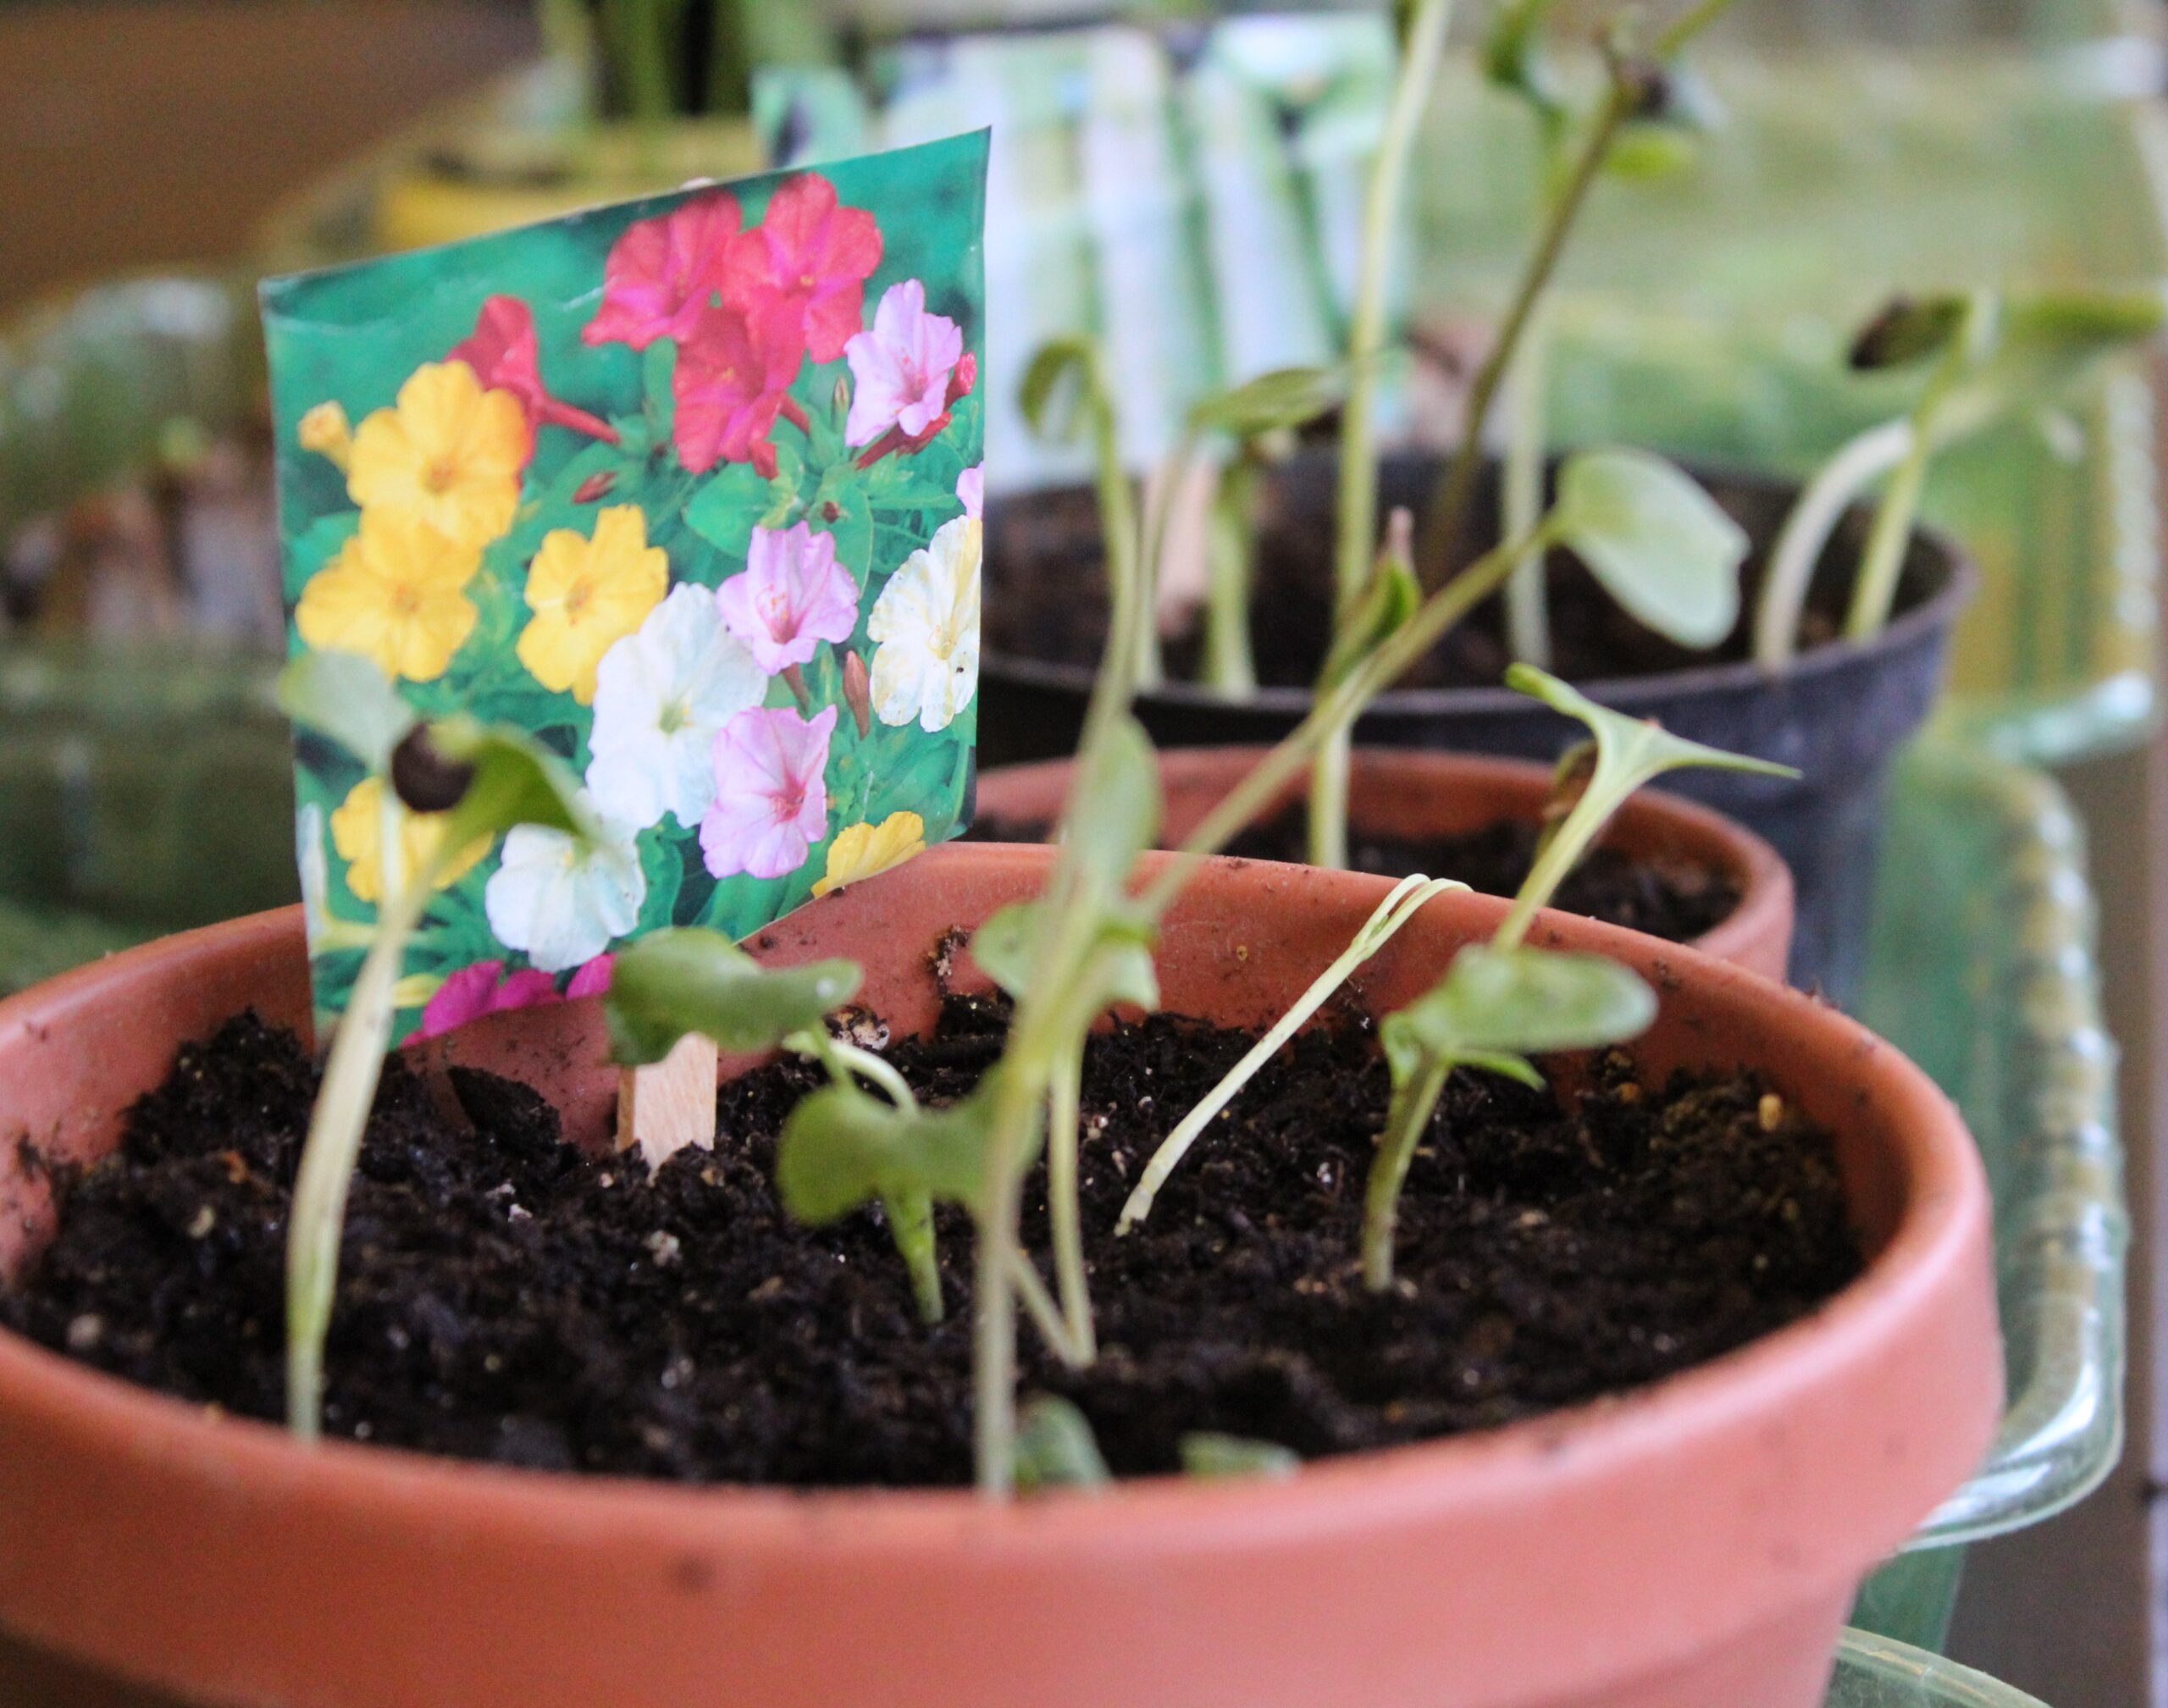
- Labels and Markers: Keep track of your seed varieties by labeling each container. This simple step will save you from potential confusion later on.
Step 3: Sowing Your Seeds with Care
Now that you have everything in place, let’s delve into the art of sowing seeds:
- Planting Depth and Spacing: Follow the recommended planting depth for each seed type. Pay attention to spacing to prevent overcrowding as the seedlings grow.
- Moisture Management: Water the soil evenly to ensure consistent moisture. A misting spray bottle can be handy for delicate seedlings.
- Covering for Germination : Some seeds benefit from covering during germination. Use plastic wrap or a humidity dome to create a mini-greenhouse effect.
Step 4: Providing Tender Care as Your Seedlings Sprout
As your seeds begin to germinate, it’s time to shower them with the attention they need:
- Adjusting Light Exposure : Gradually introduce seedlings to longer periods of light. This helps them develop sturdy stems and prevents them from becoming leggy.
- Feeding Your Seedlings: Once the seedlings have their first set of true leaves, start feeding them with a diluted, balanced liquid fertilizer to support healthy growth.
- Monitoring and Thinning : Keep a close eye on your seedlings for signs of overcrowding. If necessary, thin them out to give each plant ample space to flourish.
Step 5: Transplanting Your Seedlings to Larger Spaces
As your seedlings mature, it’s time to transplant them into their permanent homes:
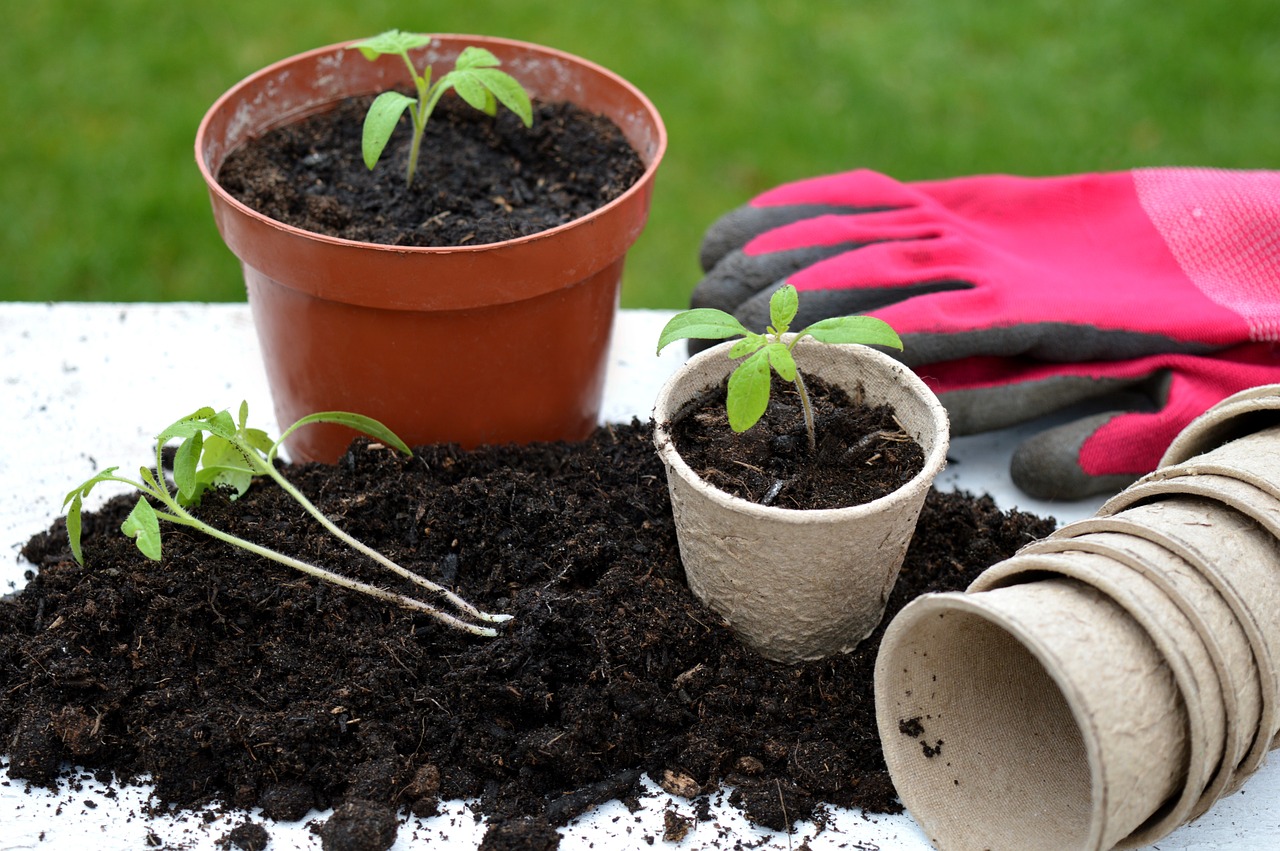
- Choosing the Right Containers: Select larger containers or prepare your outdoor garden beds. Ensure they provide enough space for the plants to grow to their full potential.
- Hardening Off: Gradually expose your seedlings to outdoor conditions a week before transplanting. This process, known as hardening off, helps them acclimate to the changes.
- Gentle Transplanting Technique: Handle seedlings with care during transplanting to minimize stress. Plant them at the same depth as they were in the seed starting containers.
Step 6: Implementing the Right Lighting for Your Small Indoor Seed Starting Setup
As your seedlings emerge, their need for light intensifies. Supplement natural light with artificial lighting to provide a consistent light source. Position fluorescent lights a few inches above the seedlings, adjusting the duration of light exposure as they grow. This Small Indoor Seed Starting Setup step mimics the sun’s nurturing rays, empowering your seedlings to flourish and reach their full potential.
Step 7: Providing Adequate Watering for Your Small Indoor Seed Starting Setup
Water, the lifeblood of your Small Indoor Seed Starting Setup, must be administered judiciously. Use a spray bottle or a watering can with a fine nozzle to prevent soil disturbance. Keep the soil consistently moist but not waterlogged. Monitor the moisture levels to prevent drying out or over-saturation. This step is pivotal in ensuring the sustained growth of your seedlings within the Small Indoor Seed Starting Setup.