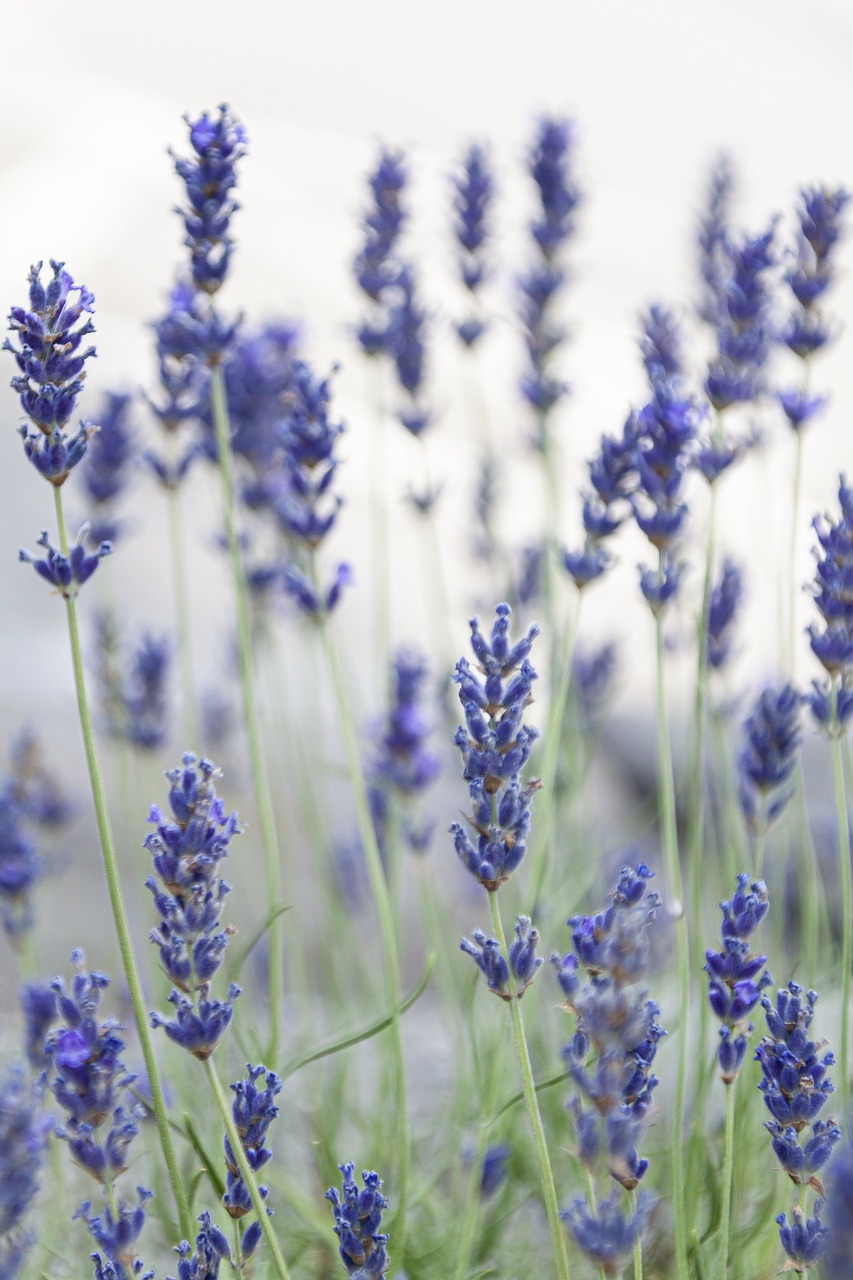
Lavender, that fragrant wonder with its endless culinary and aromatic uses, isn’t just for sprawling fields in Provence. With a little know-how, you can cultivate this gorgeous herb right in your own backyard, patio, or even a sunny windowsill. But who wants to wait ages for seeds to sprout? Propagation through cuttings offers a faster, more reliable path to lavender glory.
This guide equips you with the knowledge to transform humble lavender stems into thriving plants. Get ready to unlock the secrets of successful propagation, nurture your fragrant friends, and witness the magic of lavender unfold in your very own space.
This post may have affiliate links. This means that sometimes when you click a link on our site and make a purchase on Amazon, we may earn a small commission at no additional cost to you. We only recommend products we truly believe in, and your support helps keep us running!
Gearing Up for Lavender Multiplication
let’s gather the necessary tools and materials needed for snipping lavender
- Sharp pruners or shears: A clean, sharp cut is crucial for promoting healthy root growth. Disinfect the blades with rubbing alcohol before use.
- Healthy lavender plant: Choose a mature, disease-free lavender plant as your source. Plants in full bloom are best avoided; focus on ones with healthy green growth.
- Potting mix: Opt for a well-draining mix specifically designed for container plants or cacti.
- Pots: Select pots with drainage holes, ideally made of terracotta for breathability. Choose a size that allows for some growth, around 4-6 inches in diameter.
- Rooting hormone (optional): While not strictly necessary, a rooting hormone can increase success rates, especially for beginners. Opt for a natural, water-soluble formula.
- Watering can: A gentle spray helps prevent dislodging the delicate cuttings.
The Art of the Cut: Selecting the Perfect Stem
Here’s how to identify prime candidates for propagation:
- Focus on non-flowering stems: Flower buds sap energy from root development. Choose healthy, green stems with at least 4-6 nodes (the little bumps where leaves sprout).
- Look for new growth: Select firm, non-woody stems with pliable tips. Older, woody stems are less likely to root successfully.
- Length matters: Aim for cuttings around 4-6 inches long.
Snip, Strip, and Soak: Preparing Your Cuttings for Success
Now that you’ve identified the perfect stems, let’s get them prepped for their rooting adventure:
- Make a Clean Cut: Using your disinfected pruners, make a clean, diagonal cut just below a node. This angled cut provides a larger surface area for root development.
- Strip the Lower Leaves: Remove the bottom 1-2 inches of leaves from the stem. This exposed area will eventually be buried in the potting mix, allowing roots to form.
- Hydration Boost (Optional): Briefly dip the stripped end of the cutting into clean water, then tap it gently on the edge to remove excess moisture.
- Rooting Hormone Power (Optional): If using rooting hormone, follow the product instructions for application. Typically, you’ll dip the base of the cutting into the diluted hormone solution.
Planting Paradise: Creating the Perfect Home for Your Cuttings
With prepped cuttings in hand, it’s time to create the ideal environment for root formation:
- Fill Your Pots: Moisten the potting mix slightly and fill your pots, leaving about an inch of space from the rim.
- Poke a Planting Hole: Use a pencil or your finger to create a shallow hole in the center of the potting mix for each cutting.
- Plant and Secure: Gently insert the cutting into the hole, ensuring good contact with the potting mix. Firm the soil gently around the base of the cutting.
Top Tip: Plant multiple cuttings per pot to increase your chances of success. You can always thin them out later if necessary.
The Nurturing Dance: Keeping Your Cuttings Happy
The following steps will guide you in caring for your lavender cuttings as they embark on their root-growing journey:
- Light,Glorious Light: Place your pots in a location that receives at least 6-8 hours of bright, indirect sunlight daily. South-facing windows or a sunny patio are ideal.
- Watering Wisdom: Water your cuttings deeply when the top inch of soil feels dry to the touch. Avoid overwatering, which can lead to rot. A gentle spray with the watering can helps maintain consistent moisture.
Humidity Haven: Creating a humid environment can aid root development. Enclose the pots loosely in a clear plastic bag, ensuring there’s good air circulation.
